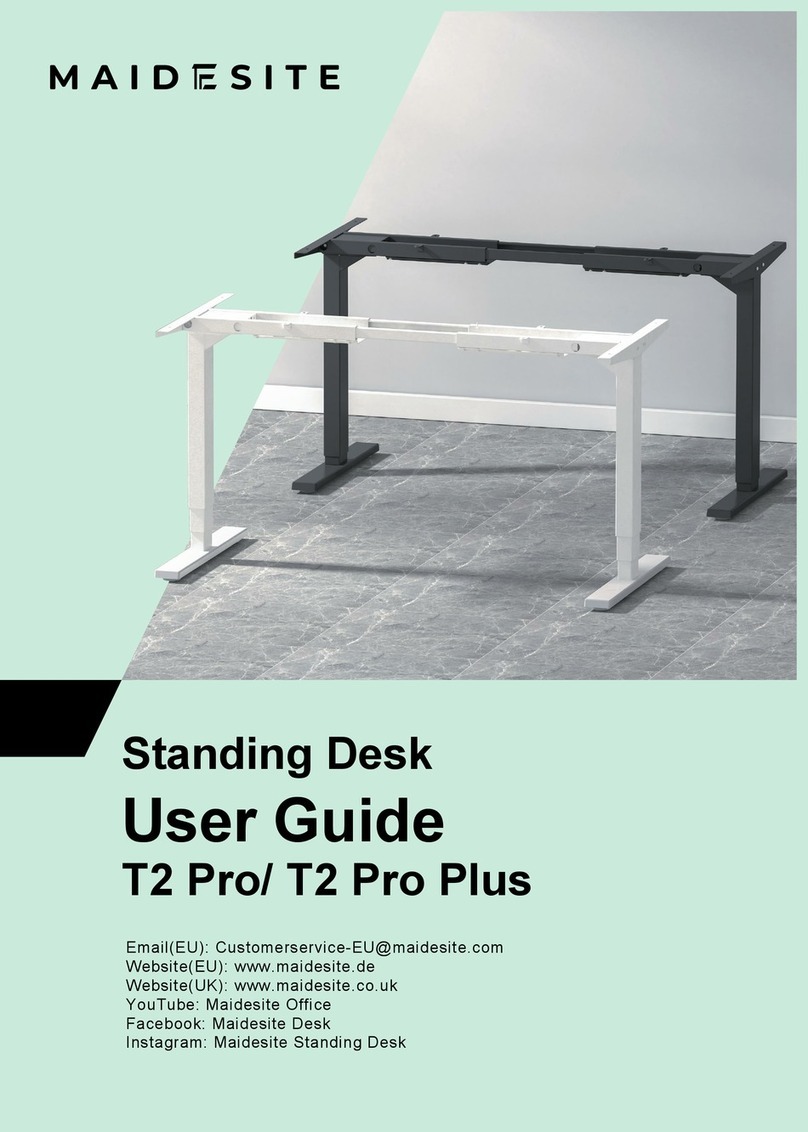
Maidesite TH2 Pro Plus User manual

Standing Desk Frame
User Guide
TH2 Pro Plus

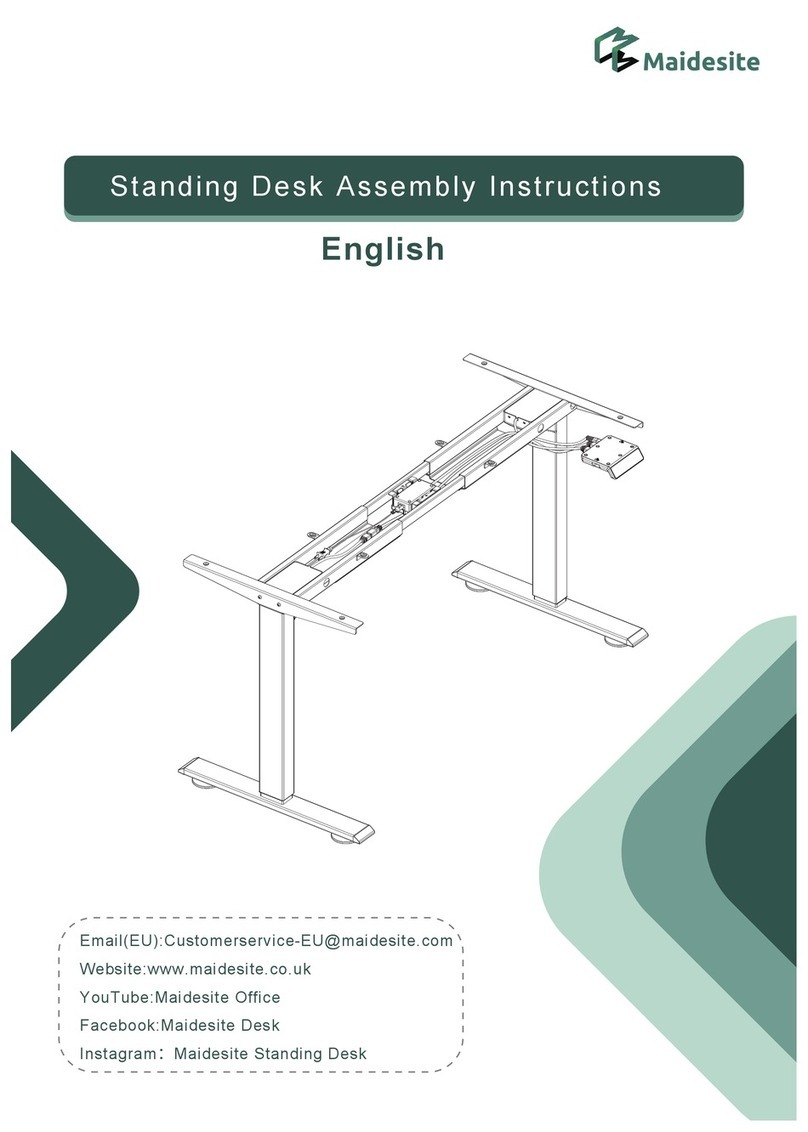
智能升降桌安装说明书
Standing Desk Assembly Instructions
Email(EU): Customerservice-EU@maidesite.com
Website(EU): www.maidesite.de
Website(UK): www.maidesite.co.uk
YouTube: Maidesite Office
Facebook: Maidesite Desk
Instagram: Maidesite Standing Desk
English

P1
Make sure no obstacles are in the desk's path.
Make sure the desktop is not touching any walls.
Make sure all cords are appropriate length to
accommodate the change in height.
WARNING
Pinch Point
Keep hands
and fingers
clear.
Keep children away from electric height-adjustable desks,
control units and handsets. There is a risk of injury and electric shock.
Keep all electrical components away from liquids.
Do not sit or stand on the desk frame. Do not crawl or lie under the desk frame.
Do not open any of the components - the Legs, Control Box, or Switch.
There is a danger of electric shock.
Do not place any objects taller than 20" underneath the desk.
This product is designed with a duty cycle of 10% (2 min. on, 18 min. off).
In the event of a power outage or if the power cord is unplugged,
a manual reset may be necessary - see USE section.
This height adjustable desk has electric motors and is designed for use in dry work areas only.
The desk height is adjustable so that it can be positioned at the most ergonomically suitable height.
Any other use is at user's risk.
Under no circumstances does the manufacturer accept warranty claims or liability claims for damages
caused from improper use or handling of the desk frame.
USE/ LIABILITY
Warm prompt
Safety & Warnings

Parts List
P2
A.
F.
J.
B.
C.
G.
H.
D1.
E. I.
D2.
30
min
Self provided toolsAssembly Time Persons Needed

P3
A. B. C.
D1. D2.
F. G.
E.
H.
J. K. L. M.
Lifting Column ×2 Central Rail ×2
Left Crossbar End
Right Crossbar End
Adapter Fixture
I.
Control Panel
Foot×2
Cable Management Cover×2
Side Bracket ×2
Power Adapter
Cable Clip ×8
Extension Cable ×2
Caster × 4 Power Cable
Hardware List
Parts List
1
M6*8
Machine Screw × 16
6
M4 Allen Wrench
5
2
M6*12
Machine Screw × 8
4
M6*16
Machine Screw × 8
ST5*0.8*16
Tapping Screw × 12
3
M6*14
Machine Screw × 8
78
Screwdriver
9
M14 Open End
Wrench
Back-up Screws

STEP 1: Assemble the lifting Columns
P4
Standing Desk Assembly
Please put the frame on
soft surface like a carpet
or soft foam
Tighten the
4 screws
Tighten the
4 screws
Hardware List
1
M6*8 Machine
Screw
×8
6
M4 Allen Wrench
×1

STEP 2: Install the Side Bracket
P5
STEP 3: Assemble the Feet
E.
E.
Hardware List
1
M6*8 Machine
Screw
×4
6
M4 Allen Wrench
×1
Hardware List
4
M6*16 Machine
Screw
×8
6
M4 Allen Wrench
×1

STEP 4: Assemble the Frame and Center Rails
STEP 5: Assemble the Frame and the Desktop from MAIDESITE
P6
·If the desktop is from MAIDESITE, please put the
frame on the desktop, adjust the distance between
crossbar ends and align them with the holes.
Hardware List
3
M6*14 Machine
Screw
×8
6
M4 Allen Wrench
×1

STEP 5: Assemble the Frame and the Desktop from other brand
STEP 6: Install the Adapter and Fixture
P7
Hardware List
5
ST5*0.8*16
Tapping Screw
×8
7
Screwdriver
Hardware List
5
ST5*0.8*16
Tapping Screw
×2
7
Screwdriver
Tighten the
2 screws
·If the desktop is from other brand (We recom-
mend to use a 25mm or thicker third-party
desktop to avoid cracking the top ), put the
frame on the axis on the desktop and adjust
both lifting columns to proper positions.(It’s
recommended that the distance between the
side bracket and the edge of the desk be 5cm)

STEP 8: Connect Wires
STEP 7: Install the Control Panel
Connect the power cable, wires on the control panel,extension cable and the cable on lifting column to the corresponding ports.
P8
K.
K.
L.
L.
L.
Hardware List
5
ST5*0.8*16
Tapping Screw
×2
7
Screwdriver
Attention: Make sure control panel and adapter are
on the same side of table top.
Power Cable Extension Cable×2

STEP 9: Install the Cable Management Cover
STEP 10: Install the Casters
P9
1
2
To lock and unlock the caster
by switching the brake on it.
1.Rotate counterclockwise to remove
the desk foot levelers
2.Screw on the caster and finally
lock it with a wrench.
Hardware List
1
M6*8 Machine
Screw
×4
2
M6*12 Machine
Screw
×8
6
M4 Allen Wrench
×1
9
M14 Open End
Wrench
×1
Hardware List
Two Mode
You can choose whether to install casters
according to your personal preference.
1
1
1
1
2
2
2
2
2
1

P10
P10
Proceed running checkout according to the control panel setup instruction on P11.
STEP 11: Upright the desk and plug it in to proceed the running check.

P11
CAUTION Please ensure that no objects (walls) will interrupt the movement of the desk,
The control panel must be fixed horizontally under the desktop before use.
Please set the sensitivity of the Anti-collision function according to your usage habits.
Please RESET the desk at the first time use.
and all cables of relevant devices are sufficiently long.
1.Enter the RST mode:
Hold the 'DOWN' key for 5s while the desktop is at the
lowest position (otherwise lower the desktop first).
The digital display shows 'RST'. Now the system enters
RST mode.
2.Quit the RST mode:
Hold the 'DOWN' key again until the desktop moves down
slightly and then moves up slightly. The display shows
the current height. The system quits RST mode.
UP
DOWN
Memory Heights
Digital Display
Sit-stand Reminder
Time Display Sit-stand
Reminder Setting
Sit-stand
Reminder Switch
Memory/Setting
'RST' '10.5/10.6/10.7/10.8'
Hold for 5s
Hold for 5s
Hand Controller Instruction
Press and hold the DOWN button, the digital display
showing 'RST'. Press and hold the 'UP' button for 5
seconds, you can adjust the Anti-collision sensitivity.
Press and hold the 'UP' button for 5 seconds each
time, the digital display will switch to one of the
following options:
'10.5'- least sensitive (default initial setting)
'10.6'- normal sensitivity
'10.7'- moderate sensitivity
'10.8'- maximum sensitivity
After the selected settings are displayed, release and
wait for 5 seconds, the display will return to 'RST.'
Press and hold the 'DOWN' button to exit the reset state.
#1 RESET
#2
Anti-collision Sensitivity Setting

P12
Touch the 'M' key: the display shows 'S-'.
Touch the 'DOWN' key: the display flashes.
Touch and hold the 'M' key for 2s until the display shows '000'.
The lower limit is now stored.
Change the RESET height:
Delete height limits:
Touch the 'M' key: the display shows 'S-'.
Touch and hold the 'M' key for 2s until the display shows '555'.
Both upper and lower limits are deleted.
Memory Height Setting:
Touch the ‘M’ key, the display shows ‘S-’, Touch one number key
from 1-4, the current height will be stored to that key. Press that key,
your desk will move to the height automatically.
Reset Exception Protection:
Condition
The digital display shows error E07/E08/E09
Disconnecting/Reconnect power, the error still remains.
Pressing any key has no effect.
Operation
Hold the 'DOWN' key for 5s, the digital display shows RST.
Release and hold the 'Down' key again to reset the desk.
(Note: This operation is also applicable to forced reset.
Please lower the desk to the lowest position first when forced reset.)
'E07'
'E08'
'E09'
'S-'
'RST'
Height Setting
The next parts can be set according to your preference.
Set the upper limit:
Set the lower limit:
Enter the RST mode (see instructions above).
Touch and hold the 'M' key for 5s: the display shows the reset height,
and the screen flashes.
Touch and hold the 'UP' key or 'DOWN' key to change the value.
The display switches back to 'RST' if no operation is detected for 5s,
indicating the change is successful.
Quit the RST mode (see instructions above).
'S-' '999'
'S-' '000'
'S-' '555'
'RST' 'RST'
Height setting
Hold for 2s
Hold for 2s
Hold for 2s
Hold for 5s
Hold for 5s
Touch the 'M' key: the display shows'S-' .
Touch the 'UP' key: the display flashes.
Touch and hold the 'M' key for 2s until the display
shows '999'. The upper limit is now stored.

P13
The next parts can be set according to your preference.
Switch the movement mode of the memory height:
Enter the RST mode (see instruction above).
Touch and hold the '1' key for 5s, the display shows one of the following:
'10.1': One-touch movement (Default)
'10.2': Constant-touch movement.
Change height unit(cm/inch):
Enter the RST mode (see instruction above).
Touch and hold the '2' key for 5s, the display shows one of
the following:
'10.3': height display in cm (Default),
'10.4': height display in inch
Child Lock
'RST' '10.1/10.2'
'RST' '10.3/10.4' Hold for 5s
Hold for 5s
Touch and hold the Child Lock key for 4s: the displays shows 'LOC',
and all keys at front are locked.
Touch and hold the Child Lock key again for 4s to unlock.
Sit-stand Reminder:
First time use: The sit-stand reminder is active by default and the default
time is 30 minutes. Touch the 'ON/OFF' key to turn on or off the sit-stand
reminder.
Touch the 'SET' key and then choose one of the reminder time.
Please make sure that the sit-stand reminder is ON before setting
the time.
When the reminder time runs out, the hand control vibrates.
Touch any key to stop the vibration and turn off the reminder.
When the height of the desk is greater than 100 cm, the reminder will stop
the timing and reset. When the height of the desk is less than 100 cm,
the timing will restart.
Note: When there is no action, the reminder will be turned off after
about 30 seconds of vibration
Height setting
Hold for 4s
'LOC'
Child Lock
USB Charging port:
Output: DC 5V/0.8A

P14
Q & A
Q & A
Error Code
RST(ASR)
E07
E08
H01 Over-heating protection
The desk raises or lowers
only for a short time
No Connection
RESET Please try 'RESET'(Page11).
Please disconnecting the power and allowing the
system to cool down for a duration of 20 minutes.
Please verify cable connections and attempt a
'RESET' (Page 11) as the initial troubleshooting step.
If the issue persists, please contact our support team
Please ensure that both the desk and the control panel
are stable and firmly positioned without any discernible
wobbling. If the issue persists, please kindly refer to the
'Anti-collision Sensitivity Setting' section on PAGE 11
of the manual and adjust the sensitivity to '10.7'.
for further assistance.
Description Solution
Protection Mode
If you have any further questions or need further assistance,
please don't hesitate to contact our dedicated support team.
Email: [email protected]
Anti-collision

智能升降桌安装说明书Elektrischer Höhenverstellbarer Schreibtisch
Email(EU): Customerservice-EU@maidesite.com
Website(EU): www.maidesite.de
Website(UK): www.maidesite.co.uk
YouTube: Maidesite Office
Facebook: Maidesite Desk
Instagram: Maidesite Standing Desk
Deutsch
Montage- und Bedienungsanleitung

Benutzerhinweis
P1
Stellen Sie sicher, dass sich keine Hindernisse im Weg des
Schreibtisches befinden.
Stellen Sie sicher, dass der Desktop keine Wände berührt.
Stellen Sie sicher, dass alle Kabel die richtige Länge haben,
um die Höhenänderung zu erfüllen.
Einklemmstelle
Vorsicht vor
dem Einklem-
men der
Hände
Halten Sie Kinder vom Produkt, Steuergeräten und Mobilteilen fern.
Es besteht Verletzungs- und Stromschlaggefahr.
Halten Sie alle elektrischen Komponenten von Flüssigkeiten fern.
Setzen oder stehen Sie nicht auf dem Schreibtischrahmen.
Kriechen oder liegen Sie nicht unter dem Schreibtischrahmen.
Öffnen Sie keine der Komponenten - die Beine, die Steuerbox oder den Schalter.
Es besteht die Gefahr eines Stromschlags.
Stellen Sie keine Gegenstände, die Höhe als 20 Zoll sind, unter den Schreibtisch.
Dieses Produkt ist mit einem Arbeitszyklus von 10% ausgelegt
(2 Minuten ein, 18 Minuten aus).
Bei einem Stromausfall oder wenn das Netzkabel abgezogen ist, kann ein manueller
Reset erforderlich sein - siehe Abschnitt NUTZUNG.
◆Dieser elektrische höhenverstellbare Schreibtisch ist nur für trockene Umgebungen geeignet.
◆Die Höhe dieses elektrischen höhenverstellbaren Schreibtisches kann innerhalb eines bestimmten
Bereichs eingestellt werden, sodass er für die meisten ergonomischen Szenarien verwendet werden kann.
◆Das Risiko, das durch die Verwendung in anderen als den oben genannten
Szenarien entsteht, trägt der Benutzer.
◆Der Hersteller haftet nicht für Schäden und Verluste,
die durch unsachgemäße Bedienung und Handhabung entstehen.
Anweisungen für den Gebrauch / HAFTUNG
SICHERHEITSHINWEISE

Stückliste
P2
A.
F.
J.
B.
C.
G.
H.
D1.
E. I.
D2.
30
min
Eigene WerkzeugeMontage-Zeit Montage-Mitglied

P3
Schraube-Liste
Teileliste
Hubsäule ×2 Mittelbalken ×2
Linker Querbalken
Rechter Querbalken
Rolle ×4 Netzkabe
Klammer des Adapter
Tischfuß ×2
Abdeckblech für
Kabelmanagement ×2
Steuerbox
Seitenhalterung ×2
A. B. C.
D1. D2.
F. G.
E.
H.
Handregler
I.
J. K.
Adapterkabel ×2
L.
Kabel Clip ×8
M.
1
M6*8
Innensechskant-
schraube × 16
6
M4 Inbusschlüssel
5
2
M6*12
Innensechskant-
schraube × 8
4
M6*16
Innensechskant-
schraube × 8
ST5*0.8*16
Selbstschneidende
Schraube × 12
3
M6*14
Innensechskant-
schraube × 8
78
Schraubendrehe
9
M14 Gabelschlüssel
Ersatzschauben
Table of contents
Languages:
Other Maidesite Indoor Furnishing manuals
Popular Indoor Furnishing manuals by other brands

Regency
Regency LWMS3015 Assembly instructions

Furniture of America
Furniture of America CM7751C Assembly instructions

Safavieh Furniture
Safavieh Furniture Estella CNS5731 manual

PLACES OF STYLE
PLACES OF STYLE Ovalfuss Assembly instruction

Trasman
Trasman 1138 Bo1 Assembly manual

Costway
Costway JV10856 manual