MAL-0102/ Released 11/02/21
Page 4 of 24
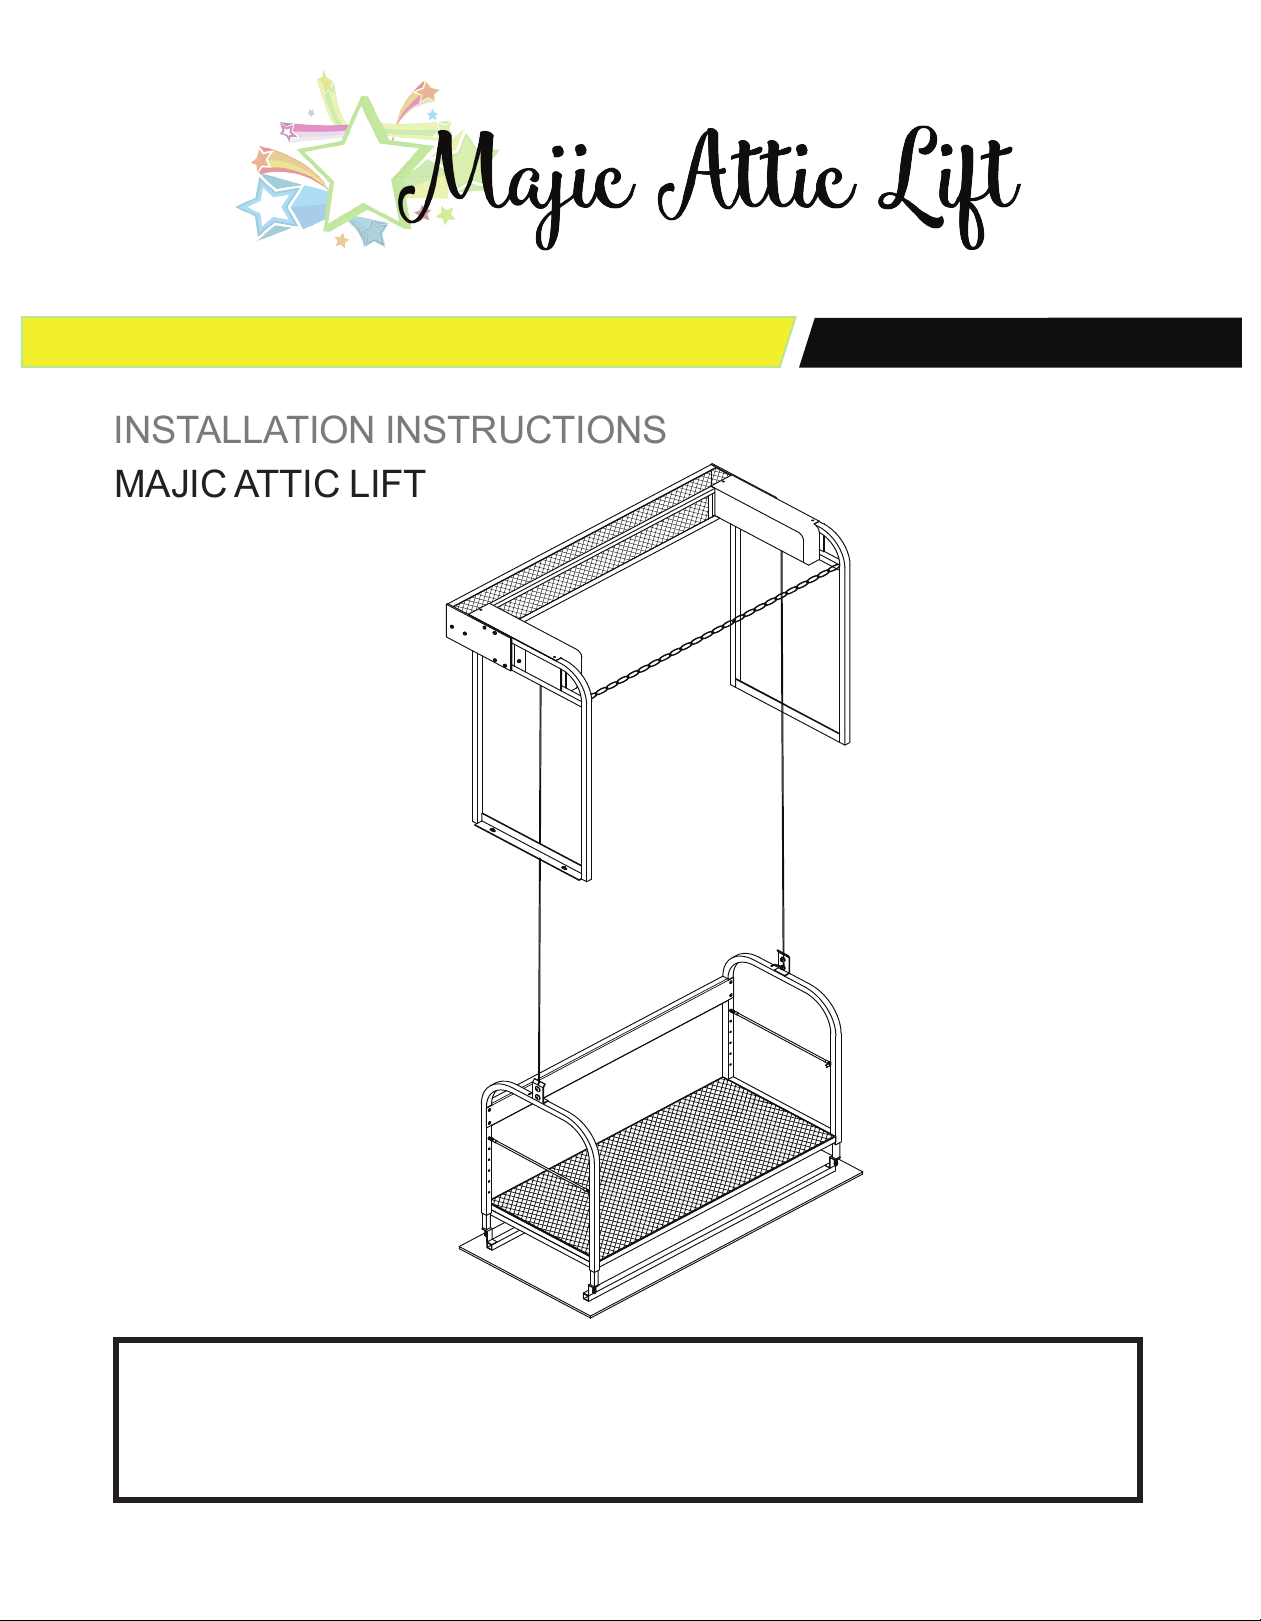
MAJIC ATTIC LIFT PRODUCT INSTRUCTIONS
Section 1: Safety Precautions
DANGER
• No person under 18 years of age should be allowed to operate this product.
• Children should be kept away from the lift when it is in operation.
• When not in use, remove the remote control and store it where children cannot
get it.
• When not in use, always raise the basket until it’s closed.
• This product can cause serious injury or death to anyone who attempts to ride,
or install or operate the lift improperly.
• When working in the attic, stay on the decked areas.
• If you must enter non-decked areas, stay on the joists. The material between
the joists will not support your weight and will collapse if you stand or sit on
them.
• Be alert to overhead hazards such as exposed nails.
• Be aware of and avoid openings such as the ladder opening or the lift opening
when you are working or moving around the attic.
• When working over the opening, cover it with a piece of plywood and be aware
of the opening as a safety precaution.
• When working with power tools, follow all the manufacturers’ safety guidelines
and wear approved safety gear.
• Do not work alone in a hot attic if you have any health condition that could
affect your balance, mobility, or cause you to lose consciousness.
• Do not work in the attic in the heat of the day as this can cause heat exhaustion.
Morning hours are the coolest times to work in the attic.
• Do not operate this equipment in damp, wet, or poorly lit attic spaces.
• Do not use this equipment in the presence of flammable gases or liquids.
• Keep the work area clear of obstacles to prevent falls or injury.
• Use only grounded power outlets or extension cords.
• To reduce the risk of accident, severe injury, or death, all persons must read and
understand the product instructions completely before installing this equipment.
• Do not stand under or allow anyone to stand under the lift while in operation.