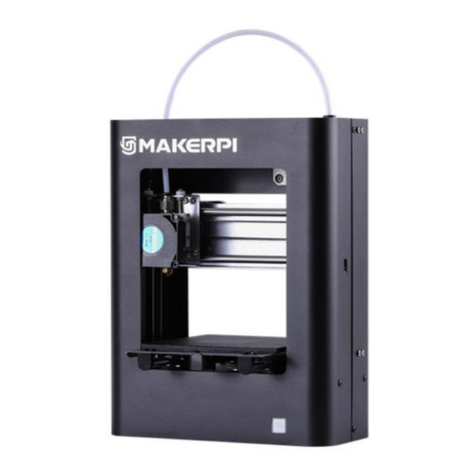
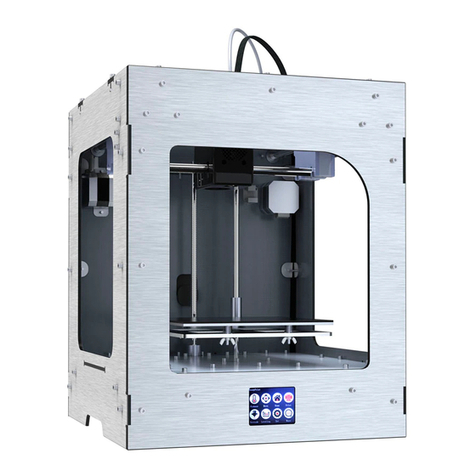
MakerPi K5 Plus User manual

1

2
Content
Chapter 1 Learn about your 3D printer..................................................................... 3
1.1 3D printer introduction...................................................................................4
1.2 Cautions..........................................................................................................5
Chapter 2 Preparation before printing...................................................................... 6
Chapter 3 Adjustments to the printing platform....................................................... 9
3.1 Coarse tuning................................................................................................. 9
3.2 Fine tuning....................................................................................................11
Chapter 4 Printer functions..................................................................................... 13
4.1 Preparation......................................................................................................14
4.1.1 Return to zero........................................................................................ 14
4.1.2 Unlock stepper motor............................................................................14
4.1.3 Load filament......................................................................................... 15
4.1.4 Unload filament..................................................................................... 15
4.1.5 XYZ move axis.........................................................................................16
4.1.6 Preheat.................................................................................................. 16
4.1.7 Cool........................................................................................................17
4.2 Print................................................................................................................. 17
4.3 Machine setting............................................................................................... 18
4.3.1 Key sound...............................................................................................18
4.2.2 Alarm sound...........................................................................................18
4.3.3 Touch calibration....................................................................................19
4.3.4 Z distance measurement....................................................................... 19
4.4 Machine status query...................................................................................... 19
4.5 Other functions................................................................................................20
4.5.1 Basic functions.......................................................................................20
4.5.2 Midway refueling................................................................................... 20
4.5.3 Temperature, printing speed and nozzle fan adjustment...................... 21
4.5.4 WiFi connection and video monitoring..................................................21

3
Chapter 5 Software usage introduction...................................................................23
5.1 Slicing software installation.......................................................................... 23
5.2 Introduction to the application of slicing software.......................................26
5.2.1 Fast print(Not recommended for use).......................................... 26
5.2.2 Full mode printing...............................................................................26
5.2.3 Basic setup..........................................................................................26
5.2.4 Advanced setup.................................................................................. 28
5.2.5 CURA print interface........................................................................... 29
5.3 View the model.............................................................................................30
Chapter 6 Printing exercises...................................................................................... 32
Chapter 7 Printing skills............................................................................................. 35
7.1 Flat bottom................................................................................................... 36
7.2 Avoid overhang.............................................................................................36
7.3 Assemble matching graphic tolerances........................................................ 38
7.4 Big size model print...................................................................................... 38
Chapter 8 Printing picture relief................................................................................ 38
Chapter 9 Exports STL format files.............................................................................40
9.1 Pro/E exports STL files.................................................................................. 41
9.2 UG export STL file......................................................................................... 42
9.3 Solidworks export STL files............................................................................44
Chapter 10 Analysis of common problems................................................................45

4
Chapter 1 Learn about your 3D printer
1.1 3D printer introduction

5

6
1.2 Cautions
1. The nozzle temperature is up to 200℃during the working period of the 3D printer
and after printing. So do not touch the nozzle with your hand;
2. Please follow the instructions in the guide to operate and use the machine. If you
have any questions, you can contact the after-sales department;
3. If the printed model needs to be disassembled for support, please wear gloves so as
not to be scratched by tools or supporting materials during the disassembled process;
4. In daily use,it is necessary to regularly clean and lubricate the optical axis of the cross
slide table of the 3D printer, and be careful not to drip onto the casing or belt when
adding lubricating oil.
5. Reading "User guide", at the same time with the actual operation of the machine will
be more conducive to your operation.
6. In the printing process encountered a problem with the machine print, you can first
take a photo to reflect the problem more intuitively, at the same time provide the
machine number of photos (the label at the bottom of the back of the machine), and
then contact after-sales.

7
Chapter 2 Preparation before printing
Take out the machine and use it for
packing, remove the tape, open the
front door, and remove the foam.
Take out the accessory box, etc.
Take out the power cord from the
accessory box, connect the power
cord.
"-" is power on, "O" is power off.
Install filament racks on the back of
the machine with an open end stuck
in the hole.

8
Install WIFI antenna on the side
of the machine, Rotate clockwise
to fix the antenna.
Install white feeding pipe,
separate the two ends insert into
hole.

9
Chapter 3 Adjustments to the printing platform
3.1 Coarse tuning
Platform leveling, filament must be unloaded.
When the platform is down, confirm that there is no debris inside
the machine.
Remove the swift-change nozzle, replace the leveling module.
1. 2.

10
3. 4.
Tighten the four nuts counterclockwise.
Twist the nut according to screen indicated

11
Turn off the power
Replace the swift-change nozzle
1. 2.
3.

12
3.2 Fine tuning
Select a model and wait for the printer to start printing, look at the print platform,
again to see the distance between the nozzle and the platform is probably a piece of
paper, and then start to print the debugging file, adjust.gcode, by looking at the the effect
of the first layer to fine-tune platform, print out the first layer can stop printing, fine-tune
and adjustment of the next print.
If the filament spilled out is serrated, the
distance between the platform and the
nozzle is too large, and the filament is
thrown down from the nozzle instead of
sticking tightly.
Turn the nut a little clockwise to make the
platform go up until the phenomenon disappears
and a tight line appears.
If the filament is found to be too thin or
incoherent, it means that the distance
between the nozzle and the platform is too
small, resulting in too small amount of the
nozzle.
Turn the nut slightly counterclockwise to
lower the platform until the wire output is full and
smooth.
Adjust well the effect of platform printing
should be full out of the filament and the line
pressure is flat on the platform.

13
If the distance between the nozzle and the platform is too large or too small, please
stop printing and adjust the platform until the distance is appropriate. In most cases, the
printing failure is caused by the platform not being adjusted properly. Therefore, please
debug repeatedly as required to ensure that the platform height has been adjusted to a
better level.
And when printing the first layer, it's best to watch the machine print and make sure
the machine prints properly before leaving.

14
Chapter 4 Printer functions
4.1 Preparation
Each function in the "Prepare" option
on the main interface is the preparatory
work before we print the model. Click the
corresponding option to operate. We will
describe them in detail below.
4.1.1 Return to zero
The machine moves to zero automatically,
and the XYZ coordinate is 0.
Click "Prepare" to enter the preparatory
operation interface, select "Return to
zero", and wait for the machine to return
to zero automatically.
4.1.2 Unlock stepper motor
Remove the self-locking state of the
stepper motor. Only after unlocking the
stepper motor can the cross slide be
moved manually.
Click"Prepare"to enter the
preparatory operation interface, and
select "Unlock stepper motor".

15
4.1.3 Load filament
When loading, we confirm again
whether the filament is stuck to the
transmission gear of the filament
feeder. After confirming it, select
"Prepare" and click " Load filament".
The machine will be zeroed and then
lowered for a short distance. At the
same time, the nozzle will be heated,
when the nozzle is heated to 230°C,
the filament feeder will evenly and
smoothly squeeze the filament out of
the nozzle. (loading filament
automatically finish, click exit it will
stop).
4.1.4 Unload filament
Unload filament is an operation often
used in the process. Select
“Prepare” and click "Unload
filament" nozzle heating, when
replacing filaments, we usually
choose to unload the filament first.
Nozzle is heated to 230°C, the feed
motor quickly pulls the filament out
of the nozzle. (unloading filament
automatically finish, click exit it will
pause).

16
4.1.5 XYZ move axis
In use, we often need to manually
move the axis.
Select "XYZ move axis".
Then it will enter the coordinate
movement interface of XYZ. Every
touch of "+" and "-" will change the
coordinate to 1, and the long press
will change the coordinate to 10.
4.1.6 Preheat
Before preparing to print, the
nozzle and the hotbed can be
heated together by selecting
preheating to reach the selected
temperature, which can reduce the
preparation time of temperature
rise before printing.
There are two forms of
preheating, preheating PLA and
preheating ABS.
Selecting preheat PLA, it can
be found that the screen goes
back to the main interface, the
temperature setting value
becomes 180, the hot bed setting
value becomes 70, and both the
nozzle and the hotbed are heated
at the same time.

17
4.1.7 Cool
When you choose not to print after you
select preheating, you can choose to cool
down the nozzle and hotbed temperature,
and the machine will cool down
automatically after printing.Select “Cool”.
You can see that the interface is
back to the main interface, and that the
temperature of the nozzle and the hot
bed is set to zero.
4.2 Print
Before printing, the preparatory work
that needs to be done well is to adjust
the platform. For specific methods, refer
to chapter 2. After confirming that the
platform is set up, select “Print”.
Then select the Gcode file you want to
print.

18
Determine the printed Gcode file again, and
then wait for the machine to warm up and
print automatically.
4.3 Machine setting
In the machine settings, you can calibrate
the machine key sound settings and alarm
sound settings, as well as the Z distance
measurement.(This function is required if
there is a power failure.)
4.3.1 Key sound
Click "Key sound" to cancel the key sound
and click again to resume.
4.3.2 Alarm sound
Click "Alarm sound" to cancel the alarm
sound and click again to restore (it is not
recommended to cancel it).

19
4.3.3 Touch calibration
When the touch screen keys are
inaccurate, you can recalibrate the
touch screen and click "Touch
calibration".
After the calibration starts, click the
red point center until the calibration is
completed. The screen will indicate
whether the calibration succeeded or
failed. If it fails, it will need to be
recalibrated once again.
4.3.4 Z distance measurement
During use, the maximum distance of
Z may change slightly. Select "Z
distance measurement" to
re-measure the distance of Z.
4.4 Machine status query
Click "Status" on the main interface
to view the version information of the
machine. When there is a problem in
the use of the machine, after-sales
will often need to view this
information.

20
You can see the machine information
and the firmware version of the
machine and the running time.
4.5 Other functions
4.5.1 Basic functions
Pause printing:
Click "Pause printing" and the machine
will pause, the interface will change to
"Continue printing". Click "Continue
printing", and the machine will print
according to the original process.
Stop printing:
If you find that the printing failed or for
some other reasons, the model is no
longer printed, you can click "Stop
printing". After the printing is stopped, the
printing is over and cannot be resumed.
4.5.2 Midway refueling
When the machine is printing a large
model, it often encounters that the
filament are not enough to complete the
printing, so this function can be used to
replace the filament
Table of contents
Other MakerPi 3D Printer manuals
