manuals.online logo
Brands
  1. Home
  2. •
  3. Brands
  4. •
  5. Makita
  6. •
  7. Drill
  8. •
  9. Makita HP2040 User manual

Makita HP2040 User manual

PlSpeed Hammer Drill
Capacities
Concrete
I
Steel
I
Wood
Speed
20
mm
(314")
MODEL
HP2040
20
mm
(3/4")
MODEL
HP2041
Variable speed
I
Reversing
Variable speed
I
Reversing
No
load
speed
Blows Overall
I
Net
(RPMI
per minute length weight
INSTRUCTION MANUAL
High
Low
DOUBLE
I
N
S
U
LATlO
N
l:lTT
(&;n671)
25
0
~
2,900
0
-
37,700
0
-
12,400
20
mm
13
mm
40
mm
(3/4") i1/2"l i1-9/16/")
~
950
364
mm
2.3 kg
(14-5/16")
(5
Ibsl
SPEC1
Fl
CAT1
ON
S
GENERAL SAFETY RULES
(For
All
Tools)
WARNING! Read and understand all instructions.
Failure
tofollow all instructions listed below, may result
in
electric
shock, fire
and/or
serious personal injury.
SAVE THESE INSTRUCTIONS
READ
ALL
INSTRUCTIONS.
WORK AREA
1.
Keepyour work area cleanandwell
lit.
Cluttered benches and dark areas invite
accidents.
2.
Donotoperate powertools inexplosiveatmospheres, suchas
in
the presence
of flammable liquids, gases, or dust. Power tools create sparks which may
ignite the dust or fumes.
3.
Keep bystanders, children, and visitors away while operating a power tool.
Distractions can cause you to loose control.
ELECTRICAL SAFETY
4.
Double Insulatedtools are equipped witha polarized plug(onebladeiswider
than the other.) This plug will
fit
in
a polarized outlet only one way.
If
the
plug
does not
fit
fully
in
the outlet, reverse the plug.
If
it
still does not fit,
contact a qualified electrician to install a polarized outlet. Do not change
the
plug
in
any way. Double insulation
H
eliminates the need for the three
wire grounded power cord and grounded power supply system.
5.
Avoid body contactwith grounded surfaces such as pipes, radiators, ranges
and refrigerators. There is an increased risk of electric shock if your body is
grounded.
6.
Don't expose power tools to rain or wet conditions. Water entering a power
tool
will
increase the risk of electric shock.
7.
Do notabuse the cord. Never use the cordtocarry the tools or pullthe
plug
from an outlet. Keep cord away from heat, oil, sharp edges or moving parts.
Replace damaged cords immediately. Damaged cords increase the risk
of
electric shock.
8.
Whenoperating a powertooloutside, use an outdoor extension cord marked
"W-A" or "W." These cords are rated for outdoor use and reduce the risk
of electric shock.
PERSONAL SAFETY
9.
Stay alert, watch whatyou are doing and usecommonsensewhenoperating
a power tool. Do not use tool while tired or under the influence of drugs,
alcohol, or medication.
A
momentof inattention while operating powertools
may result
in
serious personal injury.
IO.
Dressproperly. Do notwear loose clothing orjewelry. Contain long hair. Keep
your hair, clothing, and glovesaway from movingparts. Looseclothes, jewelry
or long hair can be caught in moving parts.
L
11.
Avoid accidental starting. Be sure switchis off before plugging
in.
Carrying
tools
with
your finger onthe switch or plugging
in
tools that have the switch
on invites accidents.
12. Remove adjusting keys or switches before turning the tool on. A wrench or
a
key that is left attachedto a rotating part of the tool may result
in
personal
injury.
13.
Do
notoverreach.Keepproperfooting and balanceat alltimes. Proper footing
and balance enables better control of the tool in unexpected situations.
14. Use safety equipment. Always wear eye protection. Dust mask, non-skid
safety shoes, hard hat, or hearing protection must be used for appropriate
conditions.
TOOL
USE AND CARE
15. Use clamps or other practical way to secure and support the workpiece to
a stable platform. Holding the work by handor against your body is unstable
and may lead to
loss
of control.
16.
Do
notforce tool. Usethe correct tool for your application. The correcttool
will
do the job better and safer at the rate for which
it
is designed.
17.
Do
not use tool
if
switch does not turn
it
on or off. Any tool that cannot
be controlled with the switch is dangerous and must be repaired.
18. Disconnectthe plugfrom the power source before makingany adjustments,
changing accessories, or storing the tool. Such preventive safety measures
reduce the risk of starting the tool accidentally.
19. Store idle tools out of reach of children and other untrained persons.
Tools
are dangerous in the hands of untrained users.
20.
Maintain tools with care. Keep cutting tools sharp and clean. Properly
maintained tools, with sharp cuttingedges are less likely to bindand are easier
to control.
21. Check for misalignment or binding of moving parts, breakage of parts, and
any other condition that may affect the tools operation.
If
damaged, have
the toolservice before using. Many accidents are caused by poorly maintained
tools.
22.
Use only accessories that are recommended by the manufacturer for your
model. Accessories that may be suitable for one tool, may become hazardous
when used on another tool.
SERVICE
23.
Tool
service must be performed only by qualified repair personnel. Service
or maintenance performed by unqualified personnel could result in a risk of
injury.
24. When servicing a tool, use only identicalreplacement parts. Follow instruc-
tions
in
the Maintenance section of this manual. Use of unauthorized parts
or failure to follow Maintenance Instructions may create a risk of electric shock
of injury.
3
Specific Safety
Rules
1.
Holdtools by insulated gripping surfaceswhen performing anoperation where
the cutting tool may contact hidden wiring or its own cord. Contact
with
a
"live" wire
will
make exposed metal parts
of
the tool "live" and shock the
operator.
2.
Wear ear protectors when using the tool for extended periods. Prolonged
exposure to high intensity noise can cause hearing
loss.
3.
Wear
a
hard hat (safety helmet), safety glasses and/or face shield.
It
is also
highly recommended that you wear a dust mask, ear protectors and thickly
padded gloves.
4.
Undernormaloperation, the tool isdesignedtoproduce vibration. The screws
can come loose easily, causing a breakdownor accident. Check tightness of
screws carefully before operation.
5.
Always be sure you have a firm footing.
Be sure no one is below when using the tool
in
high locations.
6.
Hold the tool firmly
with
both hands. Always use the side grip.
7.
Keep hands away from rotating parts.
8.
Do
not leave the tool running. Operate the tool only when hand-held.
9.
Do
nottouch the bit or the workpiece immediately after operation; they may
be extremely hot and could burn your skin.
SAVE
THESE INSTRUCTIONS.
4
SYMBOLS
The followings show the symbols used for tool.
.................................
volts
.................................
amperes
........................
hens
.................................
kilograms
................................. minutes
.................................
seconds
.................................
alternating current
.................................
direct current
.........
hours
.........
no load speed
.........
alternating or direct current
.................................
Class
II
Construction
.................................
splash-proof construction
....................
watertight construction
.................
revolutions or reciprocation per minute
................................
number
of
blow
5
ASSEMBLY
CAUTl
ON
:
Always be sure that the tool is switched off and unplugged before installing or removing
the side grip, bit or other accessories.
Sidegrip (auxiliaryhandle)
Always use the side grip to ensure operat-
ing safety. Install the side grip
so
that the
teeth on the grip fit in betweenthe protru-
sions on the tool barrel.
Then tighten the grip by turning clockwise
at
the desired position. It may be swung
360"
so
as to be secured
at
any position.
Installingor removingdrill bit
For HP2040
To' install the bit, place it in the chuck as
far as it will go. Tighten the chuck by
hand. Place the chuck key in each
of
the
three holes and tighten clockwise. Be sure
tighten
all
three chuck holes evenly.
To
remove the bit, turn the chuck key
counterclockwise in just one hole, then
loosen the chuck by hand.
After usingthe chuck key, be sure to return
to
the original position.
For HP2041
Hold the ring and turn the sleeve counter-
clockwise to open the chuck jaws. Place
the bit in the chuck as far as it will go. Hold
the ring firmly and turn the sleeve clock-
wise to tightenthe chuck.
To remove the bit, hold the ring and turn
the sleeve counterclockwise.
Grip
base7
,-Teeth
Protrusions
Tighten
.Chuck key
Sleeve
Loosen
Ring
Tighten
6
Depth gauge
The depth gauge is convenient for drilling
holes
of
uniform depth Loosen the side
grip and insert the depth gauge into the
hole in the side grip Adjust the depth
gauge to the desired depth and tighten the
side grip
NOTE:
Depth
The depth gaugecannot be used
at
the position where the depth gauge strikes against the
gear housing.
OPERATION
Switch action
CAUTION:
Before plugging in the tool, always check to see that the switch trigger actuates properly
and returns the "OFF" position when
released.
To
start the tool, simply pull the trigger
Tool
speed is increased by increasing pres-
sure on the trigger Release the trigger to
stop For continuous operation, pull the trig-
ger and then push in the lock button
To
stop the tool from the locked position, pull
the trigger fully, then releaseit
Switch trigger
Lock
button
Reversingswitch action
CAUTION:
*Always check the direction
of
rotation before operation
*Use the reversing switch only after the tool comes to
a
complete stop. Changing the
direction of rotation before the tool stops may damage the
tool
This tool has
a
reversing switch to change
the direction of rotation Movethe reversing
switch lever to the
fj'
position for clockwise
rotation or the
8
position for counterclock-
wise rotation
Reversing
switch lever
Speed change
Two rpm ranges can be preselected with
the speed change knob.
For low speed, turn the knob
so
that the
pointer on the knob pointsto the number
1
marked on the tool body.
For high speed, turn the knob
so
that the
pointerpoints to the number
2.
If
the knob is not turnedsmoothly, turn the
chuck slightly in either direction and then
turn the knobagain.
I
Selecting action mode
This tool has an action mode change but-
ton.
For rotation only, depress the button from
the side with
rmv
symbol.
For rotation with hammering, depress the
buttonfrom the side with symbol.
Low
speed High speed
Speedchangeknob
7
Action modechange button
CAUTION:
Always depress the button all the way to your desired mode position. If you operate the
tool with the button positioned half-way between the mode symbols, the tool may be
damaged.
Operation
1)
Hammer drilling operation
When drilling in concrete, granite, tile, etc., depress the action mode change button
fromthe side with symbol to use "rotation with hammering" action. Be sure to use
a
tungstencarbide tipped bit.
Do
not apply more pressurewhen the hole become clogged
with chips or particles. Instead,turn the tool at an idle, then remove the bit partiallyfrom
the hole. By repeating this several times, the hole will be cleaned out
After drilling the hole, use the blow-out
bulb to clean the dust out of the hole.
8
2)
Drillingoperation
When drilling in wood, metal or plastic materials, depress the action mode change but-
ton from the side with
&QQ
symbol to use "rotation only" action.
*Drilling inwood
When drilling inwood, best results are obtainedwith wood drillsequippedwith
a
guide
screw. The guide screw makesdrilling easier by pulling the bit intothe workpiece.
To
prevent the bit from slipping when starting a hole, make an indentation with
a
centerpunch and hammer at the point
to
be drilled. Place the point of the bit in the
indentation and start drilling.
Use
a
cutting lubricant when drilling metals. The exceptions are iron and brass which
should bedrilled drv.
*Drilling in metal
CAUTION:
*Pressing excessivelyon the
tool
will not speed up the drilling. Infact, this excessive pres-
sure will only serve to damage the tip of your bit, decrease the tool performance and
shorten the service life of the tool.
*There is
a
tremendous twisting force exerted on the tool/bit at the time of hole break-
through. Hold the tool firmly and exert care when the bit begins to break through the
workpiece.
*A
stuck bit can be removed simply by setting the reversing switch to reverse rotation in
order
to
back out. However, the
tool
may back out abruptly
if
you do not hold it firmly.
*Always secure small workpieces in
a
vise or similar holddowndevice.
9
MAINTENANCE
Always be sure that the tool is switched off and unplugged before attempting to perform
inspection or maintenance
.
CAUTION:
Cleaningvent holes
Periodicallyclean the vent holes to prevent
them from being clogged with dust, dirt or
the like.
thole
To
maintain product SAFETY and RELIABILITY,repairs, maintenance or adjustment should
be performed by Makita Authorized or Factory Service Centers, always using Makita
replacement parts.
ACCESSORIES
CAUTION
These accessories or attachments are recommended for use with your Makita tool specified in this
manual The use
of
any other accessories or attachments might present
a
risk
of
injury to persons
The accessoriesor attachments should be used only inthe proper and intended manner
Chuck
key
S13
Part
No.
763430-3
Depthgauge
Part
No.
415486-9
-Plasticcarrying case
Part
No.
824449-8
Blow-outbulb
Part
No.
765009-6
10
Nov-20-'97
US
20
mm
(3/4")
Model
HP2040
2-SPEED HAMMER DRILL
Note: The switch
and
other part configurations
may differ from country to country.
11
MODEL
HP2040
Nov.-20-'97
US
1
2
3
4
5
6
7
8
9
10
11
12
13
14
15
16
17
18
19
20
21
22
23
24
25
26
'i\M
$tD
DESCRIPTION
1 Housing Set IWith Item 231 27 1
Flat
Washer 8
10 Tapping
Screw
Flange PF 4x18 28 1 Change Plate
1
Retainer
30
1 Change
Button
1
Change Button 31 1
Sleeve
8
1
Inner
Housing Complete 32 1
Ball
Bearing
608LB
1 PI"
4
33 1
Fan
55
1 Steel Ball 3.5 34 1 ARMATUREASSEMBLY
1 Compression Spring 23 IWith Item 32.
33
5
361
1 Cam B 35 1 Field
1
CamA
36
1 Ball Bearing 62710
1 Spur Gear 28-38 37 2 Brush
Holder
1 Retaining Ring
S-
15 38 2 Carbon
Brush
1 Flat Washer 22
39
1 Slider Plate
1 Ball
Bearing
6002LLB
40
1 Retaining
Ring
5-24
1 Flat Washer 15 41 1 Leaf Spring
1 Compression Spring 18 42 1 Switch
1 Spindle
43
2 Tapping
Screw
Flange
PF 4x18
1
Drill
Chuck S13
44
1
St"
Relief
1 Flat Head
Screw
M6x22
45
1 Card Guard
1 Hex. Bolt Max110
46
1 Card
1
Grip Base 47 1 Makita Label
1 Housing
Set
(With Item 11 48 1
0
Ring
22
1
Slider
49
1 Change Lever Complete
1 Ball Bearing
69622
50
1 Grip
36
Complete
1 Gear Complete 8-18-23
1 Name Plate 29 1 Leaf sprmg
12
Nov.-ZO--'97
US
20
mm
(3/4")
Model
HP2041
2-SPEED HAMMER DRILL
Note: The switch and other part configurations
may differ from country to country.
13
MODEL hP2041
DESCRIPTION
Nov.-20-'97
US
'LkM
DESCRlmlON
MACHINE MACHINE
~
1
2
3
4
5
6
7
8
9
10
11
12
13
14
15
16
17
18
19
20
21
22
23
24
25
26
1
10
1
1
1
1
1
1
1
1
1
1
1
1
1
1
1
1
1
1
1
1
1
1
1
1
Housing
Set
[WithItem 231
Tapping
Screw
Flange
PF 4x18
Name
Plate
Reta,"er
Change Button
her
nouslng Complete
Pl" 4
Steel
Ball
3
5
Compression Spring 23
Cam
B
Cam A
Spur Gear 28-38
Retaining
Ring
S-15
Flat Washer 22
Ball
Bearing
6002LL8
Flat Washer 15
Compression
Spring
18
Spindle
Keyless
Drill Chuck 513
Flat Head
Screw
M6x22
Hex
Bolt Max110
Grip
Base
Housing
Set (With Item 11
Slider
Ball Bearing
69622
Gear Comolete 8-18-23
27
28
29
30
31
32
33
34
35
36
37
38
39
40
41
42
43
44
45
46
47
48
49
50
1
1
1
1
1
1
1
1
1
1
2
2
1
1
1
1
2
1
1
1
1
1
1
1
-
Flat Washer 8
Change
Plate
Leaf sprtng
Change Button
Sleeve
8
Ball Bearing
608LB
Fan 55
ARMATUREASSEMBLY
(With Item 32. 33
&
361
Field
Ball
Bearing 627LB
Brush Holder
Carbon Brush
Slider Plate
Retsining
Ring
5-24
Switch
Tapping Screw
Flange
PF 4x18
Strain Relief
Cord Guard 8-85
Card
Makita Label
0
Ring
22
Change Lever Complete
Grip 36 Complete
Leaf
spring
Note: The switch and other part specifications
may
differ
from
country 10 country.
14
P
P
MAKITALIMITED ONE YEAR WARRANTY
Warranty Policy
Every Makita tool is thoroughly inspected and tested before leaving the factory. It is warranted to
be free of defects from workmanship and materials for the period of ONE YEAR from the date
of
orignal purchase. Should any trouble develop during this one-year period, return the COMPLETE
tool, freight prepaid, to one of Makita’s Factory or Authorized Service Centers.
If
inspection shows
the trouble is caused by defective workmanship
or
material, Makita will repair (or at our option,
replace) without charge.
This Warranty does not apply where:
0
repairs have been made
or
attempted by others:
repairs are required because of normal wear and tear:
The tool has been abused, misused or improperly maintained;
alterations have been made to the tool.
1
IN
NO EVENT SHALL MAKITA BE LIABLE FOR ANY INDIRECT, INCIDENTAL OR CON-
SEQUENTIAL DAMAGES FROM THE SALE
OR
USE OFTHE PRODUCT. THIS DISCLAIMER
APPLIES BOTH DURING AND AFTER THE TERM OF THIS WARRANTY.
i
i
MAKITA DISCLAIMS LIABILITY
I
OK
ANY IMPLltD WARRAUTII
S,
INCLUDING IMPLltD
XAKKAUTIF
5
01
\IERClIANTABILITY AUD tlTNl
SS
TOR A SPICII
IC
PURPOSt
AI
Tk
K
THI ON1
Y
I
AH TtRM OrTHIS WAKKAUTY
This Warranty gives you specific legal rights, and you may also have other rights which vary from
state to state. Some states do not allow the exclusion or limitation of incidental or consequential
damages,
so
the above limitation or exclusion may not apply to you. Some states do not allow
limitation
on
how long an implied warranty lasts,
so
the above limitation may not apply toyou.
Makita Corporation
3-11
-8,
Sumiyoshi-cho,
Anjo, Aichi
446-8502
Japan
884114
-
063
PRINTED
IN
JAPAN
1997
-
12
-
N

Other manuals for HP2040

4

This manual suits for next models

1

Other Makita Drill manuals

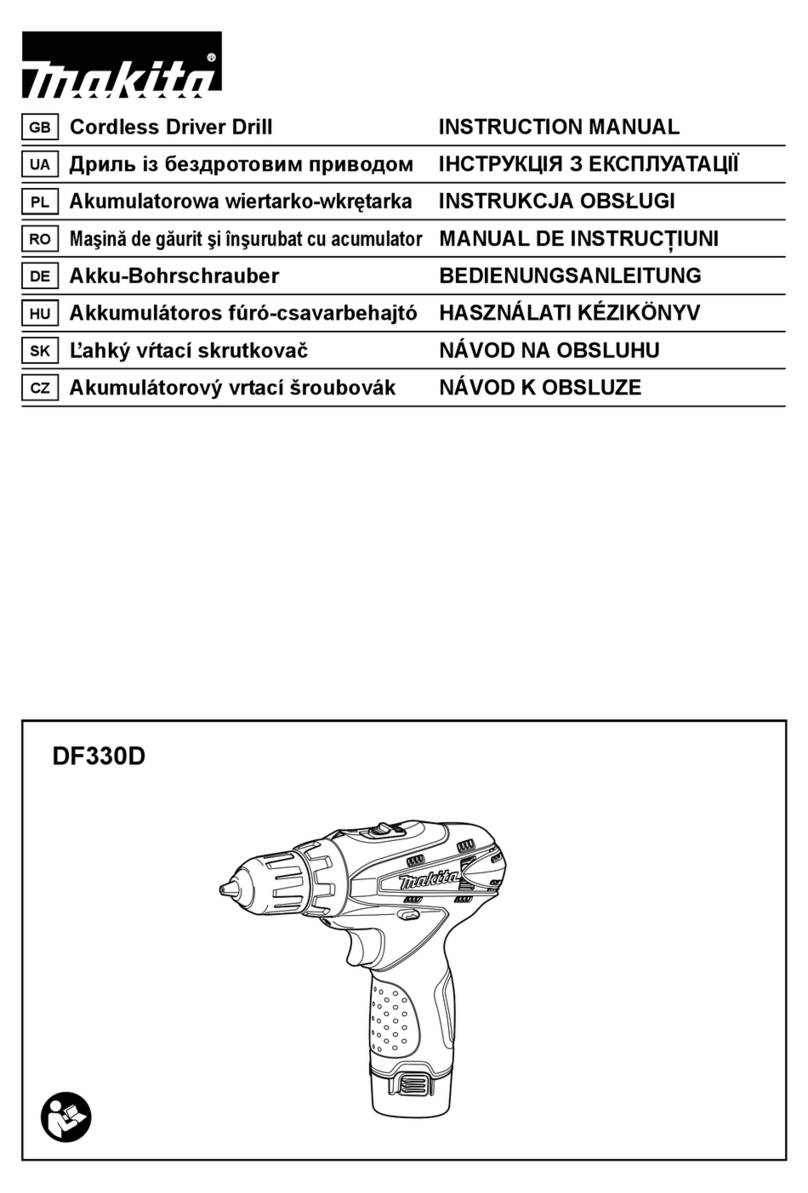
Makita DF330D User manual

Makita

Makita DF330D User manual

Makita 6226DW User manual

Makita

Makita 6226DW User manual

Makita DHP470 User manual

Makita

Makita DHP470 User manual

Makita 6017D User manual

Makita

Makita 6017D User manual

Makita DA302D Manual

Makita

Makita DA302D Manual

Makita DF330D User manual

Makita

Makita DF330D User manual

Makita DS4012 User manual

Makita

Makita DS4012 User manual

Makita DA4000LR User manual

Makita

Makita DA4000LR User manual

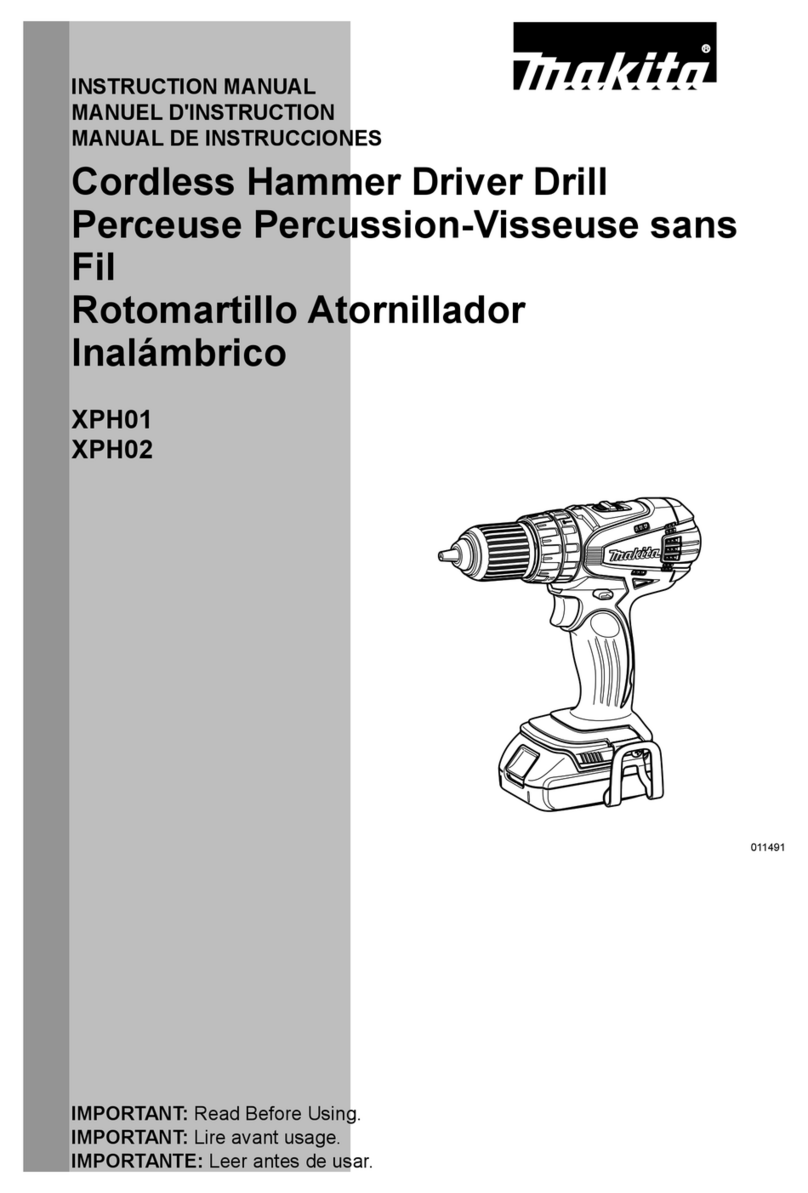
Makita XPH02 User manual

Makita

Makita XPH02 User manual

Makita HP330D User manual

Makita

Makita HP330D User manual

Makita 6343D User manual

Makita

Makita 6343D User manual

Makita DHP441 User manual

Makita

Makita DHP441 User manual

Makita XFD01 User manual

Makita

Makita XFD01 User manual

Makita XFD06 User manual

Makita

Makita XFD06 User manual

Makita 6305W User manual

Makita

Makita 6305W User manual

Makita 8270D User manual

Makita

Makita 8270D User manual

Makita 8270D User manual

Makita

Makita 8270D User manual

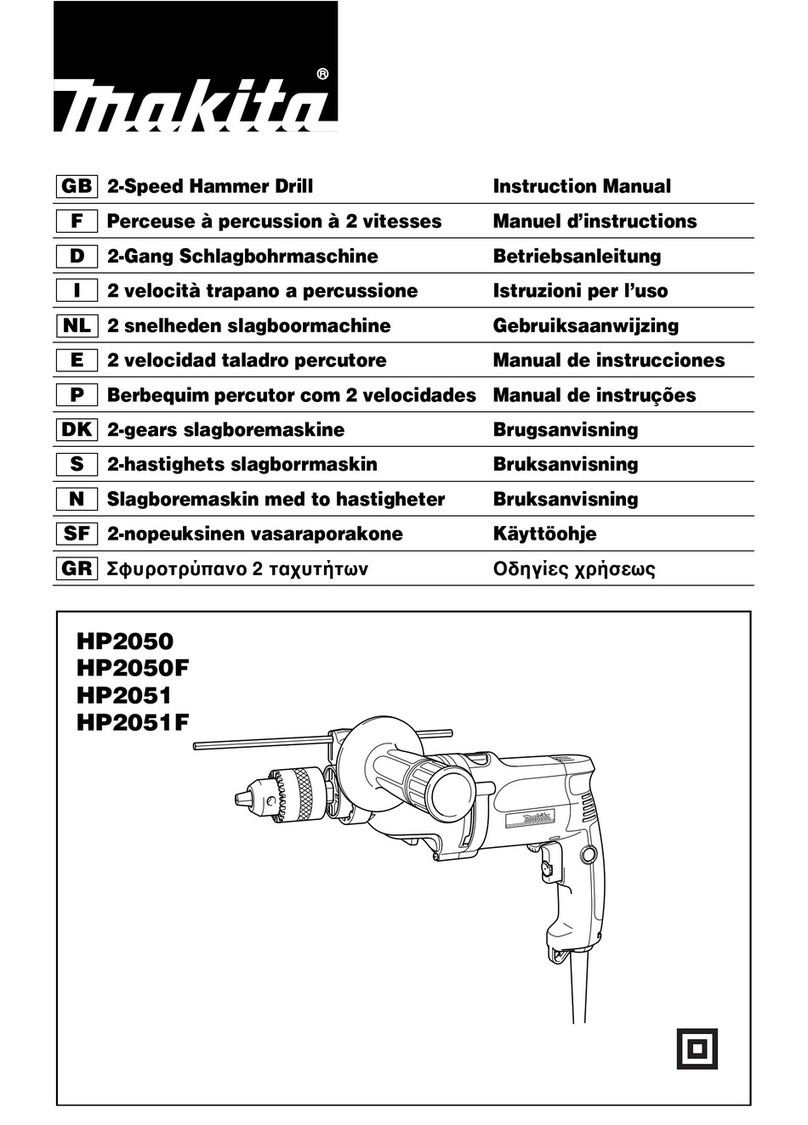
Makita HP2051F User manual

Makita

Makita HP2051F User manual

Makita DLX2176TJ User manual

Makita

Makita DLX2176TJ User manual

Makita DDF482 User manual

Makita

Makita DDF482 User manual

Makita DHP459 User manual

Makita

Makita DHP459 User manual

Makita DHP446 User manual

Makita

Makita DHP446 User manual

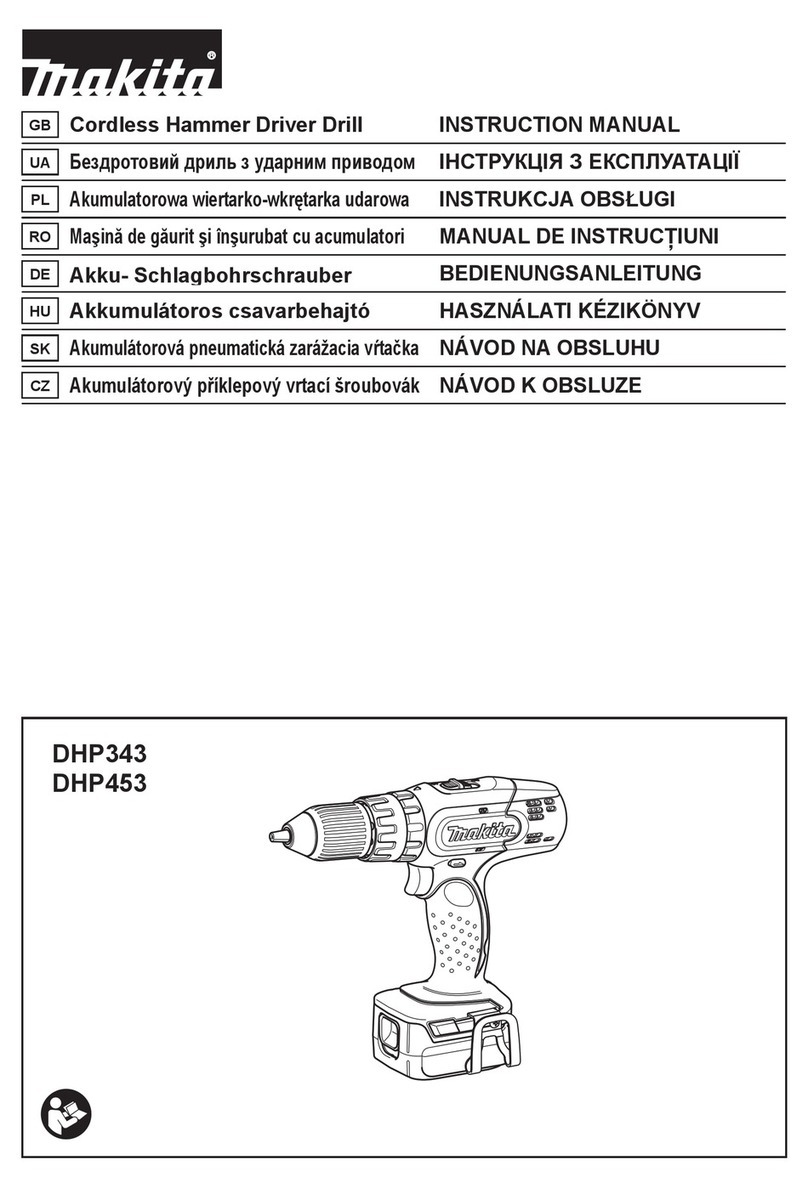
Makita DHP453T001 User manual

Makita

Makita DHP453T001 User manual

Makita HP2050F Quick start guide

Makita

Makita HP2050F Quick start guide

Popular Drill manuals by other brands

Skil 6002 Original instructions

Skil

Skil 6002 Original instructions

Sealey CP9722VHK instructions

Sealey

Sealey CP9722VHK instructions

Sumake ST-4431 quick start guide

Sumake

Sumake ST-4431 quick start guide

Neilsen CT1787 Original instruction

Neilsen

Neilsen CT1787 Original instruction

Metabo KHE-D 28 operating instructions

Metabo

Metabo KHE-D 28 operating instructions

Milwaukee 5378-20 Operator's manual

Milwaukee

Milwaukee 5378-20 Operator's manual

Hitachi DS 14DVB Handling instructions

Hitachi

Hitachi DS 14DVB Handling instructions

Westfalia DD-HT33/18 user manual

Westfalia

Westfalia DD-HT33/18 user manual

Ronix 8612 instruction manual

Ronix

Ronix 8612 instruction manual

PRETUL TALI-12PC manual

PRETUL

PRETUL TALI-12PC manual

Craftsman 973.274960 owner's manual

Craftsman

Craftsman 973.274960 owner's manual

Hettich BlueMax Mini Type 3 operating manual

Hettich

Hettich BlueMax Mini Type 3 operating manual

JEI DRILLING & CUTTING SOLUTIONS RAILBEAST RDP-36 Operator's manual

JEI DRILLING & CUTTING SOLUTIONS

JEI DRILLING & CUTTING SOLUTIONS RAILBEAST RDP-36 Operator's manual

HIKOKI DV 3620DA Handling instructions

HIKOKI

HIKOKI DV 3620DA Handling instructions

Proxxon MICROMOT 50/E operating instructions

Proxxon

Proxxon MICROMOT 50/E operating instructions

Ryobi LLCDI1802 user manual

Ryobi

Ryobi LLCDI1802 user manual

Facom V.781B instructions

Facom

Facom V.781B instructions

Grizzly G1005Z owner's manual

Grizzly

Grizzly G1005Z owner's manual

manuals.online logo
manuals.online logoBrands
  • About & Mission
  • Contact us
  • Privacy Policy
  • Terms and Conditions

Copyright 2025 Manuals.Online. All Rights Reserved.