3ENGLISH
Work area safety
1. Keep work area clean and well lit. Cluttered or
dark areas invite accidents.
2. -
liquids, gases or dust. Power tools create sparks
which may ignite the dust or fumes.
3.
operating a power tool. Distractions can cause
you to lose control.
Electrical Safety
1.
tools.
reduce risk of electric shock.
2.
refrigerators.-
tric shock if your body is earthed or grounded.
3. Do not expose power tools to rain or wet con-
ditions. Water entering a power tool will increase
the risk of electric shock.
4.
Damaged or entangled cords
increase the risk of electric shock.
5.
extension cord suitable for outdoor use. Use of a cord
suitable for outdoor use reduces the risk of electric shock.
6. If operating a power tool in a damp location
Use of an RCD reduces
the risk of electric shock.
7.
However,
users of pacemakers and other similar medical
devices should contact the maker of their device and/
or doctor for advice before operating this power tool.
Personal Safety
1.
-
ication.
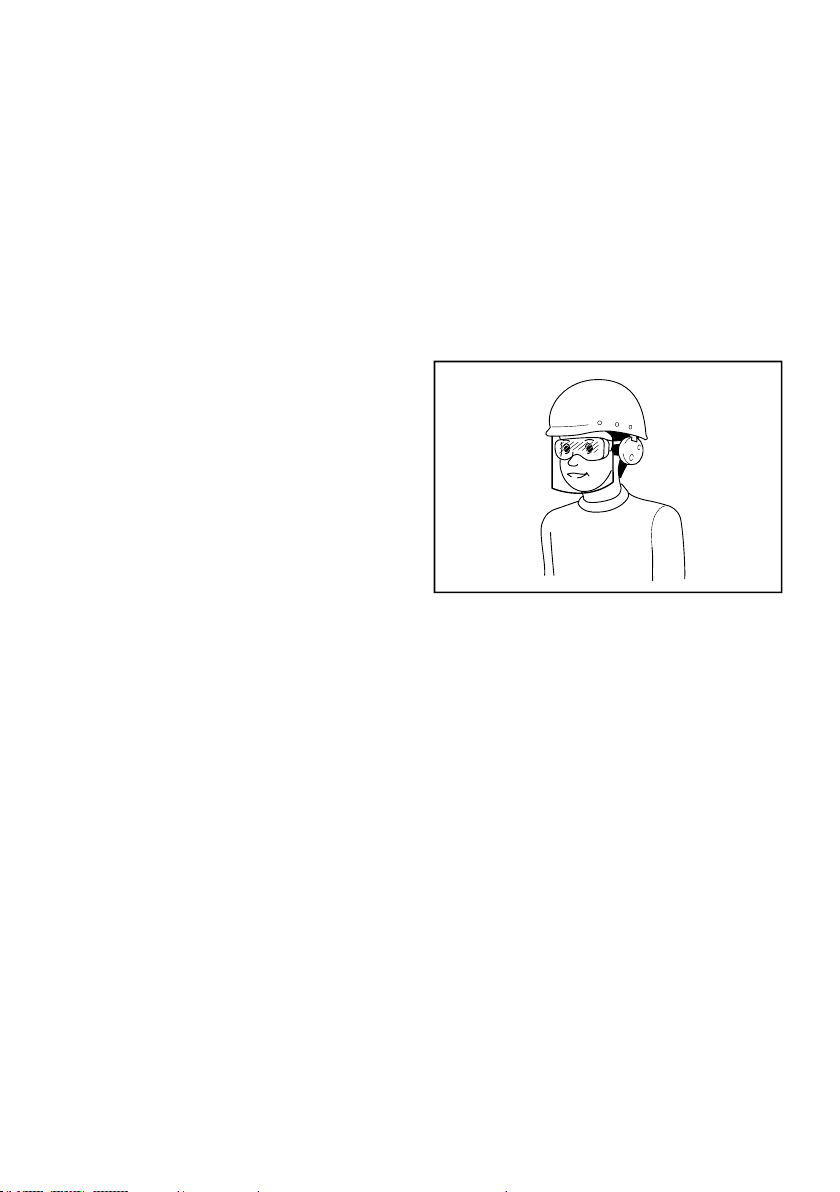
2.
wear eye protection.
as a dust mask, non-skid safety shoes, hard hat or
hearing protection used for appropriate conditions
3.
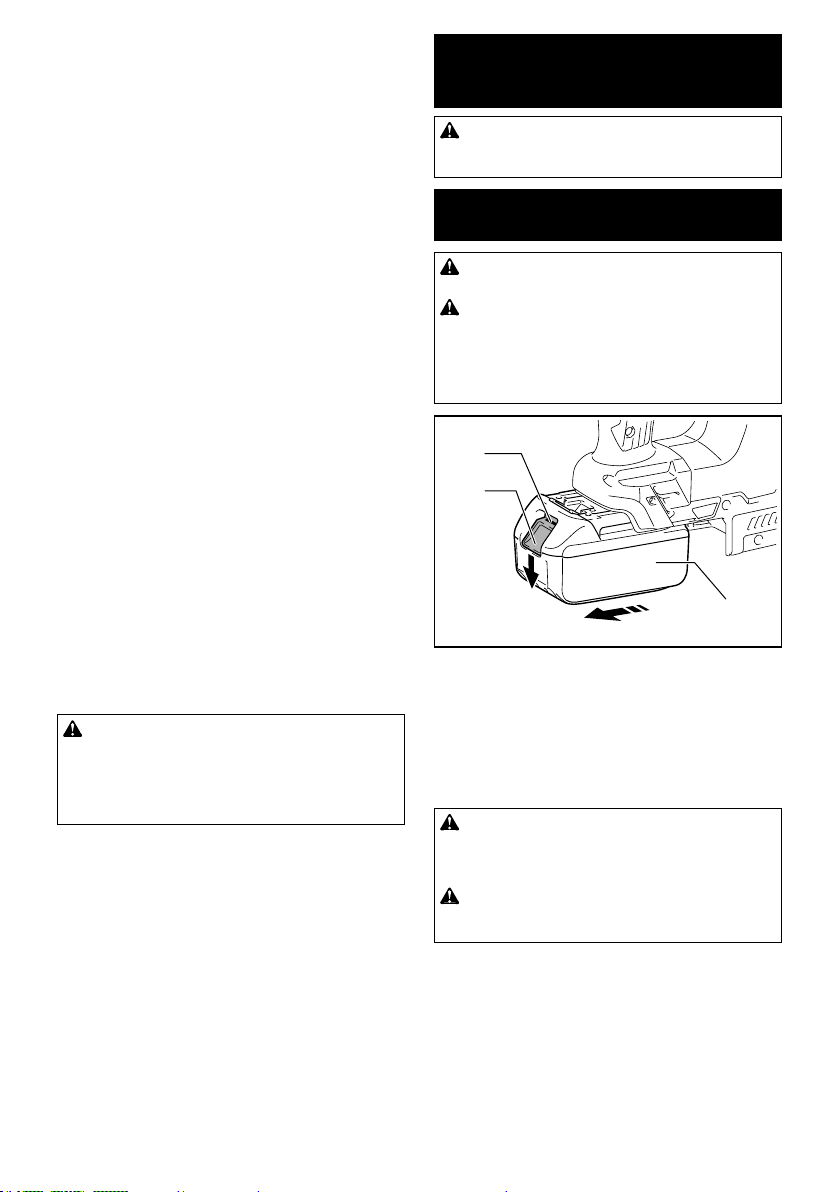
to power source and/or battery pack, picking
Carrying power tools with
that have the switch on invites accidents.
4.
5.
balance at all times.
6.
long hair can be caught in moving parts.
7.
dust extraction and collection facilities, ensure
Use of
dust collection can reduce dust-related hazards.
8.
Do not let familiarity gained from frequent use
of tools allow you to become complacent and
ignore tool safety principles.
It is an employer's responsibility to enforce
-
-
Power tool use and care
1.
power tool for your application.
rate for which it was designed.
2.
not turn it on and off.
be controlled with the switch is dangerous and
must be repaired.
3.
-
tools. Such preventive safety measures reduce
the risk of starting the power tool accidentally.
4. -
Power tools are dangerous in the
hands of untrained users.
5.
-
Many accidents are caused by poorly maintained
power tools.