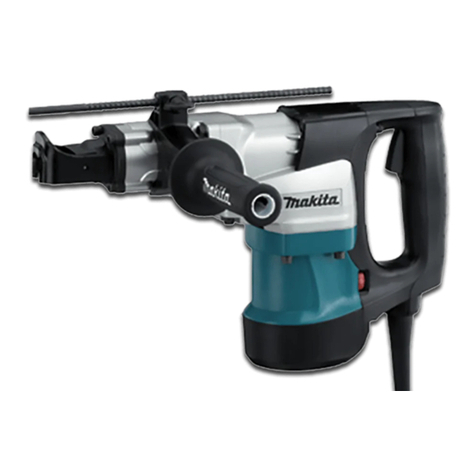
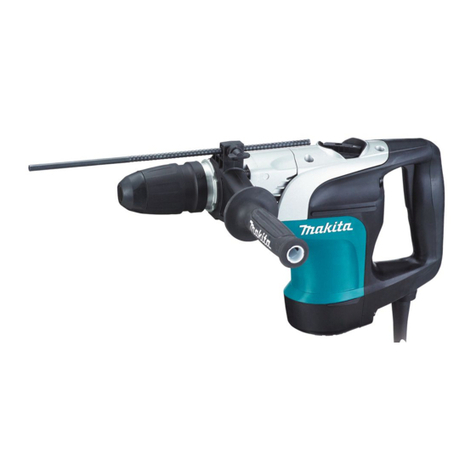
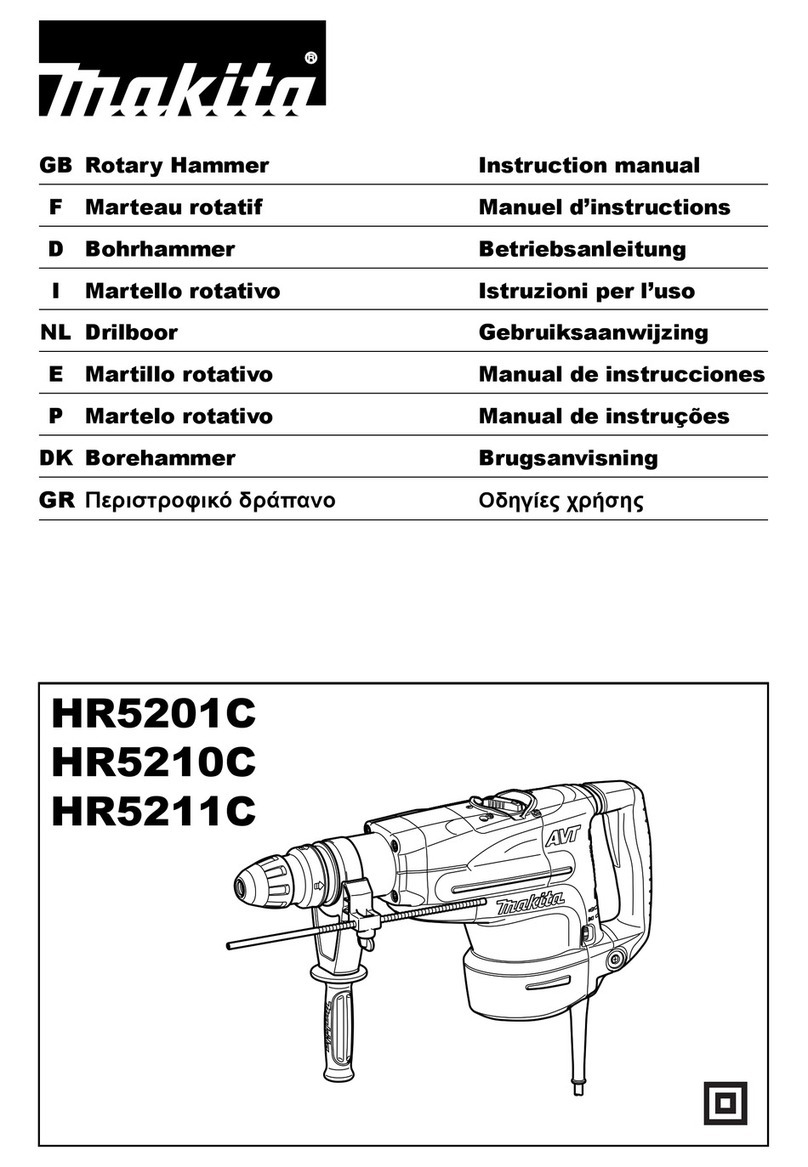
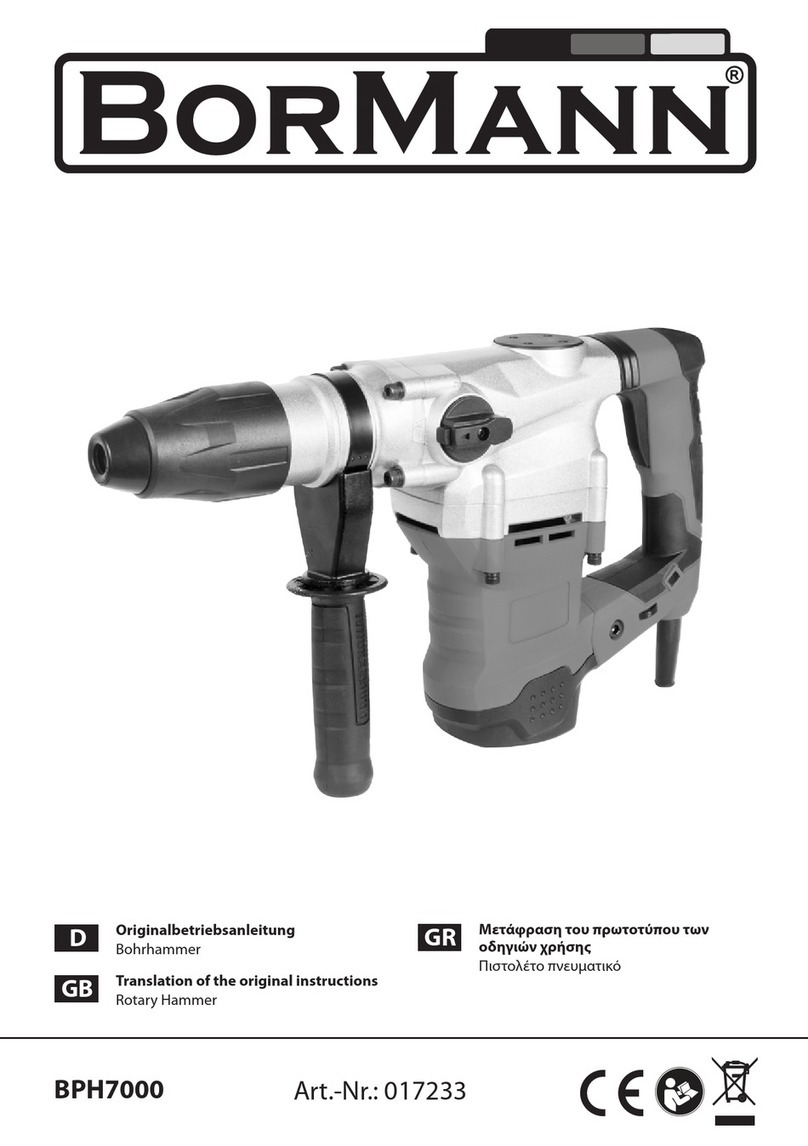
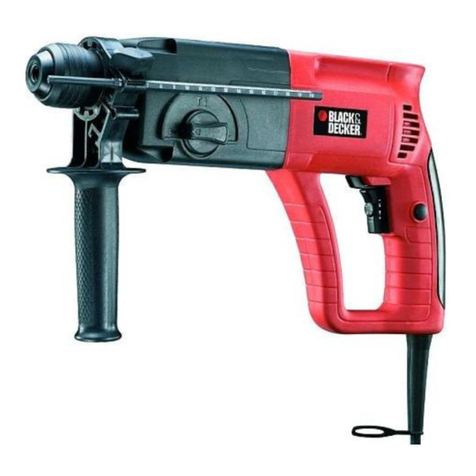
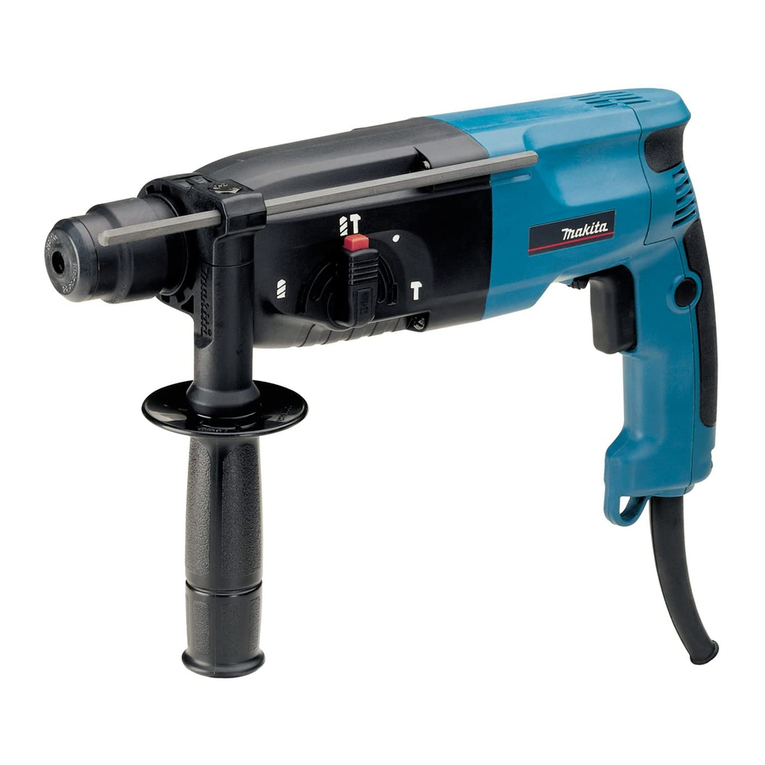
Makita HR4500C User manual

Rotarv Hammer
Capacities
Tungsten-carbide bit
1
Core bit
I
45
mm
(1-3/4")
MODEL
HR4500C
No
load speed
Blows
Overall
Net
IRPMI
per
minute
1
length
I
weight
INSTRUCTION MANUAL
DOUBLE
INSULATION
SPECIFICATIONS
*
Manufacturer reserves the right
to
change specifications without notice.
*
Note: Specifications may differ from country to country.
WARNING: For your personal safety, READ and UNDERSTAND before using
SAVE THESE INSTRUCTIONS FOR FUTURE REFERENCE.

GENERAL SAFETY RULES
USA0021
(For
All
Tools)
WARNING!
Read and understand all instructions. Failure
tofollow
all
instructions listedbelow, may result
in
electric
shock, fire and/or serious personal injury.
SAVE
THESE
INSTRUCTIONS
Work Area
1.
Keepyour work areaclean and well
lit.
Clutteredbenches and dark areas invite
accidents.
2.
Donotoperate powertools
in
explosiveatmospheres, such as
in
the presence
of flammable liquids, gases, or dust. Power tools create sparks which may
ignite the dust or fumes.
3.
Keep bystanders, children, and visitors away while operating a power tool.
Distractions can cause you to lose control.
Electrical Safetv
4.
5.
6.
7.
8.
DoubleInsulatedtools are equipped witha polarized plug(oneblade
is
wider
than the other.) This plug
will
fit
in
a polarized outlet only one way. If the
plug does not fit fully
in
the outlet, reverse the plug.
If
it
still does not
fit,
contact a qualified electrician to install a polarized outlet. Do not change
the plug
in
any way. Double insulation
I3
eliminates the need for the three
wire grounded power cord and grounded power supply system.
Avoid body contact
with
grounded surfaces suchas pipes, radiators, ranges
and refrigerators. There is an increased risk of electric shock if your body
is
grounded.
Donotexpose powertools torainor wet conditions. Water enteringa power
tool
will
increase the risk of electric shock.
Donotabuse the cord. Never use the cordtocarry thetools or pullthe plug
from an outlet. Keepcordaway fromheat, oil, sharp edges or movingparts.
Replace damaged cords immediately. Damaged cords increase the risk
of
electric shock.
When operating a powertooloutside, usean outdoorextension cordmarked
“W-A‘ or “W.” These cords are rated for outdoor use and reduce the risk
of
electric shock.
Personal Safety
9.
Stay alert, watchwhat
you
are doing and usecommon sensewhen operating
a power tool. Do not use tool while tired or under the influence of drugs,
alcohol,
or
medication.
A
momentof inattention while operating powertools
may result
in
serious personal injury.
IO.
Dressproperly. Donotwear looseclothing orjewelry. Contain long hair. Keep
your hair, clothing, andglovesawayfrom moving parts. Looseclothes, jewelry
or long hair can be caught
in
moving parts.
2
11.
Avoid accidental starting. Be sure switch
is
off
before
plugging
in.
Carrying
tools withyour finger onthe switch or plugging intools that have theswitch
on invites accidents.
12. Remove adjusting keys or wrenches before turning the tool on. A wrench
or a key that is left attachedtoa rotatingpartof thetool may result
in
personal
injury.
13.
Do
notoverreach. Keepproper footingandbalance at alltimes. Properfooting
and
balance
enables
better
control
of
the
tool in
unexpected
situations.
14.
Use safety equipment. Always wear eye protection. Dust mask, non-skid
safety shoes, hard hat, or hearing protection must be used for appropriate
conditions.
Tool
Use and Care
15. Use clamps or other practical way to secure and support the workpiece to
a stable platform. Holdingthe work by handor against your body is unstable
and may lead to loss of control.
16. Donotforce tool. Use the correct tool for your application. The correct tool
will
do the job better and safer at the rate for which
it
is designed.
17.
Do
not use tool if switch does not turn
it
on or off. Any tool that cannot
be controlled
with
the switch is dangerous and must be repaired.
18.
Disconnectthe plugfrom the power source beforemakingany adjustments,
changing accessories, or storing the tool. Such preventive safety measures
reduce the risk of starting the tool accidentally.
19.
Store idle tools out of reach of children and other untrained persons.
Tools
are dangerous
in
the hands of untrained users.
20.
Maintain tools with care. Keep cutting tools sharp and clean. Properly
maintained tools,
with
sharp cutting edges are less likely tobindand are easier
to control.
21. Check for misalignment or binding of moving parts, breakage
of
parts, and
any other condition that may affect the tools operation. If damaged, have
the tool serviced before using. Many accidents are caused
by
poorly
maintained tools.
22.
Use only accessories that are recommended by the manufacturer for your
model. Accessories that maybe suitablefor one tool, may becomehazardous
when used on another tool.
S
ERVl
CE
23.
Tool
service must be performed only by qualified repair personnel. Service
or maintenance performed by unqualified personnel could result
in
a risk of
injury.
24.
When servicing
a
tool, use only identical replacement parts. Follow
instructions
in
the Maintenancesectionof this manual.
Use
of unauthorized
partsor failure tofollow MaintenanceInstructionsmaycreate a risk of electric
shock or injury.
3

USBOlO
1
Specific Safety Rules
1.
Hold tools by insulated gripping surfaces when performing an operation
where
the
cuttingtool may contact hidden wiring or its own cord. Contact
with
a "live" wire
will
make exposed metalparts
of
thetool "live" and shock
the operator.
2.
Wear ear protectors when using the tool for extended periods. Prolonged
exposure to
high
intensity noise can cause hearing
loss.
3.
Wear ahard hat (safety helmet), safety glasses and/or face shield.
It
isalso
highlyrecommendedthat you wear a dust mask and thickly paddedgloves.
4.
Be sure the bit is secured in place before operation.
5.
Undernormaloperation, thetool isdesigned toproducevibration. The screws
can come loose easily, causing a breakdown or accident. Check tightness
of screws carefully before operation.
6.
In cold weather or when the tool has not been used for a longtime,
let
the
tool warm up for a while by operating
it
under no load. This will loosen up
the lubrication.Without proper warm-up, hammering operation is difficult.
Be sure no one is below when using the tool in high locations.
7.
Always be sure you have a firm footing.
8.
Hold the tool firmly with both hands.
9.
Keep hands away from moving parts.
10.'Do not leave the tool running. Operate
the
tool only when hand-held.
11.
Do
not point the tool at any one in the area when operating. The bit could
12. Do not touch the bit or parts close to the bit immediately after operation;
fly out and injure someone seriously.
they may be extremely hot and could burn your skin.
SAVE THESE INSTRUCTIONS.
4

SYMBOLS
The followings
show
the symbols
used
for
tool.
V
A
Hz
%
n,
El
..
./min
LI=,
.................................
volts
.................................
amperes
.................................
herts
.................................
alternating current
.................................
no load speed
.................................
Class
II
Construction
................................
revolutionsor reciprocationper minute
.................................
number
of
blow
5

FUNCTIONALDESCRIPTION
Selecting
action
mode
Rotationwith hammering
For drilling in concrete, masonry, etc.,
depress the lock button and rotate the
change lever
so
that the pointer points to
the symbol. Use
a
tungsten carbide-
tipped bit.
The bit can be secured
at
16
different
angles.
To
change the bit angle, depress
the lock buttonand rotate the change lever
so
that the pointer points to the
o
symbol.
Turn the bit to the desiredangle.
Jy
E1
Pointer
Lock
button
Change lever
?ea
Pointer
Hammeringonly
For chipping, scaling or demolition operations, depress the lock button and rotate the
change lever
so
that the pointer points to the symbol. Use
a
bull point, cold chisel,
scaling chisel,etc.
1
rPointer
Change lever
I
I
CAUTION:
Do
not rotatethe change lever when the tool is runningunder load.The tool
will
be dam-
*To avoid rapidwear on the mode change mechanism,be sure that the change lever is
aged.
always positivelylocatedinone
of
the two actionmode positions.
6

Depress
the
lock button
and
rotate the
change lever
so
that the pointer points to
the symbol.Then make sure that the bit
is securely held in place
by
turning
it
slight-
ly.
Side
handle
CAUTION:
Use the side handle only when chipping,
scaling or demolishing.
Do
not
use
it
when
drilling in concrete, masonry, etc. The tool
cannot be held properly with this side han-
dle when drilling.
The side handle can be swung
360"
on the
vertical and secured at any desiredposition.
It
also secures at eight different positions
back and forth on the horizontal. Just
loosen theclamp nut to swing the side han-
dle to
a
desired position. Then tighten the
clampnut securely.
Pointer
-,
Change lever
Tighten
Side
grip
CAUTION:
Always use the side grip
to
ensure operating safety when drilling in concrete, masonry,
etc.
The side grip swings around
to
either side,
allowing easy handling
of
the tool in any
position. Loosen the side grip by turning it
counterclockwise, swing
it
to the desired
positionand then tighten
it
by turning
clock-
wise.
7

Switch action
CAUTION:
Before plugging in the tool, always check
to see that the switch trigger actuates
properly and returns to the
"OFF"
position
when released.
To start the tool, simply pull the trigger.
Releasethe trigger to stop.
Number
on
adjustingdial
6
5
4
3
2
1
Speedchange
The revolutions and blows per minute can be adjustedjust by turningthe adjusting dial.
Revolutions
Blows
per minute per minute
240 2,550
230 2,450
200 2,100
160
1,700
130 1,300
120 1.250
The dial is marked
1
(lowest speed) to
6
(full speed). Refer to the table below for
the relationship between the number set-
tings on the adjusting dial and the revolu-
tions/blowsper minute.
Adjustingdial
-
Depthgauge
The depth gauge is convenient for drilling
holes of uniformdepth. Loosen the clamp
screw and adjust the depth gauge to the
desired depth. After adjusting, tighten the
clamp screwfirmly.
7
Clamp
screw
NOTE:
The depth gauge cannot be used at the positionwhere the depth gauge strikes against
the gear housing/motorhousing.
8

indicator
lamp
The green power-ONindicator lamp lights up when the
tool
is
switched
ON.
If
the
indi-
cator lamp is lit but the
tool
does not start,
the carbon brushes may be worn out, or
the electric circuit or the motor may be
defective. If the indicator lamp does not
light up and the tool does not start, the
ON/OFF
switch or the mains cord may be
defective.
The red service indicator lamp lights up
when the carbon brushes are nearly worn
out to indicatethat the tool needsservicing.
After approx.
8
hoursof use, the motor will
automatically be shut off.
Service
indicator lamp
TPower-ON indlcator lamp (green)
ASSEMBLY
Installingor removingbit
CAUTION:
Always be sure that the tool is switched off and unplugged before installing
or
removing
the bit.
Cleanthe bit shank and apply the bitgrease
providedto
it
beforeinstallingthe bit.
-
Bit shank
Insert the bit into the
tool.
Turn the bit and
push
it
in until
it
engages.
9

If
the bit cannot be pushed in, remove the
bit. Pull the chuck cover down
a
couple
of
times. Then insert the bit again. Turn the
bit and push
it
in until
it
engages.
After installing, always make sure that the
bit is securely heldin place by trying to pull
it
out.
To
remove the bit, pull the chuck
cover down
all
the way and pullthe bitout.
10

OPERATION
Hammerdrillingoperation
Set the change lever to theufl
symbol.
Positionthe bit at the locationfor the hole,
then pullthe trigger.
Do
not force the tool. Light pressuregives
best results. Keep the tool in position and
preventit from slippingaway from the hole.
Do
not apply more pressurewhen the hole
becomes clogged with chips
or
particles.
Instead, run the tool at an idle, the remove
from the hole.
By
repeating this several
times, the hole will be cleaned out.
CAUTION:
When the bit beginsto break through concrete or
if
the bit strikes reinforcing rods em-
beddedin concrete,the tool may react dangerously. Maintaingood balanceand safe foot-
ingwhile holdingthe
tool
firmly with both handsto preventdangerous reaction.
Torquelimiter
Thetorque limiter
will
actuatewhen acertaintorque levelis reached.The motorwilldisen-
gage from the output shaft.When this happens, the bit will stop turning.
CAUTION:
As soon as the torque limiter actuates, switch off the tool immediately.This will help pre-
vent prematureweak of the tool.
C
hipping/Scaling/Demolition
Set the change leverto the symbol. Hold
the tool firmly with both hands. Turn the
tool on andapply slight pressureon the tool
so
that the
tool
will not bounce around,
uncontrolled.Pressingvery hardon the tool
will not increasethe efficiency.
11

MAINTENANCE
CAUTION:
Always be sure that the tool is switched off and unpluggedbefore attempting to perform
inspectionor maintenance.
Replacingcarbon brushes
When the resin insulatingtip insidethe car-
bon brush
is
exposed to contact the com-
mutator,
it
will automatically shut off the
motor. When this occurs, both carbon
brushes should be replaced
at
the same
time. Useonly identicalcarbon brushes.
Use
a
screwdriver to remove the brush
holder cover.
Use a screwdriver to remove the brush
holder caps. Take out the worn carbon
brushes, insert the new ones and secure
the brushholder caps.
Insulating
tip
7r
Carbon brush
1
K
Screwdriver
Brushholder cover
Screwdriver
Brush holdei
12
Lubrication
CAUTION:
This servicing shouldbeperformedby Makita Authorized or FactoryService Centers only.
This tool required no hourly or daily lubrica-
tion because
it
has
a
grease-packed lubri-
cation system. It should be relubricated
after every
6
monthsof operation. Sendthe
complete tool to Makita Authorized or
Factory Service Center for this lubrication
service. However, if circumstances require
that you should lubricate itby yourself, pro-
ceed as follows.
Runthe
tool
for several minutes to warm
it
up. Switchoff and unplugthe tool.
Loosenthe six screws and removethe han-
dle. Note that the top screws are different
from other screws.
Disconnectthe connector by pullingit
Remove the crank cap using
a
hexwrench.
Screws
-
Cramp capI
I
Hex
wrench
13

Restthe tool on the table with the bit end pointingupwards.This will allow the old grease
to
collectinsidethe crank housing.Wipe out the oldgrease insideand replacewith
a
fresh
grease
(60
9). Useonly Makita genuine hammer grease (optionalaccessory). Fillingwith
more than the specified amount of grease (approx.
60
g) can cause faulty hammering
actionor machine failure.Fillonly with the specifiedamountof grease. Reinstallthe crank
cap and tighten with the hexwrench.
Connectthe connectorand reinstallthe handle.
Hammer grease
.
White
CAUTION:
Be carefulnot to damage the terminal or lead wires especially when wiping out the old
Do
nottighten the crank cap excessively.
It
is madeof resinand is subjectto breakage.
grease of installingthe handle.
To maintainproduct SAFETY and RELIABILITY,repairs, any other maintenance or adjust-
mentshouldbe performedby MakitaAuthorizedor FactoryService Centers, always using
Makitareplacementparts.
14

ACCESSORIES
CAUTION
These accessories
or
attachments are recommended
for
use with your Makita
tool
specified in this
manual The use
of
any other accessories or attachments might present
a
risk
of
injury
to
persons
The accessories or attachments should be used only inthe proper and intended manner
Safety goggle
Part
No.
191
686-2
-
Side handle
Part
No
13491
5-0
Side grip
Part
No.
134916-8
Depth gauge
Part
No.
321
248-4
Bit grease
(100
g)
Part
No.
181573-3
-
Hammer grease
(30
gl
Part
No.
181490-7
Carrying case
Part
No.
824607-6
15

WARNING
Some dust created by power sanding, sawing, grinding, drilling, and other
construction activities contains chemicals known[tothe State of California]to
cause cancer, birth defects or other reproductive harm. Some examples of
these chemicals are:
0
Leadfrom lead-based paints,
0
Crystalline silica from bricksand cement and other masonry products, and
0
Arsenic and chromiumfrom chemically-treatedlumber.
Your risk from these exposures varies, depending on how often you
do
this
type of work.
To
reduce your exposure to these chemicals: work in a well
ventilated area, and work with approved safety equipment, such as those
dust masks that are specially designed
to
filter out microscopicparticles.
MAKITA
LIMITED
ONE YEAR WARRANTY
Warranty Policy
Every Makita tool is thoroughly inspected and tested before leaving the factory. It is warranted to
be free of defects from workmanship and materials for the period ofONE YEAR from the date
of
original purchase. Should any trouble develop during this one-year period, return the COMPLETE
tool, freight prepaid, to one of Makita’s Factory or Authorized Service Centers. If inspection shows
the trouble is caused by defective workmanship or material, Makita will repair (or at our option,
replace) without charge.
This Warranty does not apply where:
repairs have been made or attempted by others:
repairs are required because of normal wear and tear:
Thetool has been abused, misused or improperly maintained;
alterations have been made to the tool.
IN NO EVENT SHALL MAKITA BE LIABLE FOR ANY INDIRECT, INCIDENTAL OR CON-
SEQUENTIAL DAMAGES FROM THE SALE OR USE OFTHE PRODUCT. THIS DISCLAIMER
APPLIES BOTH DURING AND AFTER THE TERM OFTHlSWARRANTY.
MAKITA
DISCLAIMS
LIABILITY
wn
ANY
IhwLitD
WARRANTIES.
INCLUDIVG
IMPLILD
WARRANTIFS
OF
“MFRCHANTABILITY” AND “CITNtSS
I
OR
A
SPFClClC PURPOSL.”
AFTER THE ONE-YFAR TtRMOFTHISWARRANTY
This Warranty gives you specific legal rights, and you may also have other rights which vary from
state to state. Some states do not allow the exclusion or Limitation of incidental or consequential
damages,
so
the above limitation or exclusion may not apply to you. Some states do not allow
limitation onhow
long
an implied warranty lasts,
so
the above limitation may not apply to you.
P
Makita Corporation
aa4367~064
3-11
-8,
Sumiyoshi-cho,
Anjo, Aichi 446-8502 Japan
PRINTED IN JAPAN
2001
-7N
Other manuals for HR4500C
8
Table of contents
Other Makita Rotary Hammer manuals

Makita
Makita BHR162 User manual

Makita
Makita HR166D User manual

Makita
Makita HR1830 User manual

Makita
Makita HR3200C User manual

Makita
Makita DHR400 User manual

Makita
Makita BHR202Z User manual

Makita
Makita HR2300 User manual

Makita
Makita BHR200 User manual

Makita
Makita HR1840 User manual

Makita
Makita HR009G User manual

Makita
Makita HR005GZ01 User manual

Makita
Makita HR2800 User manual

Makita
Makita HR2800 User manual

Makita
Makita HR3200C User manual

Makita
Makita HR1840 User manual

Makita
Makita DHR183RTJ User manual

Makita
Makita HR2440 User manual

Makita
Makita HR1820 User manual

Makita
Makita HR2610T User manual

Makita
Makita HR2450FT Manual