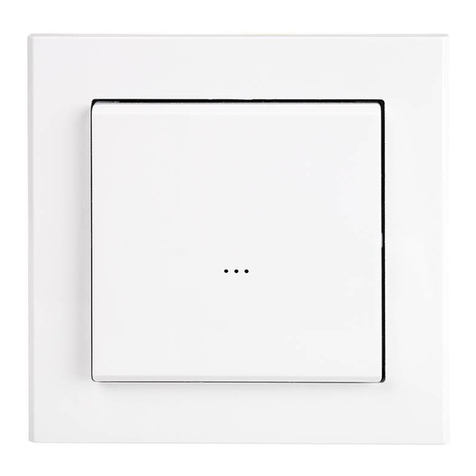
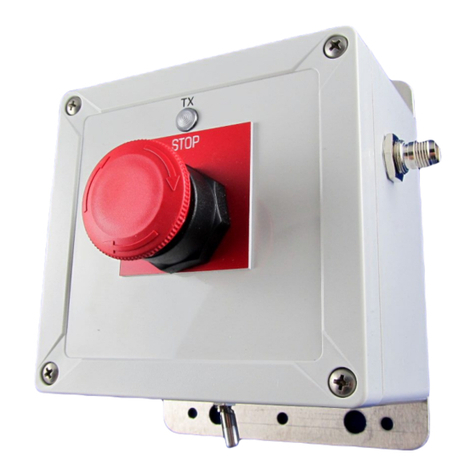
Manaras RADIOEM903 Installation manual

RADIOEM903
RADIOEM903 - Dip Switch Transmitter
- Dip Switch Transmitter
Replacement and Programming Instructions
Replacement and Programming Instructions
Transmitters: Compatibility and Replacement
Replacement Product Discontinued Products
Transmitter
RADIOEM903
• 3-Button Transmitter.
• Operates up to 3 doors.
• Open / Close function.
• LED indicator.
• 3 battery.
• Sun-visor clip.
RADIO022
(MT3-1000
• 3-Button Transmitter.
• Operates 3 doors.
• Open / Close function.
• 9 battery.
• Sun-visor clip.
RADIO016
(MT2-1000
• 2-Button Transmitter.
• Operates 2 doors.
• Open / Close function.
• 9 battery.
• Sun-visor clip.
RADIO027
(MT-1000
• 1-Button Transmitter.
• Operates 1 door.
• Open / Close function.
• 9 battery.
• Sun-visor clip.
Programming Instructions
➢RADIOEM90 Transmitter Initial Configuration: Use it to Control 1, 2 or Doors.
1. Press and HOLD Buttons j and l simultaneously for 5 sec.
The RED LED will BLINK. You have 15 sec. to complete the
configuration or you will need to restart.
2. Release Buttons j and l.
3. Press Button j or k or l in order to configure the transmitter
to the appropriate number of doors to be controlled by this
transmitter, ie: j for 1-Door, k for 2-Doors, l for 3-Doors.
4. The RED LED will stop blinking. Programming is now complete.
5. The remaining buttons will be deactivated.
➢Replacing RADIO022 ( -Door Transmitter) with new RADIOEM90 ( -Door Transmitter):
The DIP SWITCH transmitter has 10 switching keys. With the use of a screwdriver or a pen, place the dip switch keys
on RADIOEM903 at the same positions as those found on RADIO022.
Coding the Receiver (as reference :
➔Dip Switch Keys #1 to #7 = must be at the same ON / OFF positions as the transmitter.
➔Dip Switch Keys #8, #9, #10 = coding of the receiver number jkl (refer below for the receiver number).
Door j = Receiver j g Button j
Keys #8 and #10 must be set to ON. Key #9 must be set to OFF.
ON
↑
12 345678 9 10
Must match with transmitter
■ ■
■
1-800-361-2260
www.manaras.com 1TN1040 REV 1 - 2017/07/13
j
l
k
j

RADIOEM903
RADIOEM903 - Dip Switch Transmitter
- Dip Switch Transmitter
Replacement and Programming Instructions
Replacement and Programming Instructions
Door k = Receiver k g Button k
Key #8 must be set to ON. Keys #9 and #10 must be set to OFF.
ON
↑
12345678 9 10
Must match with transmitter
■
■ ■
Door l = Receiver l g Button l
Keys #8 and #9 must be set to ON. Key #10 must be set to OFF.
ON
↑
12345678 9 10
Must match with transmitter
■ ■
■
➢Replacing RADIO016 (2-Door Transmitter) with new RADIOEM90 ( -Door Transmitter):
The DIP SWITCH transmitter has 10 switching keys. With the use of a screwdriver or a pen, place the dip switch keys
on RADIOEM903 at the same positions as those found on RADIO016. Use buttons j and k to operate the 2 doors.
Coding the Receiver (as reference :
➔Dip Switch Keys #1 to #7 and #9 = must be at the same ON / OFF positions as the transmitter.
➔Dip Switch Keys #8 and #10 = coding of the receiver number jk (refer below for the receiver number).
Door j = Receiver j g Button j
Keys #8 and #10 must be set to ON.
ON
↑
12 345678 9 10
Must match with transmitter
■ ■
Door k = Receiver k g Button k
Key #8 must be set to ON. Key #10 must be set to OFF.
ON
↑
12345678 9 10
Must match with transmitter
■
■
➢Replacing RADIO027 (1-Door Transmitter) with new RADIOEM90 ( -Door Transmitter):
The DIP SWITCH transmitter has 10 switching keys. With the use of a screwdriver or a pen, place the dip switch keys
on RADIOEM903 at the same positions as those found on RADIO027. Use button j to operate the door.
Coding the Receiver (as reference :
➔Dip Switch Keys #1 to #10 = must be at the same ON / OFF positions as the transmitter.
Door j = Receiver j g Button j
ON
↑
1 2 3 4 5 6 7 8 9 10
Must match with transmitter
1-800-361-2260
www.manaras.com 2TN1040 REV 1 - 2017/07/13
k
l
j
k
j

RADIOEM903
RADIOEM903 - Dip Switch Transmitter
- Dip Switch Transmitter
Replacement and Programming Instructions
Replacement and Programming Instructions
Receivers: Compatibility and Replacement
Replacement Product Discontinued Products
Receiver
RADIORE900
• Controls 1 Operator.
• Easy installation on wall
close to operator or
directly onto operator's
control box.
• Operates on 24 AC/ DC.
• LED indicator.
• Includes 2 mounting
screws and anchors.
• Optional commercial
antenna (RADIO029) and
15' coaxial cable
(CABLE015) available for
increased range and
distance.
RADIO014
(MR-1000
• Controls 1 Operator.
• Installed directly onto
operator's control box.
• Operates on 24 AC.
• LED indicator.
RADIO015
(MRX-1000
• Controls 1 Operator.
• Installed directly onto
operator's control box.
• Includes commercial
antenna (RADIO029)
for increased range.
• Optional 15' coaxial
cable (CABLE015)
available for increased
distance.
• Operates on 24 AC.
• LED indicator.
➢Replacing RADIO014 or RADIO015 Receivers with a new RADIORE900 Receiver and
Pairing it to an Existing Transmitter:
1. Press the LEARN button on the RADIORE900 receiver. The RED LED will BLINK. You will have 15 sec. to
complete the pairing or you will need to restart.
2. Press the desired Button (j or k or l) on the existing transmitter that you wish to pair to the RADIORE900
receiver.
3. The RED LED will stop blinking. The RADIORE900 has now been paired with the existing transmitter.
4. Only one transmitter needs to be matched per receiver. The other transmitters with the same dip switch
configuration will pair automatically.
➢Pairing RADIOEM90 Transmitter to RADIORE900 Receiver:
1. Make sure the dip switch keys inside the RADIOEM903 transmitter are set, refer to the Programming Instructions
on p.1.
2. Press the LEARN button on the RADIORE900 receiver. The RED LED will BLINK. You have 15 sec. to
complete the configuration or you will need to restart.
3. Press the desired Button (j or k or l) on the transmitter that you wish to pair to the RADIORE900 receiver.
4. The RED LED will stop blinking. The RADIORE900 has now been paired with the transmitter.
5. Only one transmitter needs to be matched per receiver. The other transmitters with the same dip switch
configuration will pair automatically.
1-800-361-2260
www.manaras.com 3TN1040 REV 1 - 2017/07/13

RADIOEM903
RADIOEM903 - Dip Switch Transmitter
- Dip Switch Transmitter
Replacement and Programming Instructions
Replacement and Programming Instructions
Wiring RADIORE900 Receiver for Open / Close Function
Figure 1 - Wiring of RADIORE900 Receiver
Operator's External Ter inal Strip
Figure 2 - Wiring of RADIORE900 Receiver for
Electronic Control BOARD
Figure 3 - Wiring of RADIORE900 Receiver for
Electro-Mechanical Control
For further information, please consult the operator's Installation & Instruction Manual or contact our Technical
Support Department at 1-800-361-2260.
1-800-361-2260
www.manaras.com 4TN1040 REV 1 - 2017/07/13
Popular Transmitter manuals by other brands

RKI
RKI 65-2331-04 Operator's manual
Axcera
Axcera 430B manual
Kimo
Kimo 210-R Series user manual

Greystone Energy Systems
Greystone Energy Systems PS-2ADP Series Hardware installation guide
Air Comm Systems
Air Comm Systems Six Passenger ICS/Transmit Expansion Unit ACS... Installation and operation manual
Emerson
Emerson PT4 Operating instruction
