manuals.online logo
Brands
  1. Home
  2. •
  3. Brands
  4. •
  5. Manhattan Comfort
  6. •
  7. Indoor Furnishing
  8. •
  9. Manhattan Comfort Granville 55.07 User manual

Manhattan Comfort Granville 55.07 User manual

SB-500
REV. 01
SUPPORT SITE
QR CODE
Stuck? Question? We are here to help.
tel: 908-888-0818
e-mail: [email protected]
View our assembly video online:
WWW.MANHATTANCOMFORT.COM
TOOLS REQUIRED
•Do not throw away packaging materials until assembly is complete.
•Assemble item on a soft surface, such as cardboard or carpet, to protect finish.
•Proper assembly requires two people.
FOR BEST RESULTS:
Before beginning the assembly process,
ensure all boxes and parts have been delivered.
STOP!
STOP!
Included in this package:
03
01
02
04
09
05
07
08
10
17
11
12
13
14
15
16
14
01.
02.
03.
04.
05.
06.
07.
08.
09.
10.
11.
12.
13.
14.
15.
16.
17.
18.
19.
Top Panel
Back Panel
Side Back Panel
Left Side Panel
Right Side Panel
Division Panel
Shelf Panel
Smaller Division
Door
Bottom Panel
Feet Crossbar
Foot
Top Drawer Front
Drawer Left Side
Drawer Right Side
Drawer Back
Drawer Bottom
Top Drawer Support
Drawer Front
x1
x2
x1
x1
x1
x1
x1
x1
x2
x1
x1
x2
x1
x3
x3
x3
x3
x4
x2
66Lb
5Lb
5Lb
02
03
06
09
18
16
12
17
19
15
A x 36
#23857
B x 5
#PX.017
C x 2
#CA.002
D x 1
#2196
E x 12
#69
F x 30
#10385
G x 6
#292
H x 10
#11170
I x 4
#284
J x 10
#259
K x 30
#10386
L x 44
#1616
M x 47
#393
TIPOVER
RESTRAINT KIT
N x 1
#KT.002
O x 13
#3303
P x 2
#DO.002
Q x 2
#DO.004
R x 2
#8983
WHERE TO FIND THE ITENS
Included in this package:
04
Box 1
01
03
10
04
05
11
12
09
23857
PX.017
CA.002
2196
69
10385
292
11170
284
259
10386
1616
393
KT.002
3303
DO.002
DO.004
8983
Box 2
02
07
08
19
14
17
16
15
18
16
15
06
01
02
Fix the hardware C to part 11 with screw L.
Then, attach the parts 11-12 with the hardware A.
A
A
A
A
C
C
L
L
Fix the part 11 to part 12 with screw L.
L
L
L
L
L
L
11
12
05
12
12
12
11
A x 4C x 2L x 4
L x 4
03
04
Fix the part 10 to parts 11-12 with screw G and tool D.
To compose the next semi-assembly, place the hardware F to parts 05-06-07.
Rear Side
Rear Side
Rear Side
Rear Side
11
12
06
12
10
G
GG
G
G
G
D
07
06
05
F
F
F
F
F
F
F
F
F
F
G x 6D
F x 9
05
06
Attach the parts 05-06-08 to part 07 with hardware #23857.
Then, apply the hardware #10386 and lock it according the example below.
Pay attention in detail to ensure correct assembling.
Attach the parts 05-06-08 from last step to part 10 with hardware A.
Then, fix them with screw H.
Pay attention in detail to ensure correct assembling.
K
A
A
A
Rear Side
A
K
K
K
KA
K
K
A
KK
07
06
05
08
07
K
H
H
H
H
H
A
A
Rear Side
Rear Side
H
A
A
H
A
A
06
05
10 08
A x 6K x 9
A x 6H x 7
07
08
Attach the parts 04 to part 10 with hardware A.
Then, fix it with screw H.
Pay attention in detail to ensure correct assembling.
Fix the hardware F to part 01.
Rear Side
Rear Side
08
04
10
01
F
Rear Side
F
F
F
F
F
F
F
F
F
A x 2H x 3
A
A
H
H
H
F x 9
09
10
Attach the part 01 to parts 04-05-06 with hardware A.
Then, apply the hardware K and lock it according the example below.
Pay attention in detail to ensure correct assembling.
Position parts 02-03 correctly.
Then, fix them with the hardware M.
Pay attention in detail to ensure correct assembling.
Rear Side
K
Rear Side
A
A
A
AA
A
K
KK
K
K
K
K
K
Rear Side
K
09
01
05
06
04
M
M
M
M
M
MM
M
M
M
M
M
MM
M
M
MM
M
M
M
M
MM
M
M
M
M
M
M
M
M
M
M
02
02
03
04
10
A x 6K x 9
M x 34
11
12
Position the hardware O to part 02-03.
Then, fix them with the hardware M.
Place the hardware Q to part 09.
Then, fix them with screw L.
Rear Side
10
M
M
M
M
M
M
MM
M
M
M
M
M
O
O
O
O
O
O
O
OO
OO
O
O
02
02
03
04
10
Q
Q
L
L
LL
09
M x 13 O x 13
L x 4Q x 2
13
14
The part 06 has pre-set holes that will help you on assembling.
Position the part 09 to the pre-set holes.
The pre-set holes of part 06 must match with the hinge adjustment holes.
So, place and fix the screw L to hinges adjustment holes according to the detail.
11
06
09
Pre-set holes
Hinges adjustment holes
06
L
L
LL
Front Side
Front Side
L x 4
15
16
Place and fix the screw L to the second hinges holes, locking it according to
the detail.
Place the hardware B to part 09. Then, fix it with screw J.
Place the hardware R.
12
Second hinges holes
L
L
L
L
06
09
Front Side
09
Front Side
J
J
B
R
L x 4
J x 2B x 1R x 1
17
18
Place the hardware P to part 09.
Then, fix them with screw L.
The part 05 has pre-set holes that will help you on assembling.
Position the part 09 to the pre-set holes.
13
09
Front Side
L
L
L
L
P
P
09
Pre-set holes
05
L x 4P x 2
19
20
The pre-set holes of part 05 must match with the hinge adjustment holes.
So, place and fix the screw #1616 to hinges adjustment holes according to the detail.
Place and fix the screw L to the second hinges holes, locking it according to
the detail.
14
Hinges adjustment holes
09
05
L
L
L
L
Second hinges holes
L
L
L
L
09
05
L x 4
L x 4
21
22
Place the hardware B to part 09. Then, fix it with screw J.
Place the hardware R.
Place the screw F to the parts 13-19.
15
09
Front Side
J
B
J
R
x2
13
19
F
F
F
F
F
F
F
F
F
J x 2B x 1 R x 1
F x 12
23
24
Specially to part 13, fix the part 18 with screw I.
Please, start by fixing the ends. Then fix the intermediate screws.
Attach the parts 13 to parts 14-15 with hardware A.
Then, apply the hardware K and lock it according the example below.
Equaly, the same process is apllied to parts 19-14-15.
16
19
K
K
K
K
K
K
K
A
A
A
A
K
K
15
14
x2
I
I
I
I
14
15
A
A
A
A
13
TOP DRAWER
13
18
I x 4
A x 12 K x 12
25
26
Apply the part 17 in the groove of the parts 14-15.
Attach the part 16 to parts 14-15-17.
Then, fix the parts 14-15 to part 16 with screw E.
17
14
14
15
15
17
19
17
13
14
13
15
10 17
16
E
E
E
E
E
E
E
E
TOP DRAWER
TOP DRAWER
x2
x2
17
19
14
15
16
E x 12
27
28
Apply the hardware B to parts 13-19.
Then, fix them with screw J.
Before to fix the Drawers, you must extract the full extension of the Slides, by pulling off.
Then, pay attention to the correctly holes according to the next steps.
18
19
13
Rear Side
Rear Side
B
B
J
J
J
J
TOP DRAWER
Front Side
x2
J x 6B x 3
29
30
The Drawers have pre-set holes to help you on fixing them.
Set the Drawer on correct position and pre-set holes, carefully.
Firstly, make sure that the Drawer is correctly positioned according to the detail
The correct holes of the Slides must match with the pre-set holes of the Drawers.
Position and fix them with the screw L.
Drawer pre-set holes
19
L
L
L
L
13
13
ATTENTION: extremely necessary
a second person helping.
ATTENTION: extremely necessary
a second person helping.
L x 4
31
32
Apply the same fixing Drawers process to the others drawers.
You must install the Tipover Restraint Kit (N) provided, in the rear side of the furniture.
Position the hardwares #18256EXP and #20522.
Fix them with screw #11179.
20
#2610 x 1
#16973 x 1
#11179 x 1
#20522 x 2
#18256EXP x 1
TIPOVER
RESTRAINT KIT
13
19
19
Rear Side
#11179
#20522
#18256EXP
L x 8

This manual suits for next models

1

Other Manhattan Comfort Indoor Furnishing manuals
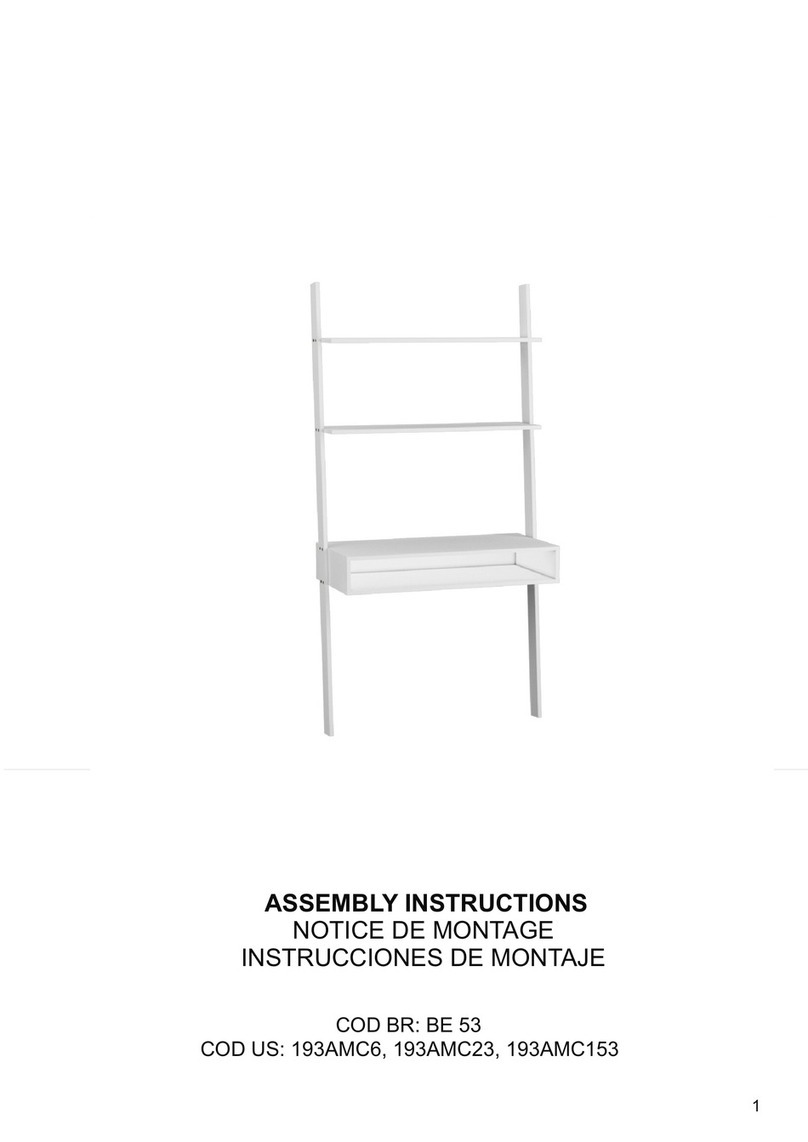
Manhattan Comfort Cooper BE 53 User manual
Manhattan Comfort

Manhattan Comfort Cooper BE 53 User manual

Manhattan Comfort 1023800 User manual

Manhattan Comfort

Manhattan Comfort 1023800 User manual

Manhattan Comfort Cabrini 220300 User manual
Manhattan Comfort

Manhattan Comfort Cabrini 220300 User manual

Manhattan Comfort BR 54 User manual

Manhattan Comfort

Manhattan Comfort BR 54 User manual
Manhattan Comfort CABRINI TV STAND 1.8 User manual

Manhattan Comfort

Manhattan Comfort CABRINI TV STAND 1.8 User manual

Manhattan Comfort Liberty 202AMC6 User manual
Manhattan Comfort

Manhattan Comfort Liberty 202AMC6 User manual

Manhattan Comfort Liberty 62.99 201AMC6 User manual
Manhattan Comfort

Manhattan Comfort Liberty 62.99 201AMC6 User manual

Manhattan Comfort 221100 User manual

Manhattan Comfort

Manhattan Comfort 221100 User manual
Manhattan Comfort Eiffel 251BMC6 User manual

Manhattan Comfort

Manhattan Comfort Eiffel 251BMC6 User manual

Manhattan Comfort Bradley User manual

Manhattan Comfort

Manhattan Comfort Bradley User manual

Manhattan Comfort Plaza Panel 64.25 224BMC1 User manual

Manhattan Comfort

Manhattan Comfort Plaza Panel 64.25 224BMC1 User manual

Manhattan Comfort 14GMC1 User manual

Manhattan Comfort

Manhattan Comfort 14GMC1 User manual

Manhattan Comfort Liberty 200AMC6 User manual
Manhattan Comfort

Manhattan Comfort Liberty 200AMC6 User manual

Manhattan Comfort UTOPIA 89800 User manual

Manhattan Comfort

Manhattan Comfort UTOPIA 89800 User manual

Manhattan Comfort BH 03 User manual

Manhattan Comfort

Manhattan Comfort BH 03 User manual
Manhattan Comfort Mosholu BR 55 User manual
Manhattan Comfort

Manhattan Comfort Mosholu BR 55 User manual

Manhattan Comfort 1GMCF User manual

Manhattan Comfort

Manhattan Comfort 1GMCF User manual
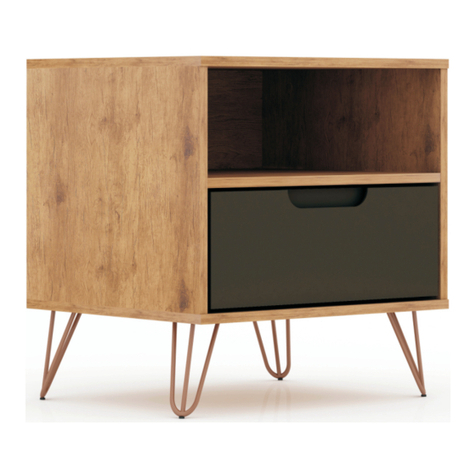
Manhattan Comfort Rockefeller nightstand 01 drawer User manual
Manhattan Comfort

Manhattan Comfort Rockefeller nightstand 01 drawer User manual

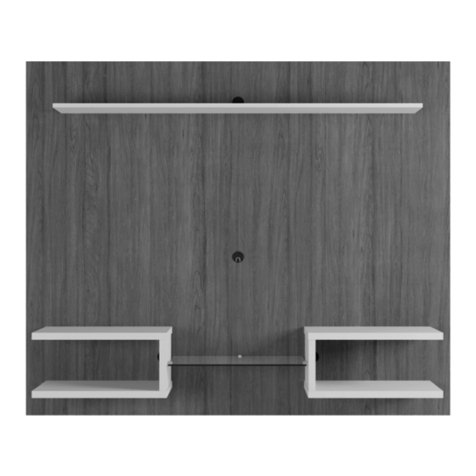
Manhattan Comfort Liberty 235BMC6 User manual
Manhattan Comfort

Manhattan Comfort Liberty 235BMC6 User manual

Manhattan Comfort Plaza 64.25 User manual

Manhattan Comfort

Manhattan Comfort Plaza 64.25 User manual

Manhattan Comfort BL 03-06 User manual

Manhattan Comfort

Manhattan Comfort BL 03-06 User manual

Manhattan Comfort Liberty 42.28 User manual

Manhattan Comfort

Manhattan Comfort Liberty 42.28 User manual

Manhattan Comfort Viennese Sideboard User manual

Manhattan Comfort

Manhattan Comfort Viennese Sideboard User manual

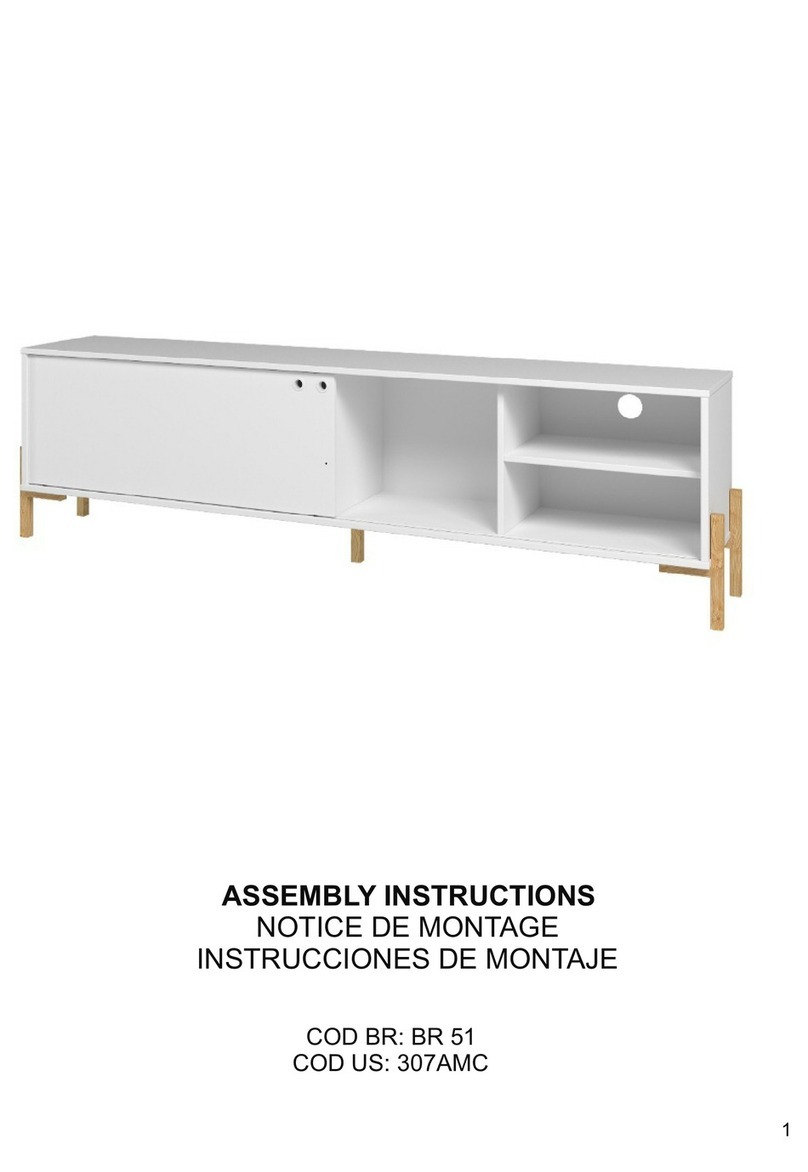
Manhattan Comfort BR 51 User manual

Manhattan Comfort

Manhattan Comfort BR 51 User manual

Popular Indoor Furnishing manuals by other brands

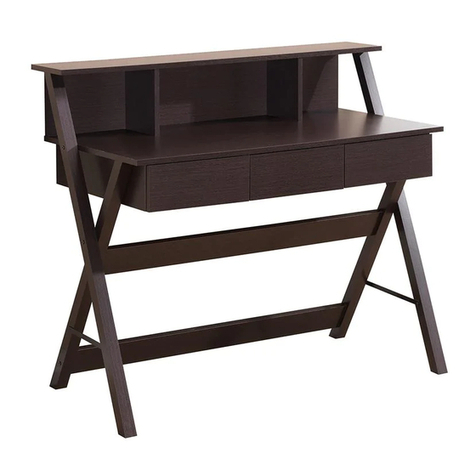
Furniture of America Diocles CM3020BN Assembly instructions
Furniture of America

Furniture of America Diocles CM3020BN Assembly instructions

Techni Mobili RTA-8400 Assembly instructions
Techni Mobili

Techni Mobili RTA-8400 Assembly instructions

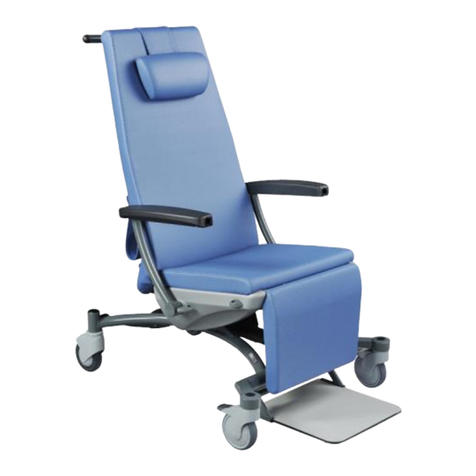
BORCAD Medical SELLA SLA-AX instruction manual
BORCAD Medical

BORCAD Medical SELLA SLA-AX instruction manual

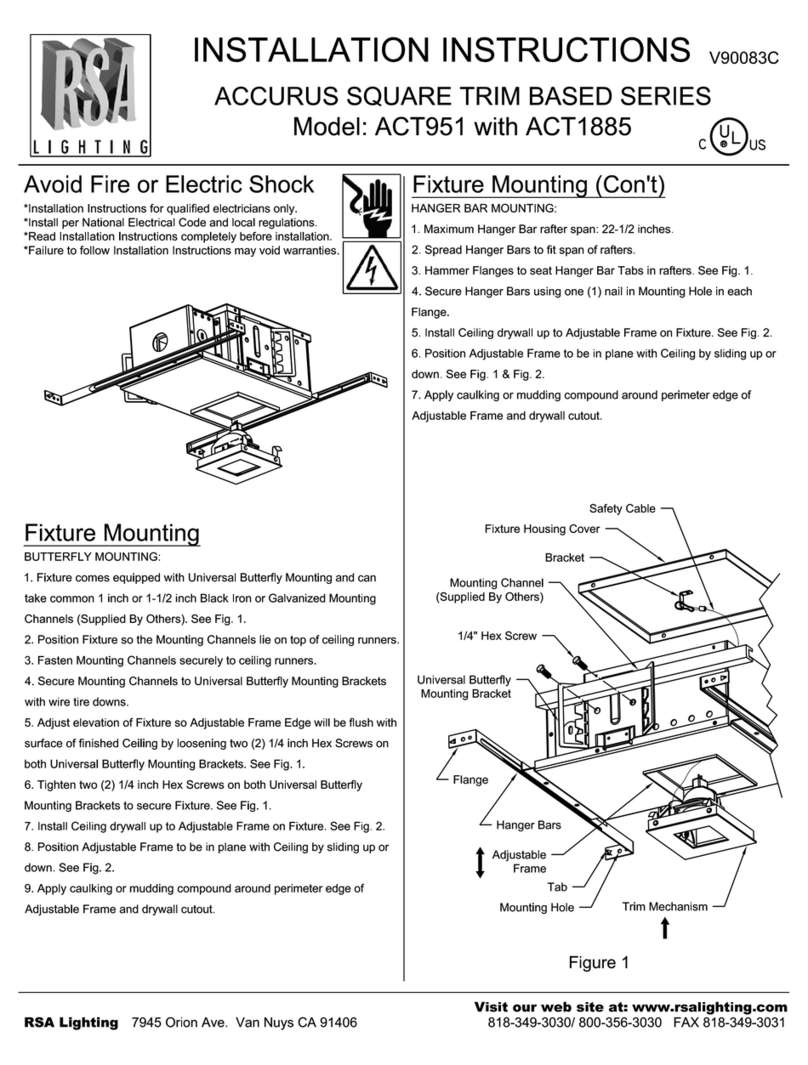
RSA Lighting Accurus ACT1885 installation instructions
RSA Lighting

RSA Lighting Accurus ACT1885 installation instructions

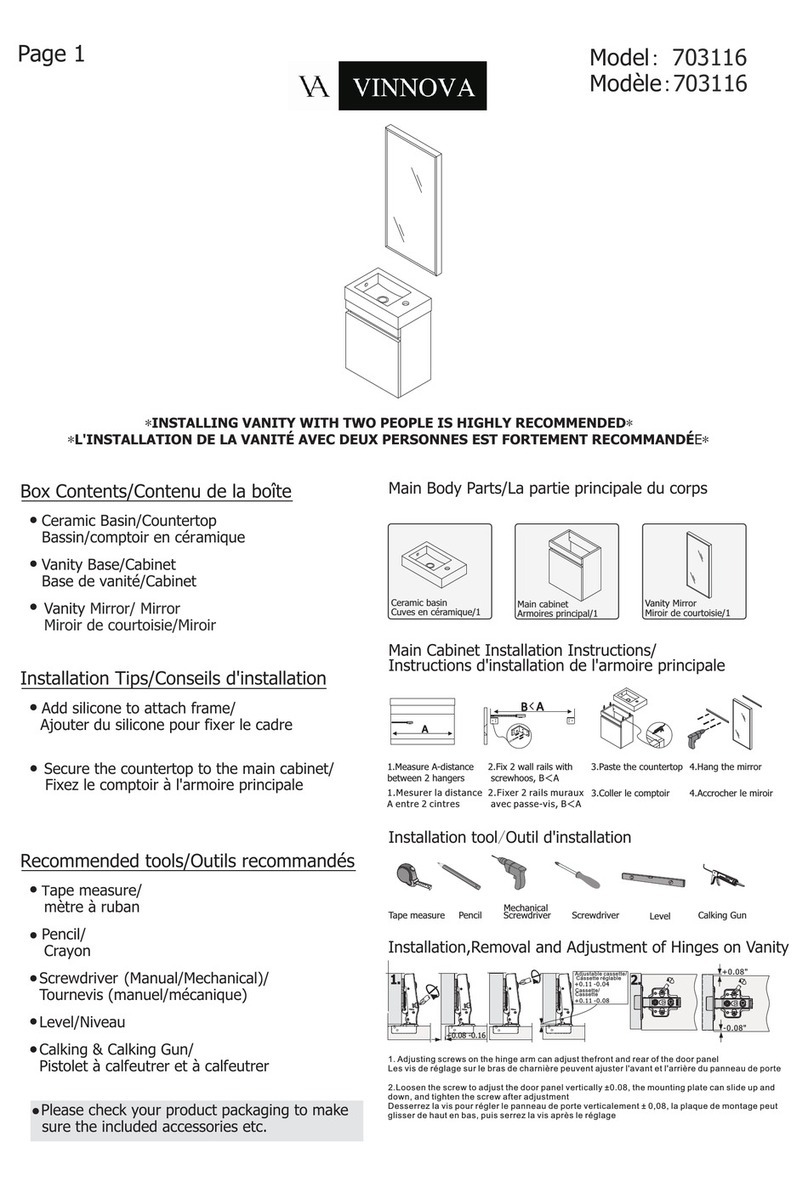
VINNOVA 703116 manual

VINNOVA

VINNOVA 703116 manual

EXPEDO NORA KS3 manual

EXPEDO

EXPEDO NORA KS3 manual

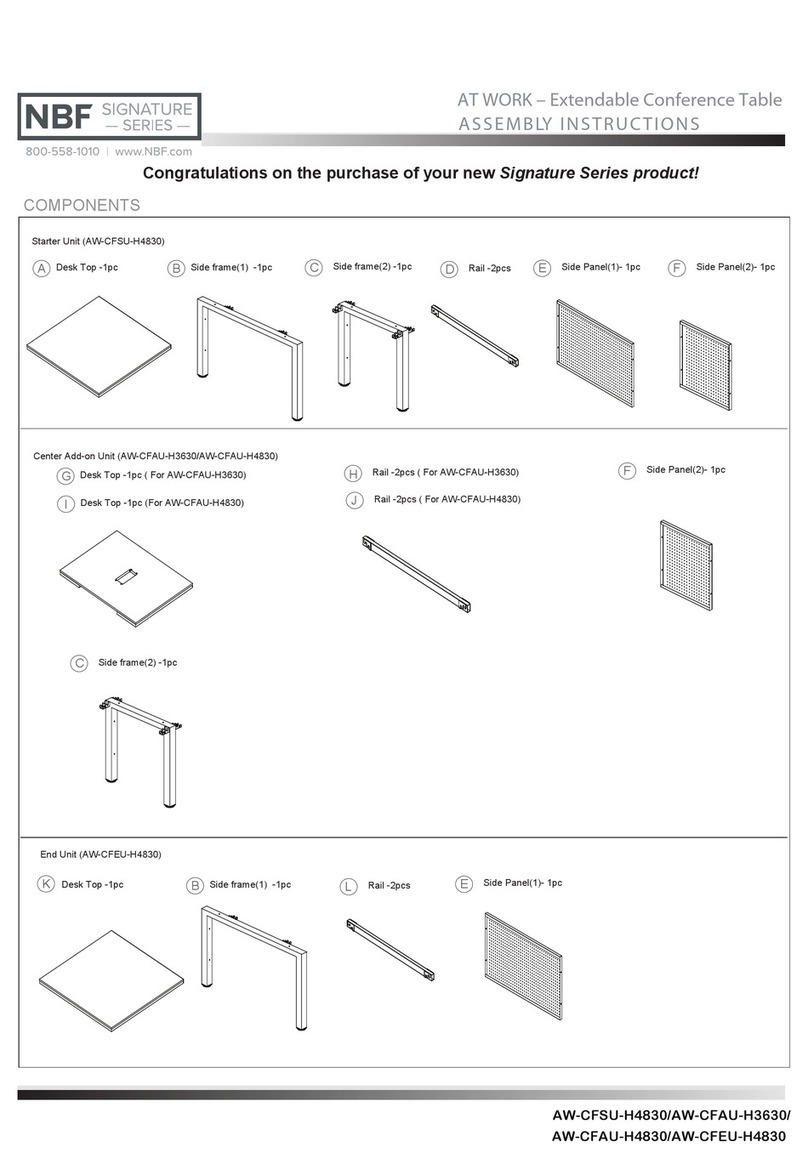
nbf Signature Series Assembly instructions

nbf

nbf Signature Series Assembly instructions

Safco MOGO Using Guide

Safco

Safco MOGO Using Guide

Fores Deco LMX222 Assembling instructions

Fores

Fores Deco LMX222 Assembling instructions

RST Benson OP-AWCLBOTTO-BEN Assembly instructions

RST

RST Benson OP-AWCLBOTTO-BEN Assembly instructions

Walker Edison BS70SPNC Assembly instructions

Walker Edison

Walker Edison BS70SPNC Assembly instructions

Tenzo 7706 Assembly instruction

Tenzo

Tenzo 7706 Assembly instruction

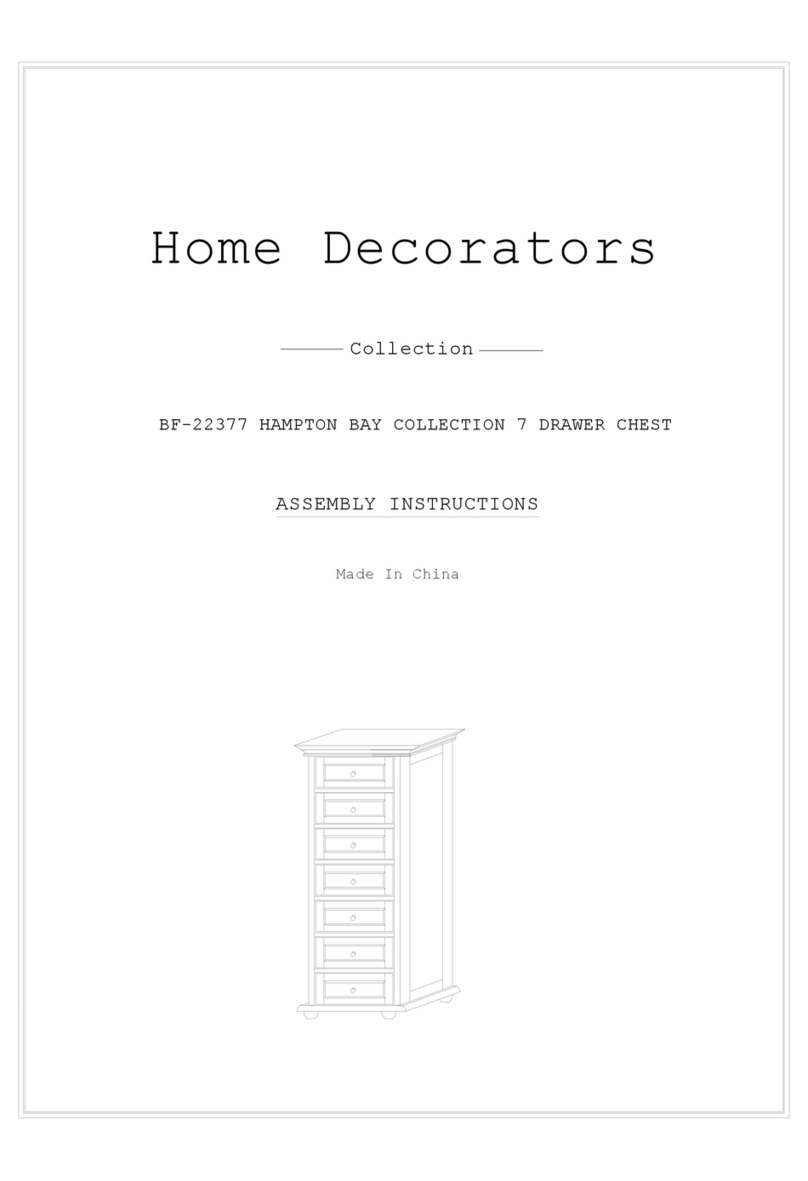
Home Decorators HAMPTON BAY BF-22377 Assembly instructions

Home Decorators

Home Decorators HAMPTON BAY BF-22377 Assembly instructions

Seconique SEVILLE 1 DRAWER BEDSIDE Assembly instructions
Seconique

Seconique SEVILLE 1 DRAWER BEDSIDE Assembly instructions

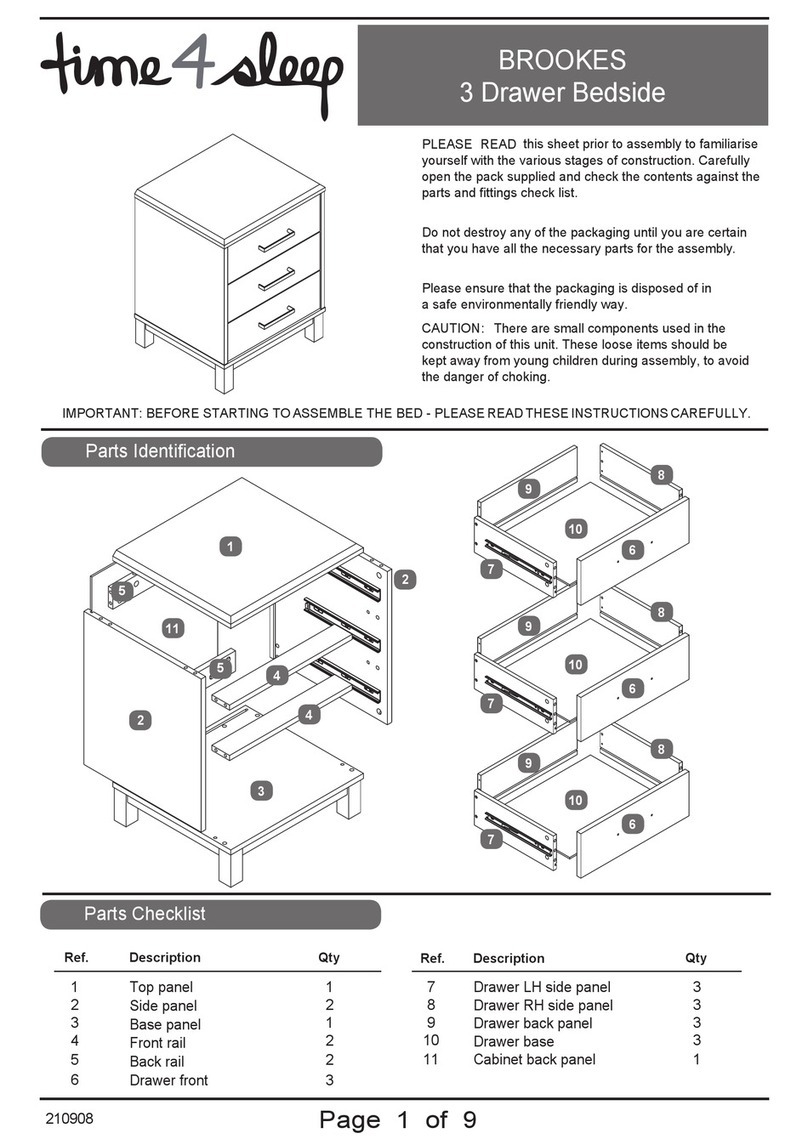
Time4Sleep BROOKES manual

Time4Sleep

Time4Sleep BROOKES manual

Home Styles 88 5053 101 manual

Home Styles

Home Styles 88 5053 101 manual

HOMEDEPOT StyleWell 1006232182 Use and care guide

HOMEDEPOT

HOMEDEPOT StyleWell 1006232182 Use and care guide

Little Seeds DA4030739LS Assembly manual

Little Seeds

Little Seeds DA4030739LS Assembly manual

manuals.online logo
manuals.online logoBrands
  • About & Mission
  • Contact us
  • Privacy Policy
  • Terms and Conditions

Copyright 2025 Manuals.Online. All Rights Reserved.