manuals.online logo
Brands
  1. Home
  2. •
  3. Brands
  4. •
  5. Manhattan Comfort
  6. •
  7. Indoor Furnishing
  8. •
  9. Manhattan Comfort Liberty 235BMC6 User manual

Manhattan Comfort Liberty 235BMC6 User manual

Ed. 002, 2020/10 - Manhattan Comfort.
888-230-2225
help@manhattancomfort.com
44
lb
8
lb
Model # 235BMC6, 235BMC8, 235BMC9
22
lb
8
lb
8
lb
8
lb
Liberty 70.86
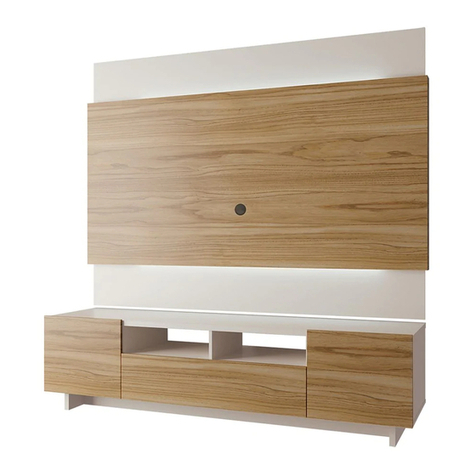
Floating Entertainment Center / Agencement Meuble TV Suspendu
The indicated values consider static weights and evenly distributed over the parts.
Les valeurs indiquées tiennent compte des poids statiques et uniformément répartis sur les pièces.
1
1
2
1
1
01
04
06
02
05
03
1
2
Rear Bar / Barre arrière
07
08
09
10
11
2
Side Panel / Panneau latéral
2
Partition / Cloison
01
06
13
For fixing behind the panel.
Pour fixation derrière les panneaux.
For fixing on the wall.
Pour fixation au mur.
1
2
Left/Right Panel / Panneau gauche/droit
Tilting Door / Porte basculante
1
12
1
Bar for wall / Barre pour mur
13
2
02
03
04
04
05
05
07
08
08
09
09
10
10
11
12
07
08
11
01
02
03
04
04
REAR VIEW / VUE ARRIÈRE
INCLUDED IN THE PACKAGE / INCLUS DANS LE PACKAGE
n.° ID Parts Identification (Description) / Identification des pièces (Description) Quantity / Quantité
Lower Panel / Panneau inférieur
Middle Panel / Panneau central
Upper Panel / Panneau supérieur
Rear Column / Colonne arrière
Lower Shelf / Étagère inférieure
Middle Shelf / Étagère du milieu
Upper Shelf / Étagère supérieure
3
!IMPORTANT! Two people are needed to assemble this product.
IMPORTANT! Deux personnes sont nécessaires pour assembler ce produit.
6x
A2x
B27x
C
18x
D36x
E5x (main color)
F
22x
G8x
H8x
I
J4x
K16x
L
8x (secondary color)
M20x
N2x
O
2x
P4x
INCLUDED IN THE HARDWARE / INCLUS DANS LE MATÉRIEL
Simple hammer.
Marteau simple.
Manual screwdriver.
Tournevis manuel.
Electric drill and electric
screwdriver with drill
bit Ø1/2 inch and
phillips tips.
Perceuse électrique
et tournevis électrique
avec foret Ø1/2 pouce
et pointes phillips.
TOOLS NEEDED / OUTILS NÉCESSAIRES
Level indicator.
Indicateur de niveau.
4
DETAIL 1
DÉTAIL 1
• Line the floor with the cardboard and the foam mantle of the packing to protect the
parts and arrange the Panels (01), (02), (03) and (04) with the rear face upwards ,
correctly checking the position of each as holes and as the drawing.
Tapisser le sol avec le carton et la feuille de mousse de
l'emballage pour protéger les pièces et disposer les
Panneaux (01), (02), (03) et (04) avec la face arrière
vers le haut, en vérifiant correctement la
position de chaque pièce selon
les trous et le dessin.
ATTENTION! APPLY GLUE.
ATTENTION! APPLIQUER LA COLLE.
02
01
LOWER EDGE / BORD INFÉRIEUR
06
• Align the edges of
the Panels (01), (02),
(03) and (04) and fix them
together by applying the steel
plates (D) with bolts (E), as in the
DETAIL 1 and in the indicated positions.
Alignez les bords des Panneaux (01), (02),
(03) et (04) et fixez-les ensemble en appliquant
les plaques d'acier (D) avec les vis (E), comme
dans le DÉTAIL 1 et dans les positions indiquées.
• Fix the Rear Bar (06) by positioning it behind the Panels (02)
and (03) and by applying glue (B), dowels (A) and the indicated bolts (C).
Fixez la Barre arrière (06) en la positionnant derrière les Panneaux (02) et
(03) et en appliquant de la colle (B), des chevilles (A) et les vis indiquées (C).
03 04
04
• Fix the Rear Columns (05)
by positioning them behind the
Left and Right Panels (04) with the
dowels (A) and applying the bolts (C).
Fixez les Barres arrière (05) en les pisitionnant
derrière les Panneaux gauche et droit (04) avec
les chevilles (A) et en appliquant les vis (C).
05
04
05
04
06
01
02
03
Preparing the Doors (10):
• Fix the hinges (K) on the Doors (10)
with the bolts (L), as shown in the
DETAIL 2.
• Insert the plastic ring (M) in the hole
in the Doors (10).
Préparation des Portes (10):
• Fixez les charnières (K) aux deux
Portes (10) avec des vis (L), comme
indiqué dans le DÉTAIL 2.
• Insérez la bague en plastique (M)
dans le trou des Portes (10).
DETAIL 2
DÉTAIL 2
10 10
STEP 1 / ÉTAPE 1
STEP 2 / ÉTAPE 2
STEP 3 / ÉTAPE 3
Rear face
Face arrière
Rear face
Face arrière
Rear face
Face arrière
Rear face
Face arrière
Rear face
Face arrière
Rear face
Face arrière
Rear face
Face arrière
Rear face
Face arrière
5
• Connect the Side Panel (08) and the Partitions (09) to the Base (07) and the Middle Shelf (11) with dowels (G) and cam lock hardware (H + I).
At the end, apply the adhesive covers (J).
Connectez les Panneaux latéraux (08) et les Cloisons (09) à la Base (07) et à l'Étagère du milieu avec des chevilles (G) et du matériel de verrouillage à
came (H + I). Après la fixation, appliquez les couvercles adhésifs (J).
• Install the Doors (10), fixing the hinge connectors (K) on the Base (07) with bolts (L) and using the markings as a reference for correct positioning.
The hinge connector includes two bolts, shown in the DETAIL 3. Use these fixer and adjustment bolts to tighten, adjust and align the hinges and the doors.
Installez les Portes (10) en fixant les connecteurs de charnières (K) sur la Base (07) avec des vis (L) et en utilisant les marquages comme référence
pour le positionnement correct. Le connecteur de charnières comprend deux vis, illustrées dans le DÉTAIL 3. Utilisez la vis de fixation et la vis de
réglage pour serrer, régler et aligner les charnières et les portes.
07
08
11
09
09
08
10
10
DETAIL 3
DÉTAIL 3
• Install the Upper Shelf (12) fitting
it with dowels (G) and fix it with
bolts (N) to the Upper Panel (03).
Installez l'Étagère supérieure (12)
en la fixant avec des chevilles (G)
et fixez-la avec des vis (N) au
Panneau supérieur (03).
• Finish fixing the Rear Bar (06) to
the Middle Panel (02) and to the
Upper Panel (03) applying the four
bolts (C) shown in the drawing
and then the adhesive covers (F).
Terminez la fixation de la Barre
arrière (06) au Panneau central
(02) et au Panneau supérieur (03)
en appliquant les quatre vis (C)
indiquées sur le dessin puis les
couvercles adhésifs (F).
01
02
03
12
06
Behind
the panels.
Derrière les
panneaux.
10
10
08
09
09
04
04
07
STEP 4 / ÉTAPE 4
STEP 5 / ÉTAPE 5
Fixer bolt
Vis de fixation
Adjustment bolt
Vis de réglage
11
• Install the set of parts
(07), (08), (09), (10)
and (11) assembled in
the STEP 4, fitting the
Base (07) and the
Middle Shelf (11) in
the Lower Panel (01)
with dowels (G) and
fix them to the Lower
Panel (01) and to the
Left and Right Panels
(04) with bolts (N).
Installez le jeu de
pièces (07), (08), (09),
(10) et (11) assemblés
à l'ÉTAPE 4,
en fixant la
Base (07) et la
Étagère du milieu (11)
dans le Panneau
inférieur (01) et aux
Panneaux gauche et
droit (04) avec vis (N).
48.50in (1232mm)*
14,17in
(360mm)
Minimum fixing distance of the Bar (13) for
the panel installation close to walls corner.
Distance minimale de fixation de la Barre (13) pour
l'installation du panneau près du coin des mur.
13
ATTENTION!
Before installing the panel, check
the conditions of the wall for
strength to properly support and
anchor the weight of the
suspended furniture, including
equipment and objects that may
be fixed to the panel.
The Kap Toggle bushings (P)
supplied with the product are for
hollow walls or dry wall type.
Check the type of wall on which
the installation will be made and,
if necessary, look for more suitable
bushings or fastening systems.
To mark the position and fix the
Bar (13) on the wall, check the
level of the part.
ATTENTION!
Avant d'installer le panneau,
vérifiez les conditions du mur
pour la résistance nécessaire
pour supporter et ancrer
correctement le poids du meuble
suspendu y compris l'équipement
et les objets qui peuvent être
fixés au penneau.
Les douilles Kap Toggle (P) fournies
avec le produit sont destinées aux
murs creux ou à cloisons sèches.
Vérifiez le type de mur sur lequel
l'installation sera effectuée et, si
nécessaire, prévoir des accessoires
plus adaptés.
Pour marquer la position et fixer
le Barre (13) au mur, vérifier le
niveau des pièces.
42.50in
(1080mm)
• Mark the position for holes on
the wall to fix the Bar (13), as
shown in the drawing and using
the bar itself as a reference.
Marquez la position des trous
sur le mur pour fixer la Barre
(13), comme indiqué sur le
dessin et en utilisant la barre
elle-même comme référence.
• With electric drill and drill bit
Ø1/2 inch, make the holes in
the wall.
Avec une perceuse électrique
et un foret Ø1/2 pouce, faites
les trous dans le mur.
• Apply the bushings (P) into the
holes in the wall and fix the Bar
(13) with bevelled edge facing
up and to the wall, applying the
bolts 1/4 x 2.1/4 inch as shown
in the drawing.
Appliquez les douilles (P) dans
le trous du mur et fixez la
Barre (13) avec le bord
biseauté vers le haut et pour
le mur, en appliquant les vis
1/4 x 2,1/4 pouces comme
indiqué sur le dessin.
Ø1/2 inch hole in the wall
Trou Ø1/2 pouce dans le mur
Kap Toggle bushing (P)
Douille Kap Toggle (P)
Bolt 1/4 x 2.1/4 inch
Vis 1/4 x 2,1/4 pouce
DETAIL 4
DÉTAIL 4
6
* The height of 48.50 inches
indicated in the drawing, between
the floor and the lower edge of the
Bar (13) is only suggestive,
to install the Panel with its lower
edge at approximately 18.20 inch
from the floor.
La hauteur de 48,50 pouces
indiquée sur le dessin, entre le
étage et le bord inférieur de la
Barre (13) n'est qu'indicative,
pour installer le panneau avec son
bord inférieur à environ 18,20
pouces du étage.
STEP 6 / ÉTAPE 6
• With the Panel already
assembled, fit the Bar
(06) fixed behind the
panel in the Bar (13)
fixed on the wall.
Avec le Panneau dejà
assemblé, monter la
Barre (06) fixée derrière
le panneau dans le
Barre (13) fixée au mur.
• At the end of the installation, apply
the security bolt (C) in the indicated
hole, to fix the Middle Panel (02) in
the Bar (13) on the wall and prevent
movement and accidentally dropping
the panel; and then, apply the
adhesive cover (F).
À la fin de l'installation, appliquez la
vis de sécurité (C) dans le trou
indiqué, pour fixer le panneau
central (02) dans la Barre (13) sur
le mur et éviter tout mouvement et
chute accidentelle du panneau; puis
appliquez les couvercles adhésifs (F).
• Insert the plastic covers (O) into the
holes for pass wires in the Panels
(01) and (02).
Insérez couvercles en plastique (O)
dans les trous pour faire passer les
fils dans les Panneaux (01) et (02).
IMPORTANT! To remove the panel from the wall,
to unscrew the security bolt (C) applied as in the
STEP 8 and moving it upwards slightly so as to
disengage the chamfered edges of the Bars (06)
and (13) fixed behind the panel and on the wall.
Before moving the panel, remove TV and other
objects that are installed and ensure that the
entire set is safe, preventing falls and damage to
the panel and equipment.
IMPORTANT! Pour retirer le panneau du mur,
desserrer la vis de sécurité (C) appliquée selon
l'ÉTAPE 8 et la déplacer légèrement vers le haut
pour libérer les bords biseautés des Barres (06)
et (13) fixées derrière le panneau et sur le mur.
Avant de déplacer le panneau, retirez le TV et les
autres éléments installés et assurez-vous que
l'ensemble est sécurisé, évitant les chutes et les
dommages au panneau et l'équipement.
7
11
12
01
02
03
04
13
Fixed on the wall.
Fixé au mur.
06
Fixed behind the panel.
Fixé derrière le panneau.
04
07
08
09
10
10
11
12
01
02
03
04
04
07
08
09
10
10
STEP 7 / ÉTAPE 7
STEP 8 / ÉTAPE 8

This manual suits for next models

2

Other Manhattan Comfort Indoor Furnishing manuals
Manhattan Comfort Rockefeller User manual
Manhattan Comfort

Manhattan Comfort Rockefeller User manual

Manhattan Comfort 24900 User manual

Manhattan Comfort

Manhattan Comfort 24900 User manual
Manhattan Comfort Tribeca 53.94 User manual

Manhattan Comfort

Manhattan Comfort Tribeca 53.94 User manual

Manhattan Comfort Liberty 201AMC6 User manual
Manhattan Comfort

Manhattan Comfort Liberty 201AMC6 User manual

Manhattan Comfort BST 08-06 User manual
Manhattan Comfort

Manhattan Comfort BST 08-06 User manual

Manhattan Comfort Hampton User manual

Manhattan Comfort

Manhattan Comfort Hampton User manual

Manhattan Comfort 14GMC1 User manual

Manhattan Comfort

Manhattan Comfort 14GMC1 User manual
Manhattan Comfort CABRINI 1.2 User manual
Manhattan Comfort

Manhattan Comfort CABRINI 1.2 User manual

Manhattan Comfort Rockefeller User manual
Manhattan Comfort

Manhattan Comfort Rockefeller User manual

Manhattan Comfort Cabrini 15300 User manual
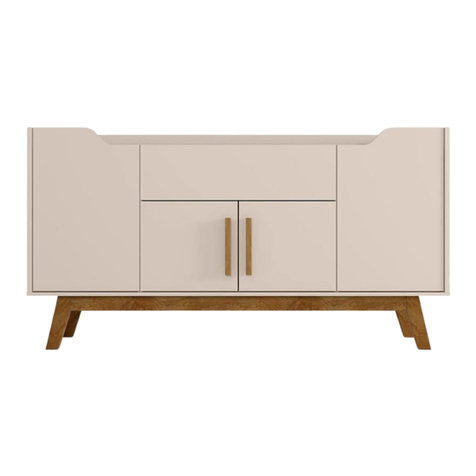
Manhattan Comfort

Manhattan Comfort Cabrini 15300 User manual

Manhattan Comfort Tribeca 53.54 Buffet User manual

Manhattan Comfort

Manhattan Comfort Tribeca 53.54 Buffet User manual

Manhattan Comfort FORTRESS 6GMC User manual
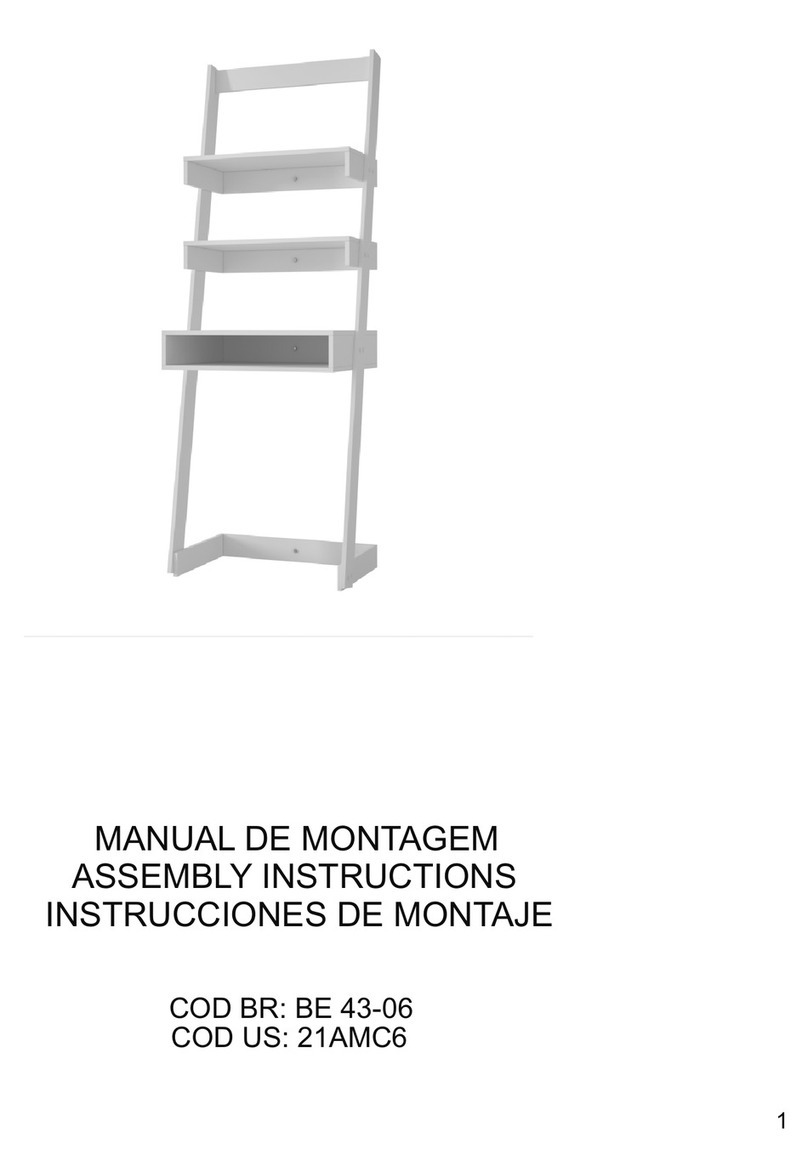
Manhattan Comfort

Manhattan Comfort FORTRESS 6GMC User manual

Manhattan Comfort BE 43-06 User manual

Manhattan Comfort

Manhattan Comfort BE 43-06 User manual

Manhattan Comfort Hampton User manual

Manhattan Comfort

Manhattan Comfort Hampton User manual

Manhattan Comfort Cabrini 23851 User manual
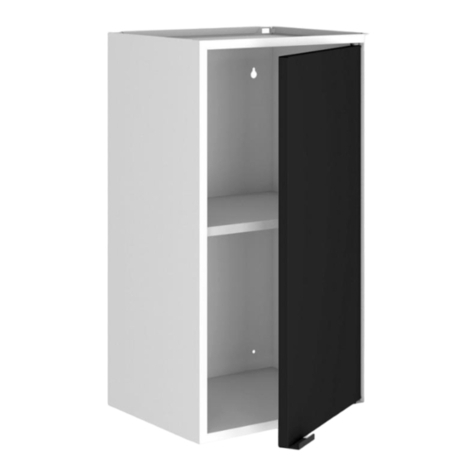
Manhattan Comfort

Manhattan Comfort Cabrini 23851 User manual

Manhattan Comfort 14GMC2 User manual

Manhattan Comfort

Manhattan Comfort 14GMC2 User manual
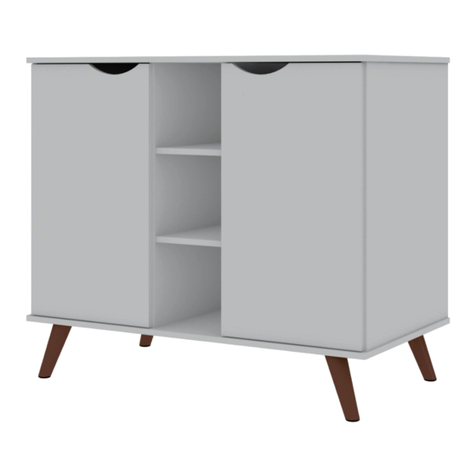
Manhattan Comfort Hampton Sideboard User manual
Manhattan Comfort

Manhattan Comfort Hampton Sideboard User manual

Manhattan Comfort 15400 User manual

Manhattan Comfort

Manhattan Comfort 15400 User manual
Manhattan Comfort 1GMCF User manual

Manhattan Comfort

Manhattan Comfort 1GMCF User manual
Manhattan Comfort 2GMCF User manual

Manhattan Comfort

Manhattan Comfort 2GMCF User manual

Manhattan Comfort 400200 User manual

Manhattan Comfort

Manhattan Comfort 400200 User manual

Manhattan Comfort Crown 167GMC User manual

Manhattan Comfort

Manhattan Comfort Crown 167GMC User manual

Manhattan Comfort 2GMCC User manual

Manhattan Comfort

Manhattan Comfort 2GMCC User manual

Manhattan Comfort 4GMCC User manual

Manhattan Comfort

Manhattan Comfort 4GMCC User manual

Popular Indoor Furnishing manuals by other brands
Whittier Wood 1121GACe Assembly instructions

Whittier Wood

Whittier Wood 1121GACe Assembly instructions

Rauch AD285.03P2 Assembly instructions

Rauch

Rauch AD285.03P2 Assembly instructions

VECELO KHD-XJM-TC02 Assembly instruction

VECELO

VECELO KHD-XJM-TC02 Assembly instruction

Foundations Serenity 1771047 manual

Foundations

Foundations Serenity 1771047 manual

VITRA Ad Hoc Instructions for use

VITRA

VITRA Ad Hoc Instructions for use

Argos Mia Stars 4553326 Assembly instructions

Argos

Argos Mia Stars 4553326 Assembly instructions

BCI Eurobib Direct Luna E37085 user manual
BCI

BCI Eurobib Direct Luna E37085 user manual

modway EEI-2231 Assembly instructions

modway

modway EEI-2231 Assembly instructions
Till-Hilft 88844.311 Assembly instructions
Till-Hilft

Till-Hilft 88844.311 Assembly instructions

Wittmann Merwyn 29364 Assembly instructions

Wittmann

Wittmann Merwyn 29364 Assembly instructions

Solid Wood Kitchen Cabinets Full Height Oven Cabinet Assembly guide
Solid Wood Kitchen Cabinets

Solid Wood Kitchen Cabinets Full Height Oven Cabinet Assembly guide

m-Dimension Oliver Occasional Chair 1184 Assembly instructions
m-Dimension

m-Dimension Oliver Occasional Chair 1184 Assembly instructions

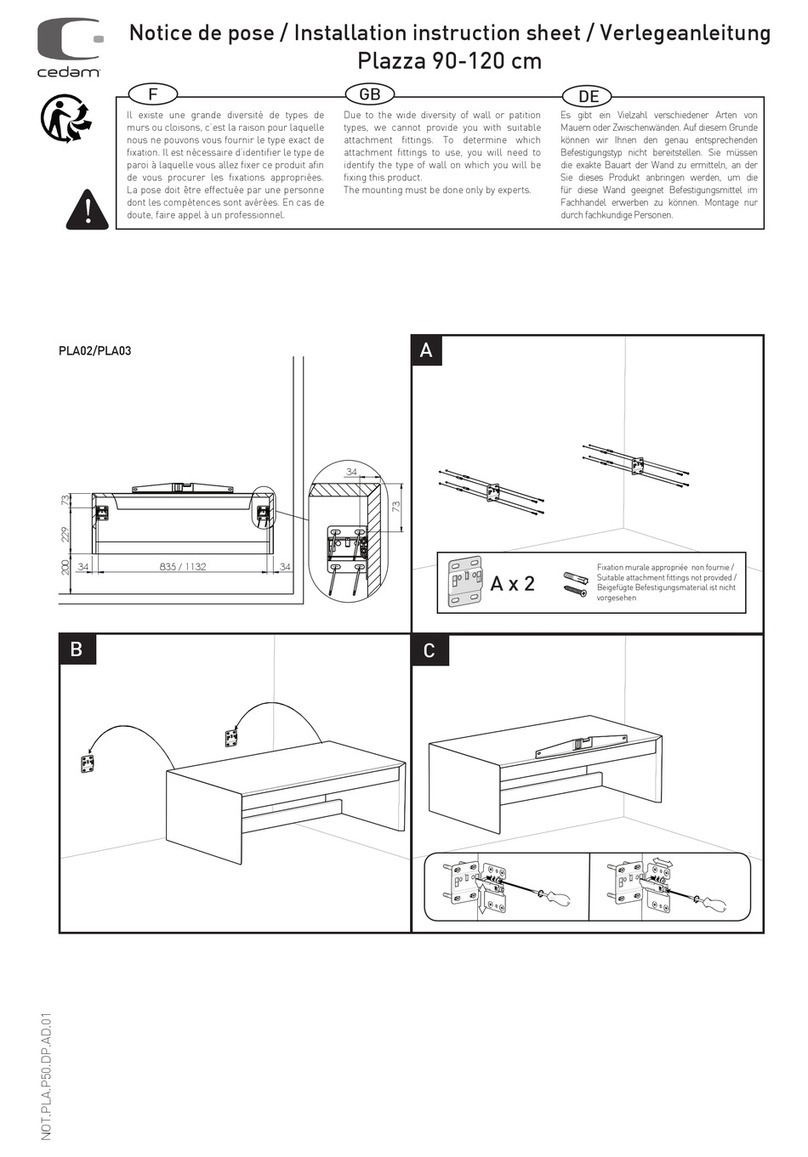
Cedam Plazza PLA02 Installation instruction sheet

Cedam

Cedam Plazza PLA02 Installation instruction sheet

Costway KC54247 manual

Costway

Costway KC54247 manual

Ubique Bright Beginnings MK-ME088029-GG Assembly instructions
Ubique

Ubique Bright Beginnings MK-ME088029-GG Assembly instructions

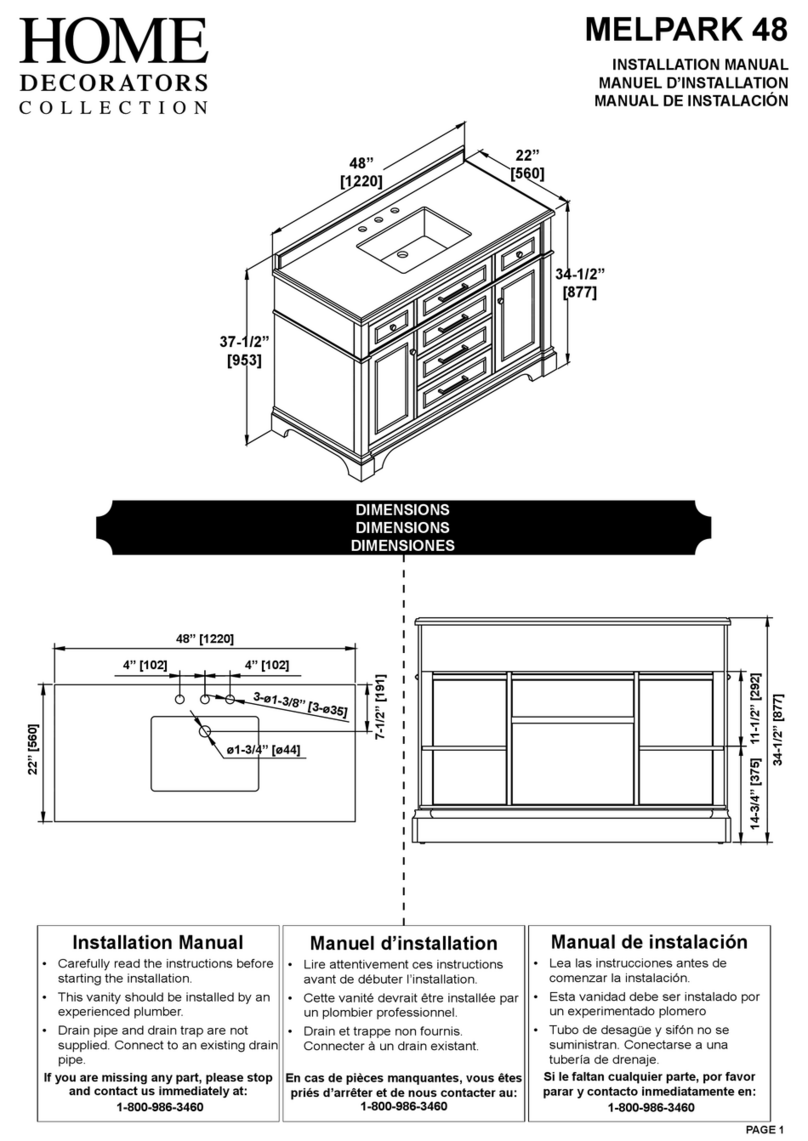
Home Decorators Collection MELPARK 48 installation manual
Home Decorators Collection

Home Decorators Collection MELPARK 48 installation manual

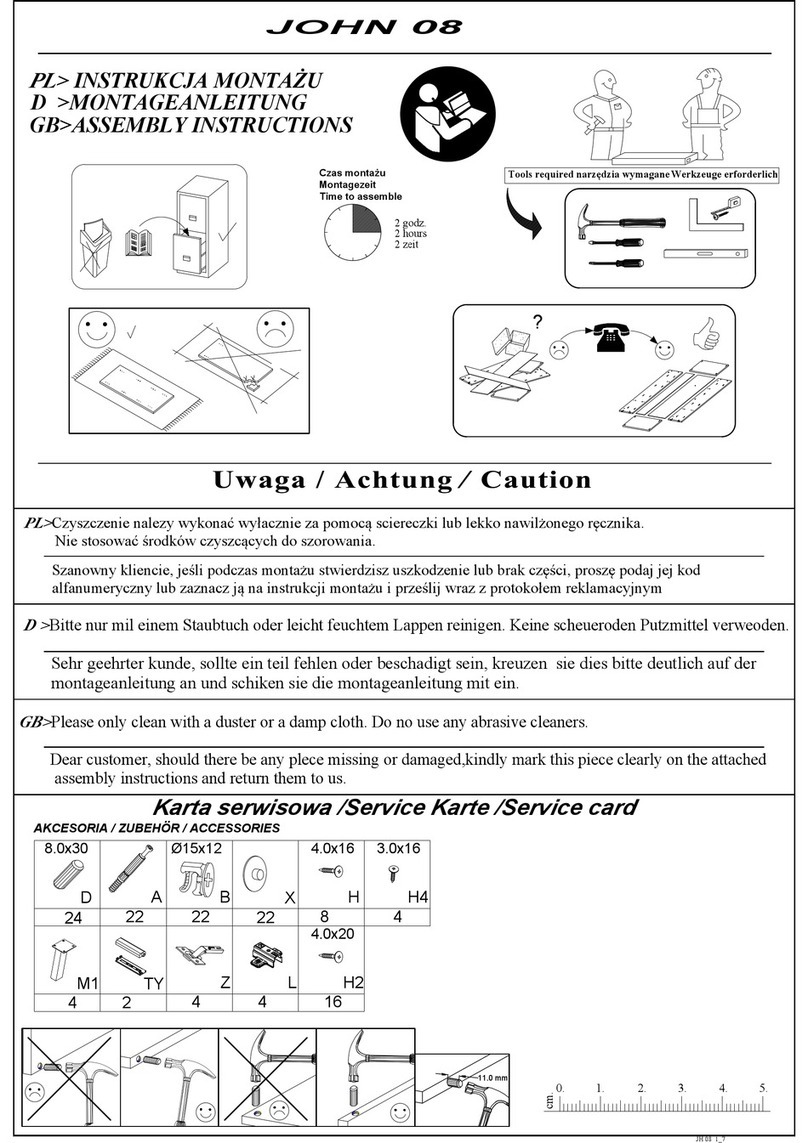
Moderno JOHN 08 Assembly instructions

Moderno

Moderno JOHN 08 Assembly instructions
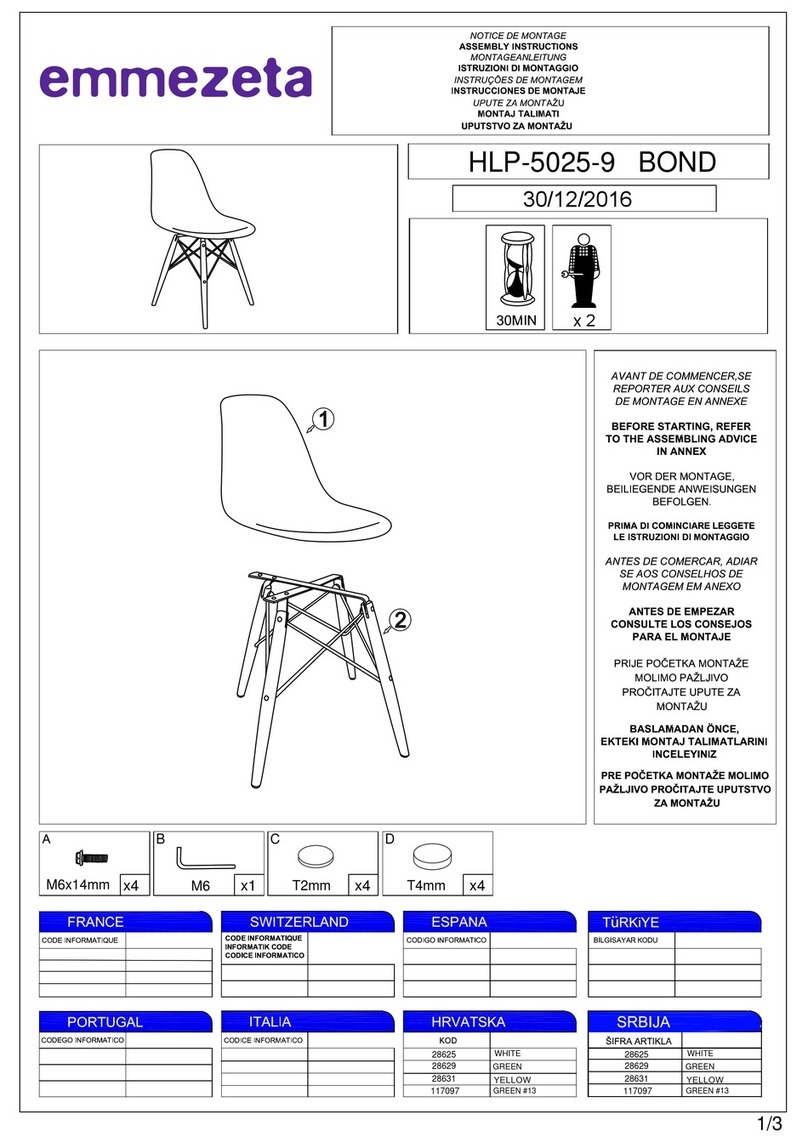
Emmezeta HLP-5025-9 BOND Assembly instructions

Emmezeta

Emmezeta HLP-5025-9 BOND Assembly instructions

manuals.online logo
manuals.online logoBrands
  • About & Mission
  • Contact us
  • Privacy Policy
  • Terms and Conditions

Copyright 2025 Manuals.Online. All Rights Reserved.