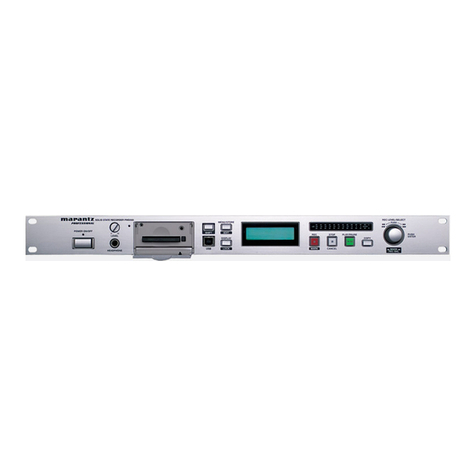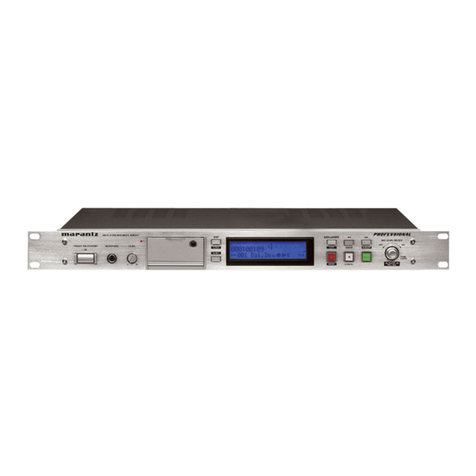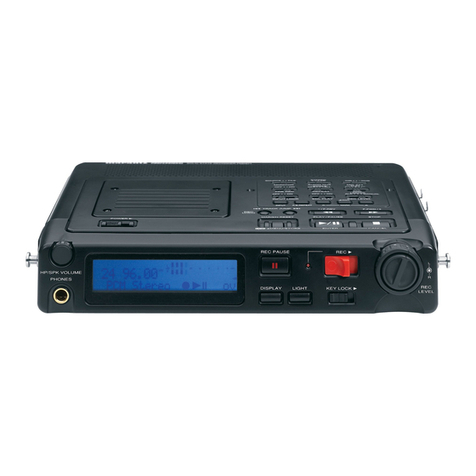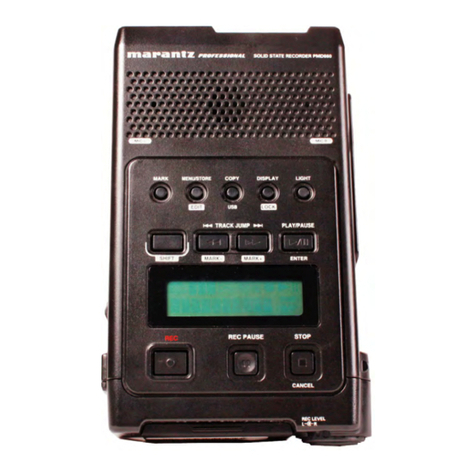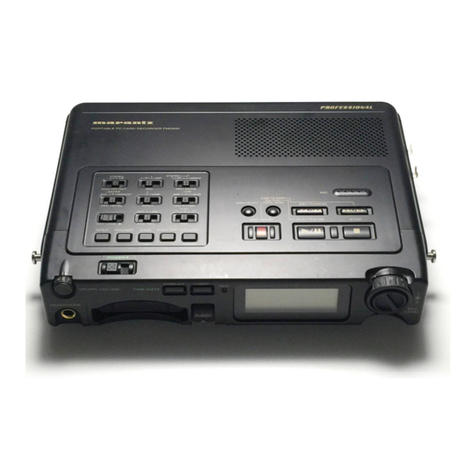
- The display will show what track you are playing and the recorded time for that track. If you want to
play back the sound through the external speakers instead of the headphones, unplug the headphone
jack and the sound will come out of the speakers.
-Pick your clips and make a list of what track they are on and at what time on that track the clip starts
and ends. Write down the first few words and last few words to help you find the correct clip later.
TO DELETE A TRACK:
- Press the ‘LIST’ button and select the track number you wish to delete. Press the ‘ENTER’ button
(also Play/Pause). Select ‘DELETE’ from the list on the display and press ‘ENTER’. From the prompt
‘File Delete?’, choose YES.
-Push the ‘EXIT’button when you have finished deleting tracks.
WARNING: MAKE SURE YOU DELETE THE CORRECT TRACK! THERE IS NO WAY OF
RETRIEVING IT!
TO FORMAT THE SD CARD
- Press the ‘MENU’ button and use the down arrow (Pitch -) to scroll down to #4 Utility. Press the
‘ENTER’ button. Use the down arrow to #7 Card. Press ‘ENTER’ to select. At the prompt ‘CARD
FORMAT?’, use the arrow button to choose ‘Yes’. Hit the ‘ENTER’ button. ‘EXECUTING’ will
appear. The display will return to the main screen and the Total Remain time should read 12:58:05.
WARNING: THIS WILL ERASE ALL MATERIAL ON THE COMPACT FLASH CARD! MAKE SURE
THAT YOU DO NOT NEED ANY OF THE AUDIO FILES BEFORE FORMATTING! THERE IS NO
WAY OF RETRIEVING THEM!
TO DOWNLOAD ONTO THE COMPUTER:
- Create a folder for your project on the desktop or your removable storage device. On the radio editing
computers use the Media Files folder.
-Make sure the audio recorder is turned on and in STOP mode. It is a good idea to use the AC power adaptor
when connecting to the computer to conserve battery power.
-The Marantz deck has its own USB -I/O cable. Connect the cable to the port on the right side of the machine
(beside the DC in) and to the USB port on the front of the computer. *Please make sure you are connecting to
the correct port to avoid damage to the cable and/or the computer.
-The recorder display will show ‘USB Connecting’ and it will show up as a removable device on your
computer. Select ‘Open Folder to View Files”
- The audio files are in the MPGLANG1 folder. They will be listed as 1001.wav, 1002.wav etc. Highlight the
audio files and copy and paste from the MPGLANG1 folder into the new folder created for your project. You
can also copy the files onto a USB, an external hard drive, or burn to a CD.
-Close the Removable Device window and open the project folder the audio files were copied to. Right click on
the sound files and rename them (example: Sarah interview track1, Sarah interview track 2, Sarah interview
track 3). Make sure the audio files have been renamed before you begin editing.
***Don’t forget to safely remove the hardware from the computer or the machine can freeze
and cause file transfer errors.

