manuals.online logo
Brands
  1. Home
  2. •
  3. Brands
  4. •
  5. Marbletrend
  6. •
  7. Plumbing Product
  8. •
  9. Marbletrend Milano II MBSM850.1 Instruction sheet

Marbletrend Milano II MBSM850.1 Instruction sheet

Wall Basin Model MBSM850.1
Shroud Model MBSM852
Installation Guidelines
Milano II - 500mm Wall Basin with Shroud
1/2
General Dimensions
RECOMMENDED
HEIGHT
~800-820
FFL
400
195
185
60
500
440
Bathroom Products Australia
2/97 Banksia St.
Botany, NSW, 2019
Tel: 1300 717 717
Fax: 1300 746 480
[email protected]
www.johnsonsuisse.com.au
2/2
INSTALLATION
• Place the basin at the required position.
• Mark the line for the top of the basin (recommended to be 800 -
820mm above finished floor level).
• Remove the basin, and mark the anchoring points 60mm
below the required top line, and 200mm around centerline of
basin (refer to diagram 1 and 2).
• Drill 2 holes 9.5mm in the wall (masonry), insert wall plugs and
screw in the Rag bolts securely. Position the basin, and secure
to the wall using the nuts and washers (refer to diagram 3).
If installing into a timber frame, drill a 5mm pilot hole and
thread rag bolt directly into timber.
• Ensure that the waste and water inlets are in place (refer to
diagram 1).
• Position Shroud under the basin in correct position, and mark
the outline of the shroud, and the position of the mounting
holes.
• Remove shroud, and at the mounting holes height mark the
wall holes position about 40mm inwards of the shroud outline.
• Drill 8mm holes, insert wall plugs and secure the mounting
elbows (refer to diagram 4).
• Make all water and waste connections as required.
• Hold shroud in place, secure with screws from sides, and put
plugs over holes.
• Seal around the sides and top of the basin with a suitable
silicone.
V0.0
Required Tools
ŸDrill
ŸTape Measure
ŸSpanners
ŸScrewdriver
ŸHammer
ŸSpirit level
Basin Top Line
60
200
RECOMMENDED
HEIGHT
~820
550*
620*
90*
* RECOMMENDED WATER INLET/OUTLET LOCATIONS
Diagram 1
Diagram 2
Diagram 3
Diagram 4
Outline of
Shroud
~40
DETAIL
L Bracket
Screw
Flange Cap
= =
500
60
150
200
Anchor
Plastic flange
washer
Nut
Washer
Rag Bolt
Basin
550*
620*
90*
* RECOMMENDED WATER INLET/OUTLET LOCATIONS
440
500
60
150
200

This manual suits for next models

1

Other Marbletrend Plumbing Product manuals

Marbletrend Madeira Bath/Basin Mixer with Spout User manual

Marbletrend

Marbletrend Madeira Bath/Basin Mixer with Spout User manual

Marbletrend Madeira Basin Mixer User manual

Marbletrend

Marbletrend Madeira Basin Mixer User manual

Marbletrend SQUARE Instruction sheet

Marbletrend

Marbletrend SQUARE Instruction sheet

Popular Plumbing Product manuals by other brands

Sybaritic Dermalife RelaxWell Ocean Pod owner's manual

Sybaritic

Sybaritic Dermalife RelaxWell Ocean Pod owner's manual

Axor Massaud 18113181 Installation instructions / warranty

Axor

Axor Massaud 18113181 Installation instructions / warranty

Kalia KAVIAR KF1691 Installation instructions / warranty

Kalia

Kalia KAVIAR KF1691 Installation instructions / warranty

Axor Starck 10313XX1 Installation instructions / warranty

Axor

Axor Starck 10313XX1 Installation instructions / warranty

Grohe Eurocube 31 255 manual

Grohe

Grohe Eurocube 31 255 manual

Moen 82355C Illustrated Parts

Moen

Moen 82355C Illustrated Parts

Schell COMPACT 03 230 00 99 Assembly instructions

Schell

Schell COMPACT 03 230 00 99 Assembly instructions

Sloan ECOS HET 8100 Series installation instructions

Sloan

Sloan ECOS HET 8100 Series installation instructions

Gessi OXYGENE 13331 manual

Gessi

Gessi OXYGENE 13331 manual

Kohler Mira Move 8.5 instructions

Kohler

Kohler Mira Move 8.5 instructions

Linie PLATO installation guide

Linie

Linie PLATO installation guide

Megius TAO manual

Megius

Megius TAO manual

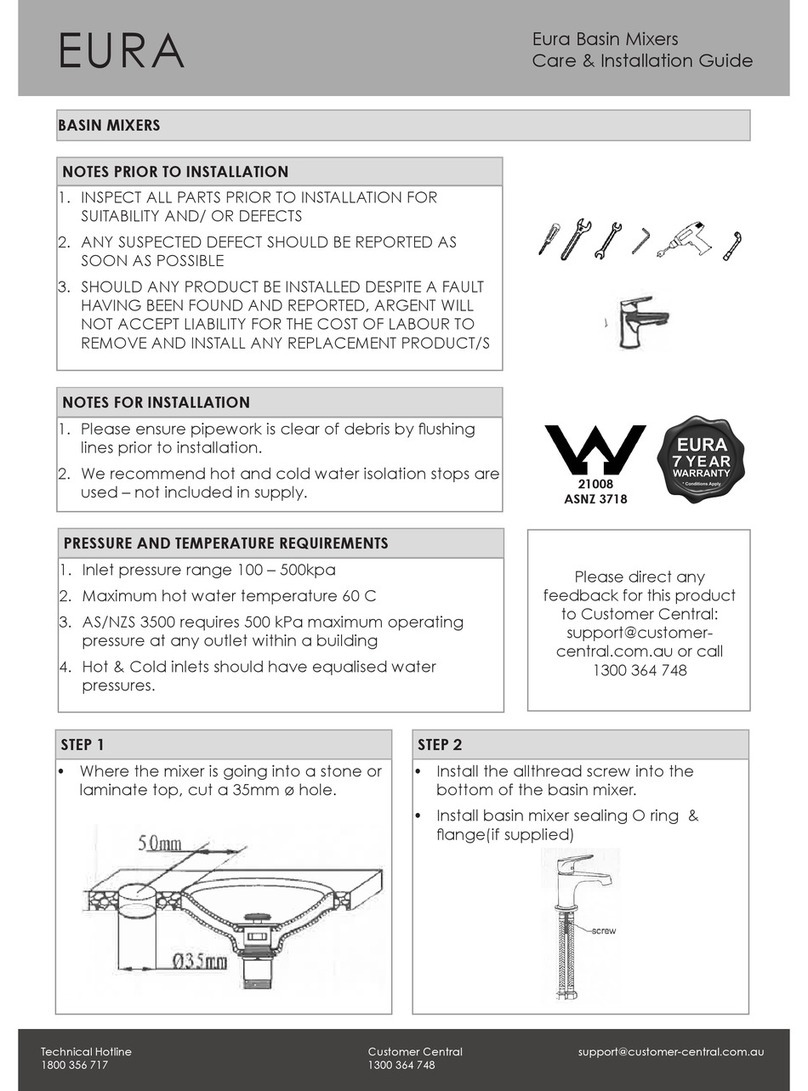
Argent EURA Care & Installation Guide

Argent

Argent EURA Care & Installation Guide

Kohler K-7702 installation guide

Kohler

Kohler K-7702 installation guide

Hans Grohe Talis Select S 190 72044000 Instructions for use/assembly instructions

Hans Grohe

Hans Grohe Talis Select S 190 72044000 Instructions for use/assembly instructions

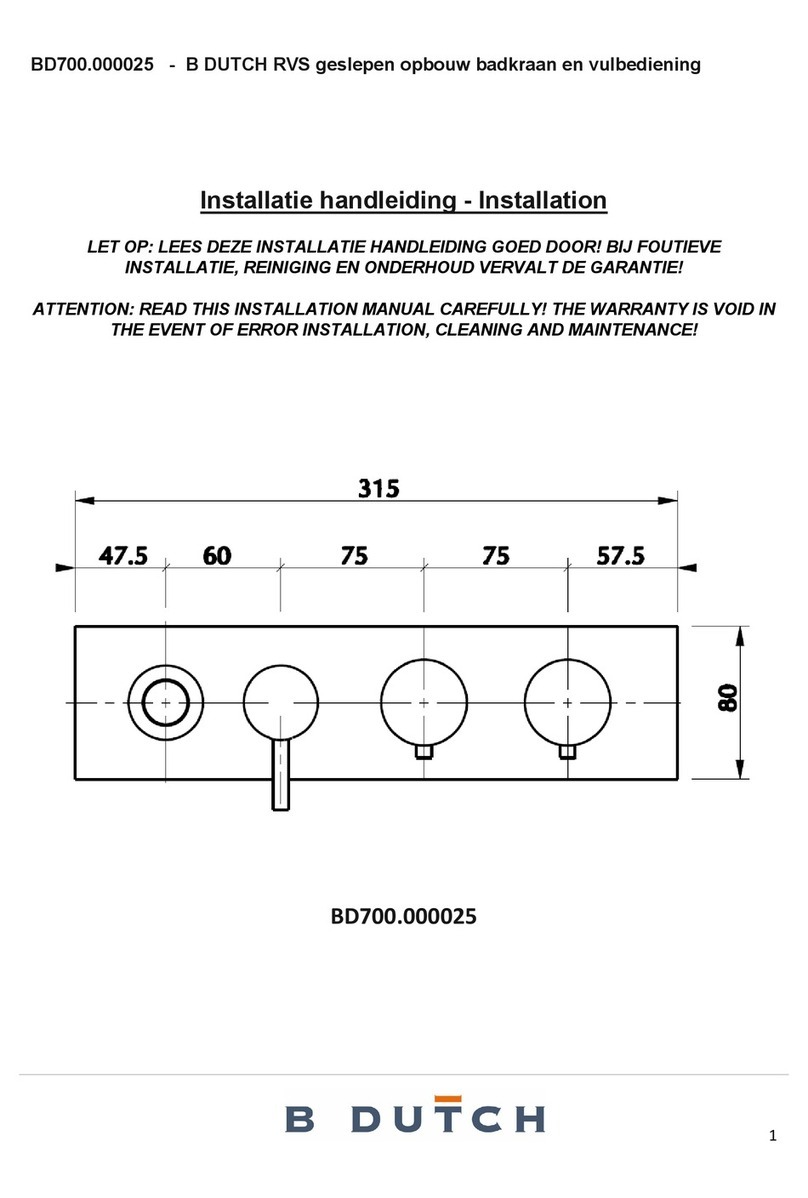
B DUTCH BD700.000025 Installation

B DUTCH

B DUTCH BD700.000025 Installation

Graff VINTAGE Instructions for assembly and use

Graff

Graff VINTAGE Instructions for assembly and use

ASI EZ FILL Installation and maintenance guide

ASI

ASI EZ FILL Installation and maintenance guide

manuals.online logo
manuals.online logoBrands
  • About & Mission
  • Contact us
  • Privacy Policy
  • Terms and Conditions

Copyright 2025 Manuals.Online. All Rights Reserved.