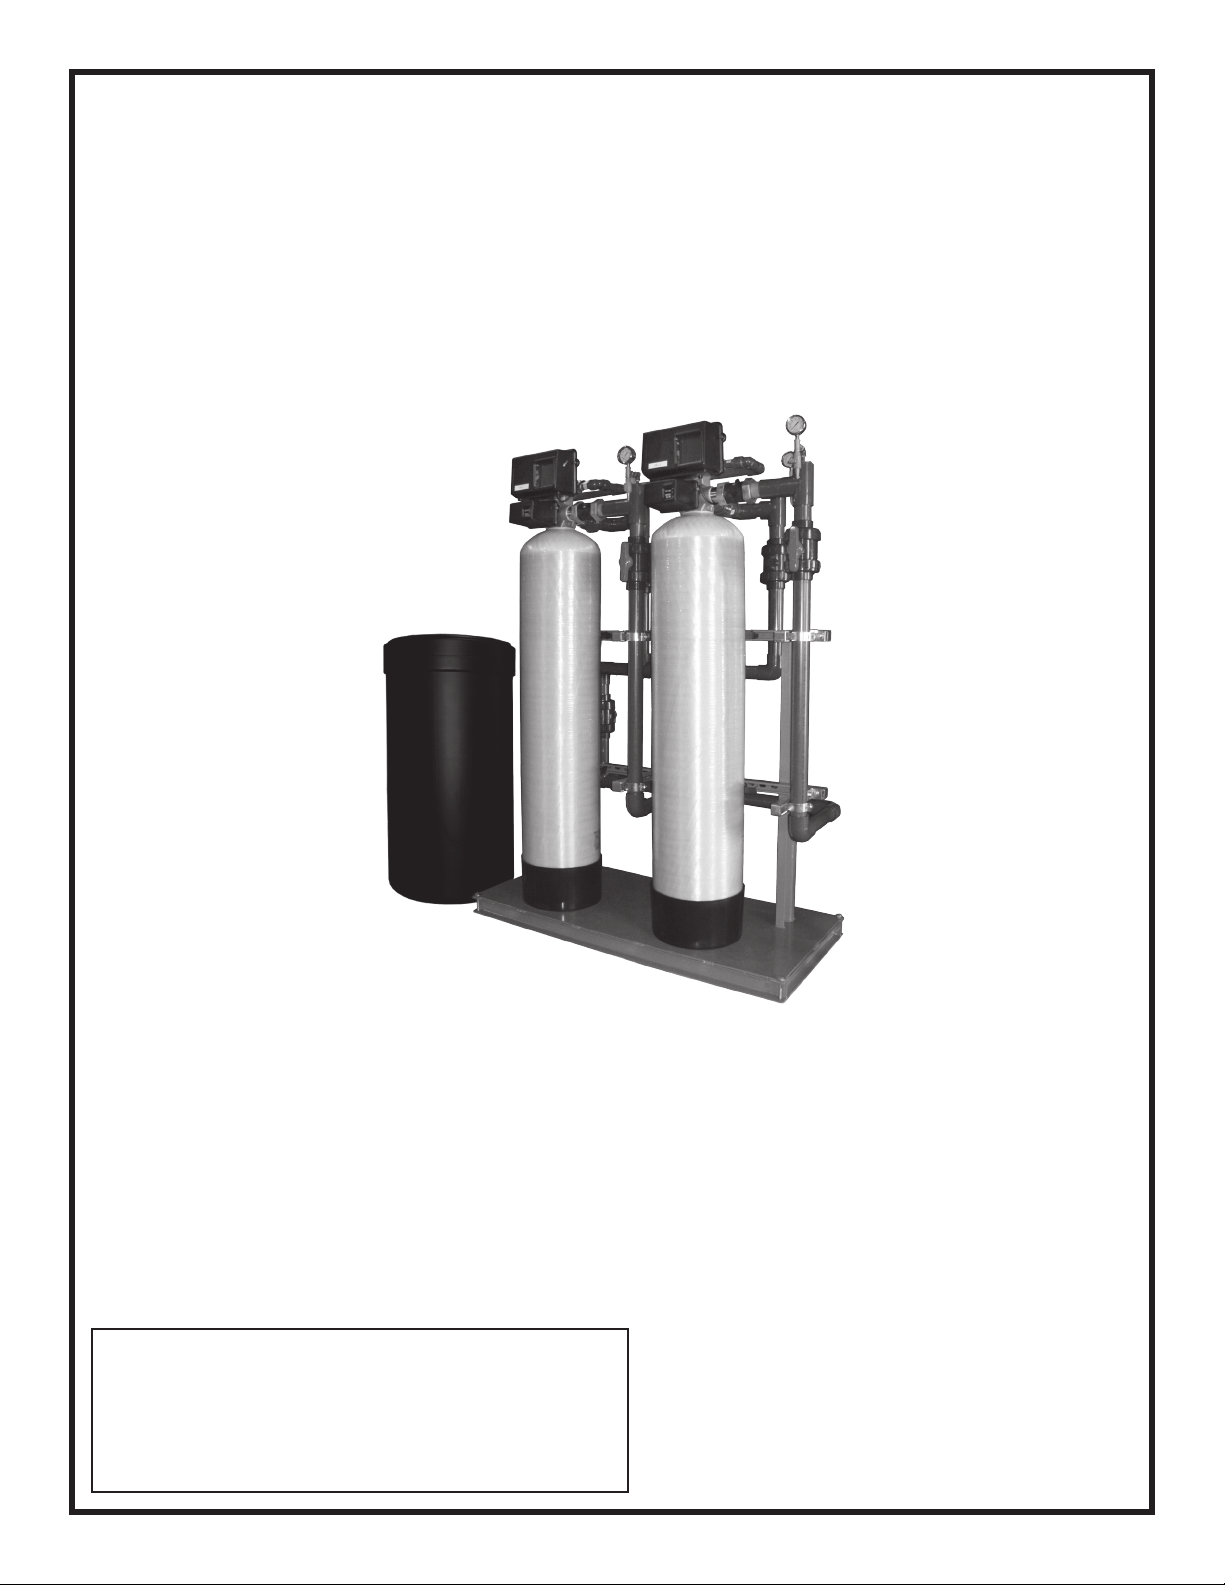
MGT 2” 60M–600M NXT2 TWIN ALTERNATING
TABLE OF CONTENTS
SYSTEM INFORMATION
Product Warranty...........................................................................................................................................................1
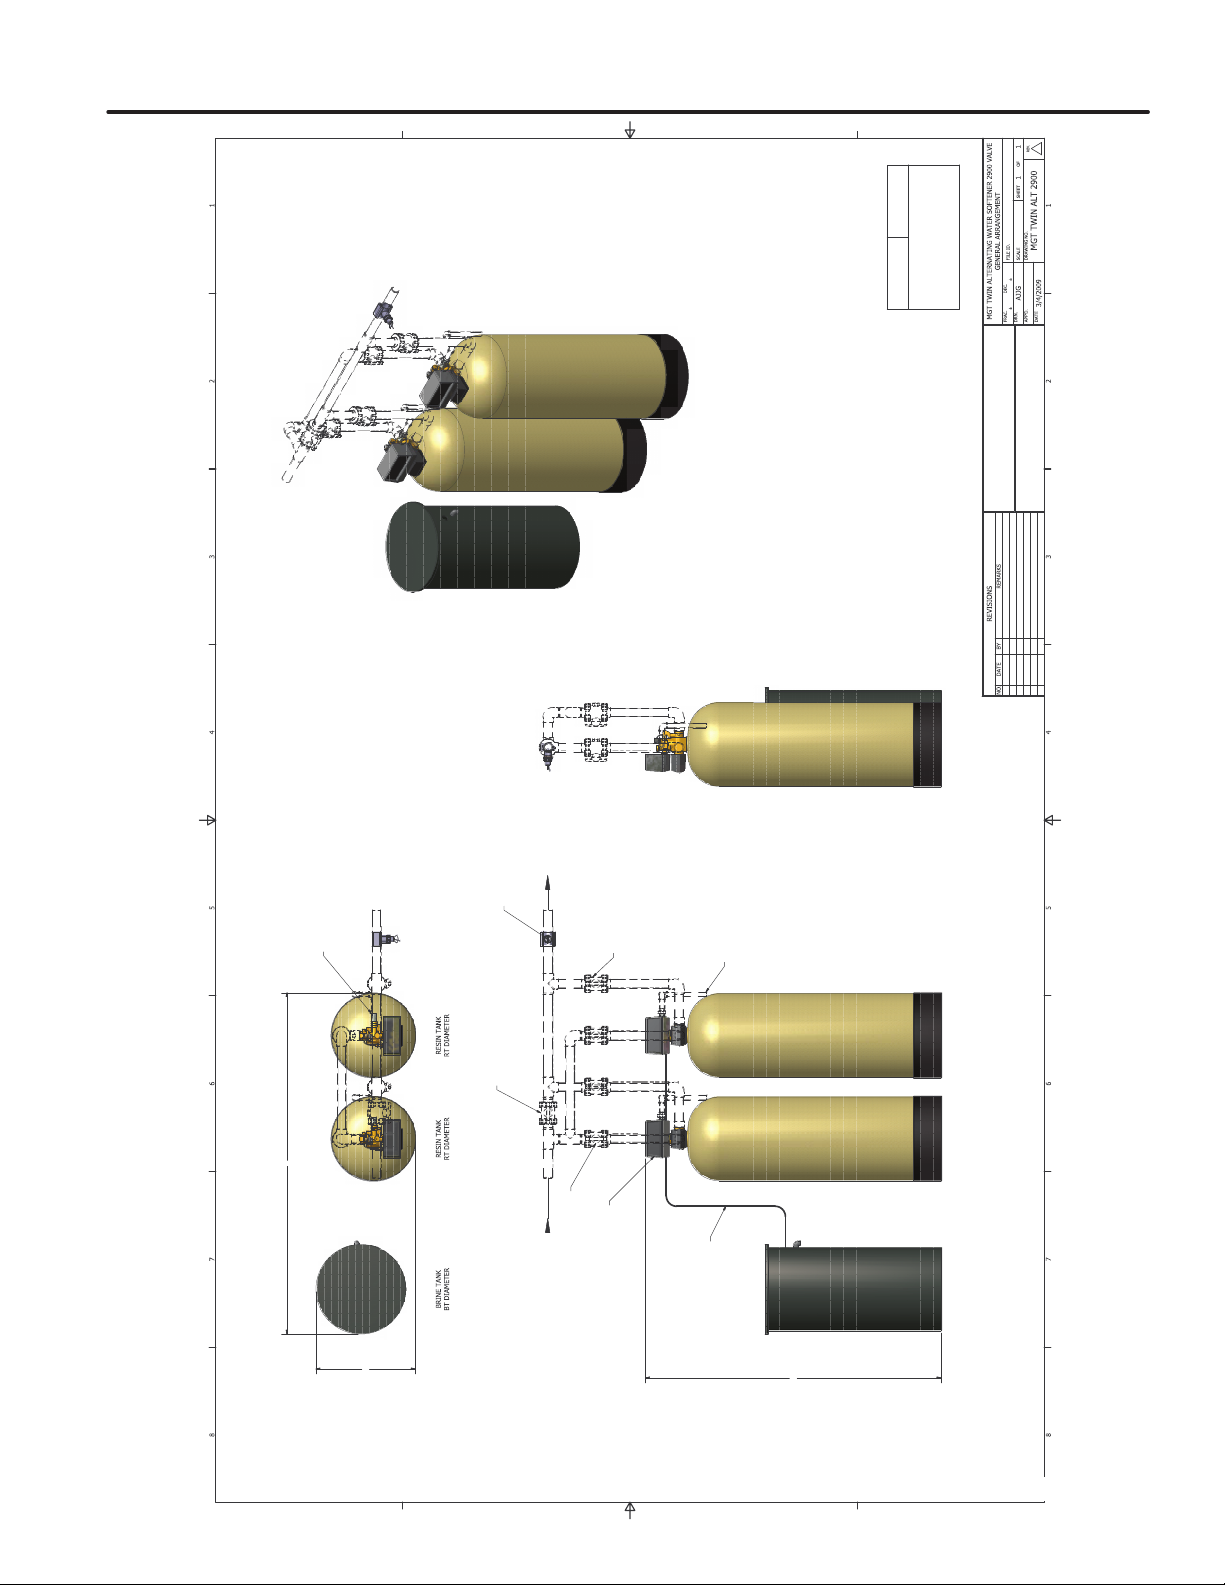
General Arrangement Drawings ....................................................................................................................................2
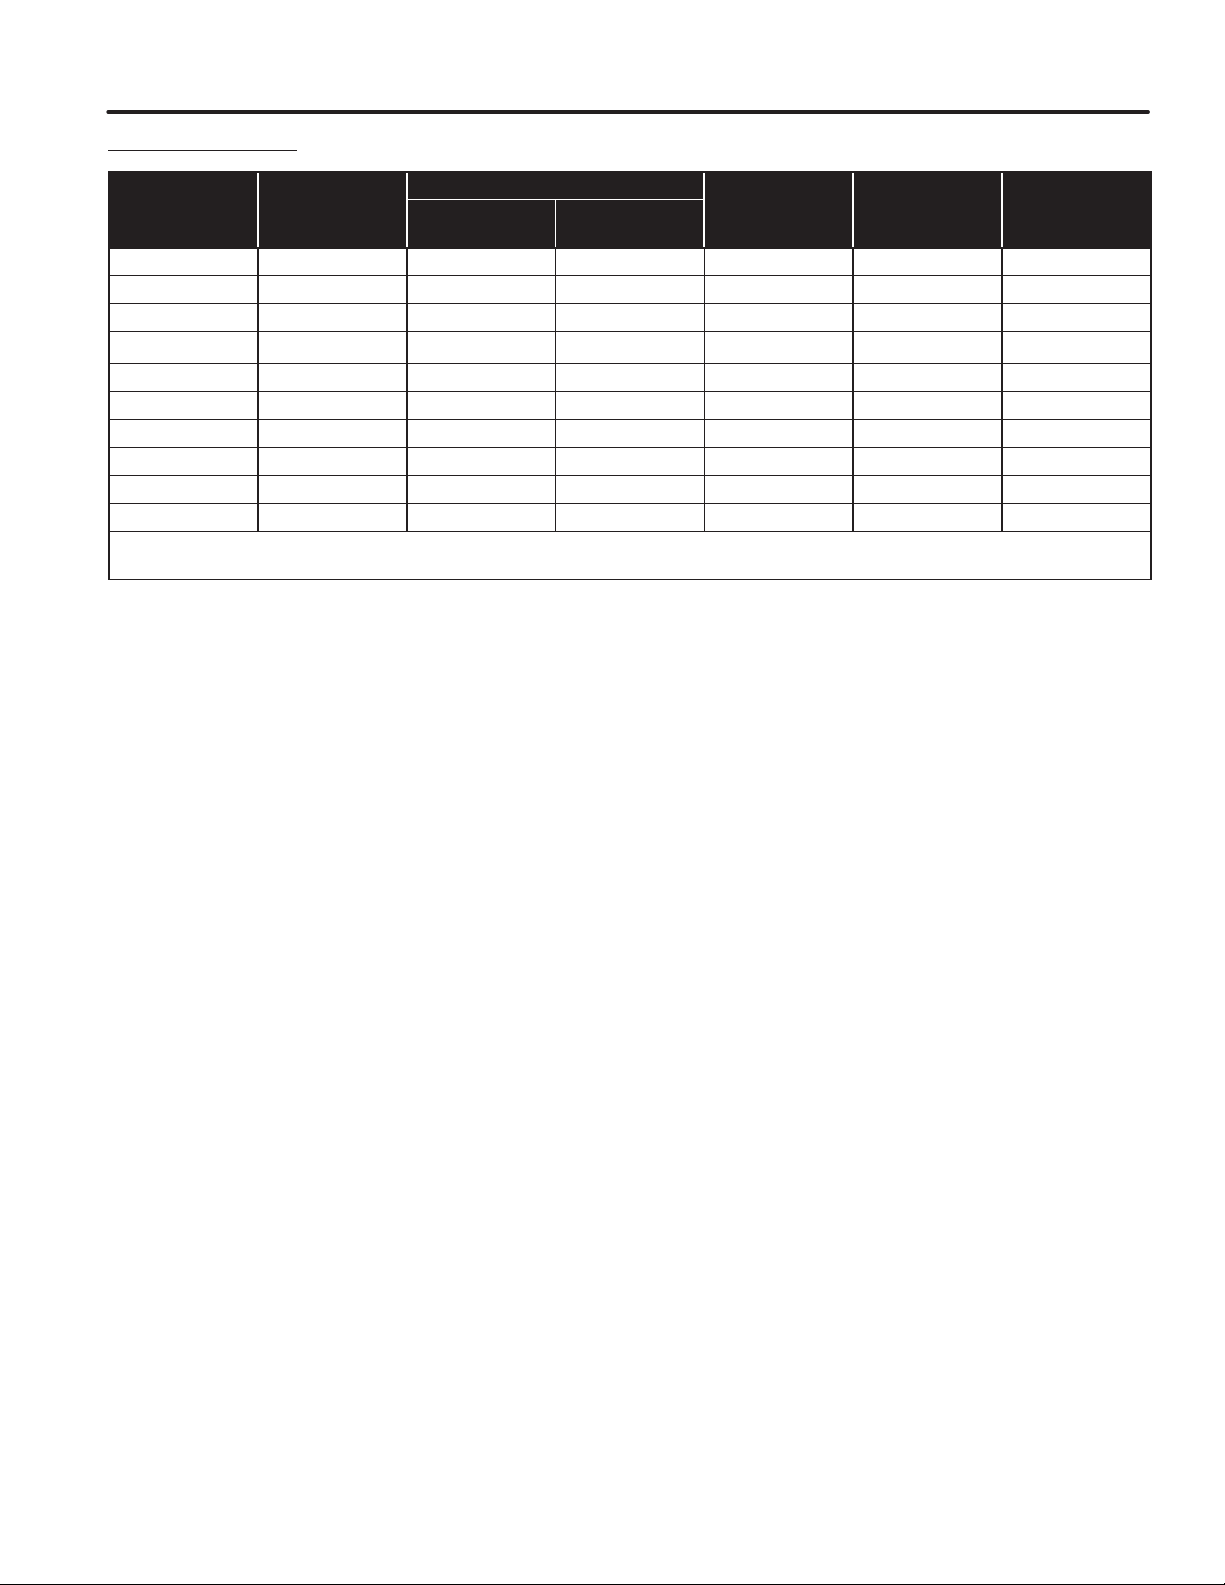
Dimension Chart ...........................................................................................................................................................4
Specication Chart .......................................................................................................................................................5
INSTALLATION
General Information.......................................................................................................................................................6
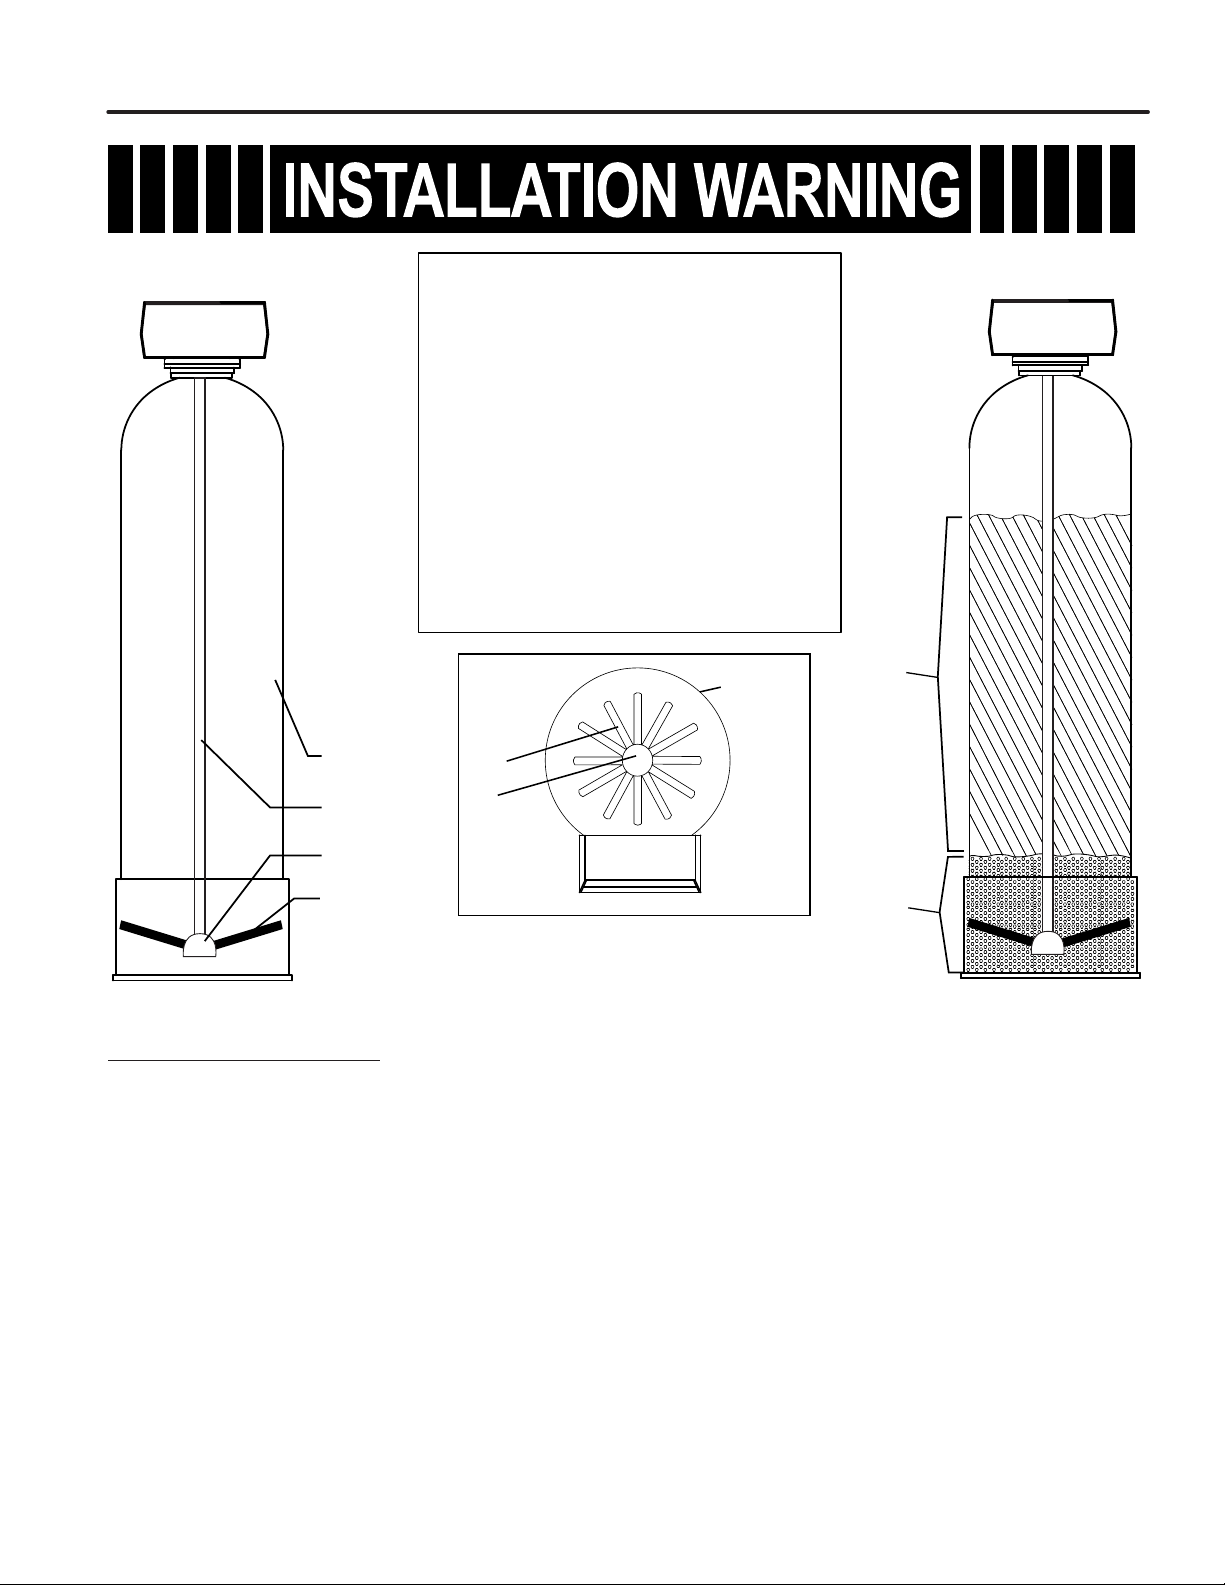
Loading Softener ..........................................................................................................................................................7
Mounting Control Valve ................................................................................................................................................7
Brine Tank Installation ...................................................................................................................................................8
Mounting Water Meter ...................................................................................................................................................9
Network Communication Cables/Connections ..............................................................................................................9
Power Supply Wiring ...................................................................................................................................................10
Connection Piping Installation .....................................................................................................................................10
OPERATION
Timer Display Features ............................................................................................................................................... 11
System Operation........................................................................................................................................................12
Timer Operation...........................................................................................................................................................12
Start-Up Procedures....................................................................................................................................................14
User Mode Programming Flow Chart..........................................................................................................................15
Batch Size Calculation.................................................................................................................................................16
Diagnostic Mode Flow Chart .......................................................................................................................................17
Master Programming Flow Chart.................................................................................................................................18
Master Programming Guide ........................................................................................................................................20
Flow Diagrams.............................................................................................................................................................21
Wiring Diagram............................................................................................................................................................27
MAINTENANCE
Powerhead Assembly .................................................................................................................................................28
NXT2 Timer Assembly.................................................................................................................................................30
Control Valve Assembly...............................................................................................................................................31
Brine Injector Assemblies ...........................................................................................................................................33
Meters and Flow Sensors ...........................................................................................................................................36
Brine Tank Assemblies ...............................................................................................................................................41
Service Assemblies ....................................................................................................................................................45
Troubleshooting...........................................................................................................................................................46