MARSHELL DG24800 User manual

1
DG24800 Manual

2
contents
1. Electrical system summarize……………………………………….….3
2. Function explain………………………………………………………….4
3. Daily maintenance……………………………………………………….6
4. General trouble service………………………………………………..10
Appendix 1( Trouble diagnose chart)……………………..……………12

3
1. Electrical system summarize
The electrical system includes battery, DC magnetoelectricity motor, controller, electric control wiring harness,
electricity capacity display, direction switch, function bar, speed bar and charger; Additional parts are front lights,
turning lights and rear lights.
Attention: the life of the car related to the status in earlier using. Please charge the battery full before using the
cart in right way.
1.1 Battery
The battery is in series by two DJM12V45AH lead-acid battery and supply the power DC24V to the cart, the
batteries are placed under the seat and inside the cover. Refer to the photo 1.
(Photo 1. exterior of battery)
1.2 DC magnetoelectricity motor
As the power driver of the cart, motor is a 800W which connected with the rear bridge, also has
magnetoelectricity brake.( refer to photo 2)
rear bridge
gear-box motor brake handle bar magnetoelectricity brake
(Photo2.rear bridge motor)

4
1.3 Controller
Controller is the main parts of the cart. Our cart use a
PG24V/120A programmed controller. Setting the parameter to
meet different guests. The controller has self-protect function For
example, when there are troubles the controller can display work
state on the light emitting diode. The users can diagnose and
solve the troubles through the information displayed.
(Photo3, controller)
1.4 the front parts
Front parts contains speed bar, direction select switch, electric lock, electricity display, function bar.
Speed bar direction switch electric lock E-display function bar
1.5 Electric wiring harness
All wiring harness consist of control wiring, front part wiring, light connected wiring and rear light wiring.
2. Function explain
2.1 electric lock
When the key turn at “OFF”, the car is parking. When the key turn to “.”( a red dot), indicating the car is power on.
Then you can choose forward or reverse to drive the car.
2.2 Direction select switch
This switch is used to choose the direction when driving. FWD means forward; REV means reverse.
2.3 Speed bar
Using Hall speed bar, Counterclockwise rotation of the hand car Continuously Variable
2.4 E-display
The electricity capacity is displayed by ten LED lights, When only 1 and 2 LED shine means there is lack of
power and need recharge.

5
2.5 Function bar
Contains horn button, turning switch and front light switch
Front light switch horn button turning switch
(Photo 5, function bar)
2.5.1 Horn button
When press the button, the horn will work.
2.5.2 Turning switch
Turning switch is a button to choose the direction, when press L( turn left), the front and rear turning light will
shine with ringing. The same as the right. When at the middle position there is no ringing.
2.5.3 Front light switch
There are 0 and 1 to indicate the front light is on or off. 1 means the light is on, 0 means the light is off.
2.6 charge socket
When charging the battery you should move the cap of the socket up, insert the tie-in into the socket and
connect the other end with the power supply. When the red light on means the charger is work, when the green
light on means it is full of charge.
2.7 Current over loading protection tool
When the car is always climbing, over load or other troubles occurred and lead to big
current. The protection tool will cut of the power to protect the controller and the
motor. When troubles solved you can press the white button and the circuitry will recover.
2.8 Clutch handle bar
A clutch handle bar is assembled on the rear bridge. When the bar towards down, the car is brake. When the
bar towards up, the car can be push easily.
2.9 Charger
The charger charge the electric bottle by constant current and constant voltage( will not influence the electric

6
bottle life when over charge), can adjust voltage and current self-regulation, with the charge time, the electric
bottle voltage will raise gradually. If adopt the charger with the cart, it will extend the battery use life.
3、Daily Maintenance
The use life of the electric cart have a great relation with the primary use circumstance, before use the new cart
should charge the battery full, test the tire pressure, keep the cart driving with lower speed and small loads, let
the parts cooperate go on a period, improve the cooperate precision, in order to avoid the abrasion over early
and improve use age.
3.1 Battery use and maintenance
The single golf cart use the sealed valve lead acid battery and belong to free maintenance product, don’t try to
open, maintenance or other change, as it will damage the battery or cause accident.
3.1.1 Battery right use
1) Don’t open the cover to supply electrolyte and change safety valve.
2) Check the battery if have damage on a certain time, crack or abnormity (check 1 time per half a year)
3) Clean the battery surface on a certain time, ensure the battery connect well and check the terminal protect
jacket if loose from the electrode( check 1 time per half a year)
4) The usage of the battery can not excess deep discharge, the discharge deep is better around 30%-50%,
usually no more than 80%, should charge immediately after use, can not store when short of electricity.
5) When charge, should not keep the charger charge the battery last too long, usually no more than 20 hours.
6) Only allow to charge the battery by our company provide charger.
3.1.2 Clean battery and maintenance procedure
1) Offload the saddle and cover
2) Offload the battery connect wire to cut off the electricity
3) Clean the battery surface, it should be airing the battery before connect the wire
4) Ensure the connection firmly
3.1.3 Change the battery
Requiretool Number
Bigcrossscrewdriver 1
5mm inner six angle spanner 1
8-10mm insulation hatch spanner 1
Change procedure:
1) Close the electron lock key
2) Remove the seat and rear body( please note don’t pull the connect wire forcibly
▲Please use the brainpower charger provide by our company, the battery will come to float
charge when full, so it will not over charge when charge long time. We suggest charge time no
more than 20hours.

7
3) Remove the battery connect weir, take out the battery
4) Put in 2 pcs same model battery (please note the direction keep same as before)
5) Connect the battery weir (please note the don’t connect the anode&cathode in reverse, or else will
damage the battery, controller or circuit)
6) Fit on the rear body and seat in turn
3.2 Use and maintenance of the controller
There is no repairable parts on controller itself for the user, so please do not try to open the controller to
repair or change it, otherwise the controller may damaged. Please use controller in dry, room temperature,
and clean state, and keep the controller to be cleaned, remove the controller surface of the dust and rust,
particularly corrosive substances, so as not to cause the electronic control failure. It is strictly prohibited to
use the controller in wet, overload, over-temperature environment. Please see picture of controller interface
specification in right side.
(controller interface specification)
3.2.1 Controller maintenance process
1) Disassembly the seat and the rear cover
2) Remove the battery cable to cut off the electricity
3) Clean the dust and corrosion material at cable terminal, wipe the controller with a damp cloth. Please make
sure the controller is dry before connect the battery cables.
4) Make sure that the wiring plugs are connected stablely.
5) Make sure the mounting bolts are properly tightened
3.2.2 Controller Replacement
Tools required:Qty
Large Phillips screwdriver 1

8
5mm inner hexagon spanner 1
8mm open-end spanner 1
Replace the process (as pictures shown at right side):
1) Turn off the electric ignition key
2) Disassembly the seat and the rear cover (be careful to avoid pulling the cables hard)
3) Disassembly the power cable, motor output cable and 14p connector plug.
4) Get out the controller.
5) Installed the new (parameters adjusted) controller
6) Connect all the plugs (Take care do not connect the power supply polarity wrong, otherwise it will
damage the controller)
7) Assembly the cover and seat.
3.3 Use and maintenance of the motor
3.3.1 The proper use of motor
1) There is no repairable parts on motor and rear axle itself for the user, so please do not try to open the
controller to repair or change it, otherwise the motor and rear axle may damaged.
2) There is no repairable parts on motor and rear axle itself for the user, so please do not try to open the
controller to repair or change it, otherwise the motor and rear axle may damaged.
3) It is prohibited to let the motor overload or stall for a long time
4) It is prohibited to let the water and other dust into the motor, and the water will get into the motor when the
vehicle drive across more than 15 cm of water, which may permanently damage the motor
3.3.2 Motor maintenance
1) Clean the motor surface frequently, especially motor educe wire(1 time per month)
2) If there have noise when use the motor, please stop use and recover it or change a one.
▲Attention: Make sure power supply positive and negative polarity is not
reversed when replace the controller, otherwise it will damage to other parts of
the controller o
r
batter
y
.

9
3.3.3 Motor change
Tools required:Qty
Large Phillips screwdriver 1
5mm inner hexagon spanner 1
8mm open-end spanner 1
17mm club spanner 1
1)Turn the ignition key at the “OFF”position: disassemble the seat and cover, take off the motor
connector wire; disassemble the 4 M10*45 column hut screws on the fixed frame of rear spring,
then take off the fixed frame.
2)Disassemble the 2 screws and the take out the motor.
3)Install the mew motor, pay attention to the handle of the clutch, make it at the correct
position(backward and lean on down), fasten the 2 tighten bolts.
4)Install all parts by the opposite sequence as disassemble.
3.6 Replace the front light bulb
1) Turn off the ignition key switch.
2)Loose the tighten bolts on the front light
and take off the front light.
3)The front light is integrity, so just replace
it and reinstall it is ok.
3.7 Replace the turning light bulb
1) Turn off the ignition key switch.
2) Turn the turning light by 90°,take off the light holder, disassemble the bulb and install the new bulb.
3) Install it by the opposite sequence as disassemble.
3.8 Replace the reverse buzzer
Tools required:Qty
Big truss-head screwdriver 1
Plier 1
Prick 2
1) Turn off the ignition key switch

10
2)Loose the fixed screws on the vehicle head, and turn it down, cut the prick by plier on the reverse buzzer,
and take off the reverse buzzer.
3) Install the new reverse buzzer and reinstall all the parts by the opposite sequence as disassemble.
3.9 Change the charger socket
Tools required:Qty
big cross screwdriver 1
5 mm hex spanner 1
1) Switch the electric key to the position “off”
2) Take apart the seat and the rear body
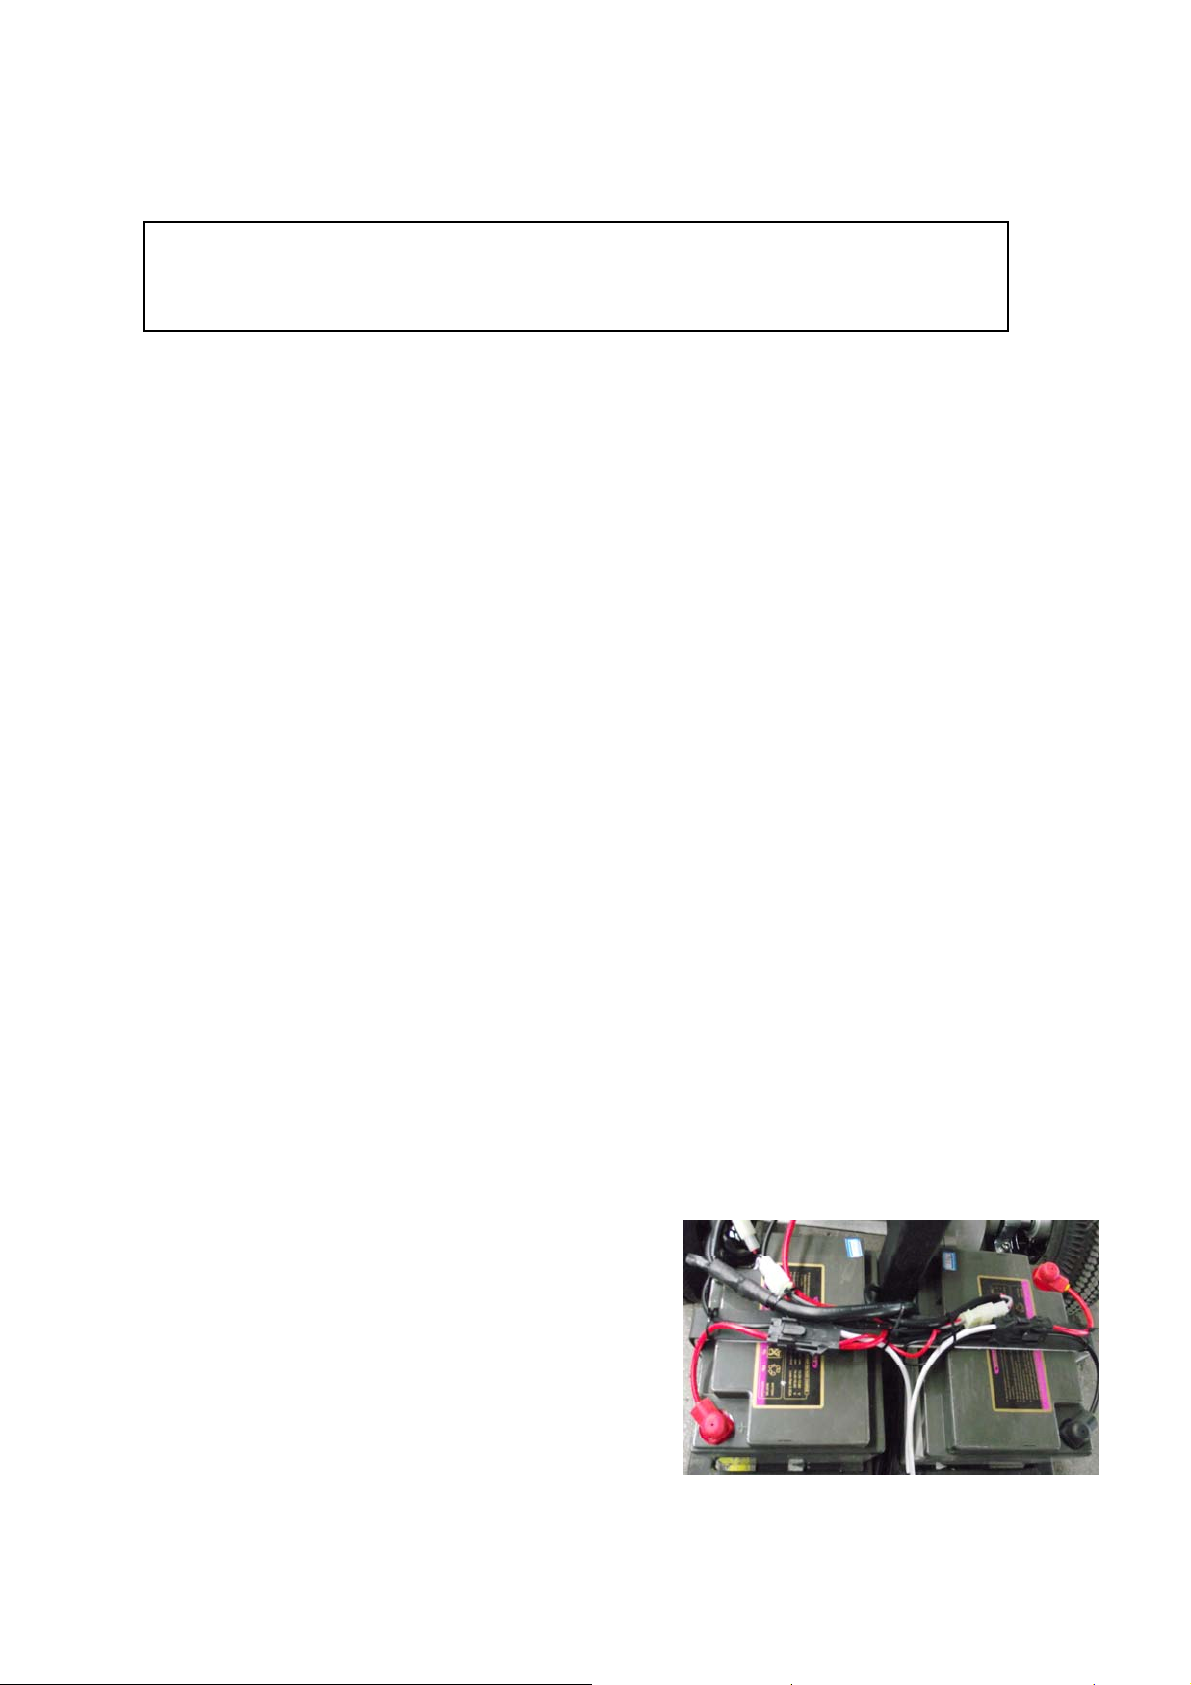
3) Remove tighten screw of the charger socket
4) Disengage the colligation of the charger socket connection wire, pull out of the connection terminal and take
out of the charger socket
5) Change a new charger socket, and install all the spare parts in reverse.
3.10 Use and maintenance of the charger
High voltage in the charger and no spare parts can be repaired, so it is forbidden to open the charger. If any
faults appear, please contact the dealer or professional people to repair it. There are many protection functions
in the charger, so a special man to attention it when charging is no need. When full charged, the charger will
stop charging automatically, so there is no need to pull out the charger. But the charger can not be linked to the
mobility to long, usually less than 20 hours.
1) Charger can only be used for DG24800 series of electric car, can’t be used as the other power.
2) The input voltage of the charger is limited to the frequency voltage. When higher than the city voltage (more
than 10% of the nominal voltage) and industrial frequency voltage the charger is strictly prohibited.
3) Charger is worked under dry, normal temperature and ventilation environment, and prohibited in high
humidity and high temperature environment.
4) When charging switch the key to "OFF" position, and put the charger output plug into the socket, and then
put the charger input plug into the socket.
5) When overheat (≥70 ℃), strike fire and smoke phenomenon appears, the charger should be quickly away
from the power, after get rid of the fault the charger can be used again.
4、General trouble service
A single golf cart occurs a failure, blindly take apart the parts is not allowed, also can't try to change the electrical
wiring. When meet special fault, look for professional technology person or contact the dealer processing is
needed.
Fault phenomena 1: Open the electronic lock key power panel display bright does not light, when speed up the
cart it also don't walk.
Cause analysis: The "all no" phenomenon is usually power supply circuit’s fault, it cause no electricity. The reason

11
cause of the fault components are: battery connecting wire loose, overload protection device for large current and
protection (disconnect) and electronic lock connection wire loose or damage etc.
Maintenance procedures:
First, check the current recovery insurance, and press the white plastic cover on the reinstatement of the
insurance, if pop-up indicates that the insurance has returned to function. If failure is not eliminated then go on
next step;
Close the key and then open it once, feels the lock switch is normal and no shaking loose feeling, or it will need to
replace the locks. If normally, then go on next step;
Take apart the seat and the rear body, carefully checking if it’s the battery connecting wire not firm and
connector is not good contacts. Check the voltage of the charger socket 1 and 2 .Normally is 24V, or it is the
connection wires problem.
Fault phenomena 2:
Open the electronic key power indicator indicates light, when speed up the cart it doesn't walk.
Cause analysis: Power shows light that shows the circuit is normal, that is usually the clutch handle position of the
handle is wrong.
Elimination method: put the clutch handle at the correct position (direction down).
Fault phenomena 3:
Open headlight switch, headlamps do not bright but back one light.
Cause analysis: tail lights and headlamps switched by headlight, tail light but headlamps do not bright only have
two reasons:
1, The headlamps bulbs burn out, so replacement bulbs are needed.
2, Headlamps connections and headlamps lead wire are loose, then contact undesirable parts.

12
Attach List
Trouble diagnose guide
LED code Trouble phenomenon Reason analyse Resolvent
1, 1 THERMAL CUTBACK over-/under-temperature
cutback
1. Temperature >97 C or < -25 C.
2. Excessive load on vehicle.
3. Operation in extreme environments.
4. Electromagnetic brake not releasing
properly.
1, 2 THROTTLE FAULT 1 throttle fault
1. Throttle input wire open or shorted.
2. Throttle pot defective.
3. Wrong throttle type selected.
1, 3 SPD LIMIT POT FAULT speed limit pot fault 1. Speed limit pot wire(s) broken or shorted.
2. Broken speed limit pot.
1, 4
LOW BATTER
Y
VOLTAGE battery voltage too low 1. Battery voltage <17 volts.
2. Bad connection at battery or controller.
1, 5 OVERVOLTAGE battery voltage too high
1. Battery voltage >36 volts.
2. Vehicle operating with charger attached.
3. Intermittent battery connection.
2, 1 MAIN OFF FAULT main contactor driver Off
fault 1. Main contactor driver failed open.
2, 3 MAIN CONT FLTS main contactor fault
1. Main contactor welded or stuck open.
2. Main contactor driver fault.
3. Brake coil resistance too high.
2, 4 MAIN ON FAULT main contactor driver On
fault 1. Main contactor driver failed closed.
3, 1 PROC/WIRING FAULT HPD fault present for >10
sec.
1. Misadjusted throttle.
2. Broken throttle pot or throttle mechanism.
3, 2 BRAKE ON FAULT brake On fault 1. Electromagnetic brake driver shorted.
2. Electromagnetic brake coil open.
3, 3 PRECHARGE FAULT precharge fault 1. Controller failure.
2. Low battery voltage.
3, 4 BRAKE OFF FAULT brake Off fault 1. Electromagnetic brake driver open.
2. Electromagnetic brake coil shorted.
3, 5 HPD HPD (High Pedal Disable)
fault
1. Improper sequence of throttle and KSI,
push, or inhibit inputs.
2. Misadjusted throttle pot.

13
4, 1 CURRENT SENSE
FAULT current sense fault 1. Short in motor or in motor wiring.
2. Controller failure.
4, 2 HW FAILSAFE motor voltage fault
(hardwarefailsafe)
1. Motor voltage does not correspond
tothrottle request.
2. Short in motor or in motor wiring.
3. Controller failure.
4, 3 EEPROM FAULT EEPROM fault 1. EEPROM failure or fault.
4, 4 POWER SECTION
FAULT power section fault
1. EEPROM failure or fault.
2. Short in motor or in motor wiring.
3. Controller failure.
LED code example:1,4 denotation LED flash a time first, pause several seconds and continue flash 4 times
Table of contents