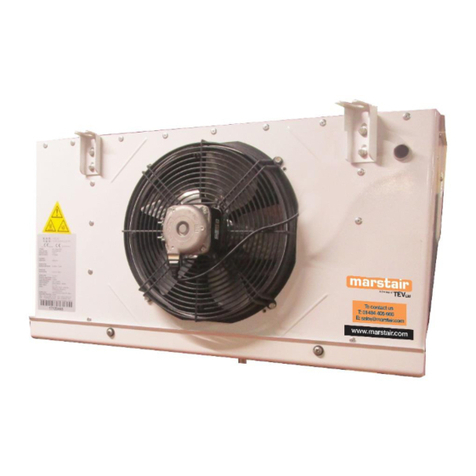
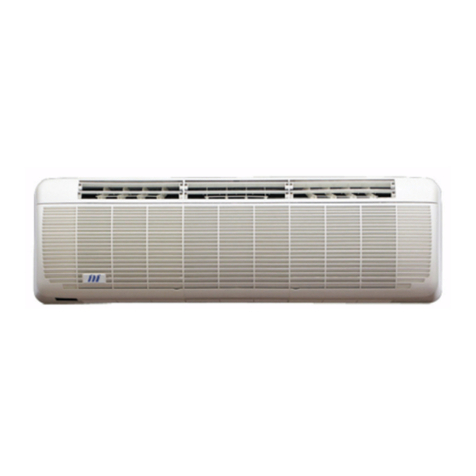
Marstair WM 60 User manual
Other Marstair Air Conditioner manuals

Marstair
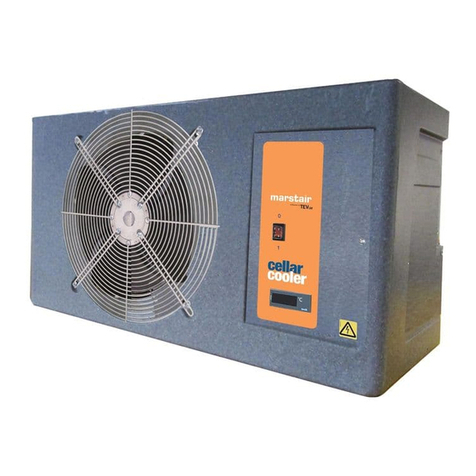
Marstair CC 600 User manual
Marstair
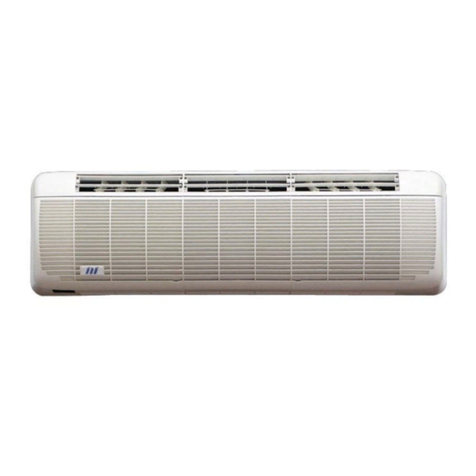
Marstair CWM 55 User manual

Marstair
Marstair DXD(H) 50 User manual

Marstair
Marstair A2LCABINETMATCH User manual
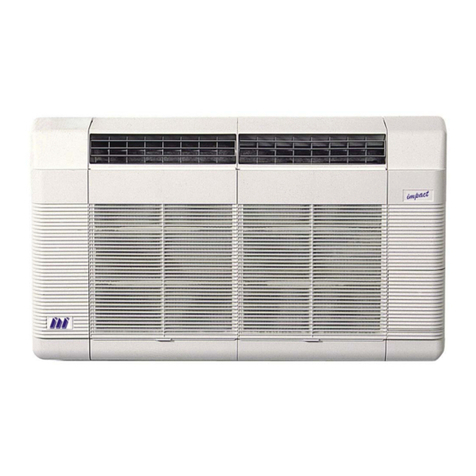
Marstair
Marstair IMPACT 20 User manual
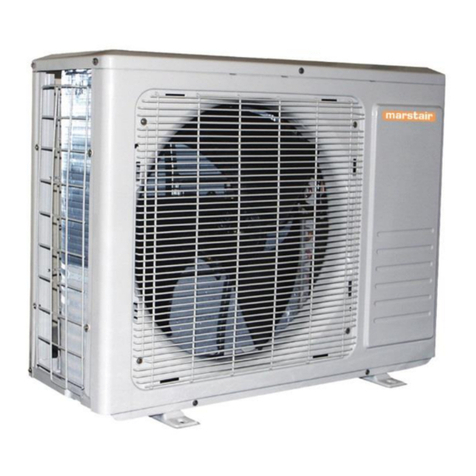
Marstair
Marstair 17 Series User manual

Marstair
Marstair DRC+ 30 User manual
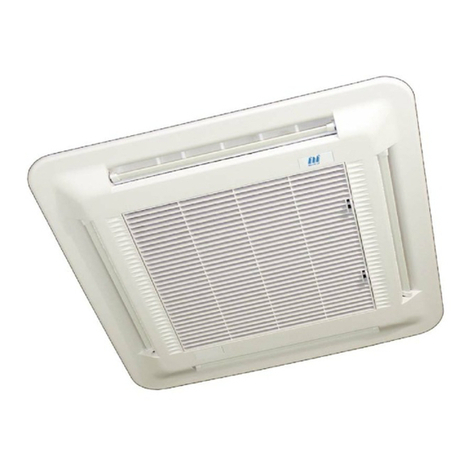
Marstair
Marstair 600E/M User manual

Marstair
Marstair ECO+ Operating instructions
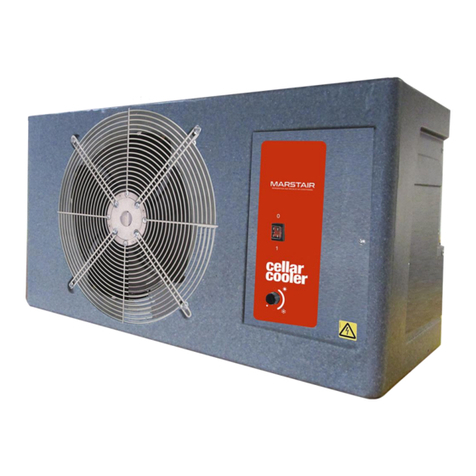
Marstair
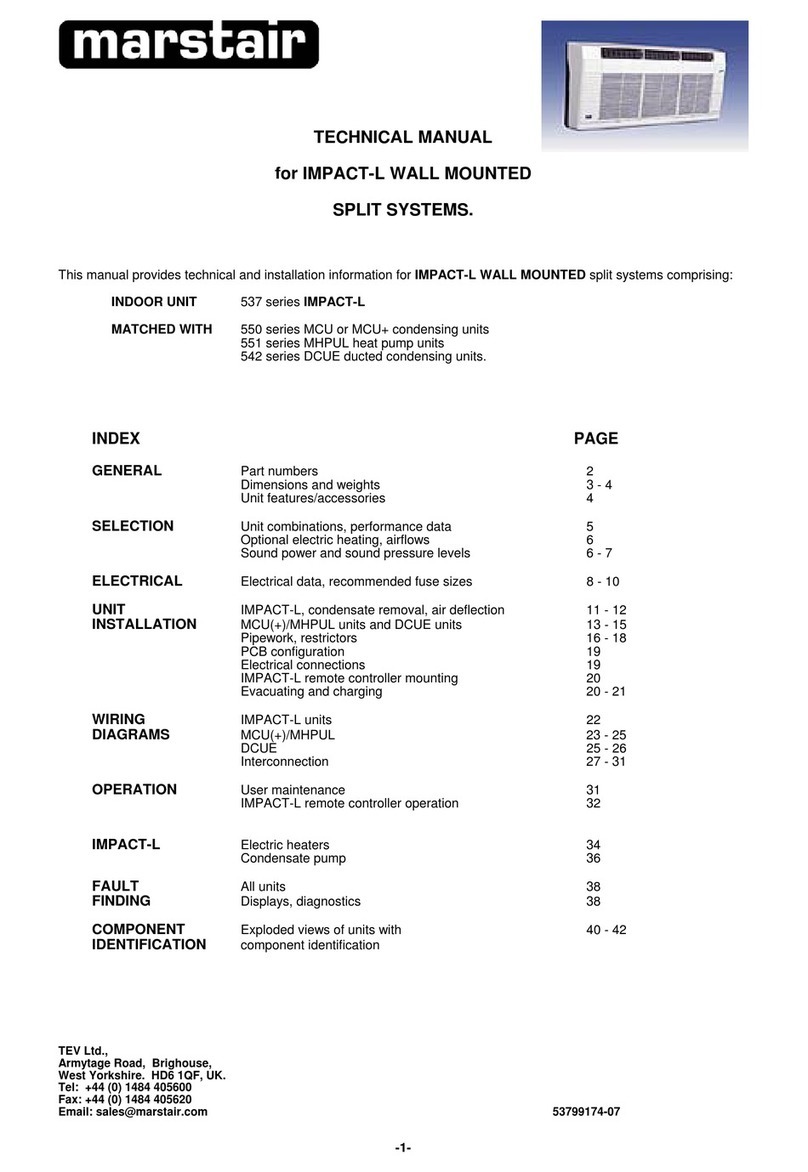
Marstair CX Series User manual
Marstair
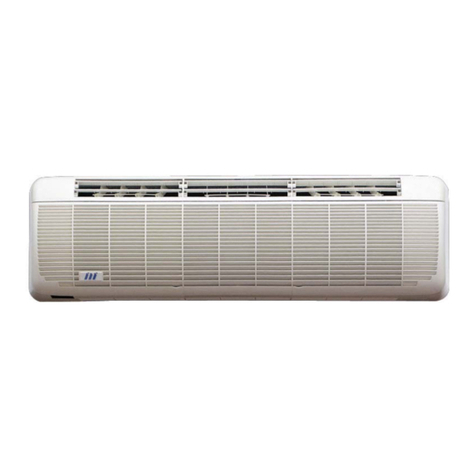
Marstair 537 series User manual
Marstair
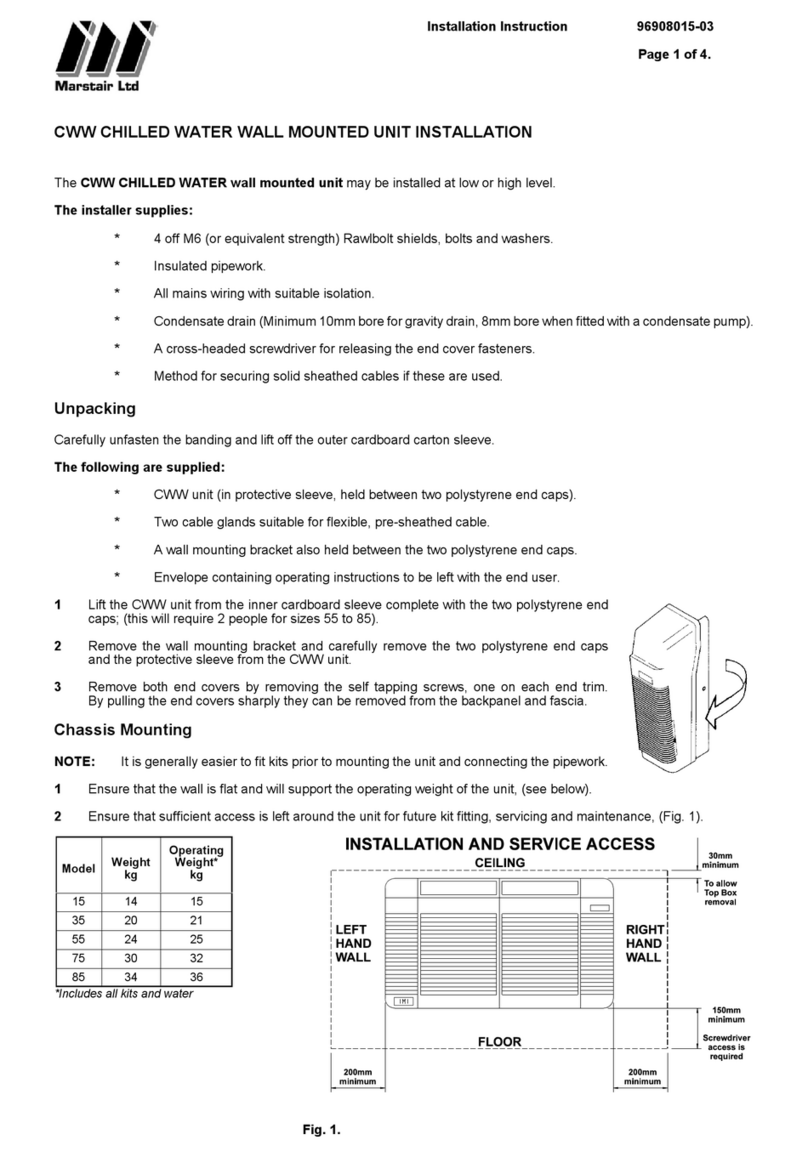
Marstair CWM L 55 User manual
Marstair
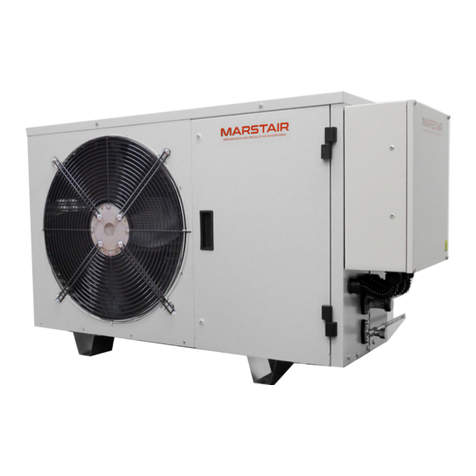
Marstair CWW 15 User manual
Marstair
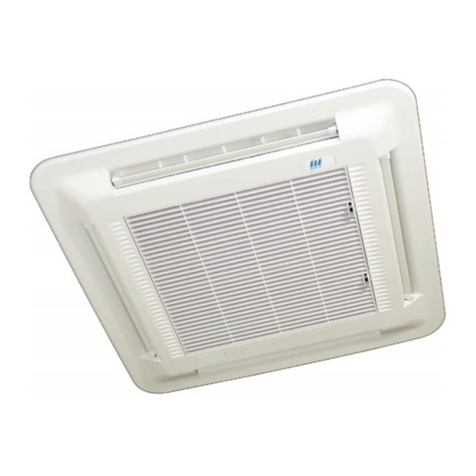
Marstair A2LSYSTEMATCH SMC 15 User manual
Marstair
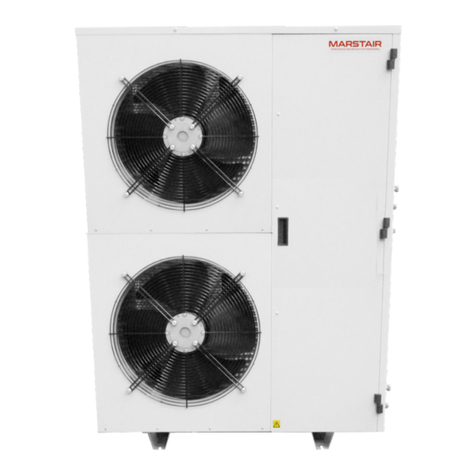
Marstair CC 875 E User manual
Marstair
Marstair CKC 15 1/50 User manual

Marstair
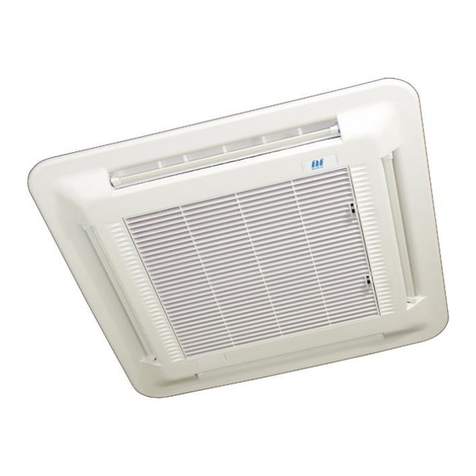
Marstair CX Series User manual
Marstair
Marstair CC 600 User manual

Marstair
Marstair CKC 20 1/50 User manual

Marstair
Marstair CX Series User manual
Popular Air Conditioner manuals by other brands

Fujitsu
Fujitsu ASYG 09 LLCA installation manual

York
York HVHC 07-12DS Installation & owner's manual

Carrier
Carrier Fan Coil 42B Installation, operation and maintenance manual

intensity
intensity IDUFCI60KC-3 installation manual

Frigidaire
Frigidaire FAC064K7A2 Factory parts catalog

Sanyo
Sanyo KS2432 instruction manual

Mitsubishi Electric
Mitsubishi Electric PUHZ-RP50VHA4 Service manual

Panasonic
Panasonic CS-S18HKQ Service manual

Panasonic
Panasonic CS-E15NKE3 operating instructions

Gree
Gree GWH18TC-K3DNA1B/I Service manual

Friedrich
Friedrich ZoneAire Compact P08SA owner's manual

Daikin
Daikin R32 Split Series installation manual

