Marten Coltrane 2 User manual

Owners manual
2

Owners manual
Table of contents
Introduction
Marten Philosophy
Unpacking
Quick Setup
Connecting the loudspeakers
Choice of cable
Bi-wiring/Bi-amping
Connections
Burn-in
Room Acoustics
Positioning
Loudspeaker Placement
Distance to back and side walls
Focusing the Loudspeakers
Toe-in
Bass-adjustment
Enclosed CD
Care of Loudspeakers
Service
Warranty
Serial Number
Technical Specifications
2
3
3
4
4
5
6
6
7
8
8
8
9
9
10

Owners manual
Introduction
Marten Philosophy
3
Congratulations! You are now the proud owner of a pair of Marten loudspeakers. At the
forefront of current designs, the Coltrane 2 will reveal the full emotional range of music
with vivid dynamics and detail.
Properly installed, your Coltrane 2 loudspeakers will give you many years of listening
pleasure.To realize the highest sound quality from your loudspeakers, some important
topics will be addressed in the following pages. By following these suggestions, you
will be able to enjoy sound that only Marten loudspeakers can deliver.
As a Marten loudspeaker owner, you are always welcome to come to our visitors
center, where, in a relaxed environment, you can listen to our full range of loudspeakers.
Marten loudspeakers are extremely sensitive instruments, and will give you many
enjoyable musical moments.
Marten loudspeakers create certain demands on the accompanying hi-fi equipment,
the burn-in process, and the placement of the speakers in the listening room. Even
small changes in any of these areas can change the sound considerably.
The sound and musicality of Marten loudspeakers depend upon such factors as your
choice of cables and source components. Even the quality of the recordings matters.
Marten loudspeakers will reproduce, in extremely high detail, the slightest imperfection
in recordings and in stereo systems.
The pure, present, detailed sound image and musicality of a Marten loudspeaker
defines high end. Emphasis is not only put on great sound,
but on design as well. Marten speakers are easily integrated in any living environment.

Owners manual
Unpacking
Quick Setup
When you receive your loudspeakers, you should make sure that the shipping box is in
its original state. If that is not the case, please contact your dealer.
Unpack the loudspeaker carefully, as there are several parts that can be damaged.
We suggest that you keep your box and inserts. You may need them for transporting
your loudspeakers.
Make sure that each of your shipping boxes contains the following:
• 2 pcs Coltrane 2 loudspeaker
• 8 pcs Black Diamond Racing pucks and cones
• 4 pcs terminal jumpers (for single wiring)
• 1 pcs Owner’s Manual
We recommend that at least two people help each other in unpacking
the loudspeakers.
• Open the shipping boxes close to the intended listening place.
• Make sure that the box is placed upon a soft surface.
• Open the box and remove the plastic foam material.
• Lift the speaker out from the box. One person lifting at each end and place it lying
down on a soft surface.
• Remove the cloth material from the loudspeaker.
• Assemble the cones to the stainless steel stands.
• Raise the speaker upright and place it on the Black Diamond Racing pucks
Your Coltrane 2 loudspeakers need quite a bit of playing time in order to reach their
maximum performance. The use of the burn-in CD enclosed with the 2 loudspeakers is
recommended to speed up this process. Follow these steps:
1. Connect the loudspeakers to your system.
2. Put the CD in your CD player.
3. Choose track 1 and set it on repeat
4. Set the volume to a moderate level
The CD should be played for a minimum of 24 hours before attempting to adjust the
loudspeaker placement. For more in-depth information about this process, please refer
to the section about burn-in.
4

Owners manual
Connecting the Loudspeakers
Choice of cable
Bi-wiring/bi-amping
Connections
To make the most of your Coltrane 2 loudspeakers, please consider the
following suggestions:
The impact loudspeaker cables can have on the sound is dramatic. Be sure to use the
same brand, type, and length of cable on each channel. Mixing different types and/or
lengths of cable can upset the precise timing and balance of your loudspeaker.
The 2 are designed with bi-wiring in mind.
If you prefer bi-amping, we recommend that you use the same type of cable for best
sound reproduction.
For single-wire applications, please use the enclosed jumpers.
At the back of your 2, you will find two pairs of WBT Nextgen terminals that will accept
any standard connection. Whatever type of connection you use, make sure that the
contact is tight, and have a proper contact area. Tighten the posts, and then retighten
after a few days to make sure that the connections haven’t loosened.
Always turn off the power of your entire system before making connections to your
speakers. We recommend using an amplifier with sufficient power (typically a minimum
of 40 watts).
In order to obtain the best localization of instruments and voices, as well as the
deepest, most natural bass, it is important to connect your loudspeakers in phase
(which means that the drivers are moving in and out in the same direction and at the
same time). The connectors on the speakers are clearly marked, and those on your
amplifier and speakers cables should be also be marked. Keep all markings consistent
in order to ensure in-phase connections.
5

Owners manual
Burn-in
Room Acoustics
The higher the quality of a loudspeaker system, the more demanding it will be
regarding burn-in time. Your newly unpacked 2 loudspeakers need quite a bit of
playing time to reach their optimum performance capability.
We have enclosed a CD to help speed up this process. Please allow the CD to be run
for a minimum of 24 hours before attempting to adjust the placement of the
loudspeakers in your listening room. Due to the high-tech materials used in the drivers,
the 2 will sound a bit harsh in the beginning, but after 50 hours of playing your
loudspeakers will sound good.
After about 200 hours of playing, your system will be optimized. The sound will be
more open and detailed, and display more natural musical warmth.
Compare the process to that of a fine musical instrument, which has to be played for a
period of time before reaching its full musical potential.
A good listening room has just the right amount of reflection and absorption. The
performance of any loudspeaker depends upon the speaker's location in the room and
the acoustical conditions in that part of the room. Furnishings, size, and proportions all
effect tonal balance, imaging, and bass characteristics.
To test the sonic balance of your room, stand in the location where the speakers will be
installed and clap your hands two or three times. If the room is reverberant, you will
hear a sharpness or echo. If the room is dull, the sound of the clap will decay rapidly
and there will be little or no echo.
Large areas of glass, mirrors, or wood panelling will reflect sound waves and often
result in brittleness and extreme brightness. You can correct this by breaking up these
sound waves with softer surfaces like draperies or wall hangings. Try to create random
reflections. Put a lot of time into the placement of the speakers. Experimenting with
this will be well worth the effort.
6

Owners manual
Positioning Every room is shaped and decorated differently, and is therefore presents unique
requirements for the positioning of loudspeakers. Your loudspeakers will function at
their best when placed on a flat, stable surface.
The space between the loudspeakers should be free. Ideally, the space should be
symmetrical in the area around the loudspeakers. We recommend experimenting with
the placement of your loudspeakers in order to obtain the best balance, openness, and
perception of depth.
One of the things that make Marten loudspeakers different is that they have been
designed to stand relatively close to the back wall of your listening room. Other
manufacturers usually recommend that their speakers be free-standing in the room to
avoid reflection from the back wall. However, for good results, the Coltrane 2 should be
no closer than 40 cm (15.7 Inch) from the rear wall.
Marten loudspeaker should not be placed close to a side wall, as reflections from
these can disturb the depth of the sound image.
Due to their highly advanced technology, the Coltrane 2 loudspeakers will deliver
excellent imaging, even at a relatively close listening distance. The distance ultimately
depends on the room’s shape, size, and your listening taste. Please use track 2 of the
enclosed CD as a guide to focusing the sound image.
The goal is to have balanced sound. Ideally, you should be able to place the recorded
voice in the middle of your speaker arrangement. Ultimately, the shape, size, and
furniture in the listening room all influence the end result, so take some extra time to
experiment with the position of the loudspeakers.
The loudspeakers should normally be toed in toward the listening area to focus the
sound. The amount of toe-in will depend upon your listening preferences and the room
environment and dimensions.
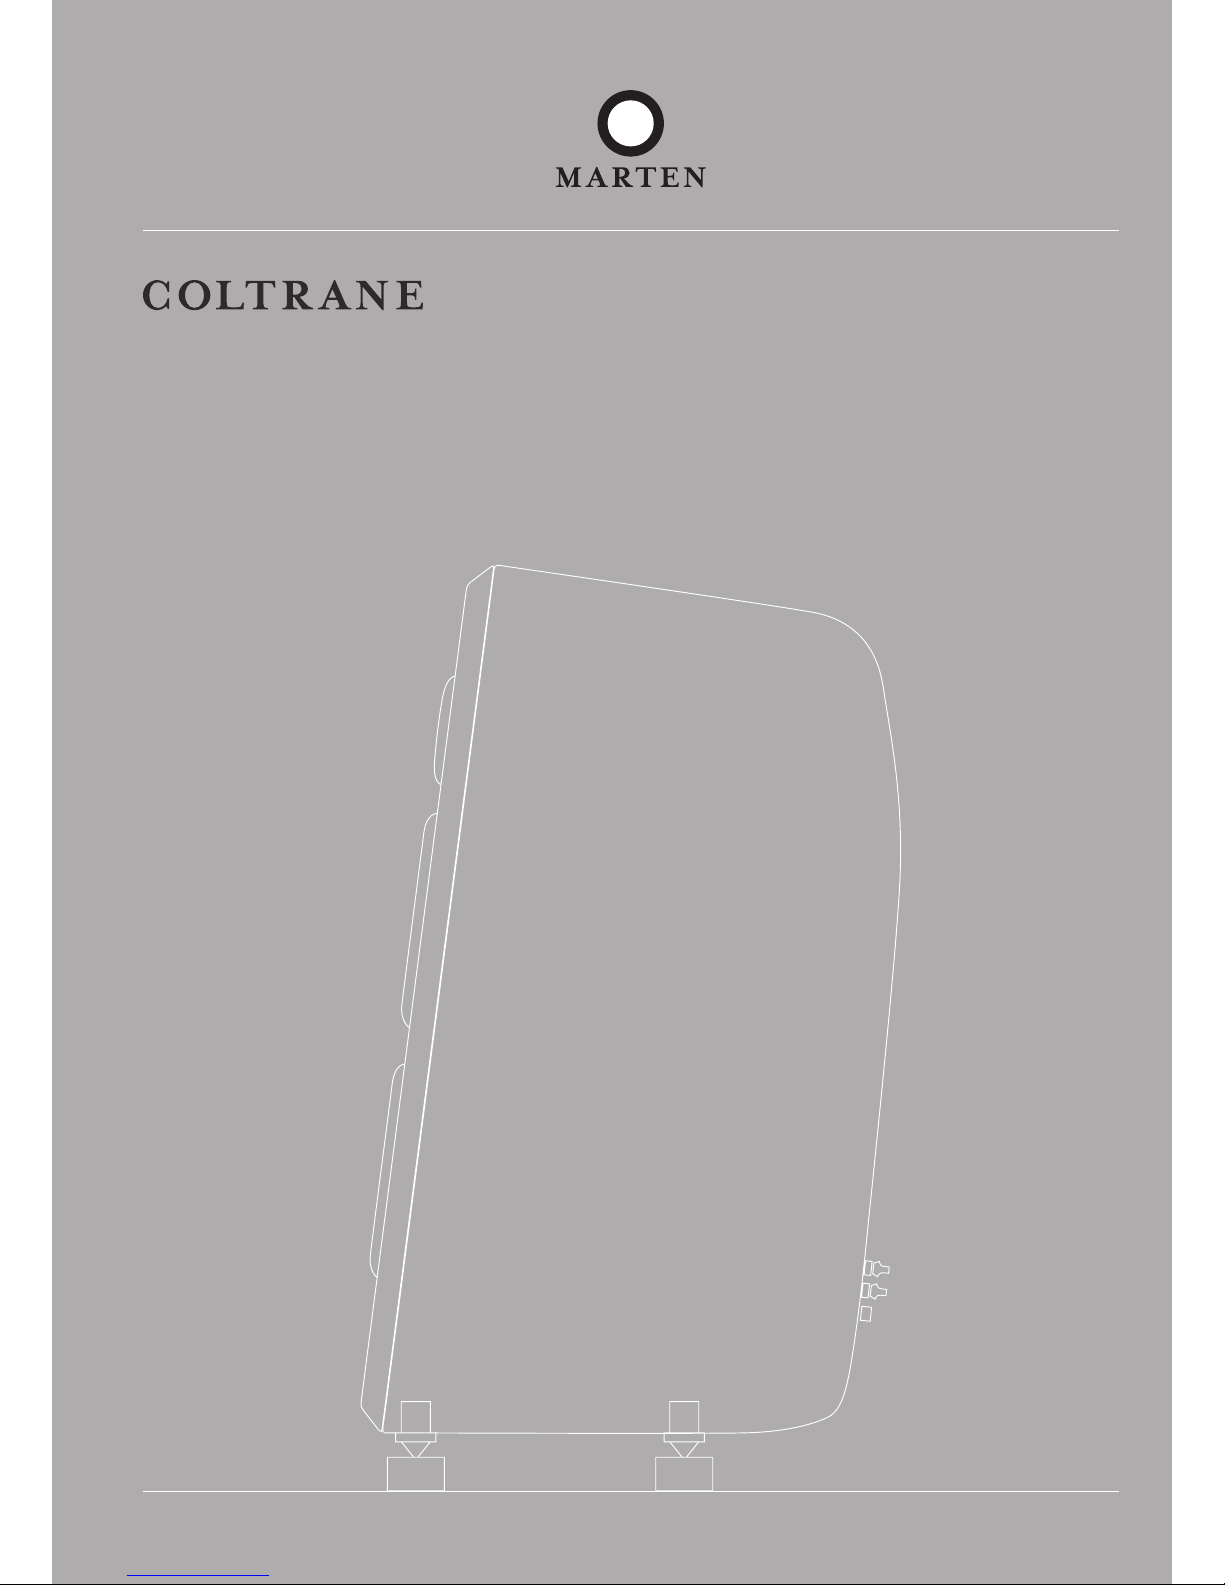
On the back of each Coltrane 2 loudspeaker, you will find a knob that will allow you to
adjust the bass by 1 dB in three steps. Rotating the knob clockwise will increase the
sensitivity, and rotating it anti-clockwise will decrease the sensitivity. Experiment with
this until you are satisfied.
Loudspeaker placement
Distance to back and side walls
Focusing the Loudspeakers
Toe-in
Bass-adjustment
7

Owners manual
Enclosed CD
Care of loudspeakers
Service
1. Burn in Sweep
2. Focusing the Loudspeakers
Track 2 taken from the CD – “Feathers”
Jeanette Lindström & Steve Dobrogosz
© 200, PROPHONE RECORDS AB
For more information of the CD “Feathers”
please visit www.prophonerecords.se
Marten loudspeakers require no special treatment apart from the kind of handling you
would apply to any high-tech product in your home.
Because many different materials are used in the making of the loudspeakers, all-in
one cleaning materials should not be used. Never apply abrasive/ aggressive cleaning
fluids to the outside of the unit.
The cabinet and other parts should only be cleaned with a soft, dry or slightly damp cloth.
Do not attempt to open the unit’s case. Refer all servicing to qualified service personnel.
In the event your Coltrane 2 loudspeakers need to be serviced, please contact your
dealer, who will decide whether the problem can be remedied locally, or whether to
contact Marten for service.
8

Owners manual
Warranty
Warranty Exclusions
Serial Number
Marten provides a transferable, limited manufacturer’s warranty. This warranty covers
faults or defects in material or production only. Damage caused by abuse or misuse, or
by the use of defective electronics, is not covered by warranty.
Please contact your local Marten dealer for more information about this warranty.
Transportation damage, visible or hidden. Damage should be reported immediately to the
transport company. Registration of the complaint should be sent to the Marten distributor.
Scratches in paint, wood, metal, or carbon surfaces. Complaints should be made to
the dealer within three days after the sale.
Damage due to illicit handling and inappropriate use.
Transportation costs to service station or factory.
Damage through unauthorized repair and/or modification.
Subsequent damage to other appliances.
Refund of costs in case of unauthorized repair.
Malfunction caused by use for commercial or professional purposes.
All claims on Marten products obtained through unauthorized sources, with or without
correct serial numbers.
Your unique serial number is: ……………………
9

Owners manual
Technical Specifications:
Coltrane 2
Frequency range:
Power rating:
Sensitivity:
Impedance:
Type:
Drive units:
Crossover frequency:
Terminals:
Internal wiring:
Cabinet:
Dimensions (WxHxD):
Net weight:
Finishes:
20-60000 Hz +-2dB
350 W
89 dB/1 W
6 ohm (4.1 ohms minimum)
3-way bass reflex
2x11” ceramic sandwich, 1x7” ceramic, 1x1” diamond
2 order 250 & 2800 Hz
Bi-wiring, WBT Nextgen
Jorma Design
25 mm:s carbon fibre laminate sides, 60 mm laminated front
39,5 x 121 x 63 cm (15.5 x 47.7 x 24.8”)
60 kg (132 lbs)
Black piano lacquer cabinet with front in Walnut, Cherry, Maple, Oak or Piano Black
Marking of the ”CE” symbol indicates compliance of this device with the EMC and LDV
standards of the European Community.
10
Table of contents