Masport Climate Pilot User manual

© Masport Ltd. 2004 0 591658.d.0 28/07/04

© Masport Ltd. 2004 1 591658.d.0 28/07/04
CLIMATE PILOT
REMOTE THERMOSTATIC CONTROL SYSTEM
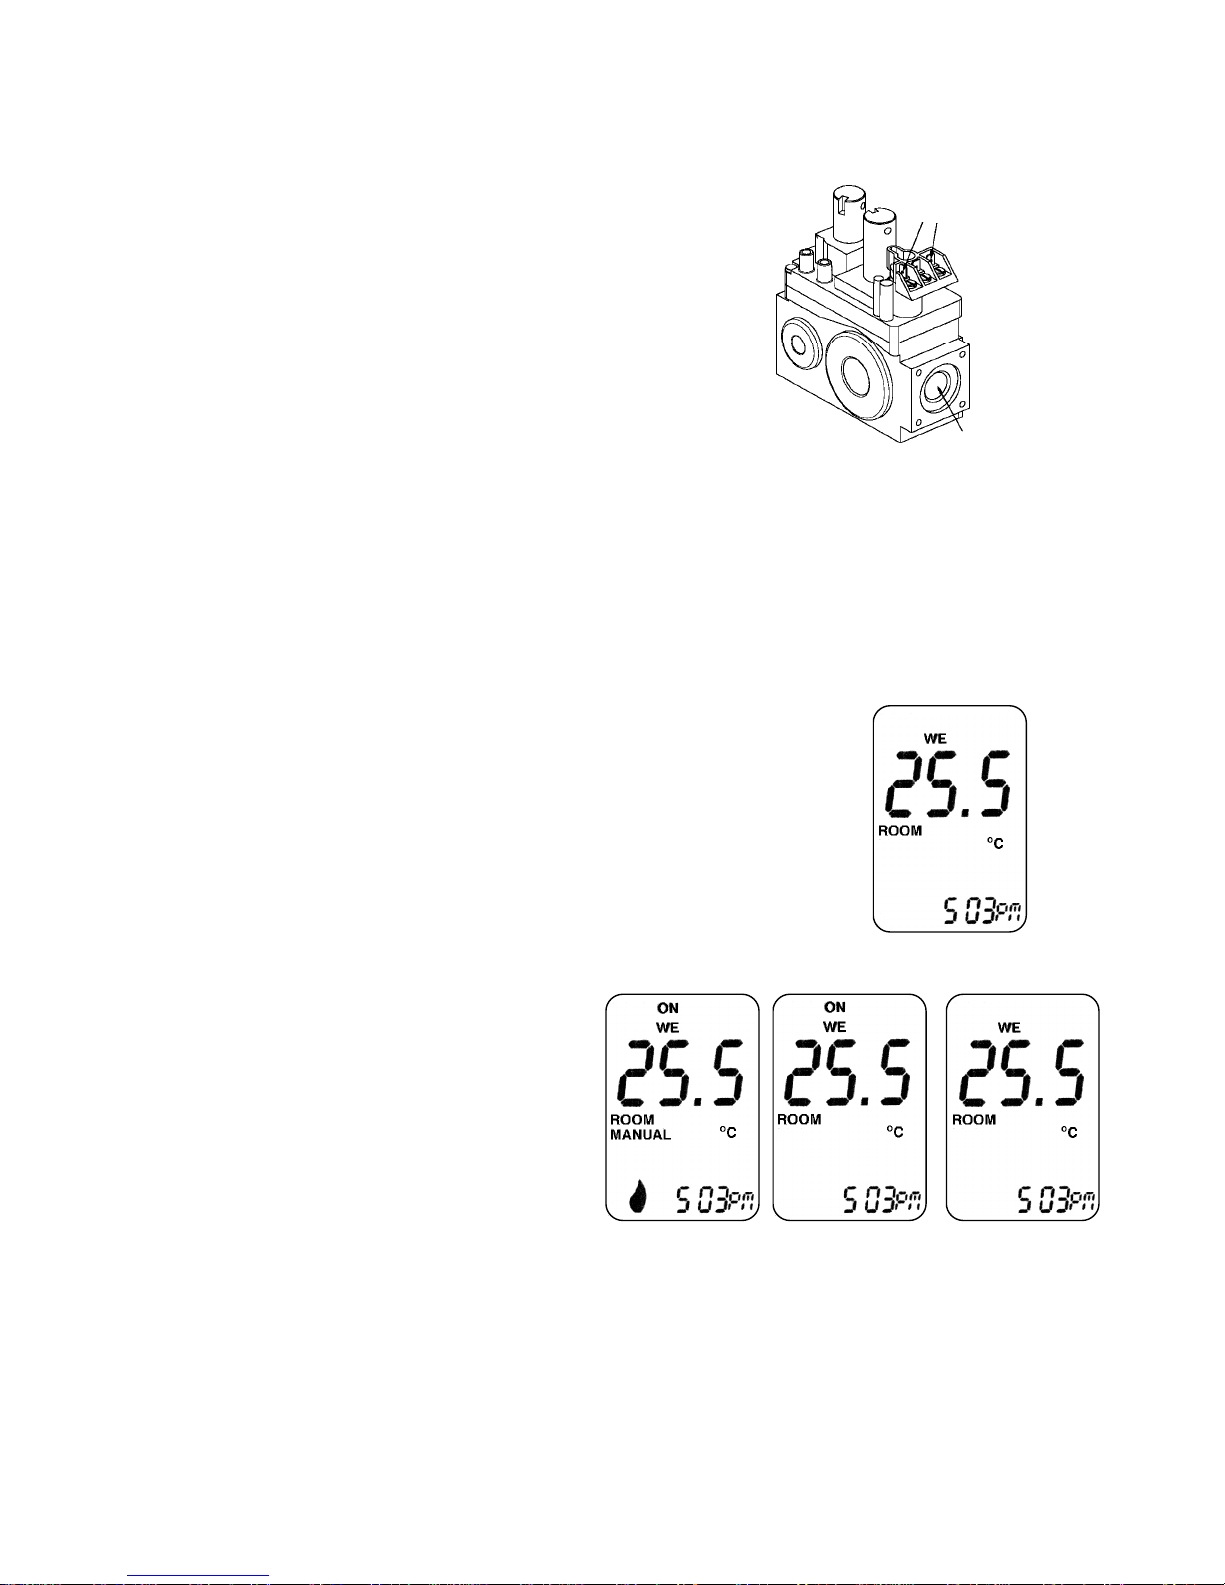
Symbol indicates that a signal
is being sent to the receiver.
Calendar shows the present day or
the day selected while programming.
ROOM / SET display shows
whether the temperature displayed
is the actual or required temperature.
MANUAL / AUTO / PROG indicates
which mode is in use.
Flame symbol indicates that the
thermostat is calling for heat.
ON / OFF button activates and
de-activates the remote control.
Advances hours when setting the
clock or programming — advances
the day when setting the calendar
— increases the SET temperature
in AUTO and PROG modes.
Steps through modes MANUAL
> AUTO > PROG > MANUAL etc.
Initiates programming — steps
through the programming routine —
displays the program step by step.
ON / OFF shows the activity status of
the remote in MANUAL and AUTO
modes — indicates the start and
finish of periods when programming.
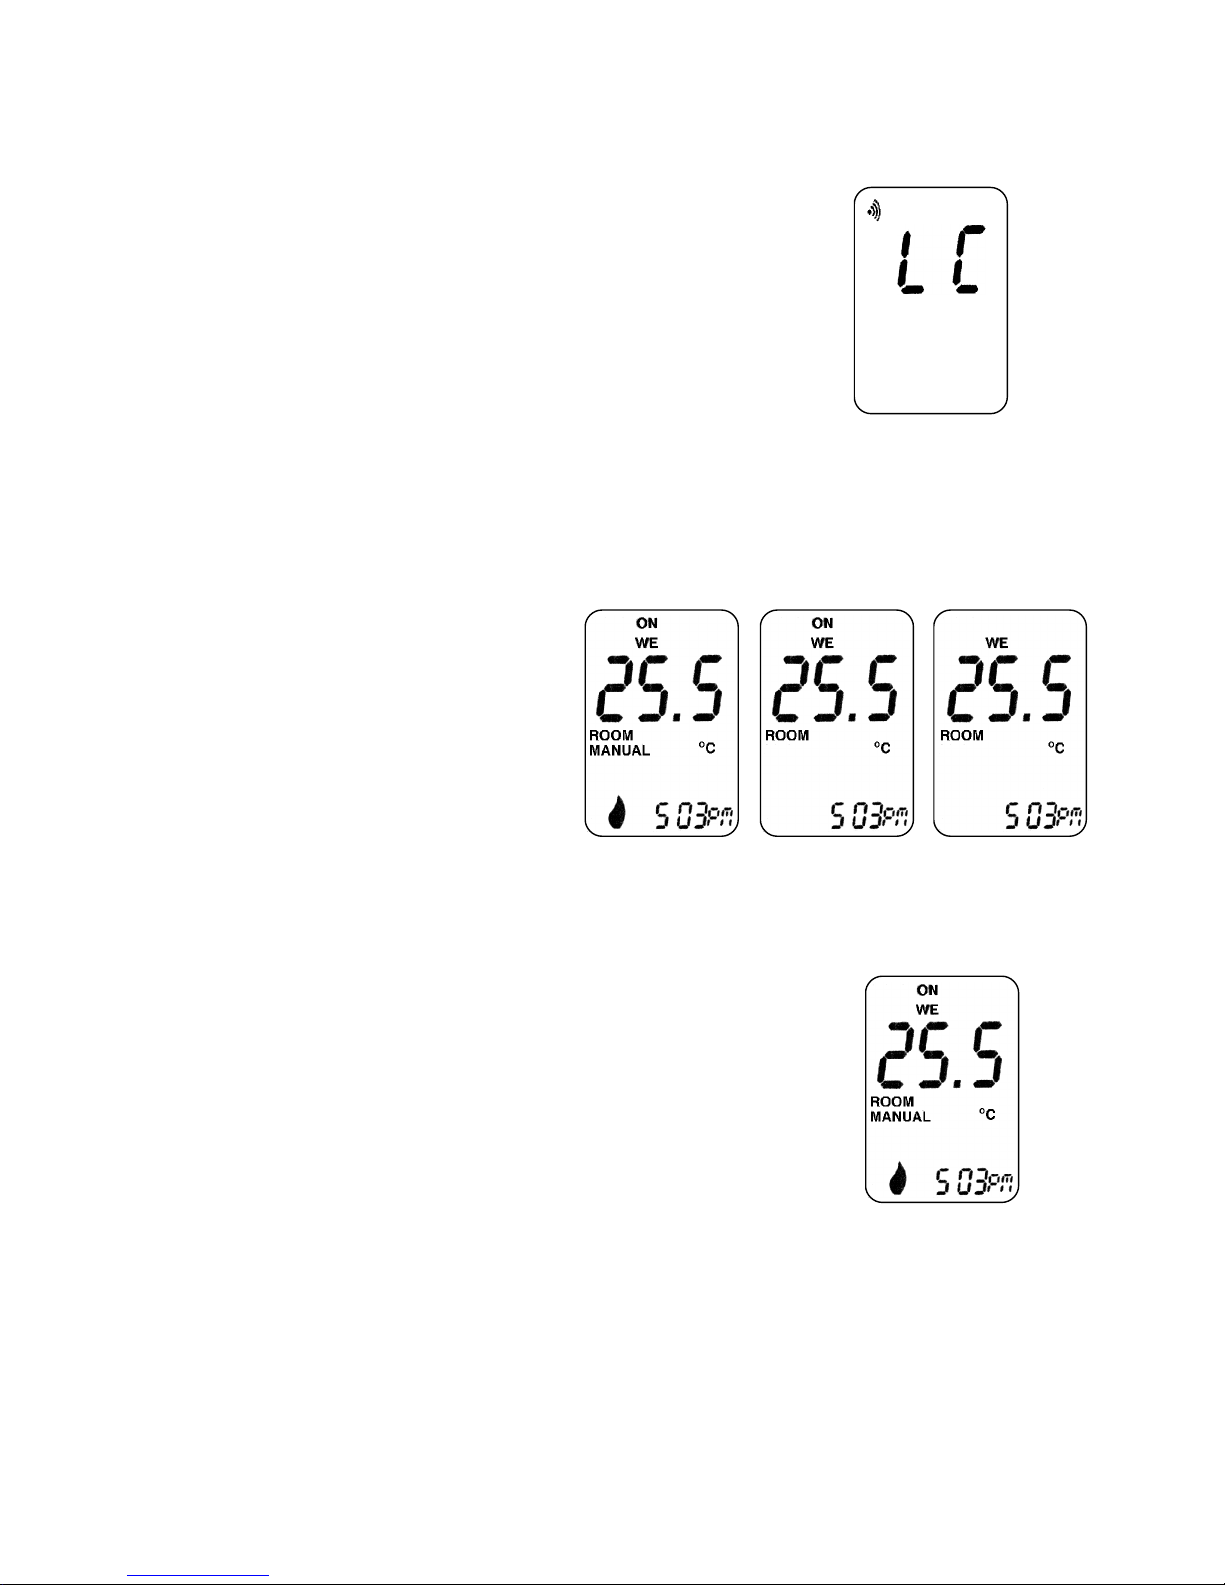
Battery symbol flashes when
batteries are low.
Temperature display shows ROOM
temperature or required SET temp. in
AUTO and PROG modes.
Temperature units — Celsius or
Fahrenheit as desired. Switchable.
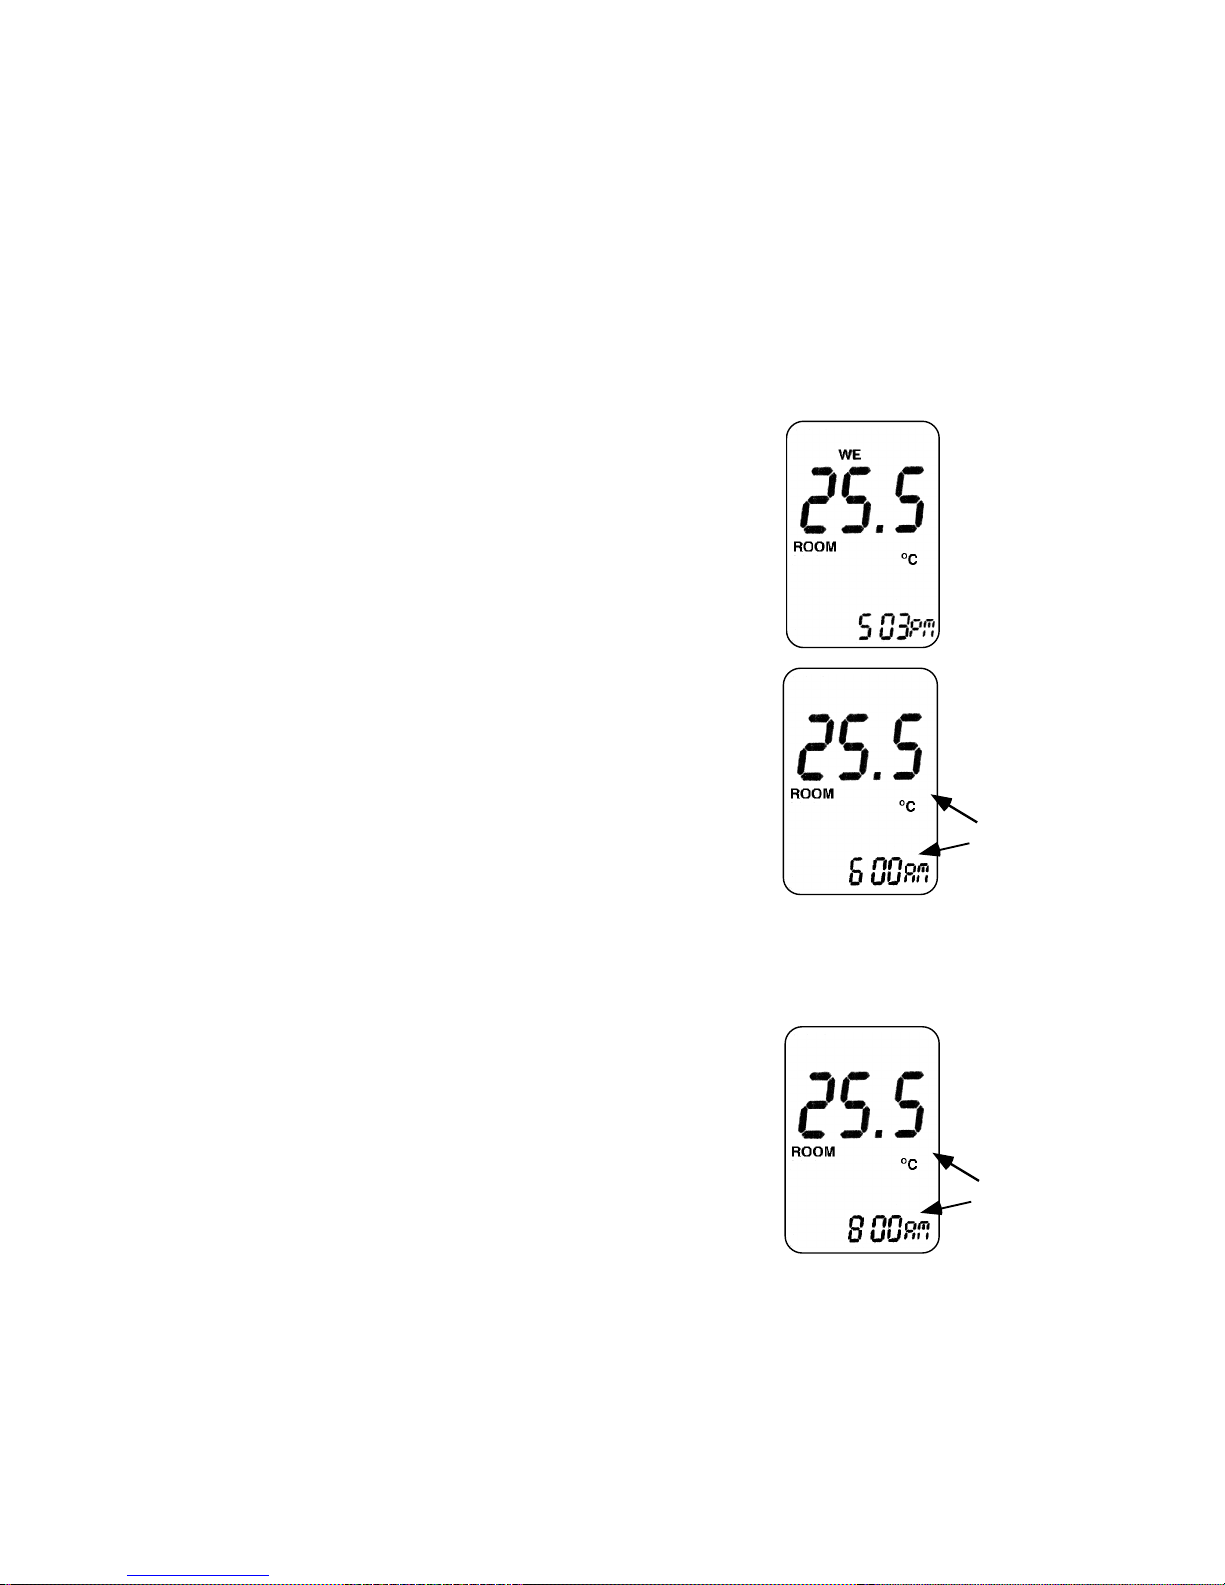
Clock shows present time or start
and finish times when programming.
Temperature sensing bulb.
Advances minutes when setting clock
or programming — retreats day when
setting calendar — decreases SET
temperature in AUTO mode or while
programming — confirms copying
one day's program to another.
Hold for three seconds to commence
clock setting, then press for
calendar setting.
Returns to a factory set program
instead of your own selected program.
Transmits at 3 minute intervals
in AUTO and PROG modes.
CONTENTS:
Introduction.....................................................................2
Installing the system......................................................2,3
Setting the Time and Day.................................................3
Teaching the Receiver......................................................3
MANUAL MODE...........................................................4
Operating in MANUAL Mode..............................5
AUTO MODE.................................................................5
Operating in AUTO Mode....................................5
PROGRAM Mode...........................................................6
Programming...........................................................6, 7, 8
Period 1: Start time...............................................6
Period 1: Finish time.............................................6
Period 1: Set temperature .....................................7
Period 2: Start time...............................................7
Period 2: Finish time.............................................7
Period 2: Set temperature .....................................7
Programming subsequent days..............................8
Reviewing the program.........................................8
Operating in PROG Mode ....................................8
Low Batteries..................................................................9
Fahrenheit Temperatures .................................................9

© Masport Ltd. 2004 2 591658.d.0 28/07/04
INTRODUCTION
The Masport Climate Pilot has a thermostat in the handpiece which turns the fire on and off to
maintain a desired room temperature. The temperature setting can be programmed to give different
room temperatures during two selected periods of each day of the week. Unlike the Masport ECS II
Control System, the Climate Pilot does not vary the flame height or control the heater fan. However,
if the fan is fitted with a Thermodisc control, this will start and stop the fan in response to the heater
output.
The Climate Pilot uses a radio frequency (RF) system which can operate in three modes –
MANUAL, AUTO and PROGRAM. The RF system has the advantage that the remote control does
not need to be aimed directly at the receiver.
INSTALLING THE SYSTEM.
1. The RF system does not require line-of-sight between the handpiece and the receiver. For free-
standing heaters, mount the receiver at the rear or either side of the pedestal. before attaching the
receiver with the adhesive patch, verify that the leads will reach the valve or themostat terminals and
that there will be room to extract and replace the battery tray. There must also be room for the aerial
which must not be shortened but may be formed into a zig-zag shape if desired. Thoroughly clean the
attachment area to ensure good adhesion. For in-built models, the receiver may be mounted on the
wall alongside (not above) or, in the case of the Roma, Calais, Grenada, Newport, Sofia EIS and
Madrid EIS models, it may be placed (not fixed) on the floor of the heater directly behind the lower
grille. (See the illustration below for a typical installation). For wall mounting, carefully prise the
switch knob from the receiver, extract the battery tray (see paragraph 2) and slide the angle mounting
bracket away from the receiver box. Fix the receiver box to the wall after plugging in the power
supply (if any), screw on the wall cover plate, refit the knob and slide in the battery tray.

© Masport Ltd. 2004 3 591658.d.0 28/07/04
2. The receiver operates on either four AA alkaline batteries (expected battery life about 12 months) or
a 6 volt DC (500 mA) mains adapter (not included) may be used instead of the batteries. The
connecting plug must have a positive centre contact (for a 2.1 dia. pin) and a 5.5 dia. outer body. To
withdraw the battery tray, press in firmly on its front face and then release it. The tray should then
protrude slightly and it can be pulled clear. After fitting the batteries slide it in and press firmly until it
‘clicks’.
3. Fit the wires from the receiver to the gas valve
terminals marked TH (using the spade connectors), or
cut and strip the wires to connect them to the
thermostat terminals which are either on the rear of
the cabinet or behind the grille on in-built models. If
there is a jumper wire across the thermostat terminals,
remove and discard it.
Gas Outlet
S
I
T
8
2
0
V
a
l
v
e
CONNECT RECEIVER
CABLE TO THESE
TWO TERMINALS
4. If there is no display on the handpiece panel, check the batteries (2 AAA alkaline). To gain access to
the battery compartment, slip the wall storage bracket off the bottom of the remote (if necessary),
and slide open the battery compartment cover on the rear of the remote. A set of batteries should
give 12 months service.
CAUTION.
The control handpiece incorporates the thermostat, to sense the room temperature, so care should be
taken when using it in the AUTO or PROGRAM modes to hold it no longer than necessary (your
body temperature may mislead the temperature sensing bulb), and to put it down where it can sense
the real room temperature, not in the sunshine, or under a cushion or magazine. A slide-on storage
bracket is supplied to wall-mount the remote control handpiece if you prefer.
• When switched OFF, the display will show the day of the week,
the time, the room temperature and OFF.
OFF
SETTING THE TIME AND DAY
•
If the indicated time and day are incorrect,
press the ON/OFF button. The display will
now show one of the three operating
modes (MANUAL, AUTO or PROG).
The OFF display will change to ON except
that sometimes in the PROG mode the
OFF display will remain. Note that the
flame symbol may also be displayed.
•
Hold down the TIME button (for three
seconds). The time display will flash.
AUTO
OFF
PROG
• Press the ‘+’ button to advance the HOUR display and the ‘–’ button to advance the minute display.
In both cases, holding down the button for more than three seconds will cause the setting to scroll
through the numbers. If you overshoot the required number, continue on through a full cycle.
• Having set the clock as described, press the TIME button and the time display will cease flashing
while the day of the week display will flash instead.
• Press the ‘+’ button to advance the day, and the ‘–’ button to go to the previous day.
• Ten seconds after the last day adjustment, the remote will automatically exit the clock setting
sequence, or instead you can hold the TIME button for 3 seconds to exit the sequence.

© Masport Ltd. 2004 4 591658.d.0 28/07/04
TEACHING THE RECEIVER
Before using the remote control for the first time, you must ‘teach’ the receiver to recognise and
respond to only this particular remote control.
• Set the remote to OFF by pressing the ON/OFF button if necessary. OFF should be displayed. (If
PROG is also displayed, press ON/OFF once more).
•
Make sure the four AA batteries are fitted in the receiver, or if
you have the optional mains power supply for your receiver,
turn ON the mains power to the power supply.
•
Slide the switch on the receiver to
OFF, and then set it to
REMOTE.
•
Immediately
press and hold both the PRESET and PROG
buttons for ten seconds (with the remote still switched OFF).
The display will show ‘LC’, and then revert to the normal OFF
display. If the fire lights during this procedure, press the
ON/OFF button twice to revert to normal operation.
MANUAL MODE
In this mode the fire can be controlled entirely by pressing buttons on the remote and the thermostat
is inactive.
• Check that the slide switch on the receiver is set to REMOTE, the power to the heater (and the
receiver mains supply unit, if fitted) is switched ON. Check that the gas tap is turned ON.
•
For all models except EI
S ones,
light
the pilot
in the usual way, remembering
that several attempts may be necessary
to clear air from the gas pipeline. Turn
the control knob on the valve to the ON
position and wait 45 seconds.
•
Press the ON/OFF button on the
handpiece. The display will now show
one of three modes — MANUAL,
AUTO or PROG plus possibly the flame
symbol. In PROG mode, the OFF may
not change to ON, but the word PROG
will be displayed.
AUTO
OFF
PROG
• If necessary, press the AUTO/MAN button repeatedly to step through the three modes (MANUAL >
AUTO > PROG > MANUAL etc.) until you reach MANUAL. In this mode the thermostat in the
handpiece is disabled and the flame symbol will be showing.
•
As
soon as the flame symbol is showing, the ignition sequence will
commence provided that the POWER switch on the fascia (Sofia and
Madrid models) is not set to OFF. On EIS models, after a deliberate
time delay (about 7 seconds), the ignition sparking will commence. If
gas is available, the fire will light at the flame height selected on the
heater controls.
• EIS MODELS. The first time you attempt to light the fire there will probably be air in the pipeline, so
flame may not appear before the spark shuts down after about 30 seconds. If this happens, press the
ON/OFF button and the flame symbol on the display will disappear. Then press the ON/OFF button
again to restore the flame symbol when a further ignition cycle will commence. (Don’t forget the 7
second delay between the remote calling for ignition and spark commencement). Repeat as necessary
until the gas comes through and the fire lights.
• ALL MODELS. After the fire has warmed up (about 10 minutes on HIGH), the Thermodisc in the
heater (if fitted, see Note) will signal the fan to start. It will run at whatever speed has been selected
at the FAN switch on the heater. If the fan switch has been set to OFF, the fan will not start.

© Masport Ltd. 2004 5 591658.d.0 28/07/04
Note. Some models are fitted with an internal heat operated switch (Thermodisc) which prevents the
fan blowing cold air. The fan will not start until the heater has warmed up (about ten minutes after
lighting on HIGH). The fan will continue to run for a few minutes after the fire is extinguished until
the firebox has cooled down.
• The flame height and fan speed can be altered by using the controls on the heater at any time. No
harm will result if you keep the flame alight but turn the fan off.
OPERATING IN MANUAL MODE
• To turn the fire on or off, simply press the ON/OFF button, checking that the display shows
MANUAL. Naturally, if your heater uses a pilot light, it must have been burning for at least 45
seconds. The flame height and fan selections will be determined by the settings on the heater
controls, but remember that the fan will not start until the fire has warmed up for about ten minutes if
your heater has a Thermodisc.
• THREE POSITION SWITCH. At any time the remote control can be disabled from operating the
heater by sliding the switch on the receiver to OFF. Sliding the switch to ON will start the heater
independently of the remote handpiece. This can be useful in the event of battery failure in the
handpiece.
AUTO MODE
In this mode the fire is automatically controlled to maintain the temperature you have selected (the
SET temperature).
•
Press the ON/OFF button (if necessary), to bring up the
ON display on the screen. The flame
symbol may or
may not be showing. If the remote was in PROGRAM
mode when turned off, the word PROG will show but
the OFF display may not turn to ON. Nevertheless,
proceed to the next step.
• Press the AUTO/MAN button, several times if necessary
until AUTO is displayed.
•
The temperature shown on the display will be the
current room temperature.
AUTO
HOT ROOM
AUTO
COLD ROOM
•
Press either the ‘+’ or ‘–’ button momentarily and the SET temperature will
show instead of the room temperature. The SET temperature display will
revert to the current ROOM temperature display after 5 seconds if no
adjustments are being made. To change the SET temperature, press the ‘+’ or
‘–’ buttons as necessary until the required temperature shows. For large
changes, hold the
buttons down until the required temperature is displayed.
The available range of SET temperatures is from 7 degrees C to 32 degrees
C.
AUTO
SET
• If the set temperature exceeds the current room temperature the flame symbol will show and the fire
will light (provided that the controls on the heater do not negate this action and that the pilot is alight
on ACC models). Once the room is at the required temperature, the flame will extinguish.
OPERATING IN AUTO MODE
• Make sure the pilot has been alight for at least 45 seconds (all models except EIS), the slide switch
on the receiver is set to REMOTE, that the mains supply to the receiver power pack (if fitted) is ON,
and that the flame controls on the heater are not set to PILOT or OFF.
• To operate the heater, switch ON the remote with AUTO displayed.
• To stop the heater, press the ON/OFF button.
• Place the remote control where it can sense the room temperature accurately, not near the heater,
under a strong lamp or in sunshine. If wall mounting is desired, use the slide-on bracket supplied.
• To minimise ‘cycling’, the signal from the remote is transmitted at three minute intervals in the
AUTO and PROG modes.
• THREE POSITION SWITCH. At any time the remote control can be disabled from operating the
heater by sliding the switch on the receiver to OFF. Sliding the switch to ON will start the heater
independently of the remote handpiece. This can be useful in the event of battery failure in the
handpiece.

© Masport Ltd. 2004 6 591658.d.0 28/07/04
PROGRAM MODE
This mode allows you to have different AUTO settings for different times of the day and for different
days of the week. For example, you might wish to turn the fire on for two hours in the morning and
for four hours in the evening. You may want a different room temperature for each of these, and you
may wish to vary your time and temperature requirements from one day of the week to another. The
program allows you to select two different time periods per day for each of the seven days of the
week, and to have different SET temperatures for each of the fourteen periods. Of course, they need
not all be different. You will be likely to have weekday requirements different from week-end
requirements, and the programming system permits the settings for one day to be transferred easily to
other days as well. If you prefer not to set your own program, simply press and hold the PRESET
button for ten seconds while the handpiece is ON in the PROGRAM mode to install the factory set
program.
PROGRAMMING
1
•
Press the ON/OFF button until MANUAL, AUTO or
PROG is displayed (The OFF display may still be showing
when PROG is displayed).
2
•
Repeatedly press the AUTO/MAN button if necessary
until PROG is displayed.
OFF
PROG
3
•
PERIOD 1: START TIME.
Press and hold the PROG
button for at least 3 seconds. This commences programming.
The display will show ON, the ROOM TEMP, PROG 1,
MO and the starting time for Monday’s first period. The ‘+’
and ‘–’ buttons can be used to adjust the starting time of
period 1
while the display is flashing
. As before, the ‘+’
button advances the hour figure, while the ‘–’ button
advances the minute figure. If you overshoot the desired
setting, continue on for a complete cycle to get the desired
time.
PROG 1
ON
MO
FLASHING
Make any adjustments or move to the next step promptly, as the programming system exits
after any 20 second delay during the whole of the programming exercise.
If you want to leave the programming mode at any time, simply wait 20 seconds for the display
to cease flashing.
4
•
PERIOD 1: FINISH TIME.
Press and release the
PROG button. The display will show OFF, the ROOM
TEMP, MO, PROG 1 and the finishing time of Monday’s
period 1. The ‘+’ and ‘–’ buttons can be used to adjust the
finishing time as described in the previous paragraph.
PROG 1
MO
FLASHING
OFF

© Masport Ltd. 2004 7 591658.d.0 28/07/04
5
•
PERIOD 1: SET TEMPERATURE.
Press and release
the PROG button. The display will show ON, SET PROG 1,
MO and the set temperature for Monday’s period 1. The ‘+’
and ‘–’ buttons can be used to adjust the set temperature of
period 1.
SET PROG 1
ON
MO
FLASHING
6 • PERIOD 2: START TIME. Press and release the PROG
button. The display will show ON, MO, the ROOM TEMP,
PROG 2 and the starting time for
Monday’s period 2. The
‘+’ and ‘–’ buttons can be used to adjust the starting time as
described in step 3 above. In order to avoid overlap of the
periods, take care to ensure period 2 does not commence
before period 1 has finished.
PROG 2
MO
FLASHING
OFF
7 • PERIOD 2: FINISH TIME. Press and release the PROG
button. The display will show OFF, MO, the ROOM TEMP,
PROG 2 and Monday’s period 2 finishing time. The ‘+’ and
‘–’ buttons can be used to adjust the finishing time as before.
PROG 2
MO
FLASHING
OFF
8
•
PERIOD 2: SET TEMPERATURE.
Press and release
the PROG button. The display will show ON, MO, SET
PROG 2 and the SET temperature for Monday’s period 2.
The ‘+’ and ‘–’ buttons can be used to adjust this as before.
SET PROG 2
ON
MO
FLASHING

© Masport Ltd. 2004 8 591658.d.0 28/07/04
PROGRAMMING SUBSEQUENT DAYS.
YOU NOW HAVE TWO OPTIONS. The first option programs each day independently, while the
second allows Monday’s entire program to be ‘copied’ to one or more other days of the week.
Whether you take the first or second option, you must move directly to it after completing step 8
above. A delay of more than 20 seconds will end the programming procedure.
OPTION 1
PROGRAMMING EACH DAY INDEPENDENTLY.
9A
• Press and
release
the PROG button. The display will
show Tuesday’s period 1 starting time. The ‘+’ and ‘–’
buttons can be used to adjust this, just as in step 3 above.
Steps 4 to 8 above can then be followed to set the rest of the
Tuesday program, followed by Wednesday etc. etc. for the
whole week.
PROG 1
ON
TU
FLASHING
OR
OPTION 2
COPYING YOUR PROGRAM TO OTHER DAYS
9B • Press and hold the PROG button for at least 3
seconds. The display will show MO and TU, with the TU
symbol flashing to indicate that the automatic copying
feature is activated. If you want to copy Monday’s program
to Tuesday, press the ‘–’ button. If you want to select any
other day or days of the week to have Monday’s program,
press the ‘+’ button as necessary until the desired day starts
flashing, and then press the ‘–’ button to confirm the
transfer. Repeat for any other desired day. When you reach a
day for which you require a different program, simply carry
out steps a described in 3 to 8 above to set the various times
and temperatures for that day.
PROG 1
ON
TU FLASHING
MO
NOTE. The programming mode will automatically exit at any stage 20 seconds after the last key
activity.
REVIEWING THE PROGRAM
• With the remote in PROG mode, (the ON may not be showing), hold down the PROG button for at
least 3 seconds. Then press the PROG button momentarily and repeatedly to step through the various
programmed values which can be checked as you go, but do not hesitate more than 20 seconds at
each step or the program will exit automatically.
OPERATING IN THE PROGRAM MODE
• Make sure the pilot has been alight for at least 45 seconds (all models except EIS), the slide switch
on the receiver is set to REMOTE, that the mains supply to the receiver power pack (if fitted) is ON,
and that the flame controls on the heater are not set to PILOT or OFF.
• Check that the day and time display on the remote handpiece are correct. Press the ON/OFF button,
and the AUTO/MAN button, if necessary, until the display shows PROG. Note that the OFF display
may still be showing when PROG is displayed. This does not indicate that the remote control is
inactive, but that the present time is outside the programmed periods for the day.
• Place the remote control where it can sense the room temperature accurately, not near the heater,
under a strong lamp or in sunshine. If wall mounting is desired, use the slide-on bracket supplied.
• Note that, to minimise cycling, the signal from the remote is transmitted at three minute intervals in
the AUTO and PROG modes.

© Masport Ltd. 2004 9 591658.d.0 28/07/04
• To stop the heater from responding to the remote control, simply press the ON/OFF button to
extinguish the PROG display.
• THREE POSITION SWITCH. At any time the remote control can be disabled from operating the
heater by sliding the switch on the receiver to OFF. Sliding the switch to ON will start the heater
independently of the remote handpiece. This can be useful in the event of battery failure in the
handpiece.
LOW BATTERIES
When the batteries in the handpiece are low, the battery symbol on the display will flash. Replace the
batteries (two AAA alkaline). If the batteries fail, the control will shut down the ECS system safely.
When the indicator light in the receiver flashes brightly replace the batteries with four alkaline AA
cells. To access the batteries, press in the front of the battery tray firmly and then release it. The tray
should then protrude slightly, allowing it to be withdrawn. Slide the cover off the battery tray, fit
fresh batteries, re-fit the cover and slide the tray into its holder, pressing it in firmly until it ‘clicks’.
FAHRENHEIT TEMPERATURES
To change the display from Celsius to Fahrenheit or vice versa,
• Switch OFF the remote, (making sure PROG is not displayed).
• Hold down the ‘–’ button.
• While holding down the ‘–’ button, press and release the ‘+’ button.
The remote will hold its selected temperature type even when the batteries are replaced.
Table of contents
Other Masport Remote Control manuals
Popular Remote Control manuals by other brands

Contec
Contec RT-M1000 Plus TV-33 Programming and operating instructions

One Forall
One Forall CURC4110 owner's manual

Heath Zenith
Heath Zenith SL-6005 user manual

Contec
Contec CheckMate IV RT-U49A Programming and operating instructions

One Forall
One Forall Video Expert URC 4081 user guide

Silent Gliss
Silent Gliss SG 11429 Installation and user manual