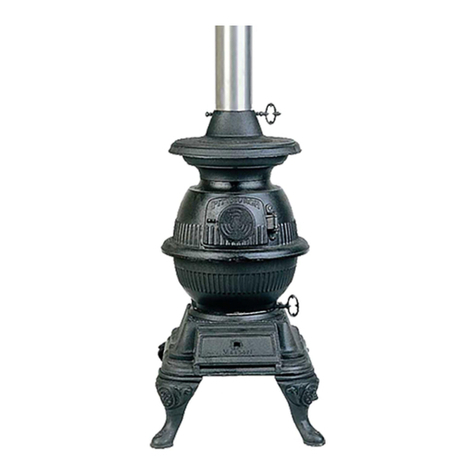
Masport Freestanding Woodstove
8
INSTALLATION
RESIDENTIAL
INSTALLATION
1) Read all instructions before installing your
Masport Stove. Install and use only in ac-
cordance with these installation and oper-
atinginstructions.BeawarethatlocalCodes
and Regulations may override some items
in this manual. Check with your local in-
spector.
2) Select a position for your Masport Stove.
Consult the minimum clearance chart for
your model and set the stove in place. For
close clearance installation use listed dou-
ble wall connector systems (see page 13).
3) To insure vertical alignment, suspend a
plumb bob from the ceiling over the exact
centerofyourstoveflueandmarkaspoton
the ceiling to indicate the center of the
chimney.
4) Check that the area above the ceiling is
clear for cutting. Re-confirm the clearance
from the stove to combustibles to insure
that they are within the prescribed limits.
5) Installchimneyaccordingtochimneyman-
ufacturers instructions. The performance
of your woodstove is governed to a very
large part by the chimney system. Too
short a chimney can cause difficult start-
up, dirty glass, backsmoking when door is
open, and even reduced heat output. Too
tall a chimney may prompt excessive draft
which can result in very short burn times
and excessive heat output. The use of an
inexpensivefluepipedampermaybehelp-
ful in reducing excessive draft.
CAUTION: The chimney should be the same
size as the flue outlet on the stove. The chim-
neymust be listed as suitableforusewith solid
fuels. For other types of chimneys check with
your local building code officials. Do not con-
fuse a chimney with a type “B” Venting System
used for gas appliances as suitable for a wood
burning appliance. For Mobile Home installa-
tions refer to that section on page 12.
6) Mark the location of the pedestal base or
legsonthefloor,thenmovethestoveaside
andmarkthepositionofthefloorprotector.
7) The floor protector must be of non-com-
bustible material and must extend
16"(406mm) in front of the door opening
and 6"(152mm) to the sides and rear of the
unit. Someareasmayrequirealargersize
floor protector. See your local inspector.
For outside air installation refer to Mobile
Home installation instructions on page 12.
8) When the floor protection is complete, po-
sitionthestove with thefluecollarcentered
under the installed chimney.
9) In seismically active areas, Masport rec-
ommends that your unit is secured to the
floorbyusingtheboltdownholesinsidethe
pedestal (the same ones used in Mobile
Home installations).
10) For residential installations using "C" Vent
(single wall) the chimney connector must
be at least 24 gauge steel. Do not use
galvanizedpipe.ForMobile Home installa-
tion refer to the Mobile Home installation
instructions on page 12.
11) Do not connect this unit to a chimney
servinganotherapplianceunlessapproved
by your local building authority.
12) A chimney connector cannot pass through
an attic or roof space, closet or similar
concealed space, or a floor, ceiling, wall or
partition of combustible construction. In
Canada, if passage through a wall, or par-
tition of combustible construction is de-
sired,theinstallationshall conformtoCAN/
CSA-B365,InstallationCodeforSolid-Fuel-
Burning Appliances and Equipment.
13) Your Masport Woodstove is not to be con-
nected to any air distribution duct.
ROOM AIR -
IMPORTANT
For installation using room air for combustion,
remove knockout from the pedestal, and/or
from the bottom if using a heat shield.
Mobile home installations require the use of
outside air.
Onpedestalunitstherearetwolocationswhere
outside air may be adapted to the unit. If using
the bottom of the pedestal, do not remove
knockout from the rear of the pedestal. Only
remove rear knockout if outside air will be
brought in from the rear.
On leg units outside air can only be brought in
from the bottom of the heat shield.
Note: Oncetheknockoutisremovedthere
are two tabs remaining. Bend both
tabsoutforeaseofinstallationwhen
attaching outside air.
