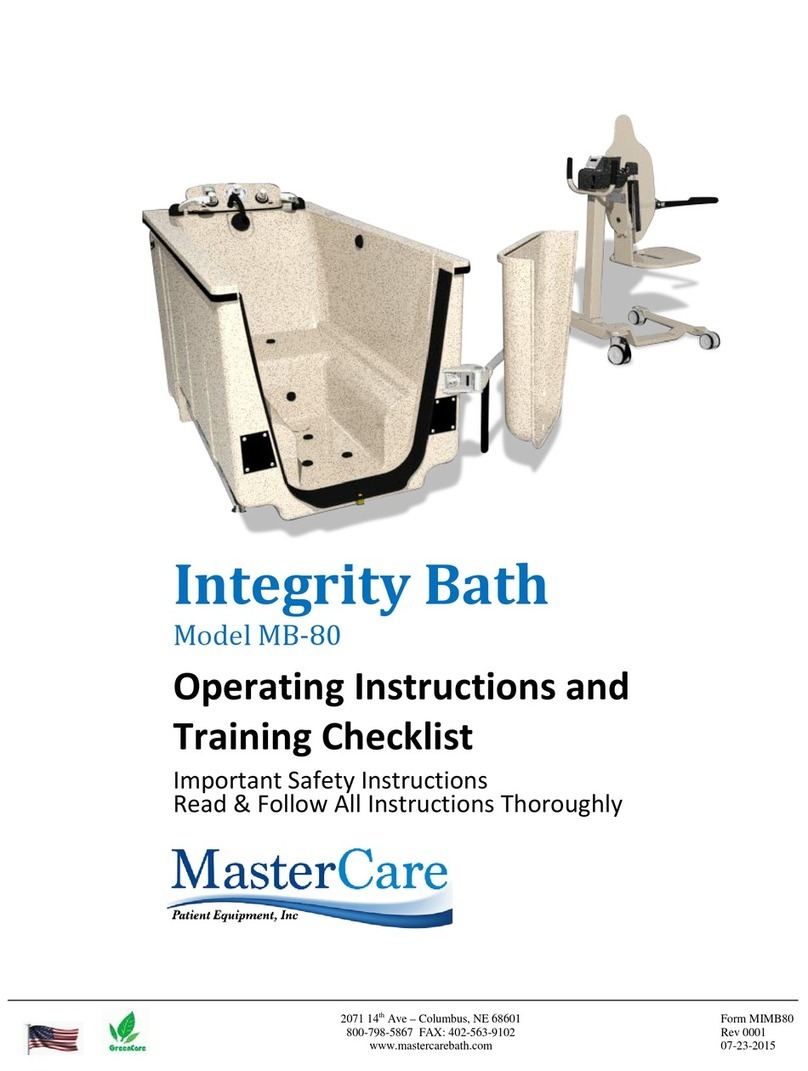
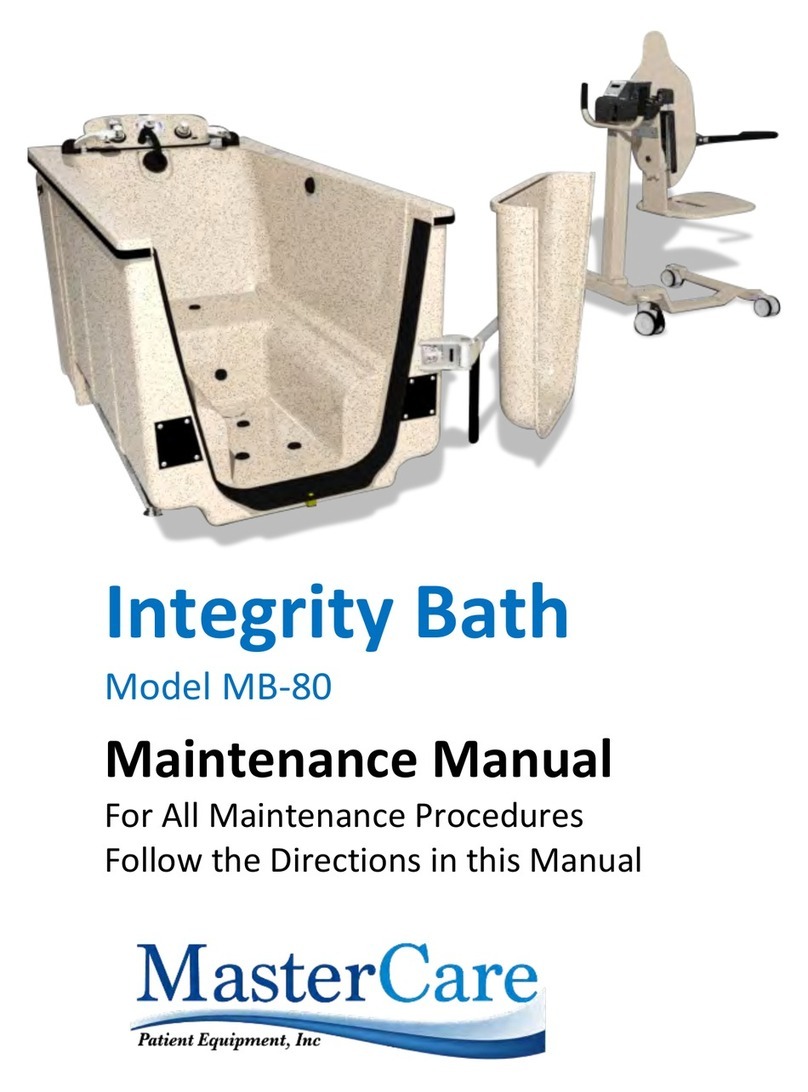
Mastercare Integrity MB-80R User manual

Integrity Bath
Model MB-80R
Installation Manual
(Specifications & Rough-In Included)
Important Safety Instructions
Read & Follow All Instructions Thoroughly
SN:_____________________________________

Integrity)Bath)Model&MB-80R&Installation&Manual&
01-23-19
Page 2 of 8
450 East 32nd Street - PO Box 1022 68026)
Fremont NE 68025
800-798-5867 FAX: 402-563-9102
www.mastercarebath.com

Integrity)Bath)Model&MB-80R&Installation&Manual&
01-23-19
Page 3 of 8
450 East 32nd Street - PO Box 1022 68026)
Fremont NE 68025
800-798-5867 FAX: 402-563-9102
www.mastercarebath.com
IMPORTANT SAFETY INSTRUCTIONS READ AND
FOLLOW ALL INSTRUCTIONS THROUGHLY
CAUTION: The caution heading identifies important
maintenance and operation information. Failure to obey a
caution warning may result in damage to the Entree Bath and
may void the warranty
1. Plan Bathing System Layout
2. Mark Tub Center Line On Wall & Floor
WARNING:
•Choose flattest floor location.
•Make sure sufficient room is provided to allow
unobstructed area for transfer in and out of the
tub with the transfer system.
•Room dimensions, door sizes and floor drain
placement, must comply with all applicable
building and health codes.
Caution:
•Tub placement is critical for door opening and
access to disinfectant and dispensing both
sides.
•Space around system is needed to allow
assistant to access resident, disinfectant &
dispensing systems and maintain both sides.
•Avoid covering switches, valves and other items
that
•must be accessed by authorized personnel or
•maintenance.

Integrity)Bath)Model&MB-80R&Installation&Manual&
01-23-19
Page 4 of 8
450 East 32nd Street - PO Box 1022 68026)
Fremont NE 68025
800-798-5867 FAX: 402-563-9102
www.mastercarebath.com
3. Install Electrical Service
120V AC, 60 Hz, 20 Amp CLASS A GFCI receptacle flush
mounted in wall
WARNING: Electrical current can cause severe injury or
death if the following precautions are not headed.
WARNING: Turn off power source.
WARNING: Lock circuit open to prevent accidental
activation.
WARNING: Electrical service must be located higher than
plumbing service.
WARNING: Electrical switches and outlets must not be in
reach by bathers in the tubs.
WARNING: Electrical wiring must comply with all
applicable codes. A licensed electrician may be required
to install the service.
WARNING: Connect the bathing system ONLY to a circuit
protected by a CLASS A GFCI.
WARNING: Connect only to branch circuit protected by
an over current protection device rated not more than 20
amps.
4. Install Plumbing Service
It is strongly recommended that a floor drain be installed
in the vecinity of the front of the tub 40" either side of the
centerline of the tub. (Floor must be level in the area
where Transporter enters the tub)
Plumbing service must comply with all applicable building
and plumbing codes. A licensed plumber may be required
to install this service.
Local plumbing codes may require back flow protection to
be installed in both the hot and cold water lines. ("P" Trap
should be supplied by customer, not manufacturer)
CAUTION: The tubs use flexible hoses. It is an industry
standard and it is recommended by MasterCare to
replace the hoses every 5 years and to inspect the hoses
yearly for any obvious signs of damage or wear. If any
sign of damage or wear is noticed, replace de hoses.
CAUTION: Wall and floor openings for the electrical and
plumbing service installation should be closed and sealed
to help mantain sanitary conditions.
Notes: The height of the PVC waste pipe should
be 3". All dimensions are approximately +/- 1/4"
Drain Connection: 2" PVC schedule 40 pipes.
Water Connection: 3/4" female pipe swivel
connections supplied by the manufacturer.
Water Supply: 3/4" Copper hot and cold.
Minimum 40 PSI for hot and cold required.
Maximum temperature of hot water supply:
115 F or local code, whichever is less. Shut off
valves at unit supplied by local plumbing
contractor.

Integrity)Bath)Model&MB-80R&Installation&Manual&
01-23-19
Page 5 of 8
450 East 32nd Street - PO Box 1022 68026)
Fremont NE 68025
800-798-5867 FAX: 402-563-9102
www.mastercarebath.com
BATHING SYSTEM INSTALLATION
GENERAL WARNINGS:
WARNING: Risk of electrical shock.
All equipment comes standard with a 120V – 3 prong
electrical plug. Plug the bathing system into a 120V AC,
60 Hz, 20 Amp CLASS A GFCI receptacle. All hard wiring
must be performed by a licensed electrician following
local codes. The main power supply must be
disconnected before hard wiring.
WARNING: Failure to disconnect main power before hard
wiring unit can result in Electrical Shock, Death or Damage
to Equipment not covered with the warranty.
An equipment grounding terminal is provided in the
field wiring compartment (electrical box on the unit).
To reduce the risk of electrical shock, this terminal
must be connected to the grounding means provided
in the electrical supply panel with a conductor
equivalent in size to circuit conductors supplying this
equipment.
Install this unit in accordance with the Canadian
electrical code, part I, in Canada and in accordance
with the U.S. national electrical code in the U.S.A. or
local codes whichever applies.
WARNING: Risk of Scalding.
Hot water can scald people. Temperature control valve
must be adjusted before using bath. Do not allow
temperature to exceed 109.4 F (43 C)
Other Precautions:
Tub and cabinet components are heavy and bulky. Do
not attempt to lift or move this tub or cabinet alone.
Damp or wet floors can be slippery causing falls and
serious injury. Dry the floor before starting to install
bathing system.
Standing in tub, or on top edge of tub can damage the
tub or lead to falls and serious injury. Do not stand in
tub during installation or use. Do not allow residents to
stand in the tub.
CAUTION: The tub uses flexible hoses--it is an industry
standard and is recommended by MasterCare to replace
the hoses every five (5) years and to inspect the hoses yearly
for any obvious signs of damage, wear, etc. If any signs of
damage or wear are noted replace the hoses.
1. Check Electrical and Plumbing and Service Rough-Ins
•Bathing system location identified and marked per
instructions in rough-ins
•Plumbing installed according to instructions in
rough-in manual.
•Wall and floor openings around pipes closed and
sealed.
2. Clear Waste Water Drain
•Make sure waste water drain is free of debris
3. Flush debris from hot and cold water service lines.
•Flush debris from the incoming hot and cold water
lines before connecting tub hoses. Run about 10
gallons through each line into a bucket. This will
protect the plumbing valves in the bathing system
from potential damage by migration of debris into
vital components.
•You are now ready to install your MasterCare
Integrity Bathing System.
4. Position Tub
•Remove side service access panel, remove
disinfectant box by removing the 2 bolts at the top
of the box then lift and remove boxes. Set to the
side of the door opening.
•Slide the back of the tub to the wall, centering to
the 2” drain rough-in.
•Make sure 2” drain on tub is aligned with 2” drain
rough-in. Connect with 2” flexible connector
(Fernco coupling). Don’t tighten yet.
5. Set Anchors
•Find the two 1/4” holes located in the fiberglass
rear floor area of the tub. Mark the hole locations
on the floor, disconnect the 2” drain and slide the
tub forward about six feet. Drill two 1/2” holes for
the 1/4” SS anchor bolt anchors. Clean/blow out
the holes that were previously drilled. Slide the tub
back, connect the drain and set the anchors
accordingly.

Integrity)Bath)Model&MB-80R&Installation&Manual&
01-23-19
Page 6 of 8
450 East 32nd Street - PO Box 1022 68026)
Fremont NE 68025
800-798-5867 FAX: 402-563-9102
www.mastercarebath.com
6. Reposition Tub Against Wall
•Install the anchor bolts loosely.
•Slide the tub back to the wall.
•Connect the drain, but do not tighten.
7. Level Tub
•Adjust leg leveling screws to level the tub
•Check to be sure water drains completely.
8. Tighten Anchor Bolts
9. Make Final Connections
•Connect hot / cold water high pressure hoses from
inside if the support cabinets to the hot and cold
water supply valves with ¾” male FTT fittings.
•Connect the 2” tub drain to the 2” drain rough-in
and tighten.
•Plug the bathing system into a 120V AC, 60 Hz, 20
Amp CLASS A GFCI receptacle.
10. Connect Disinfectant Shower Wand Hose
•Connect ½” female end of the disinfectant hose to
the ½” lower male fitting on the inside top of the
disinfectant box.
VERIFY SYSTEM OPERATION
11. Close and Lock Door
•Rotate and position door inside the tub as far as it
will go. With both hands push door down carefully
until it latches in the down position. Rotate door
cam arm up into full locked position.
12. Turn On BathAire
•Turn on BathAire by pushing the “BathAire On/Off”
button.
BathAire Control Panel
On/Off
Button
More
Air/Heat
Button
Less
Air/Heat
Button
Wave
Button

Integrity)Bath)Model&MB-80R&Installation&Manual&
01-23-19
Page 7 of 8
450 East 32nd Street - PO Box 1022 68026)
Fremont NE 68025
800-798-5867 FAX: 402-563-9102
www.mastercarebath.com
13. Turn on Supply Water
•Turn on the hot and cold water supply valves.
•With the shower wand pointed inside the tub, turn
the chrome shower spray on/of handle counter
clockwise (on) to purge the plumbing system of any
trapped air. Turn off after trapped air is purged.
•Rotate the reservoir open/closed handle on side of
the console to open position.
•Rotate chrome reservoir fill knob on plumbing
control deck counter clockwise until full open.
14. Check for Connector Leaks
•Check all hose connections for leaks. While holding
the shower wand over inside of the tub, turn
chrome shower spray handle counter clockwise
(on) and check for leaks. Turn shower spray off.
While holding disinfectant wand over inside tub,
turn chrome disinfectant counter clockwise (on)
and check for leaks. Turn disinfectant handle
clockwise (off). Tighten any loose connections that
are leaking.
15. Check Fill Temp Gauge
•Adjust temperature of the incoming water to
approximately 102 F (39C) by turning the mixing
valve handle to a position that provides a constant
readout of desired temperature on the
Thermometer located on the right side of the
reservoir. Then turn the mixing valve handle to full
hot.
16. Fill Reservoir
•Rotate the reservoir open/closed handle on side of
the console to closed position.
•Continue to fill reservoir until completely full. A
built-in float valve will automatically shut off the
water when the reservoir is full.
•Check bath temp gauge, it should read
approximately (within 3 degrees) what the fill
temp. gauge read while filling the reservoir.
17. Check Reservoir Open/Close Function
•Rotate reservoir open/close handle on the side of
the console to the open position.
•Then rotate reservoir open/close handle on the
side of the console to the closed position.
•Water flow from fill spigot should stop after a few
seconds with some minor residual flow until all the
water drains out of the plumbing system.
18. Fill Tub
•Rotate reservoir open/close handle on the side of
the console back to the open position.
•Water should flow freely from the reservoir into the
tub. Fill time from reservoir to tub should be
approximately 1 minute and 45 seconds under
optimum conditions.
•Memo: Without a bather inside the tub to displace
water the tub will only be partially filled.
19. Check BahAire Hydromassage Function
•Air bubbles should flow evenly out of all aerators.
Check all functions on the BathAire control panel.
20. Drain Tub
•Rotate Drain Open/Close handle to open
position. Allow tub to drain completely. Check all
drain connections for leaks. Make sure all water
drains from tub. If not, tub is not level. Level tub
per instructions on page 5.
Shower Wand
Service Access
Door
Door Seal
Open/Close
Arm
Tub Door
Reservoir
Disinfectant
Wand
BathAire Control
Panel
Shower On/Off
Valve
Mixing Valve
Reservoir Fill
On/Off Valve
Tub Fill Lever
Fill
Temperature
Bath Water
Temperature
Door Latch Release
Button
BathAire Control Panel
On/Off
Button
More
Air/Heat
Button
Less
Air/Heat
Button
Wave
Button

Integrity)Bath)Model&MB-80R&Installation&Manual&
01-23-19
Page 8 of 8
450 East 32nd Street - PO Box 1022 68026)
Fremont NE 68025
800-798-5867 FAX: 402-563-9102
www.mastercarebath.com
21. Check and Adjust Disinfectant Dispensing System
•With disinfectant wand pinted inside the tub,
turn chrome disinfectant On/Off handle counter
clockwise all the way on.
•The clear tubing line from the 2 liter bottle of
concentrated cleaner disinfectant should be full.
After a few seconds a soapy disinfectant solution
will emit from the wand.
CAUTION: The cleaner/Dsinfectant system is preset
at the factory to dispense 2 oz of concentrated
disinfectant per gallon of water. Using other brand
disinfectant cleaners or system replacement parts
could cause this recommended ratio to change and
result in an incorrect solution.
•The flow rate of concentrate can be adjusted by
turning the adjustment screw (See the picture)
on the injector housing counter clockwise for
more, clockwise for less.
•The adjustment screw can be accessed through
the small plugged hole to the left of the
disinfectant On/Off handle.
22. Check and Program Bath Oil and Shampoo
Dispensing System
•Remove the service access door on the right side
of the tub. Connect the 2 liter jugs of the bath oil
and shampoo shipped separately in the Starter
Kit to the appropriate dispensing hoses. Bath oil
left hose and Shampoo right hose. To prime, push
the appropriate button for the solution you want
to prime.
•Refer to the Operation Manual for the Bath Oil
and Shampoo dispensing system to set up and
check the system to make sure it operates as
intended. Set to dispense ½ oz bath oil and ¼ oz
shampoo.
If any problems are encountered during checking
and adjusting dispensing systems, check the
Maintenance Manual included with your tub or call
your local MasterCare representative or
MasterCare direct for technical support.
23. Clean and Rinse the Bathing System before Using
•Before using this equipment:
oRemove all rough debris from inside the
tub.
oClean and rinse the system following the
guidelines in the Operation Manual.
Other manuals for Integrity MB-80R
1
Table of contents
Other Mastercare Bathtub manuals
Popular Bathtub manuals by other brands

American Standard
American Standard Reminiscence 2908.018W Specifications

DURAVIT
DURAVIT Cape Cod 700362 90 Series installation instructions

Kohler
Kohler K-1259 Roughing-In Guide

SpaVida
SpaVida Whirlpool C642 user manual

American Standard
American Standard Cadet Elite Corner Whirlpool 2775EC Specification sheet

Glass
Glass pop 140 quick start guide