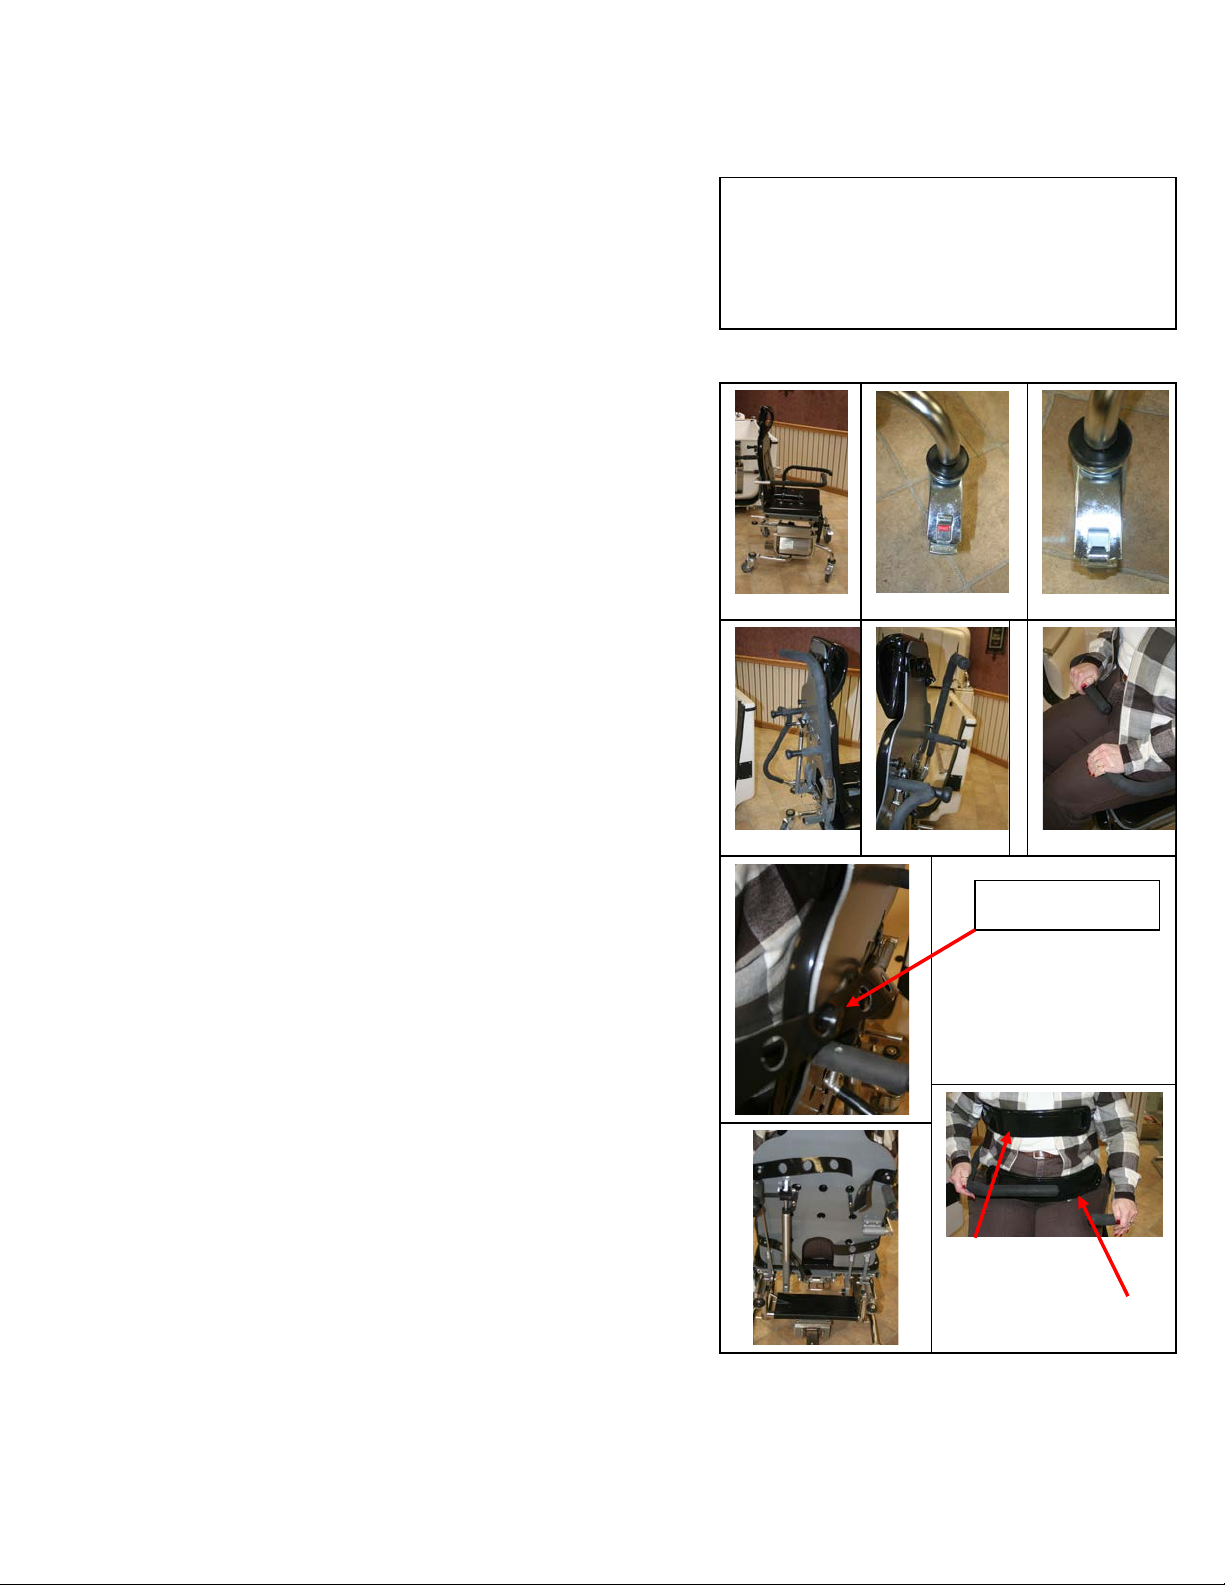
Integrity Bath MB-80 Operating Instructions
______________________________________________________________________________________________
MB-80 Operations 2/18/13 800.798.5867
Cleaning Procedures:
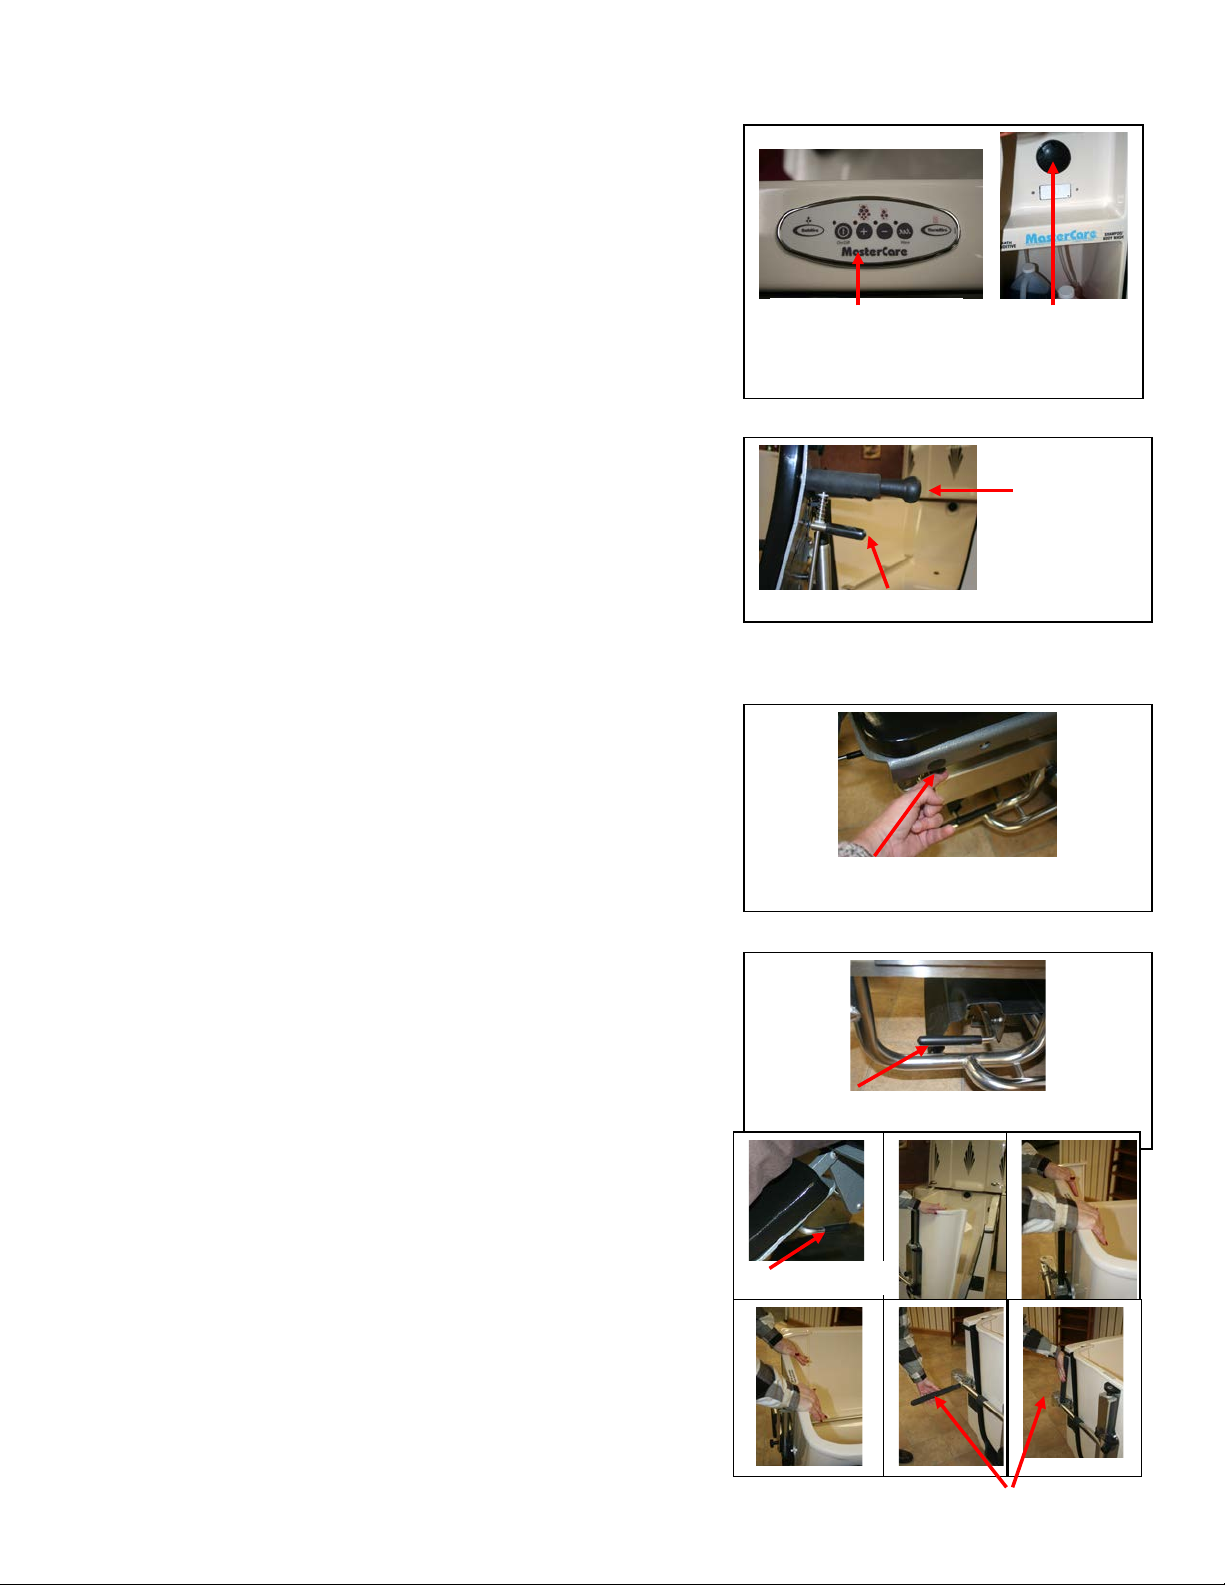
Turn on BathAire(SM). Return the carrier with the
empty chair to the tub. Engage the carrier with the
tub. Disengage the chair and roll it inside the tub,
as per previous instructions. Remove the Pads
and place in the foot well of the tub (following
procedures on pages 16 & 17). Make sure the
drain is open, then use the shower wand to rinse
all inside surfaces including door area, chair back
& seat including pads, to remove residual organic
materials left over from the previous bath. Close
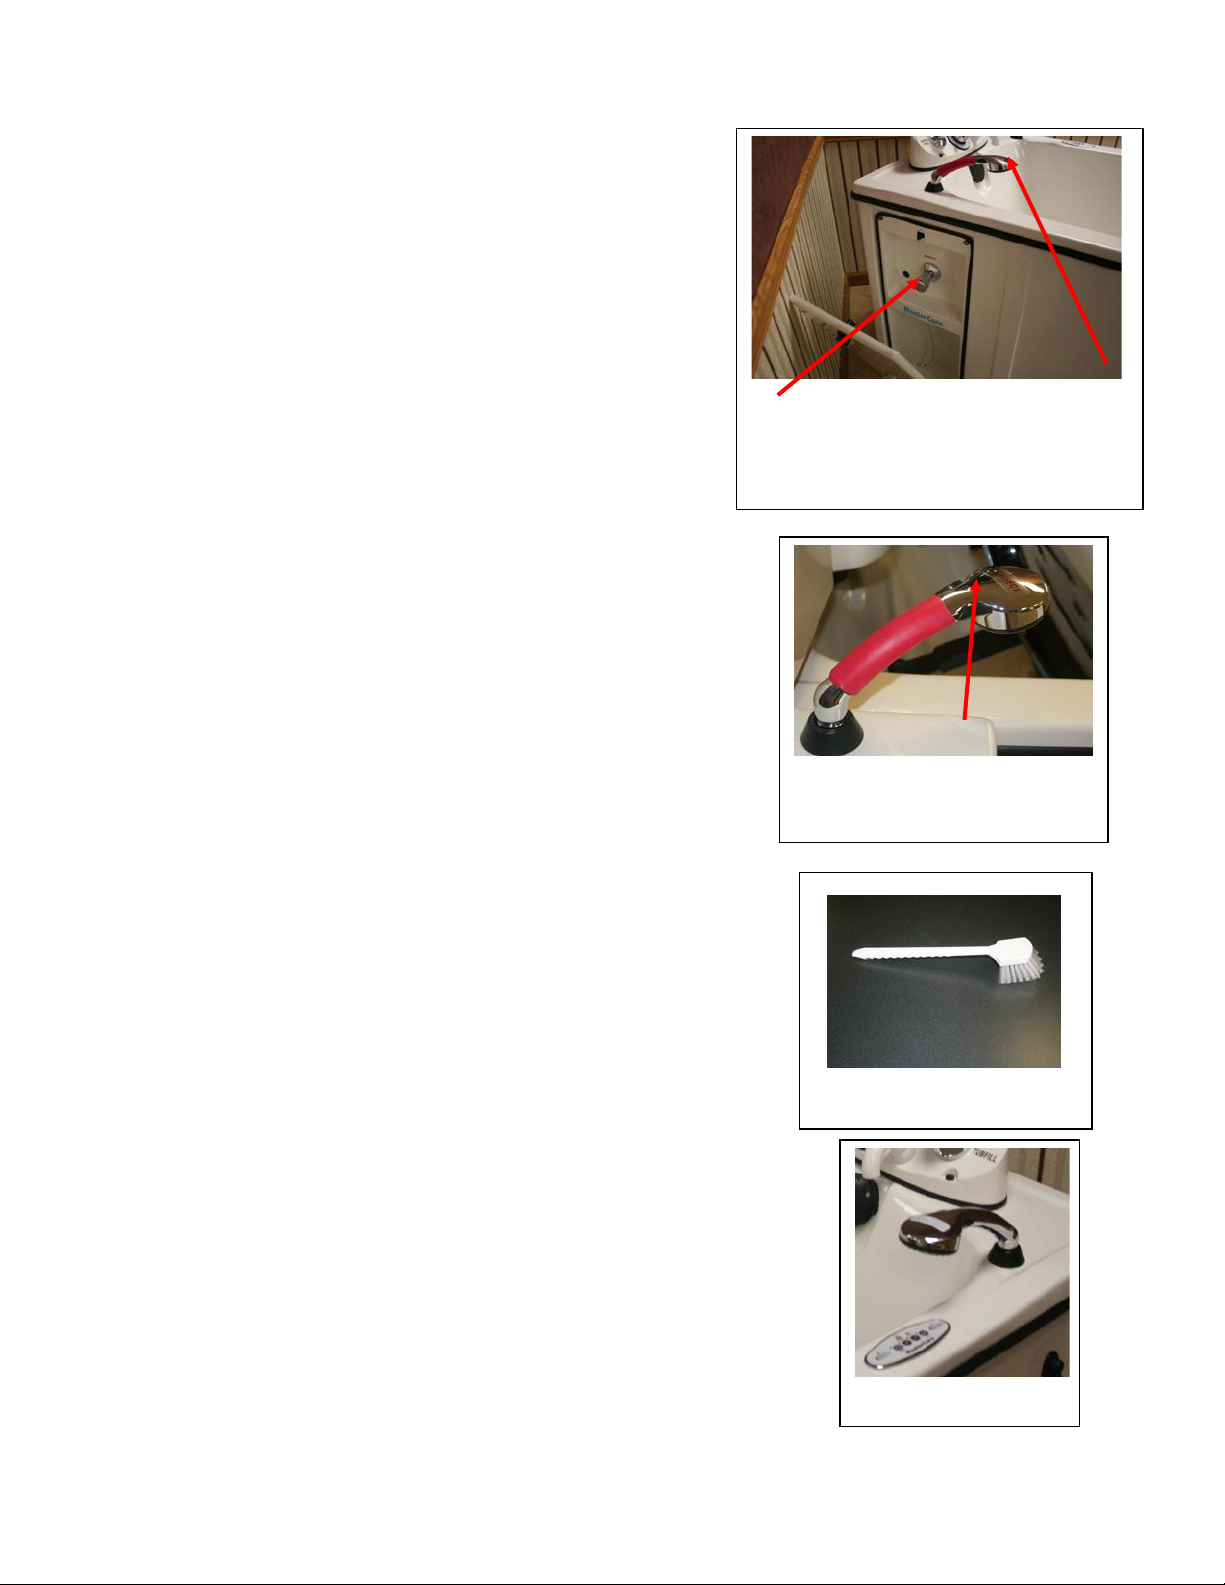
the drain. Grasp the Disinfectant Wand and hold it
so the nozzle is pointed inside the tub. Turn on
the Disinfectant Valve counter clockwise until fully
on. Spray all inside surfaces of the tub, all
surfaces of the chair as well as those of the pads.
You will have a little over one gallon of water and
disinfectant mix in the foot well of the tub; turn off
the Disinfectant Valve by rotating it in a clockwise
direction until it is fully off. Caution: Do not only
turn off the black switch on disinfectant wand;
the valve must be turned off to avoid back
pressure build up. If your wand does not have this
switch please disregard this caution. Scrub all areas
with the long handled brush provided with the tub.
After all areas are thoroughly scrubbed, follow
rinsing procedures below.
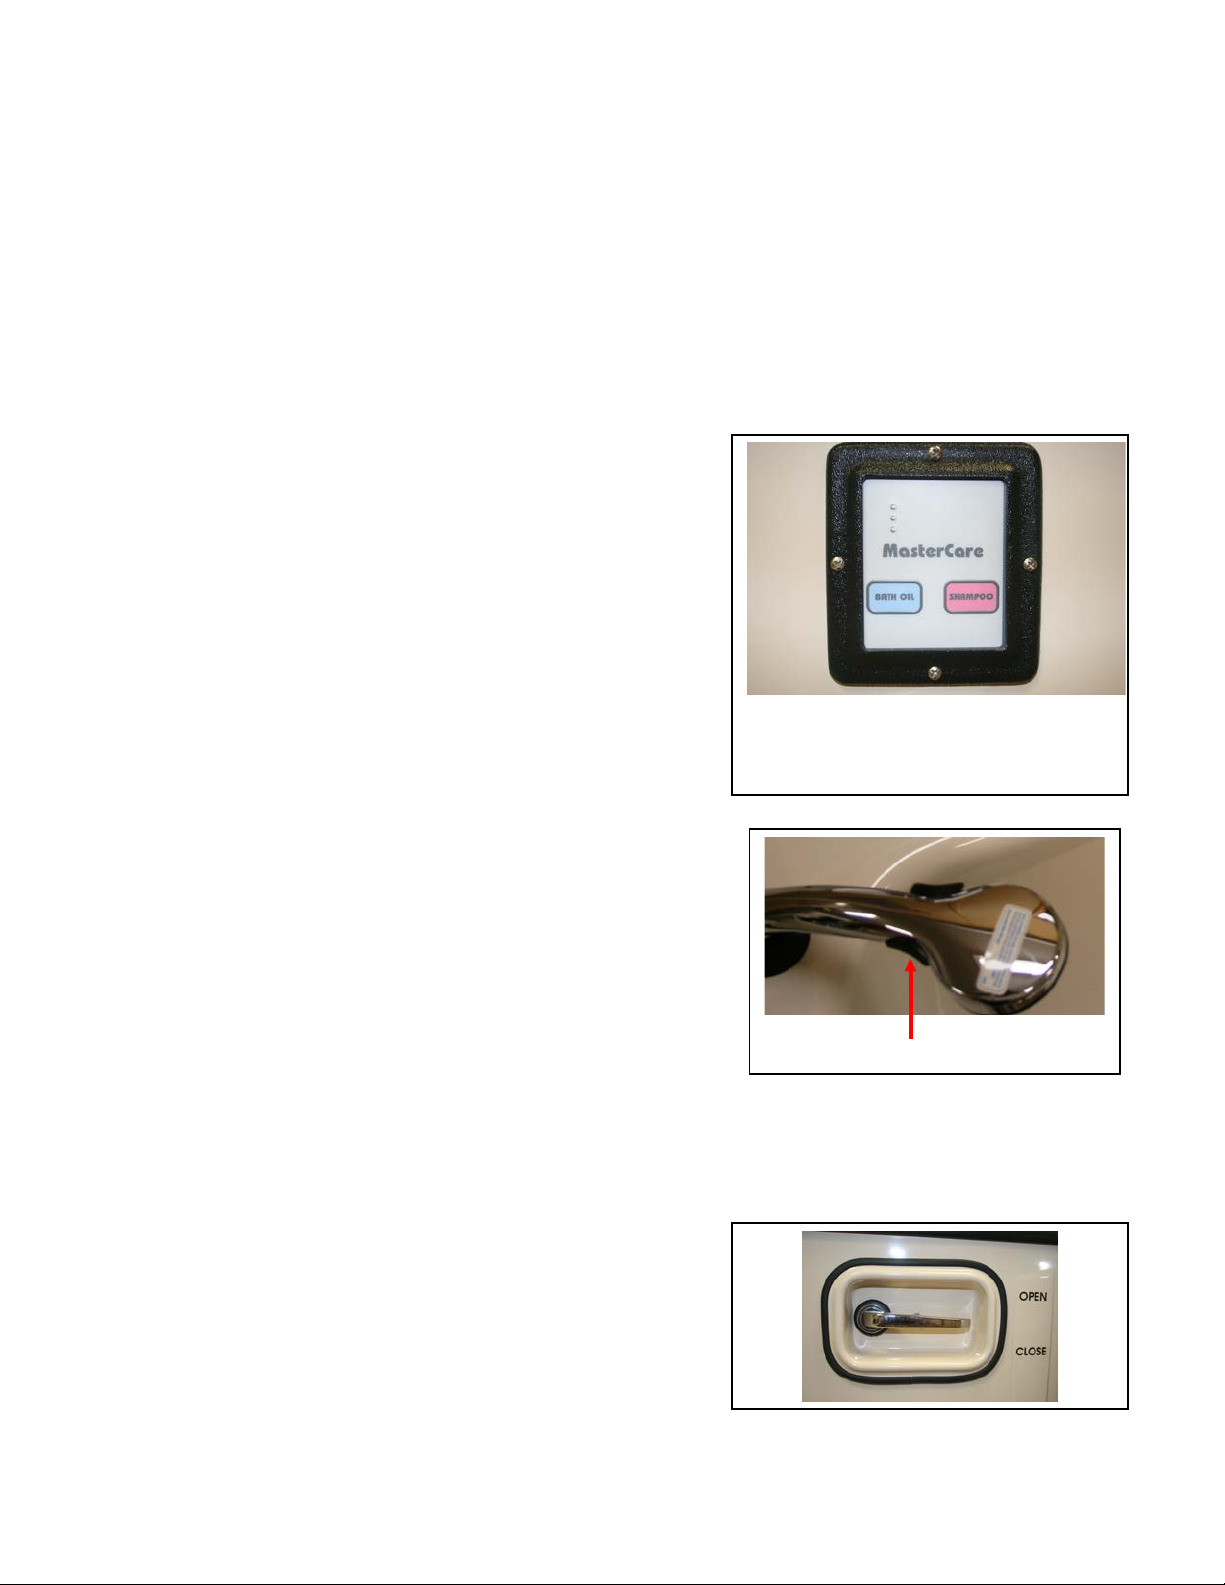
Rinsing Procedures:
Open the drain. Allow contact time as detailed on
disinfectant/cleaner. Use the Shower Wand to
thoroughly rinse all areas that were in contact with
the disinfectant cleaner. Return and lock the chair
to the carrier, following the previous transfer
docking procedures.Disengage the carrier and
attach pads (following procedures on pages 16 &
17), you are ready to pick up your next individual
for bathing. If it is the end of the day and you will
not be bathing another individual on your shift,
lean the pads on the inside vertical surfaces of the
tub to drip-dry. Turn off BathAire(SM).Caution:
Do not only turn off the black switch on
shower wand; the valve must be turned off to
avoid back pressure build up. If your wand does
not have this switch please disregard this caution.
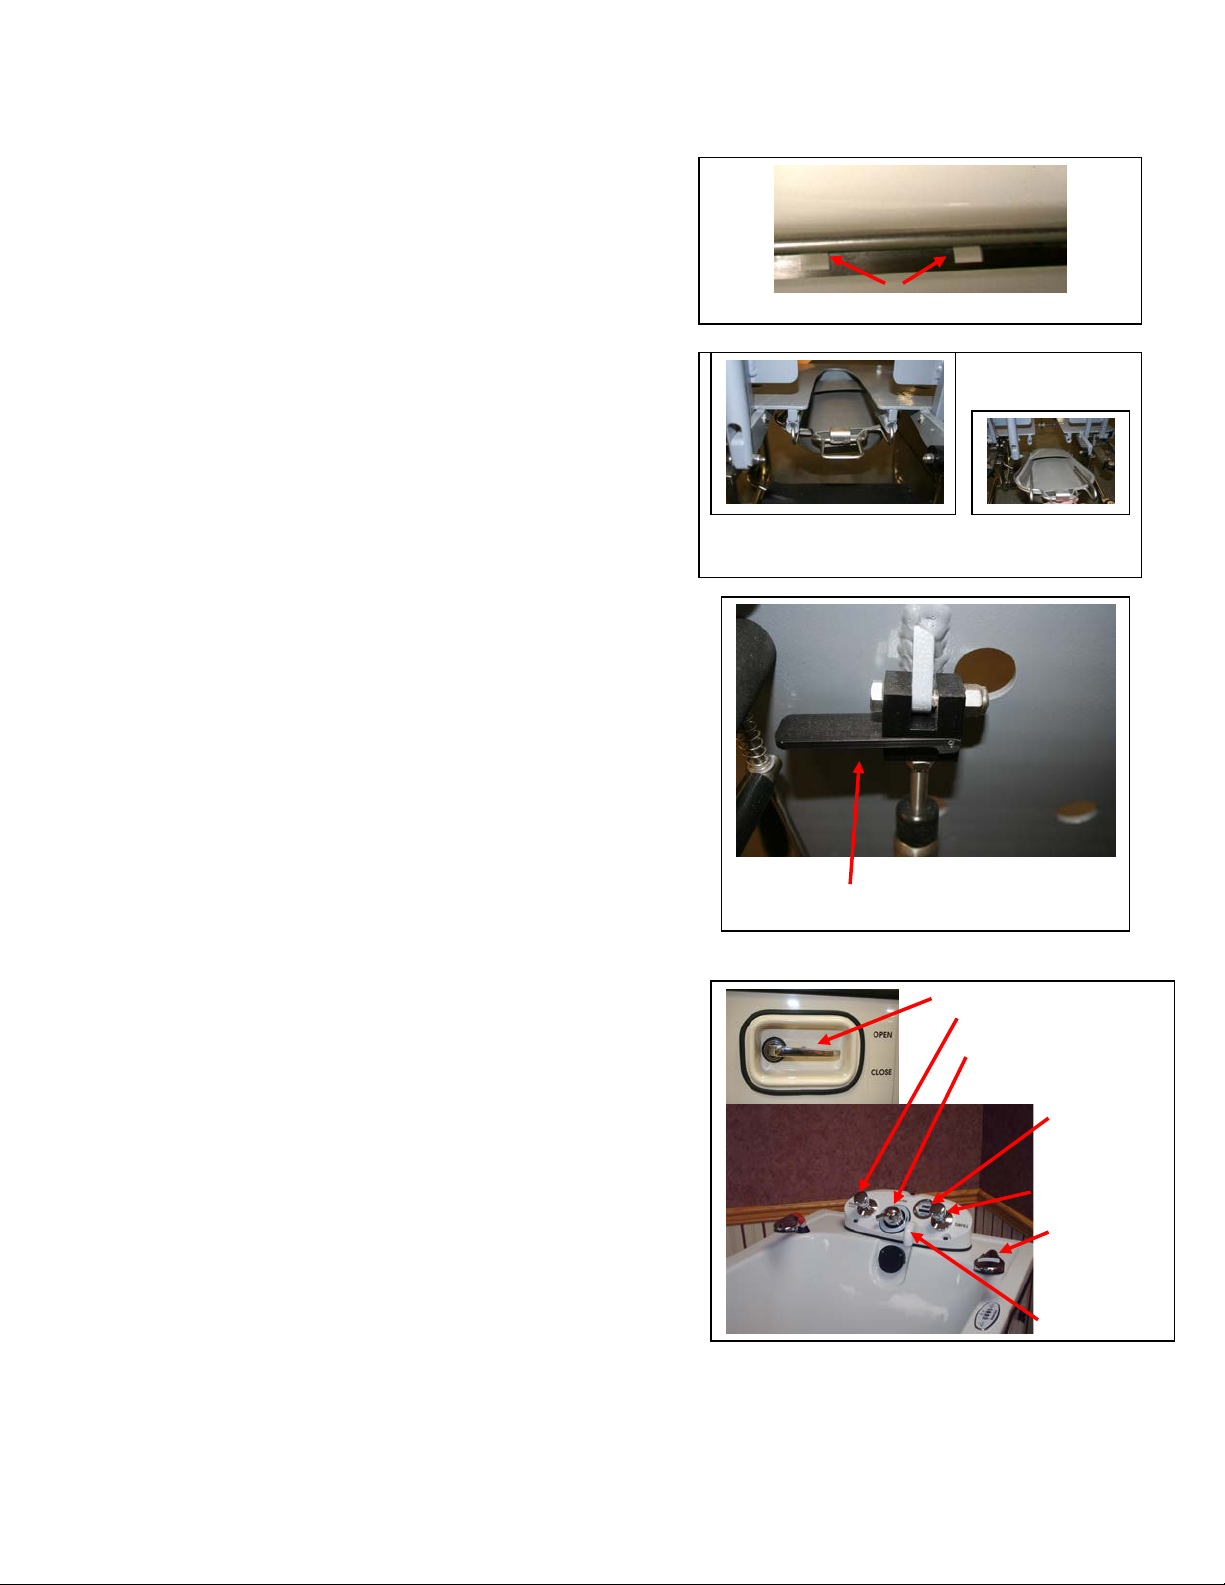
Disinfectant Wand
Disinfectant Control Valve
Disinfectant Dispensing
See page 15
Shower Wand
Long Handled Brush
Black Switch