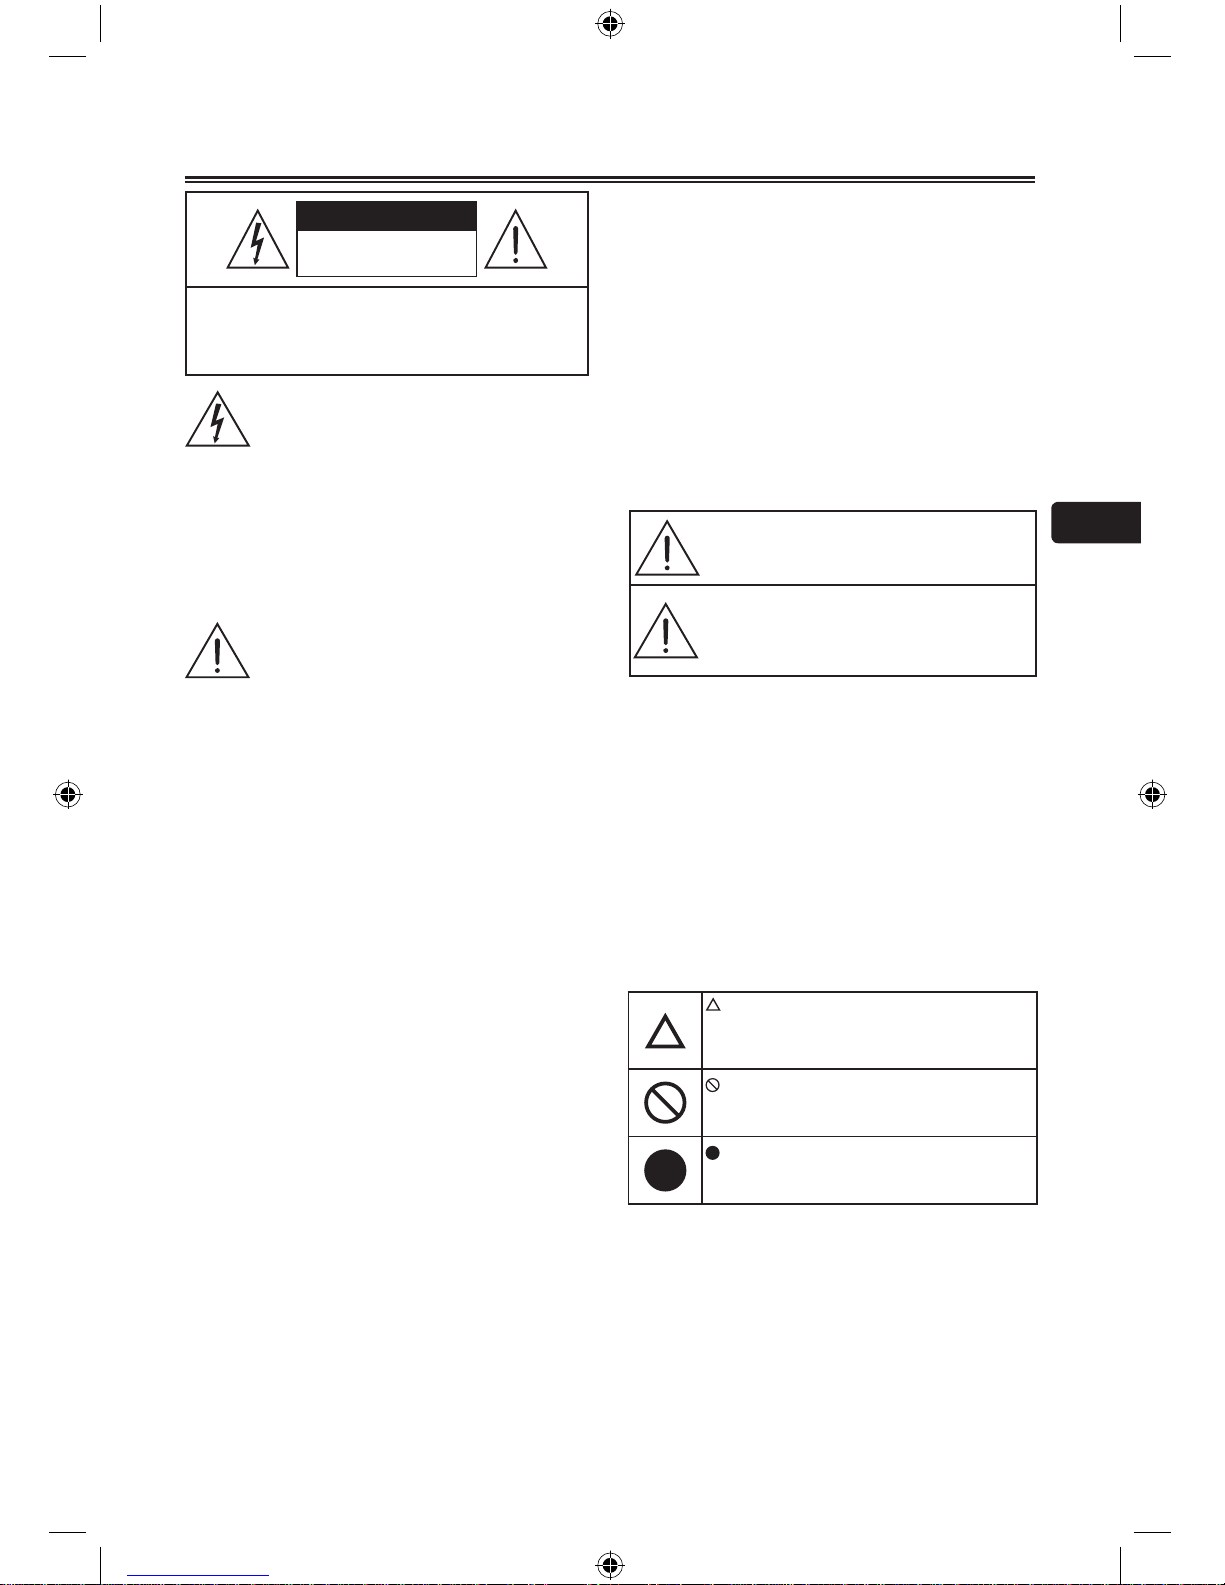
Thelightningashwitharrowhead
symbol, within an equilateral
triangle, is intended to alert the
user to the presence of uninsulated
“dangerous voltage” within the
product’s enclosure that may
beofsufcientmagnitudeasto
constitute a risk of electric shock to
persons.
The exclamation point within an
equilateral triangle is intended
to alert the user to the presence
of important operating and
maintenance (servicing)
instructions in the literature
accompanying the apparatus.
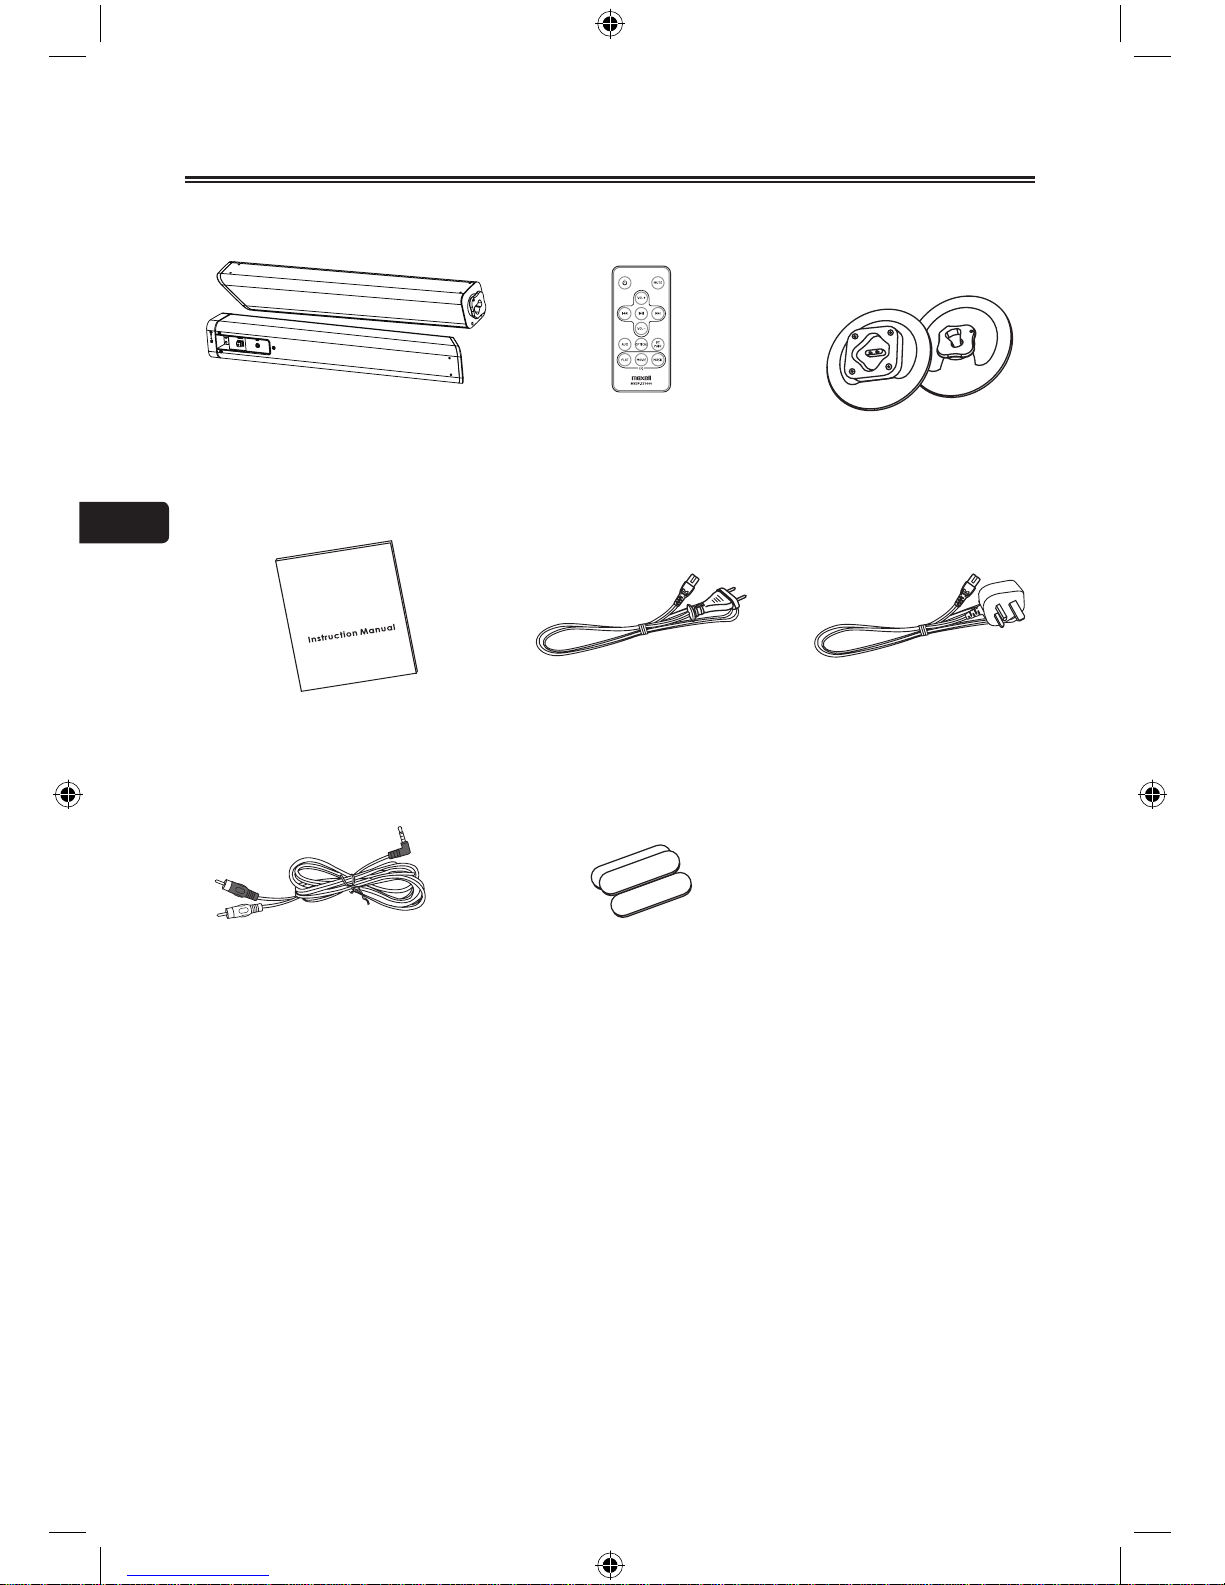
Reading the user’s manual
• Thecontentsofthisuser’smanual
maybemodiedwithoutanyprior
notication.
• Theappearanceandspecications
maybepartiallymodiedwithoutany
priornotication.
• Maxellshallnotberesponsibleforany
injurycausedbyfire,earthquake or a
third party, as well asany injury that
occur due to intentionalor accidental
mishandling or improperuse by the
customer.
• Maxellshallnotbeheldresponsiblefor
any damages that may occur dueto
employment of a usage method not
designated in this user’s manual.
• Maxellshallnotbeheldresponsiblefor
any damages that may occurdue to
malfunctioning of this Soundbar
resulting from the use of this Product
together with other devices.
• ThisSoundbarisnotintendedfor
usein facilities and equipment
whichmay affect human lives,
includingmedicalequipment,
nuclear devices, aerospace
equipment and transport equipment,
as well in facilities and equipment
which require a high degree of
reliability.
Maxellshall not be held responsible for
any accident resulting in personal injury
or death oranyfireaccidentthatmay
occurdue to failure of this Product
when this Product is used in the control
systems of those facilities and
equipmentdescribedabove.
Warning!
Indicates that ‘there is a
possibility of causing death or
serious physical injury if this
Product is erroneously handled’.
Caution!
Indicates that ‘there is a
possibility of causing physical
injury*1or occurrence of physical
damage*2if this Product is
erroneously handled’.
*1: Serious physical injury implies injuries
such as loss of eyesight or injury,
burns, electric shock, bone fracture
or poisoning that have subsequent
complications and which require
hospitalization or long term hospital visit
for medical treatment.
*2: Physical injury implies injury, burns and
electric shock which do not require
hospitalization or long-term hospital
visit for medical treatment.
This symbol shows that the user needs
to exercise caution while handling this
Product to prevent re, explosion and
heating. The specic caution to be taken
is written inside the symbol.
This symbol implies restriction of an action
while handling this Product. The specic
restriction is written inside or near the
symbol.
This symbol implies compulsion of an action
based on the instructions. The specic
compulsion is written inside or near the
symbol.
Warning
To reduce the risk of electric shock, do not
expose this apparatus to moisture.
Warning
The battery (battery or batteries or battery
pack) must not be exposed to excessive
heatsuchassunshine,fire,etc.
Important Safety Instructions
WARNING
CAUTION:TOREDUCETHERISKOFELECTRIC
SHOCK,DONOTREMOVECOVER(ORBACK).
NOUSER-SERVICEABLEPARTSINSIDE.REFER
SERVICINGTOQUALIFIEDSERVICEPERSONNEL.
RISK OF ELECTRIC SHOCK
DO NOT OPEN
•