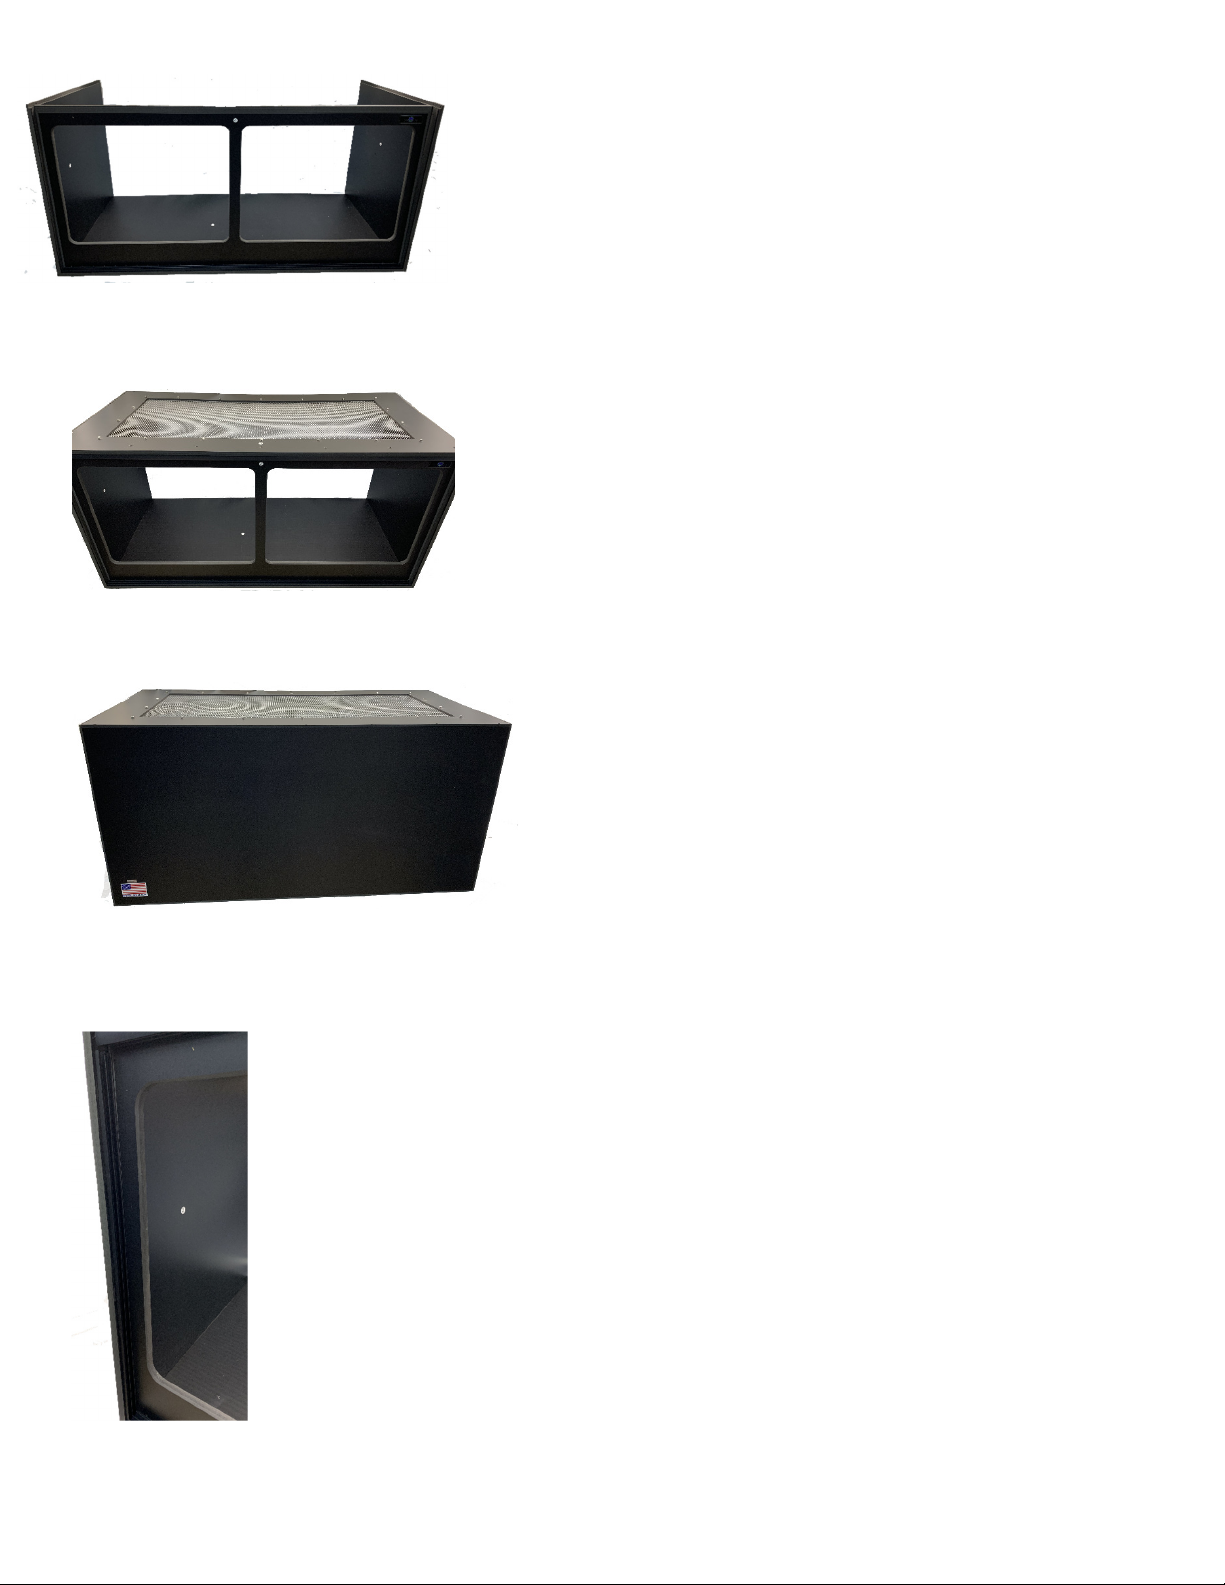
4. Now slide part # 4 between the sides ma ing sure it’s situated
inside the grooves and then add the side screws.
5. The top (part # 5) can now be positioned onto the enclosure and
secured in place. Please ma e sure it’s positioned in the recessed
slots before adding the screws.
6. Place the last part (part # 6) into the slots at the bac of your
enclosure and screw in place to finish the screw assembly.
7. Now that your Enclosure is screwed together, you can add the two side trac s by peeling
bac the PSA tape and inserting them into the side slots as shown. Be sure to squeeze
firmly to ma e sure they are stuc in place.
8. Your new enclosure is now ready to position in its permanent location and decorate,
before adding the polycarbonate doors. To add the doors, place the rear door in the rear
trac and the front door in the front trac .
You can now also add the clear door pulls onto the doors as well as the loc .


