●TBS (True Bypass Switching) using 4PDT mechanical switch lets your
instrument's signal pass through a non-electronic bypass line when the effect is
disengaged, feeding your amplifier with direct, unaltered signal from your
instrument.
●Employs tube heater inrush current control circuit to extend tube’s life.
●AC adaptor AC2009 can be used worldwide from 100VAC to 240VAC by auto
voltage sensing. Main countries' safety standard approved. Useful for worldwide
touring musicians.
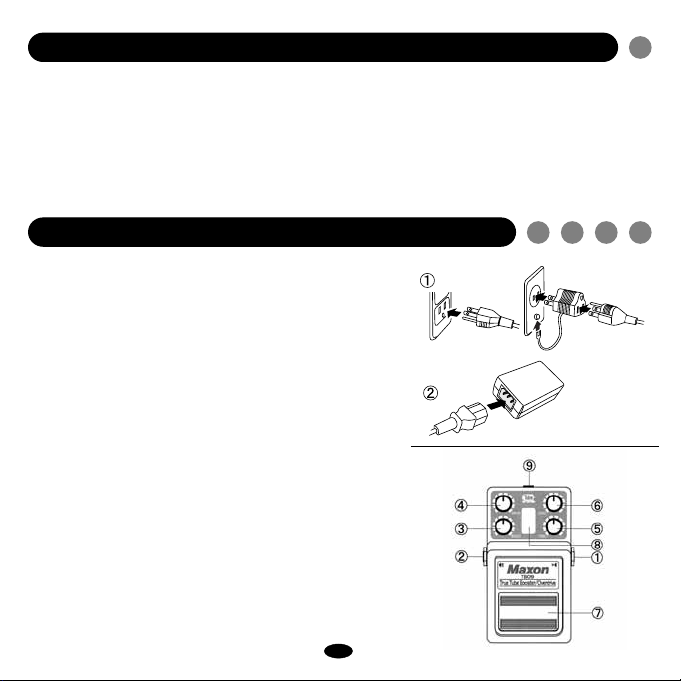
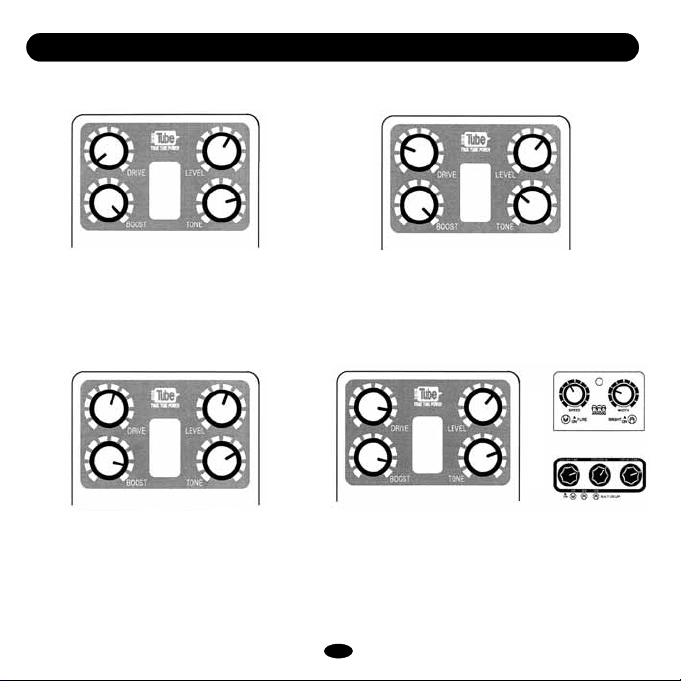
④DRIVE
This mixes clean boost and over-
drive. Turn this knob fully counter-
clockwise for clean boost. Turn it
clockwise for more overdrive.
⑤TONE
Controls tone in high-frequency
range. Turn it clockwise to empha-
size high tone. Turn it counterclock-
wise to cut the high tone.
⑥LEVEL
Controls output level of effected sig-
nal. Typically output levels of both
normal signal and effected signal
should be adjusted to equal levels.
⑦FOOTSWITCH
Switch for effect / bypass. Stepping
on this switch alternately turns ef-
fects on and off.
* Effect turns on when you depress
the switch and effect turns off when
you depress and release the switch.
⑧INDICATOR
This indicates the effect / bypass
status. After AC adaptor is connect-
ed, it lights when effect is on with
footswitch.
* Tube heater always slightly lights
when AC adaptor is connected.
⑨DC INPUT (power input jack)
A jack to connect the provided AC
adaptor (AC2009).
Be sure that guitar amplifier is
turned down before connect-
ing/disconnecting the AC2009 power
plug or DC plug.
* It takes 1 - 2 min. warm-up time for
tube to reach stable temperature for
consistent tone.
9
TBO9
ENGLISH