Maxview MXL007 User manual

MXL007 (single LNB output)
MXL007/TWIN (twin LNB output)
Max-Dome
Satellite
System
Installation & Operation
Instruction Manual
9111407 issue 2

2
Useful Information
Date of Purchase
Retailer
Installer
Serial Number
We thank you for buying the Maxview Max-Dome Satellite System.
The Max-Dome has been designed for permanent attachment to the roof of your vehicle. It
will receive satellite reception almost anywhere in Europe.
The Max-Dome is designed to be used to receive and watch satellite broadcasts in
motorhomes, caravans or horseboxes while these vehicles are parked.
The Max-Dome is easy to use, but please read through this manual thoroughly prior to
starting the installation.
If you should require any technical assistance please contact 01553 811000
All instructions and models are subject to change. In accordance with policy of progressive
product, the company reserve the right to alter specifications.
Copyright© these instructions are the sole property of Maxview Ltd and may not be
reproduced.
Please keep these instructions safe for future reference.
Recycle packaging where facilities exist.

3
Contents
Warranty............................................................................................................................4
Safety Precaution..............................................................................................................5
Introduction .......................................................................................................................6
Proper Use & Operation.................................................................................................6
System Components.........................................................................................................7
Control Box Connections & Features.................................................................................7
Product Contents...............................................................................................................7
Installation.........................................................................................................................8
Selecting an Installation Location...................................................................................8
Installation on the Vehicle..............................................................................................8
Electrical Installation ......................................................................................................9
Operating the System......................................................................................................10
Turning on the System.................................................................................................10
Turning off the System.................................................................................................10
Switching between Satellites........................................................................................10
Skew Adjustment.............................................................................................................11
Troubleshooting...............................................................................................................12
Specification....................................................................................................................13

4
Warranty
Every new Maxview Max-Dome Satellite System is thoroughly inspected and tested before
leaving the factory, and is covered by the following two years parts and workmanship
warranty from the date of original purchase.
Two years parts warranty. The customer is not responsible for the cost of replacement parts
if the original part is determined to be defective under the terms of warranty. The customer
is responsible for the cost of replacement parts after two years. This warranty does not cover
installation or external wiring.
Should any trouble develop during the warranty period please contact Maxview before the
warranty period expires. If you do experience a problem with the product contact Maxview
Customer Services on (01553) 811000 or email cust_serv@maxview.co.uk.
Please make sure you have the following ready when you call:
Address
Telephone number
Model number
Serial Number
Date of purchase
Clear and concise details of the fault
Details of who installed the product
The warranty does not apply where:
The product has been abused, misused, improperly installed or improperly maintained.
The product has been installed without the use of Maxview mounting brackets
Repairs have been made or attempted by a third party other then Maxview
Repairs are required due to normal wear and tear
Modifications have been made to the product
The antenna unit or control box has been opened
Damaged caused by abrasive cleaning or power washing
Circumstances beyond the control of Maxview that have caused the product to no longer
operate correctly
Customer is not the original owner or cannot provide proof of purchase
In no event shall Maxview be liable for any indirect, incidental, or consequential damages
from the sale or use of the product. This disclaimer applies both during and after the term of
the warranty.
This does not affect your statutory rights

5
Safety Precaution
Read this manual carefully and become familiar with your satellite antenna. Understand its
applications, its limitations and any hazards involved. Failure to follow all instructions listed
below may result in electric shock, fire and/or serious injury. Maxview declines all
responsibility in the event of incident or accident if they are due to a non observation of the
installation instructions or the way the product is used.
The user is legally responsible for the antenna mounted on top of the vehicle.
Installation
Installation should be carried out by a competent person.
The antenna part of the system installed on the vehicle adds extra height. It is very
important to be aware of this extra height when the vehicle is on the move.
Take care when working at heights keeping work area clean and tidy to avoid trip
hazards.
Use creeper boards where necessary to ensure roof construction can support your
weight.
Use a recommended adhesive to bond the antenna unit to vehicle roof and follow the
manufacturer’s instructions during application.
Do not travel until adhesive has cured noting that curing times vary with weather
conditions.
Power tools should be used in accordance with manufacturer’s instructions.
All electrical work should be carried out by a competent person. If in doubt seek advice
from a qualified electrician.
Operation
Maintain adequate ventilation around the Control Box to avoid overheating.
Do not allow children to operate the antenna unit.
Servicing
If in the event that you do experience a problem with the system call Maxview Customer
Service +44 (0)1553 811000.
Any inspection or repair must be carried out by Maxview or an appointed representative
of the manufacturer.
No regular maintenance required on the system.
Do not use solvent or abrasive cleaning agents on the system.
Use a soft damp cloth to clean the Control Box.
Use a suitable mild detergent to clean the Antenna Unit.
Do not pressure wash the Antenna Unit.
Check the Antenna Unit fixings for mechanical integrity at least once a year.

6
Introduction
The Max-Dome Satellite System is an innovative and a technologically advanced satellite
stationary system. It has a unique combination of state-of-the art components with the most
sophisticated satellite acquisition and tracking programs to provide the following features:
Fast satellite acquisition
Compatible with any Standard or High Definition Satellite Receiver
You will need a suitable Satellite receiver to receive the broadcast channels.
Please read these instructions fully before using the antenna for the first time. The operation
of the antenna has been designed to be as simple as possible however should you require
any technical assistance please contact Maxview customer service on +44 (0)1553 811000
or visit www.maxview.co.uk.
Proper Use & Operation
The Max-Dome Antenna is designed to be installed on a motorhome, caravan, horsebox or
narrow boat to automatically locate a television broadcast satellite when the vehicle is
stationary. The system comprises of 2 main components.
1. The Antenna which is to be permanently mounted externally to the roof structure.
The construction of the roof structure should be suitably robust and have no
protruding obstacles
2. The Control Box is designed to be mounted internally in a cupboard and controls the
antenna unit through the coaxial cable and is powered by 12-24v DC only.
3. Use of the equipment for any other purpose than the one specified is not permitted
and will invalidate the warranty.

7
System Components
Dome Antenna
The Dome Antenna houses the positioning mechanism, LNB (low noise block), and control
elements within a plastic watertight dome. One coaxial cable to the control box is used for
the power and satellite signal. On the twin model the second coaxial cable carries only
satellite signal.
Control Box
The Control Box is the system’s user interface, providing access to the system and its
functions through LEDs and buttons. The Control Box also serves as the vehicle’s junction
box, allowing the system to use vehicle power, send and receive data from the antenna unit.
Control Box Connections & Features
Power IN
12-24v input via lead supplied
Power Out
Can be used to power your receiver
Antenna - F Type Input
Attach to the Dome Antenna via the Coaxial Cable
Receiver –F Type Output
Use the fly lead to attach to your satellite receiver
RS-232
Allows software updates via a PC if required
Product Contents
Dome Antenna Unit
Control Box
1.5m Power Cable
1 x 5m Coaxial Cable with Cable Entry cover attached (MXL007 model)
2 x 5m Coaxial Cable with Cable Entry cover attached (MXL007/TWIN model)
1m Coaxial Flylead
Instruction Manual
Installation Pack(cable clips, screws)

8
Installation
Required Tools & Equipment (not supplied)
Drill Set
Power Drill
No.2 Phillips screwdriver
Weather Resistant Elastic Adhesive* and Applicator gun
Surface Cleaner
Deburrer/Round File/Emery paper
Conduit (recommended method for securing cables)
*Maxview recommends the following adhesives:
Sikaflex®-512 Caravan
Geocel® Geobond HM
Sikaflex®-252
Selecting an Installation Location
Positioning Antenna Unit
Decide where you wish to mount your Dome Antenna, taking into account any obstacles that
might interfere with the tracking of the satellite such as roof lights & vents. It is
recommended that you do a dry run to find the best position.
Check for electrical cables beneath screw fixing points.
Check cables will reach the Control Box
The installation surface should be smooth, flat and rigid.
Before starting the installation of the antenna, make sure that the surface on which the
antenna is to be mounted is dry and clean.
Positioning Control Box
Site the Control Box in a convenient location where:
Rear connections are accessible.
Cables can be routed and concealed neatly.
There is an electrical supply of 12-24v dc permanent.
There is adequate ventilation.
Material construction and thickness is suitable for fixings.
Installation on the Vehicle
Position the Maxview Dome on top of the vehicle carefully in your chosen location. The ‘F’
connector should be directed to the rear of the vehicle.
Follow the adhesive manufacturer’s guidelines for surface preparation.
Apply the adhesive to the underside of each fixing area. Drill and fix screws provided,
ensuring the system is level and there is no distortion to the base of the system. We always
recommend using screws and adhesive for fixing.
We recommend you follow the adhesive manufacturer’s guidelines for curing time before
driving your vehicle.

9
Electrical Installation
Outside Vehicle
The antenna coaxial cable is already installed through the cable entry cover.
Decide on location for Cable Entry Cover into vehicle (above an overhead locker or
wardrobe etc.). Ensure that the Cable Entry Cover is positioned so that the cable exit is
facing the rear of the vehicle and the rounded side of the cover is facing the front of the
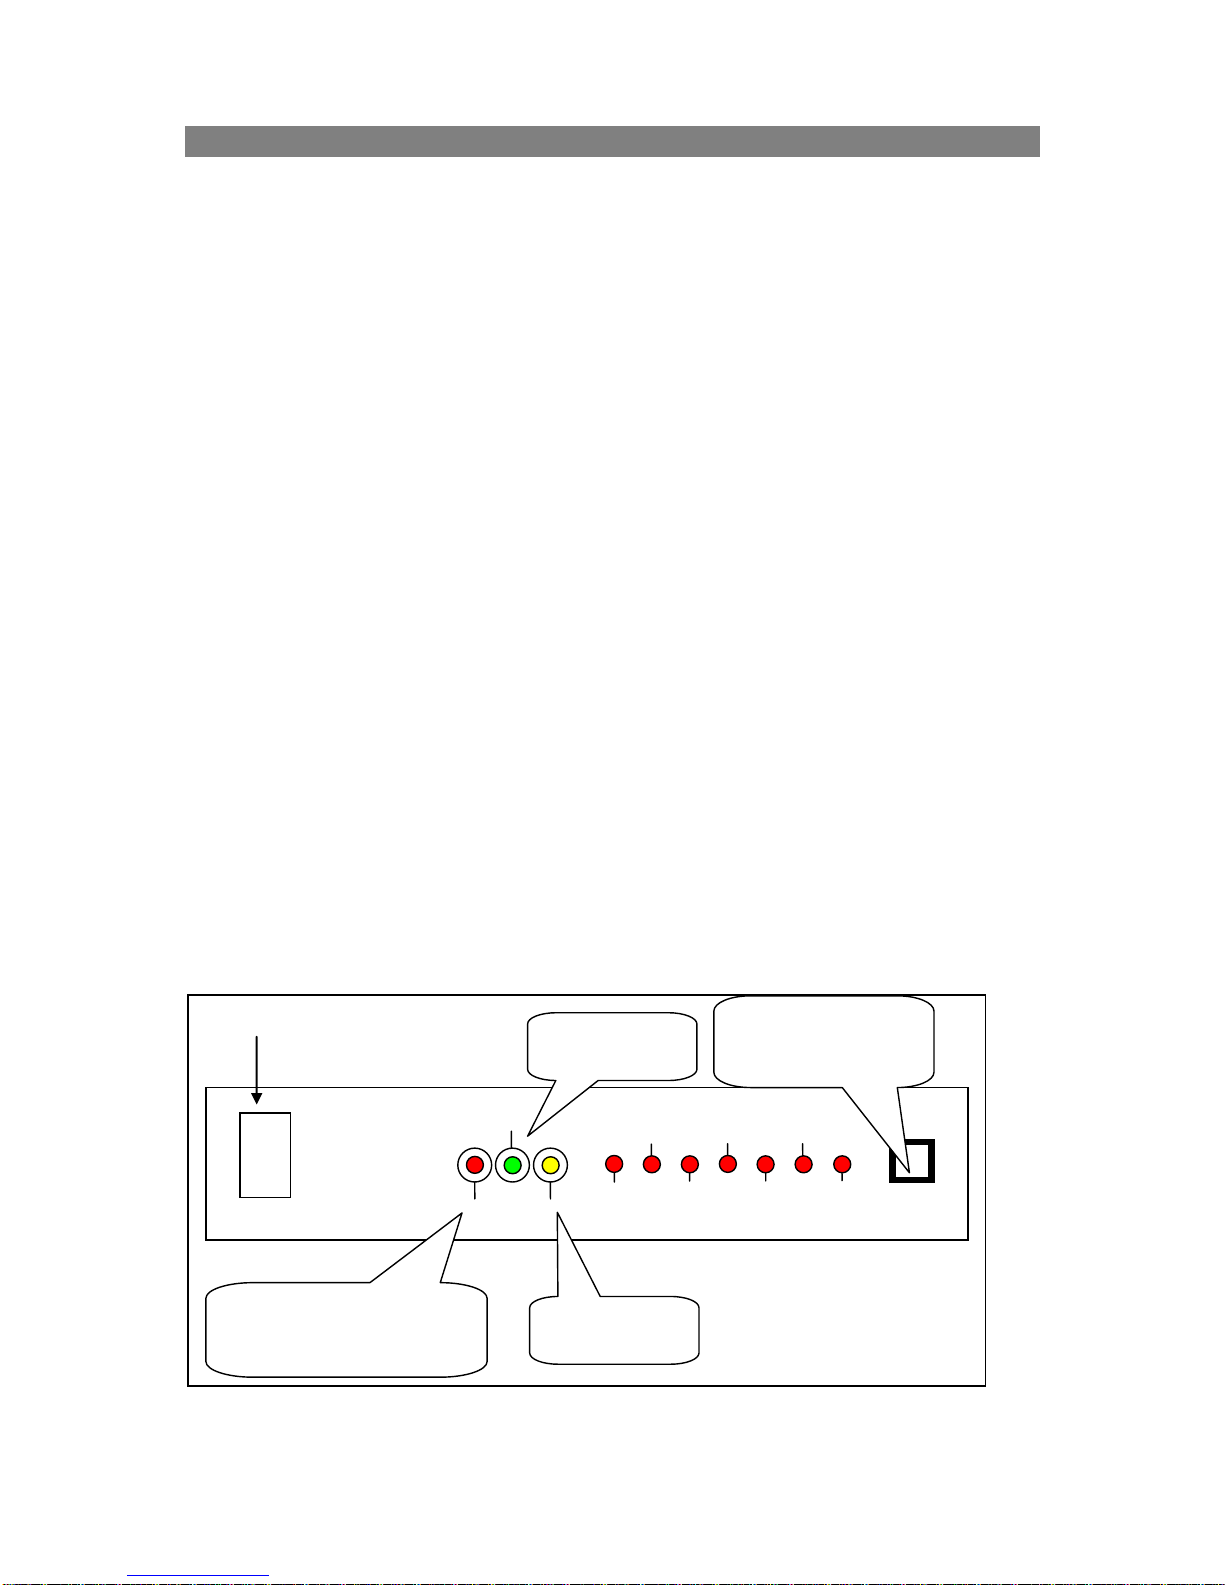
vehicle. Attach the ‘F’ connector to the Max-Dome Antenna ‘F ‘connection marked
CONTROL BOX (on the MXL007/TWIN variant).
Check for cables within roof space before drilling. Drill a hole through the roof and push
cable into vehicle. Ensure roof surface is clean and dry and apply sealant/adhesive to the
back of the flange on the cable entry. Clip cable to vehicle roof using clips supplied.
Alternatively use Conduit.
Inside Vehicle
Inside the vehicle route the coaxial cable from the Max-Dome to the Control Box and fit the
‘F’ connector to the input marked ANTENNA.
Whilst the adhesive is curing prepare the electrical connections for the Control Box. The
Control Box requires a permanent 12-24V DC supply. The supply voltage should be taken
from a suitable point on the vehicle. For a robust installation we recommend to create a new
circuit direct to the battery via an inline fuse (Rated 5Amp). Do not connect to existing
circuits that supply high power devices such as water pumps, air conditioning units or
sources of interference such as electric igniters for gas stoves. Route cables carefully
avoiding areas of excessive heat such as exhaust systems and any moving parts in the
engine compartment or drive shafts.
Using the provided loop through cable make a connection between the Control Box F output
marked RECEIVER and Satellite Receiver that you are installing.
Once the electrical connections to the Control Box and the Satellite Receiver are completed,
the Control Box and Satellite Receiver should be securely fastened to prevent vibration.
Power Cable Colours
Red +12/24v
Black Negative Earth
Join Power Cable to new circuit using a robust connection method such as
Crimp connectors
Screw terminal connector block
Snap fit automotive tap connectors
Twin Output (MXL007/TWIN)
If you are using the second output from the Max-Dome Twin attach the 5m Coaxial Cable to
the Max-Dome ‘F’ connection marked ‘SVR2’. Then run the cable to the Cable Entry Cover
and then inside the vehicle to your second Satellite Receiver or the second input on your
recording device.

10
Operating the System
Turning on the System
Follow the steps below to turn on your Maxview Max-Dome.
1. Make sure the antenna has a clear view of the sky.
2. Turn on your Satellite Receiver and TV.
3. Turn the Control Box power to the ‘ON’position.
4. Push the SATELLITE SELECT button to select a satellite within 5 seconds. If not the
system will automatically search the last found satellite.
5. When the satellite LED stops flashing the antenna will begin the search.
6. The LOCK LED will illuminate when the satellite is found and the Control Box will
enter a standby mode allowing the satellite signal to be viewed through the Satellite
Receiver.
Turning off the System
Follow the steps below to turn off your Maxview Max-Dome.
1. Turn the Control Box power to the ‘OFF’position.
2. Turn off your Satellite Receiver and TV.
Switching between Satellites
You can switch between satellites using the Control Box by pressing the SATELLITE
SELECT button. Follow the steps below to switch to another satellite.
1. With the Control Box already illuminating the LOCK led press the SATELLITE
SELECT button to switch to another satellite
2. When the satellite LED stops flashing the antenna will begin the search.
3. The LOCK LED will illuminate when the satellite is found and the Control Box will
enter a standby mode allowing the satellite signal to be viewed through your Satellite
Receiver.
If the antenna cannot find the selected satellite, then the antenna will search the satellite
again.
ON
OFF
SATELLITE
SELECT
POWER
Power S/W
POWER
LOCK
LNB
ASTRA2N
ASTRA2S
HOTBIRD
ASTRA1
SIRIUS
ASTRA3A
HISPSAT
Power on LED. When
Sat Found the LED will
go out.
Sat Found
OK
LNB Power
indicator.
You can change
the satellite by
pushing button.

11
Skew Adjustment
Skew adjustment is required when signal strength is weak at the limit of a given satellites’
reception area. It involves adjusting the angle of the LNB on the roof mounted antenna unit.
1. Using a crosshead screwdriver remove the dome cover.
2. Loosen the LNB clamp and rotate the LNB to the desired angle
3. Tighten LNB clamp and replace dome cover
Note
Maxview recommends that only competent installers perform this operation.
ASTRA 28.2 Skew Map

12
Troubleshooting
If you have a problem with your unit, before contacting the technical service, check the
following:
Is everything turned on and connected properly?
Make sure your TV and Receiver are both turned on and set up for the satellite input. Finally,
check any connecting cables to ensure none have come loose.
The antenna finds the satellite but there is no sound or picture?
Make sure that the connections to the Satellite Receiver and TV are correct and that you are
on the correct satellite on the receiver menu
Is there excessive dirt or moisture on the antenna dome?
Dirt build-up or moisture on the dome can reduce satellite reception. Clean the exterior of the
dome periodically.
Is it raining heavily?
Heavy rain or snow can weaken satellite TV signals. Reception should improve once the
inclement weather subsides.
Can the antenna see the satellite?
The antenna requires an unobstructed view of the sky to receive satellite TV signals.
Common causes of blockage include trees, buildings, bridges, and mountains.

13
Specification
Model
MXL007
MXL007/TWIN
Antenna Type
Parabolic off-set
Parabolic off-set
Frequency Band
Ku Band
Ku Band
Dome Dimension for
Installation
40cm H x 70cm Ø
40cm H x 70cm Ø
Output
Single LNB
Twin LNB
Antenna Dome Weight
9.5kg
9.5kg
Antenna Gain
33dBi
33dBi
Minimum EIRP
49dBW
49dBW
Polarization
V/H
V/H
Type of Stabilization
2-Axis Step Motor
2-Axis Step Motor
Elevation Range
19° to 64°
19° to 64°
Azimuth Range
Unlimited
540° Limited
Tracking Rate
50°/sec
50°/sec
Temperate Range
-20° to 70°
-20° to 70°
Power
12~24VDC
12~24VDC

14
Notes
This manual suits for next models
1
Table of contents
Other Maxview Receiver manuals