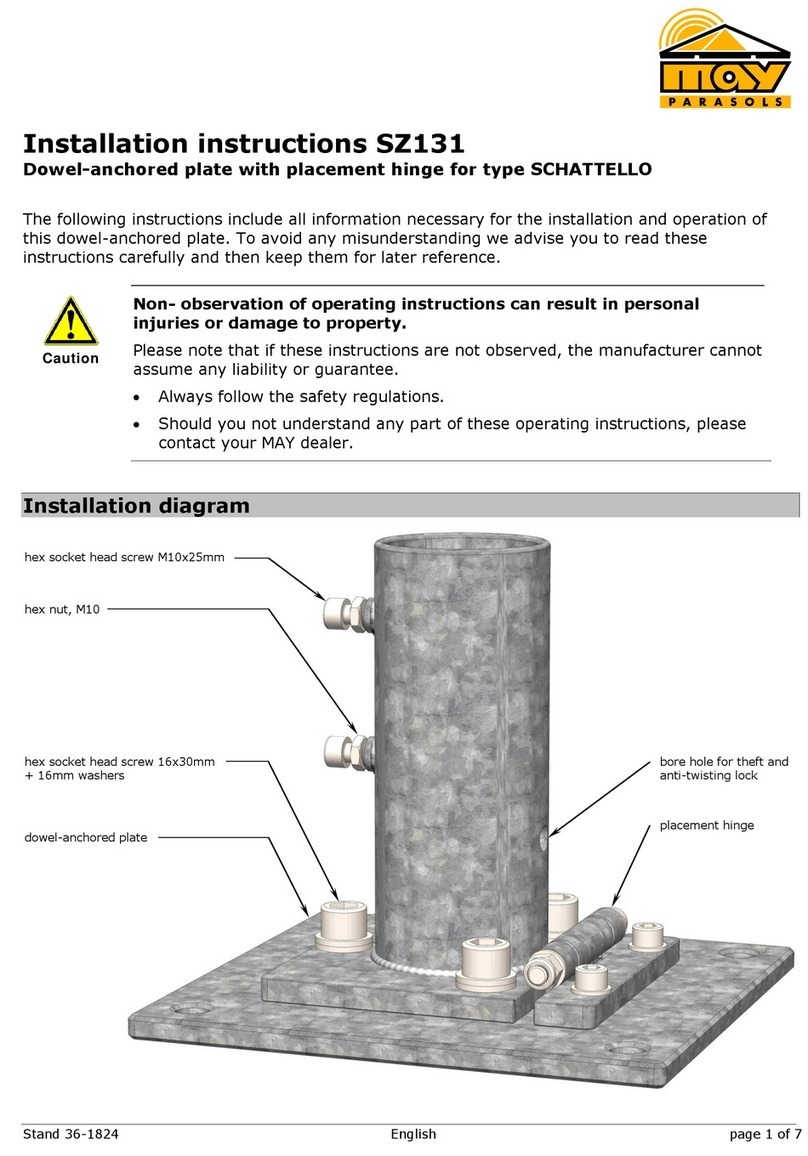
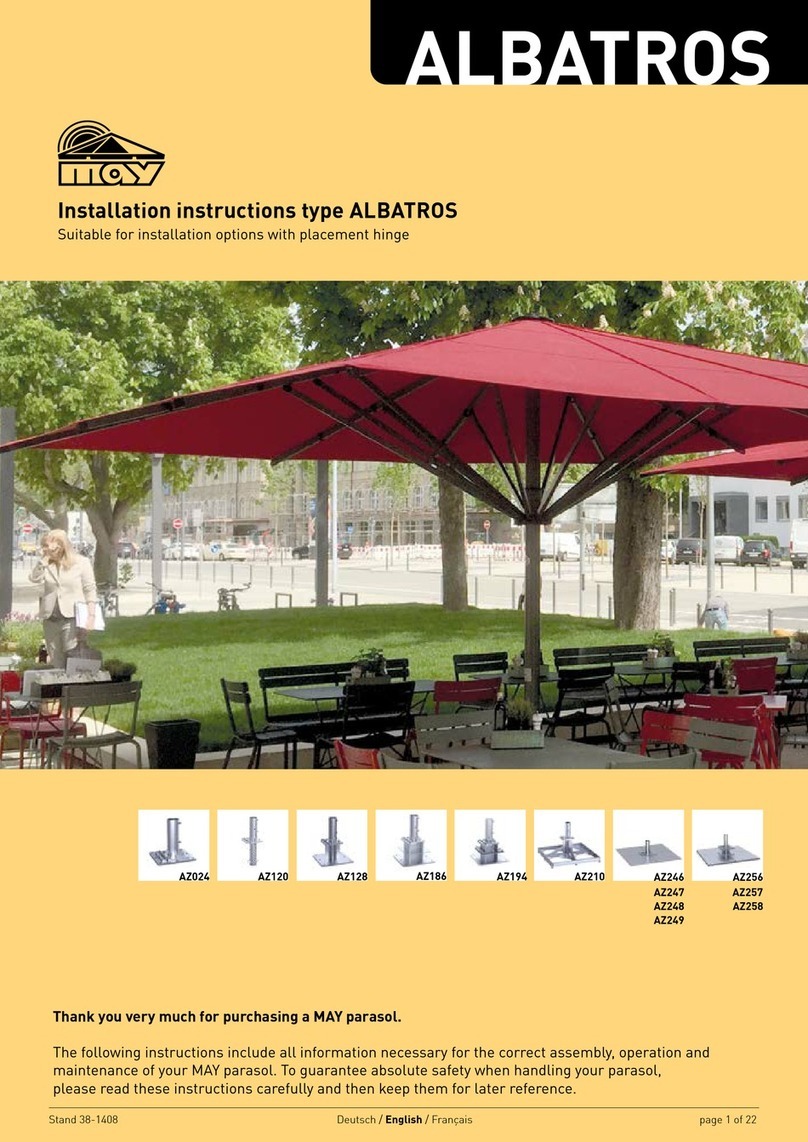
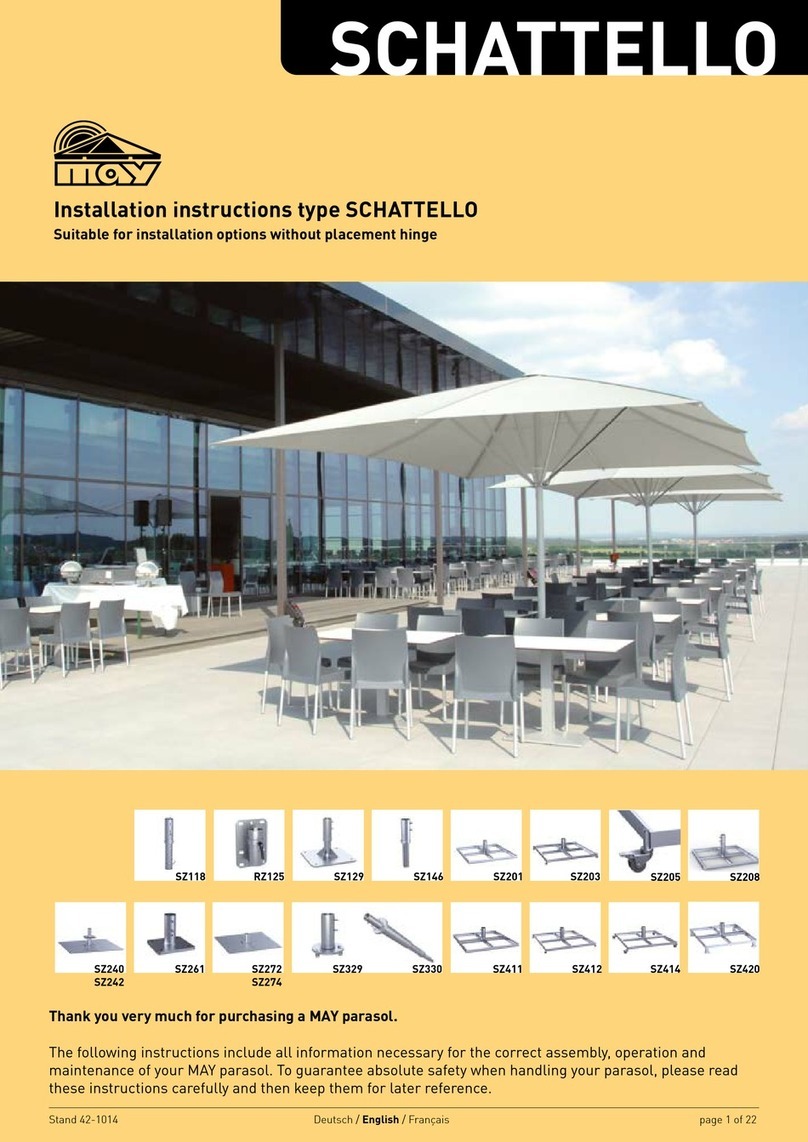
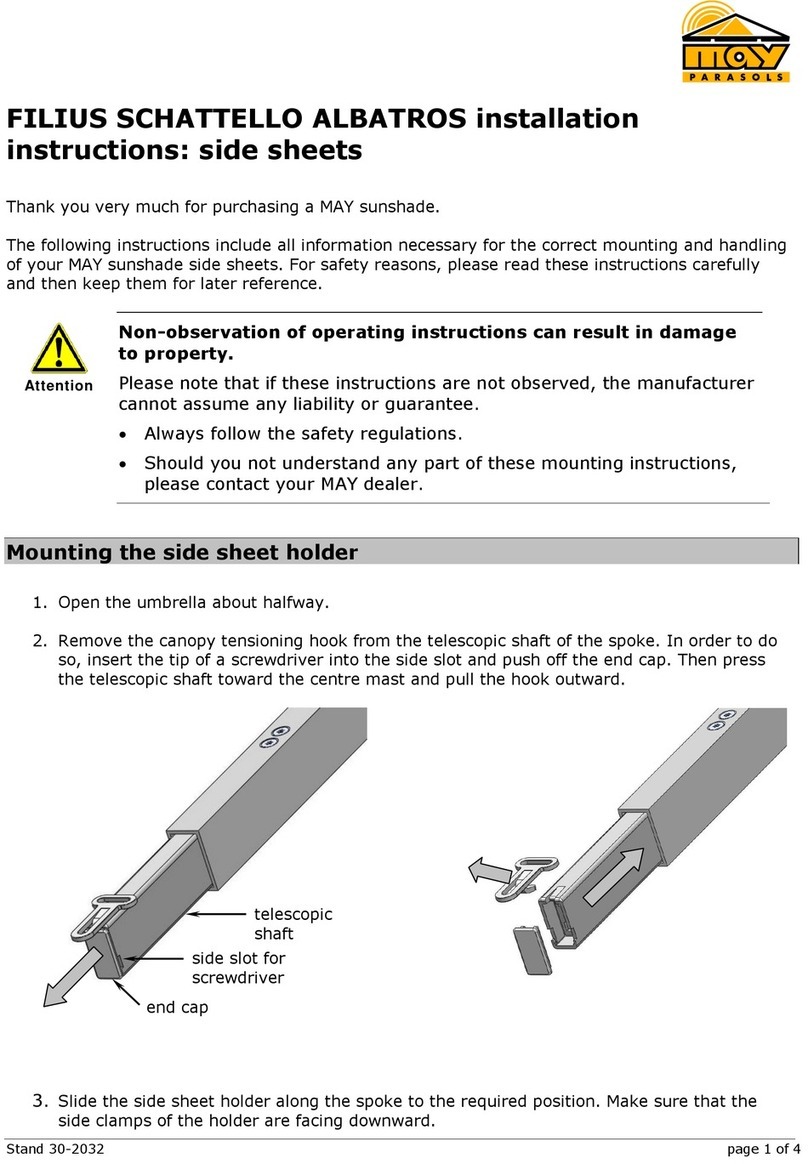
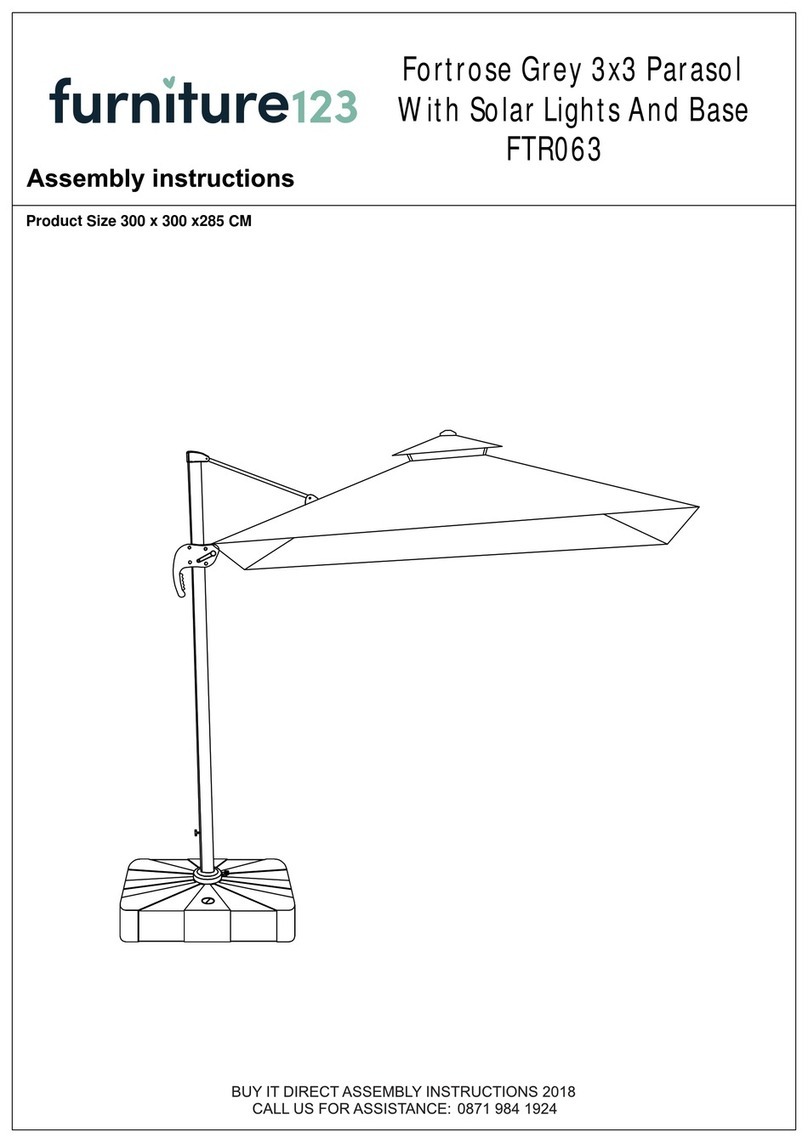
MAY RIALTO RG User manual

status 34-2256 English page 1 of 12
Operating instructions: model RIALTO RG
with installation options: pedestal/anchor tube/anchor foot/anchor plate/wall
bracket
Thank you very much for purchasing a MAY parasol.
The following instructions include all information necessary for the correct assembly, operation and
maintenance of your MAY parasol. To guarantee absolute safety when handling your parasol,
please read these instructions carefully and then keep them for later reference.
Non-observation of operating instructions can result in personal
injuries or damage to property.
Please note that if these instructions are not observed, the manufacturer
cannot assume any liability or guarantee.
Always follow the safety regulations.
Should you not understand any part of these operating instructions, please
contact your MAY dealer.
Wind can damage your parasol. No guarantee possible.
Always completely open or close the parasol. Never leave it merely half-
opened, as it is then not fully stable.
Immediately close the parasol whenever wind rises.
If parasols are erected in an exposed location (e.g. in upcurrent, on sloping
ground, in wind corridors, etc.) the weight of the base must be increased.
Delivery contents
The parasol consists of 3 main components:
1. upright support pole
2. cross arm with gear mechanism
3. parasol canopy with canopy covering
Warning
Caution

status 34-2256 English page 2 of 12
Unpacking the parasol
If the parasol is laid directly onto the ground, the canopy fabric
may get damaged.
When put on the ground, the canopy fabric may possibly get torn or
scratched due to the weight of the parasol.
Ideally, the parasol should be safely anchored at once or laid on a soft surface
(e.g. a mat or blanket).
Pulling the parasol over rough surfaces (brinks, edges, uneven
floors) damages the fabric.
Never pull the parasol over brinks or edges.
Do not lean the parasol against anything.
When withdrawing the parasol, place the cardboard tube on a working platform
or trestle in order to be away from the ground.
Assembling and erecting the parasol
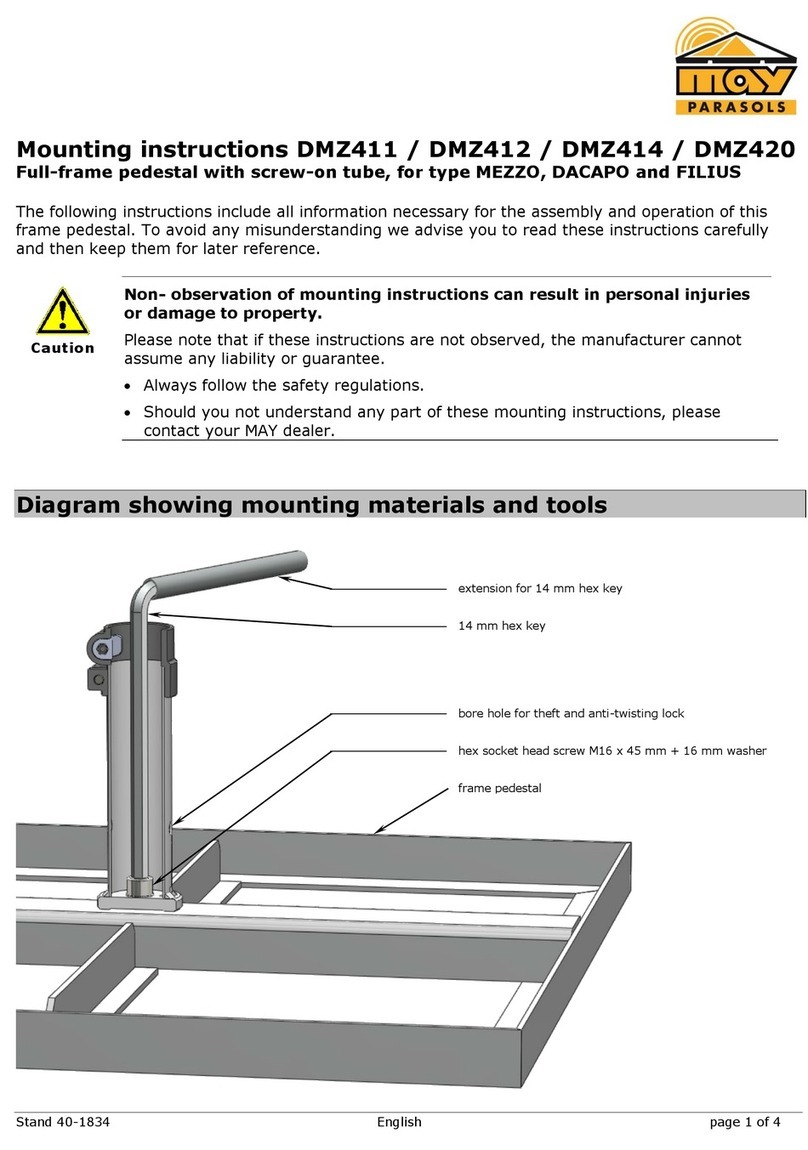
1. Insert the support pole in the parasol holder (pedestal, anchor tube, etc.).
2. Stand on a step-ladder and press the bottom end of the cross arm into the top end of the
support pole. Turn the cross arm until the bore hole of the gearbox is visible, so the crank
can be plugged in afterwards.
Caution
Caution
crank hole

status 34-2256 English page 3 of 12
3. Insert the anti-twisting lock into both sides of the support pole. Use two 5 mm hexagon keys
to tighten the screws.
4. Use a 6 mm hexagon key to tighten the two rounded head screws with 54 Nm.
5. Put the crank in the gearbox bore hole.

status 34-2256 English page 4 of 12
6. Turn the crank anti-clockwise until the rope protruding from the cross arm reaches its
maximum length.
7. Insert the steel rope into the top of the canopy roof.
8. Push the hub of the canopy into the cross arm and then turn the canopy 90° (a quarter turn)
until the two centring bolts lock into the groove. This ensures that the canopy is tightly
connected with the cross arm.
hub
maximum
centring bolt

status 34-2256 English page 5 of 12
9. Lock the canopy on the cross arm by tightening the screw on the cross arm with a 6 mm
hexagon key with 37 Nm.
10.Remove the lashing strap of the canopy covering. Open the canopy slightly by gently parting
the spokes so that you have access to the inside of the canopy. Insert the pin axially in the
lower distributor flange and tighten it with the 5 mm hexagon key.

status 34-2256 English page 6 of 12
Opening the parasol
1. Remove the lashing strap from the canopy covering.
2. Insert the hand crank into the designated bore of the canopy mechanism and open the
parasol by turning the crank clockwise as far as the limit stop.
A falling parasol can cause serious or even fatal injury.
If the parasol is not firmly anchored in the anchor foot, it may be lifted
by the wind.
Make sure all screws of the anchor foot have been tightened firmly.
If the hand crank /hexagon key is not fully inserted, it will wear.
Always insert the hand crank / hexagon key right up to the limit stop.
The parasol can be damaged if it is opened with a drilling
Machine.
If a drill is used to open the parasol, driving too close to the limit stop
may damage the operating mechanism.
Always use the hand crank to open the parasol.
If the parasol is not fully opened, it can get damaged by the
Wind.
Always open the parasol as far as the limit stop.
Caution
Warning
Danger
Caution

status 34-2256 English page 7 of 12
Rotating the parasol round its main axis
1. Release the clamp in the upper anchor tube / pedestal.
2. Press the canopy slightly upward, so that the support pole is no longer wedged in the anchor
tube.
3. Turn the parasol roof until the required position has been reached.

status 34-2256 English page 8 of 12
4. Lock the parasol by tightening the clamp in the upper tube.
Theft and anti-twisting locks
Note that the umbrella can no longer be rotated after installation of the safety locks.
1. Turn the parasol to the position required. (cf. heading “Rotating the parasol round its
main axis”).
2. A bore hole for the anti-twisting lock has already been drilled into the anchor tube delivered.
Use this as a master / guide hole. Use a centre punch and hammer to punch the main axes.
This light punch makes sure the drill keeps its centrical position during drilling.
3. Now drill the bore hole for the theft and anti-twisting locks. Use a Ø 12.5 mm twist drill. In
order to reduce the strain, it is helpful to start with a smaller diameter and to increase step
by step up to 12.5 mm. We recommend to use a Ø 5 mm, Ø 8 mm und Ø 11 mm drill.
4. Slip the bolt through the holes and mount the lock.

status 34-2256 English page 9 of 12
Closing the parasol
1. Insert the crank into the designated bore hole for the crank mechanism and turn it
anticlockwise until the umbrella is completely closed.
Fabric jammed between the spokes can cause abrasion and
scouring marks. No guarantee possible.
Pull the covering fabric from between the spokes and fold it round the parasol
pole in one direction as you would with an ordinary portable umbrella.
2. Secure the parasol with the lashing strap delivered, if applicable use a free-standing ladder.
Wind can do damage to an unsecured parasol or canopy and can cause
abrasions. No guarantee possible.
Close the parasol and secure it with the lashing strap provided.
3. Pull the protective sleeve provided over the parasol.
Wind can do damage to an unsecured canopy and may lead to abrasion of
the canopy fabric. No guarantee possible.
Even if the parasol is closed and secured by strap there are still parts of the
canopy that cannot be secured by the strap and may therefore move in the wind.
Especially below the strap the canopy and valance may flutter noisy. In extremely
windy areas this damages the canopy at an early stage. Canopy made from
MayTex-Poly especially tend to this kind of flutter damage.
Pull a protective sleeve over the closed parasol.
Caution
Caution
pull the fabric from
between the spokes
ref. 2.:
lashing strap
Caution

status 34-2256 English page 10 of 12
General information
1. Only use the parasol if it is in original condition.
Any constructional change of the parasol may lead to damages.
If the original condition is changed, constructional components may collide, it
may reduce the stability, opening and closing becomes complicated and the
canopy or the metal base gets damaged. Other components beside or below the
parasol may also be affected. No warranty, guarantee or liability.
Only use original MAY spare parts.
Do not make any constructive changes, e.g. bore holes, exchanging screws.
Do not use any external material.
Do not attach any items into the parasol, e.g. decoration or electrical
equipment.
Only use the parasol if it is free of damage and fully functional.
Repairs may only be done by authorized personnel.
2. Only use the parasol if the weather is permitting.
Extreme environmental impacts may cause personal injury and material
damage.
If a parasol is exposed to excessive strain it may get damaged or even ruined.
The spokes, the canopy or the centre pole may get damaged. Also, surrounding
objects may be affected. After closing the parasol always secure it with the
lashing strap.
Close the parasol in case of thunderstorms, hail or extreme rain showers.
The parasol is not made for snow loads. Close the parasol in case of snow and
icing.
Close the parasol if unattended.
3. Keep away children from the crank during opening and closing the parasol.
4. Keep the parasol away from open fires and its sparks. Deep fryers from surrounding booths
cause dirt. The canopy and the frame also get dirty from electric fires positioned directly
below the parasol. Exhaust fumes deposit as a black lubricating film underneath the parasol.
5. Check with your insurance if there is an option to sleeve storm damage for your RIALTO.
Storm damage: If a parasol is not professionally closed and secured (as instructed in this
instruction manual) it may do damage to the parasol.
Caution
Danger

status 34-2256 English page 11 of 12
Storing the parasol
Proper winter storage increases the lifetime of the canopy. However, if the instructions of this
manual cannot be followed it may be better to leave the parasol outside during winter. The
RIALTO parasol is made from materials that are winter resistant.
There are several reasons for winter storage, e.g. if there is no vandalism protection given or if
the city administration requires parasol removal. Following instructions must be followed for
storage:
1. The canopy must be really dry for storage.
Improper storage may damage the canopy.
If the following instructions are not observed, mildew may stain the material or
the sewing thread may start to moulder.
Make sure the parasol is really dry.
Fold the fabric correctly, see page 9 „closing the parasol”.
Pull the protective sleeve over the closed parasol.
Store the parasol in a dry room.
Ensure a constant room temperature to avoid water condensation.
2. Make sure to avoid pressure marks at the canopy during storage.
Improper storage may damage the canopy.
Point loads from the tare weight or other subjects cause pressure marks and
holes. No guarantee possible!
Remove any external components, if applicable.
In case you store the parasol in a rack without the cardboard tube, please
make sure the rack is deep enough to provide sufficient seating. Avoid sharp
edges. It is recommended to add a soft layer in between for additional
protection.
3. Store the parasol away from mice.
Mice like to gnaw on textiles. This causes material damage.
If the parasol is not protected from mice, they may damage the canopy. Please
always check each storage carefully to make sure mice will not get in.
Do not store a parasol in lying position on the floor.
Cross arm racks (no connection to the ground) that are doweled into the wall
are a good solution, as long as the distance to the ground is big enough, so
mice cannot climb up.
Caution
Caution

status 34-2256 English page 12 of 12
Maintenance: Cleaning the canopy
Improper cleaning may do damage to the canopy.
Clean your parasol according to our instructions.
Use a soft brush to remove dirt from the canopy, or use a high-pressure hose (max. 30° C,
max. 30 bar, min. 30 cm distance between nozzle and canopy) and soapy water. Afterwards
rinse well with clear water so no soap residues remain on the fabric.
MAY maintenance and cleaning service
The MAY company will be pleased to overhaul your parasol and clean the canopy fabric for
you. However, this is only possible off-season, i.e. from October to December. Please contact
your local MAY dealer to clarify the transport to the May company.
Caution
Table of contents
Other MAY Patio Furniture manuals

MAY
MAY SCHATTELLO SZ127 User manual

MAY
MAY SCHATTELLO SZ118 User manual

MAY
MAY PARASOLS AZ256 User manual

MAY
MAY DACAPO User manual

MAY
MAY MEZZO User manual

MAY
MAY FILIUS SCHATTELLO ALBATROS User manual

MAY
MAY ALBATROS AZ024 User manual

MAY
MAY DMZ411 User manual

MAY
MAY FILIUS Pagoda User manual

MAY
MAY SZ131 User manual
Popular Patio Furniture manuals by other brands

JARDINICO
JARDINICO Caractere JCP.6 Series Assembly and operation guide

PATIOJOY
PATIOJOY HW70982 manual

Garden Oasis
Garden Oasis AS-I-138-2L owner's manual

Kozyard
Kozyard GLIDER TEXTILENE LOVESEAT Assembly manual

paramondo
paramondo parajuna installation instructions

LuxCraft
LuxCraft Double Lawn Glider Assembly instructions