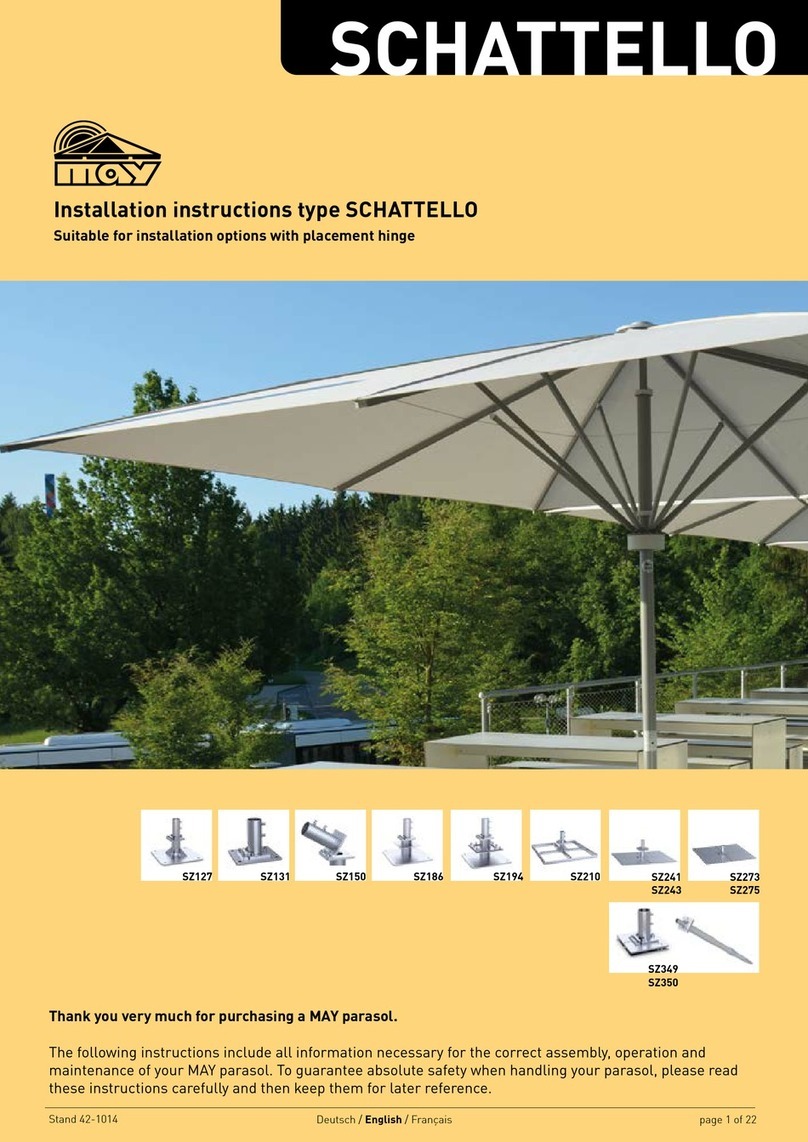
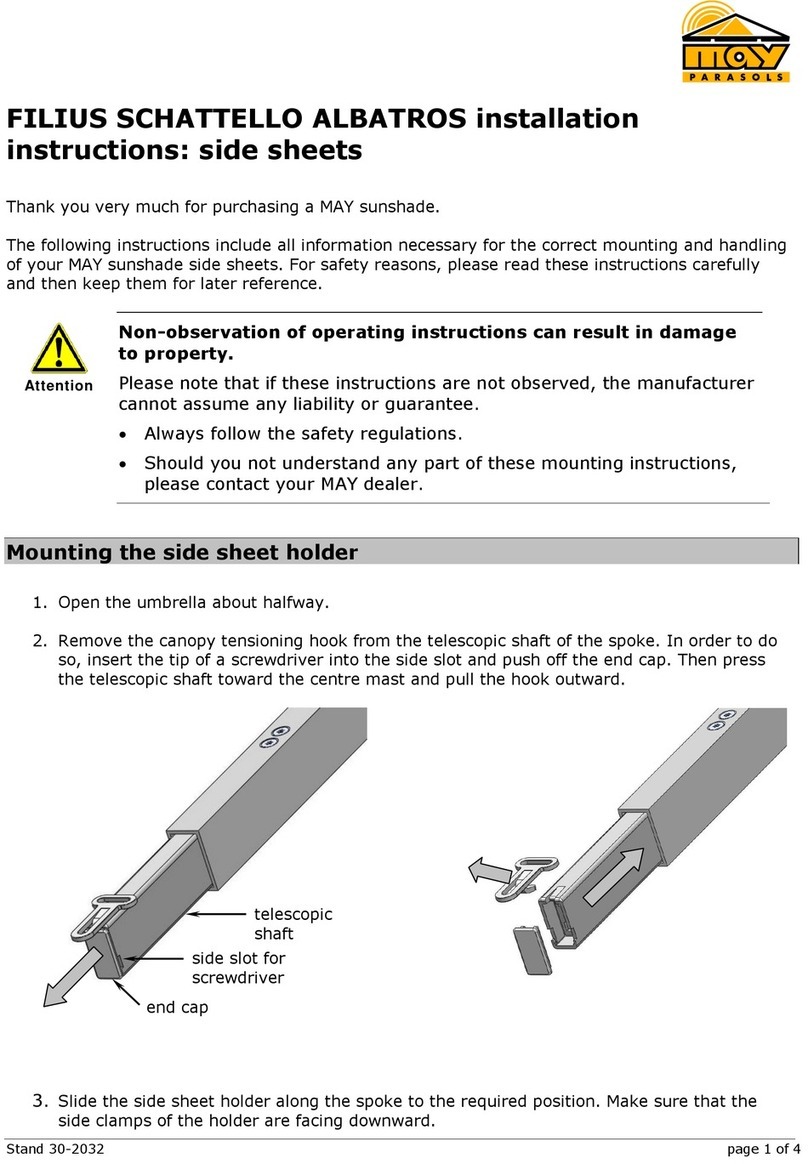
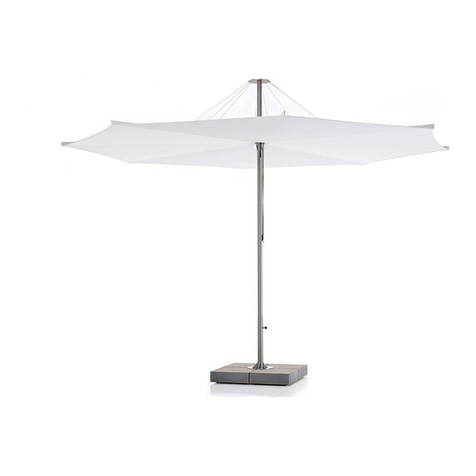
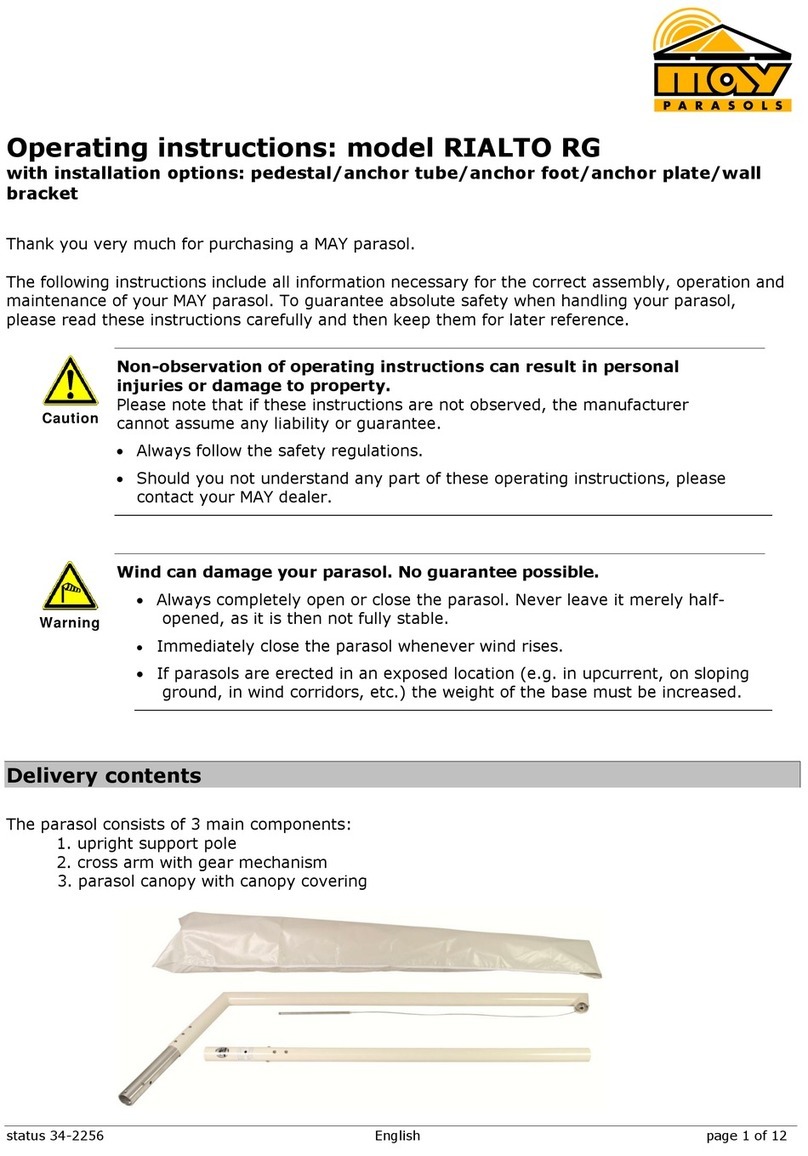
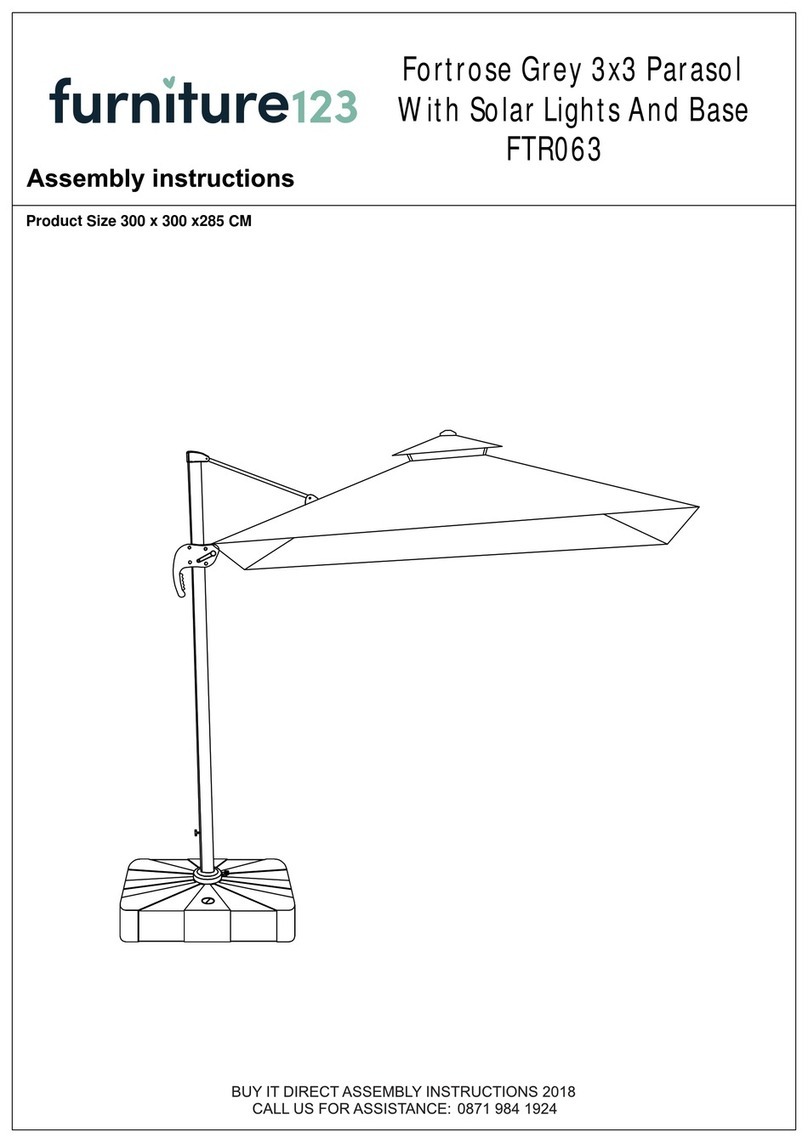
MAY SCHATTELLO SZ118 User manual

Stand 42-1014
SZ203
SZ411
SZ208
SZ420SZ414
SZ118 SZ129RZ125 SZ146 SZ201
SZ412SZ261 SZ272SZ240
SZ274SZ242
SZ329 SZ330
SZ205
Deutsch / English / Français page 1 of 22
Suitable for installation options without placement hinge
Installation instructions type SCHATTELLO
Thank you very much for purchasing a MAY parasol.
The following instructions include all information necessary for the correct assembly, operation and
maintenance of your MAY parasol. To guarantee absolute safety when handling your parasol, please read
these instructions carefully and then keep them for later reference.

Stand 42-1014
page 2 of 22 Deutsch / English / Français
page 03 Assembly: Preparing the anchor tube
page 05 Assembly: Unpacking the parasol
page 07 Assembly: Erecting the parasol
page 09 Operation: Opening the parasol
page 10 Assembly: Aligning the parasol
page 11 Assembly: Theft and anti-twisting lock
page 13 General information
page 14 Operation: Closing the parasol
page 16 Maintenance: Lubrication of the spider frame
page 17 Assembly: Storing the parasol
page 18 Maintenance and cleaning
page 19 Assembly: Tools and aids
page 20 Delivery and Acceptance Certificate
Content

Stand 42-1014
Deutsch / English / Français page 3 of 22
Non- observation of operating instructions can result in personal injuries or damage to
property.
Please note that if these instructions are not observed, the manufacturer cannot assume
any liability or guarantee.
• Always follow the safety regulations.
• Should you not understand any part of these operating instructions, please contact your
MAY dealer.
Wind can damage your parasol. No guarantee possible.
• Always completely open or close the parasol. Never leave it merely half-opened, as it is
then not fully stable.
• Immediately close the parasol whenever wind rises.
• If parasols are erected in an exposed location (e.g. in upcurrents, on sloping ground,
in wind corridors, etc.) the weight of the base must be increased.
Assembly: Preparing the anchor tube
1. Fasten the upper anchor tube to the lower tube with the M16-socket head screw.
A falling parasol can cause serious or even fatal injury.
If, during assembly, the anchor tube slips away, it will be impossible to hold onto the parasol.
It will fall down and possibly cause a serious accident.
• Tighten the M16 socket head screws with torque as following:
Steel anchor tube: 210 Nm ; Stainless steel anchor tube: 160 Nm.
Screws that are not tightened correctly will work loose.
If screws are not tightened firmly enough, there will not be sufficient tensile force to trigger
self-locking. If the screws are tightened too firmly and over-stressed, the screw connection may
slacken.
• Tighten the screw manually using the enclosed hex key and extension. Exert as much force as
possible. With the enclosed tools there is virtually no risk of over-stressing.
• The correct torque for a torque wrench:
Steel anchor tube: 210 Nm ; Stainless steel anchor tube: 160 Nm.
Caution
Warning
Caution
Caution

Stand 42-1014
page 4 of 22 Deutsch / English / Français
M16 socket head screw
2. Loosen the horizontal M10 socket head screws until there is sufficient clearance inside the anchor tube
for the centre pole to be inserted vertically.
3. Put a piece of thin, strong cardboard (280 x 230mm, max. 2 mm thick) into the upper anchor tube to
protect the powder coating of the base mast from scratches during insertion.
socket head screws
strong cardboard risk of scratching

Stand 42-1014
Deutsch / English / Français page 5 of 22
Assembly: Unpacking the parasol
1. Remove bottom end cap of the front part of the cardboard sleeve.
If the parasol is improperly withdrawn from the cardboard tube, the canopy fabric may be
damaged.
When the parasol is withdrawn, the metal brackets that fasten the tube caps can tear the fabric.
• Remove all metal brackets from either end of the protective tube before withdrawing the
parasol.
2. Remove the accessory package (crank, MAY protective gloves), the protective sleeve and the printout of
the operating manual attached to the centre pole.
3. Remove the top end cap. This is not required but helpful as it avoids the development of a vacuum
within the cardboard sleeve during pulling out the parasol. This would complicate pulling out the
parasol.
4. Pull at the centre pole to pull out the parasol of the cardboard sleeve.
Pulling the parasol over rough surfaces (brinks, edges, floors) damages the fabric.
• Put the cardboard sleeve onto two tables or working platforms in order to pull out the parasol
away from the ground.
• Never pull the parasol over brinks or edges.
• Do not lean the parasol against anything.
Caution
Caution
top end cap bottom end cap

Stand 42-1014
page 6 of 22 Deutsch / English / Français
If the parasol is laid directly onto the ground, the canopy fabric may get damaged.
When put on the ground, the canopy fabric may possibly get torn or scratched due to the weight
of the parasol.
• Ideally, the parasol should be safely anchored at once or laid on a soft surface (e.g. a mat
or blanket)
• Avoid point loads (stones, crushed rock, transport trolley with a small rest).
5. Put the parasol into the MAY setup aid (if purchased, art. no. 352040) or onto a chair.
Laying down the parasol may damage the canopy.
Avoid point loads when laying the parasol down as the tare weight can cause cuts or abrasions
at the canopy.
• The support points must be softly padded with a cushioned contact layer.
Assembly: Erecting the parasol
1. Remove the foam package.
If a knife is used to remove the packaging, the protective sleeve and the canopy fabric
may get damaged.
• Do not use a knife or any other sharp instrument to remove the packaging.
• Remove the adhesive tape by pulling at the end and winding it up.
Caution
Caution
Caution
MAY setup aid

Stand 42-1014
Deutsch / English / Français page 7 of 22
2. Remove the protective sleeve. (It only serves transport and storage purposes.)
Canopy may get dirty or damaged.
While erecting the parasol, always make sure the canopy is firmly tightened around the centre
pole and secured with the lashing strap. Otherwise the fabric may touch the ground and may
get dirty or damaged.
• Only remove the protection sleeve after you have put a clean carpet or cardboard onto the floor.
• The yellow lashing strap may only be removed when the parasol is in vertical position.
3. Use the enclosed MAY protection gloves to avoid the canopy is getting dirty.
4. Place the bottom end of the parasol pole onto the upper anchor tube.
Caution
carpet / cardboard

Stand 42-1014
page 8 of 22 Deutsch / English / Français
5. Erect the parasol as follows: One person lowers the bottom end of the pole into the upper anchor
tube while the others push the parasol end up to erect it.
A falling parasol can cause serious or even fatal injury.
If too few people attempt to erect the parasol, it may become too heavy and uncontrollable,
thus causing a serious accident.
• You will need at least 2 people to erect the parasol, possibly even 3 or 4.
• Make sure that there is enough room for the helpers to get out of the way in case the parasol
does start falling.
• Make sure that there are no other people standing around while the parasol is being erected.
• Be sure that one person does nothing but lower the bottom end of the pole into the upper
anchor tube.
• Avoid risk of falling during transport. Clean the place of installation, remove the packing and
the protective sleeve.
Do not allow the parasol to plummet into the anchor tube.
Simply dropping the pole into the anchor tube without control may have a detrimental effect
on the operating mechanism of the parasol.
• Slowly lower the pole into the upper anchor tube until it has a firm hold on the bottom surface.
Danger
Danger
hold down
push

Stand 42-1014
Deutsch / English / Français page 9 of 22
Assembly: Opening the parasol
1. Remove the yellow strap from the canopy.
2. Plug the hand crank (art. no. 207525) into the gearbox bore. During first time of opening you may have
to push the spokes outward.
If the hand crank is not fully inserted, it will wear and not release the gear brake.
• Always insert the hand crank right up to the limit stop.
• During cranking always also push a bit to make sure the crank / drill bit stays right up to the
limit stop.
3. Fully open the parasol (c.f. illustration) by turning it clockwise as far as the limit stop. The parasol will
not be fully taut until the stop screw is well settled on the plastic ring.
A falling parasol can cause serious or even fatal injury.
If the parasol is not firmly anchored in the anchor tube, it may be lifted by the wind.
• Make sure all screws of the anchor tube have been tightened firmly.
Caution
Gefahr
stop screw on the plastic ring

Stand 42-1014
page 10 of 22 Deutsch / English / Français
The parasol can be damaged if it is opened with a drilling machine.
Caution
When opening a parasol with a drill, driving too close to the limit stop may damage the
operating mechanism.
• Always use the crank for the last few turns up to the stop, not the drill.
• Please only use drills with integrated safety clutch. Always set the safety clutch to the lowest
level, this reduces the damage in case the drill would hit the limit stop.
A parasol may be a danger zone.
Make sure that there are no other people or items standing around while the parasol is being
erected.
If the parasol is not fully opened, it wears out more quickly.
Only if the parasol is fully opened, the canopy is fully stretched and reaches its maximum
stability. This makes sure the wind is spread evenly on the spokes and guarantees highest
stability and slowest possible wear and tear.
• Always open the parasol as far as the limit stop.
Assembly: Aligning the parasol
1. Open the M10 screws of the upper anchor tube.
2. Open the parasol (cf. above heading: “Opening the parasol“).
The wind can lift the parasol out of the upper anchor tube.
• When the M10 screws are loosened, do not open the parasol unless the wind is absolutely
calm.
3. Turn the erected parasol within the anchor tube until the required position has been reached. Aligned
parallel to the wall of the house is visually appealing. In case of several parasols they should be
positioned parallel and the crank bores with the sticker should point in one direction.
4. Have one person standing on a double ladder to hold on to one spoke edge.
5. A second person indicates in which direction the canopy should be turned, until the desired position is
reached (e.g. canopy parallel to the wall of the house).
Caution
Warning
Warning

Stand 42-1014
Deutsch / English / Français page 11 of 22
6. While the person on the double ladder holds on to the canopy, the other person must tighten the two
M10 screws at the upper anchor tube.
7. Lock the two M10 socket head screws to the welded threaded sleeve by tightening the locknuts.
If the parasol is not fully anchored, it can cause serious or even fatal injury.
If the M10 screws work loose, the wind can lift the parasol.
• Use only the original M10 socket head screws and tighten them with a torque of 20 Nm.
• Secure the M10 socket head screws with the locknuts.
Assembly: Theft and anti-twisting lock
1. Align the parasol into the position required (cf. paragraph “Aligning the parasol“).
2. Holes have been provided in the anchor tube for anti-twisting mechanism. Use these as master/ guide
holes. Use a centre punch and a hammer to punch the main axles. This small dent makes sure the
drill stays centric during drilling.
Danger
M 10 socket head screws, 2x
threaded sleeve
locknut M10, 2x

Stand 42-1014
page 12 of 22 Deutsch / English / Français
3. Drill the bore hole for the theft and anti-twist lock from either side through both the parasol pole and
the inner tube, using a Ø 12.5 mm twist drill.
If you want to drill the holes with a cordless drill you need to reduce the force required. Therefore we
suggest to start with a smaller diameter and gradually increase up to Ø 12.5 mm. We recommend to
use Ø 5 mm, Ø 8 mm and Ø 11 mm drill bits.
4. Slip the bolt through the holes and mount the lock.

Stand 42-1014
Deutsch / English / Français page 13 of 22
General information
1. Use the parasol only if it is in original condition.
Any constructional change may lead to damages.
If the original condition is changed, constructional components may collide, the stability gets
reduced, opening and closing becomes complicated and the canopy or the metal base gets
damaged. Other components beside or below the parasol may also be affected. No warranty,
guarantee or liability.
• Only use original MAY spare parts.
• Do not make any constructive changes, e.g. bore holes, exchanging screws.
• Do not use any external material.
• Do not attach any items into the parasol, e.g. decoration or electrical equipment.
• Only use the parasol if it is free of damage and fully functional.
• Repairs may only be done by authorized personnel.
2. Only use the parasol if the weather is permitting.
Extreme environmental impacts may cause personal injury and material damage.
If a parasol is exposed to excessive strain it may get damaged or even ruined. The spokes,
the canopy or the centre pole may get damaged. Also, surrounding objects may be affected.
• After closing the parasol always secure it with the lashing strap.
• Close the parasol in case of thunderstorms, hail or extreme rain showers.
• The parasol is not made for snow loads. Close the parasol in case of snow and icing.
• Close the parasol if unattended.
3. Keep away children from the crank during opening and closing the parasol.
4. Keep the parasol away from open fires and its sparks. Deep fryers from surrounding booths cause dirt.
The canopy and the frame also get dirty from electric fires positioned directly below the parasol.
Exhaust fumes deposit as a black lubricating film underneath the parasol.
Caution
Danger

Stand 42-1014
page 14 of 22 Deutsch / English / Français
5. Check with your insurance if there is an option to cover storm damage for your SCHATTELLO.
Storm damage: If a parasol is not professionally closed and secured (as instructed in this instruction
manual) it may damage the parasol.
Operation: Closing the parasol
1. Insert the crank or the drill bit into the designated bore of the canopy mechanism and close the
parasol by turning it anti-clockwise as far as the limit stop. Or open the parasol with the integrated
tabular motor, see “operating manual tabular motor”.
2.
Fabric jammed between the spokes can cause abrasion and scouring marks.
No guarantee possible.
• Pull the covering fabric from between the spokes and fold it round the parasol pole in one
direction as you would with an ordinary portable parasol.
3. Secure the parasol with the strap provided, use a freestanding ladder, if available.
Wind can do damage to an unsecured parasol and may lead to abrasion of the canopy fabric.
No guarantee possible.
• In case of a round parasol 1 strap is sufficient, positioned above the spoke end.
• In case of square or rectangular parasols 2 straps are needed. The first one is placed above
the shortest spoke end, the second between the shortest and the longest spoke end.
• Be sure to pull the strap so tight that the spokes cannot move.
Caution
Caution

Stand 42-1014
1/2
1/2
Deutsch / English / Français page 15 of 22
A ladder that is leaned against a parasol may cause scouring marks. No guarantee possible.
If you climb up a ladder that is leaned against a parasol it causes pressure between ladder,
canopy and aluminium frame. This causes scouring marks, often even small holes (a few
millimetres large) appear.
• Do not lean a ladder directly against the parasol.
• Only use freestanding ladders.
Caution
shortest spoke
end
longest spoke
end
round parasols require
1 strap only
square or rectangular
parasols require a second
strap at about this height
guide the strap around
the parasol and connect
the buckle
firmly tighten the strap
open clamp
close the clamp

Stand 42-1014
page 16 of 22 Deutsch / English / Français
4. Pull the protective sleeve provided over the parasol.
Wind can do damage to an unsecured parasol and may lead to abrasion of the canopy fabric.
No guarantee possible.
Even if the parasol is closed and secured by strap there are still parts of the canopy that cannot
be secured by the strap and may therefore move in the wind. Especially below the strap the
canopy and valance may flutter noisily. In extremely windy areas this damages the canopy at an
early stage. Canopies made from MayTex-Poly especially tend to this kind of flutter damage.
• Pull the protective sleeve over the parasol.
• For daily use, we recommend a „Protective sleeve, version zipper, Art. no. SA022 / SA122 in
addition with telescopic pole, Art. no. Artikel-Nr. 355419“.
Maintenance: Annual lubrication of the spider frame
1. Close the parasol until the lubricant bore hole becomes visible on the telescopic shaft.
2. Place the parasol in upright position, then squirt approx. 1/3 of the LubriMay13 tube contents
through the bore onto the spindle, beneath the set screw.
The photograph has been tilted 90° to save space.
Caution
lubricant bore hole

Stand 42-1014
Deutsch / English / Français page 17 of 22
Assembly: Storing the parasol
If possible, leave the parasol outside throughout the whole year. Unprofessional storage may rather lead
to damages than leaving the parasol outside.
There are several reasons for winter storage, e.g. if there is no vandalism protection given or if the city
administration requires parasol removal. Following instructions must be followed for storage:
1. The canopy must be really dry for storage.
Improper storage may damage the canopy.
If the following instructions are not observed, mildew may stain the material or the sewing
thread may start to moulder.
• Make sure the parasol is really dry.
• Fold the fabric correctly, see page 14 „closing the parasol“.
• Pull the protective sleeve over the closed parasol.
• Store the parasol in a dry room.
• Ensure a constant room temperature to avoid water condensation.
2. Make sure to avoid pressure marks at the canopy during storage.
Improper storage may damage the canopy.
Point loads from the tare weight or other subjects cause pressure marks and holes.
No guarantee possible!
• Remove the fixation of the (suspended) rain gutter and the side sheets, see separate manual.
• Remove any external components, if applicable.
• The weight of a horizontally stored parasol must be supported by a possibly large surface.
Use the cardboard tubes in which the parasol was delivered. Push in the parasol to avoid point
loads.
• In case you store the parasol in a rack without the cardboard tube, please make sure the rack
is deep enough to provide sufficient seating.
• The most simple and safe way to store a parasol is in vertical position. Just put the parasol
into a pedestal frame. If this unit is indoors, the parasol is protected from wind and weather
and therefore the canopy lasts the winter without damage.
Caution
Caution

Stand 42-1014
page 18 of 22 Deutsch / English / Français
3. Store the parasol away from mice.
Mice like to gnaw on textiles. This causes material damage.
If the parasol is not protected from mice, they may damage the canopy. Please always check
each storage to make sure mice will not get in.
• Do not store a parasol in lying position on the floor.
• Cross arm racks (no connection to the ground) that are doweled into the wall are a good
solution, as long as the distance to the ground is big enough, so mice cannot climb up.
• A parasol that is stored in vertical position is protected from mice, as they cannot climb up
the slick centre pole.
Maintenance and cleaning
1. Maintenance and cleaning should only be done by official MAY dealers.
2. Cleaning the canopy: Use a soft brush to remove dirt from the canopy, or use a high-pressure hose
(max. 30° C, max. 30 bar, min. 30 cm distance between nozzle and canopy) and CleanoMay 13,
art. no. 350848. Afterwards rinse well with clear water so no soap residues remain on the fabric.
If not cleaned properly, the canopy fabric may get damaged.
• Follow our cleaning instructions for cleaning your parasol.
3. The MAY company will be pleased to overhaul your parasol and clean the canopy fabric for you.
However, this is only possible off-season, i.e. from October to December.
4. Please contact your local retailer to clarify the transport to the May company.
5. Please keep in mind, the lead time for spare canopies and other spare parts is shorter during winter
than in spring and summer time.
Caution
Caution

Stand 42-1014
Deutsch / English / Français page 19 of 22
Assembly: Tools and aids
This chapter helps the technician to get optimally prepared. Use the following checklist to guarantee a
smooth and professional assembly. All items required are listed below.
Depending on individual circumstances it may be helpful to have your regular tools and aids available as
well.
Assembly:
• 8 mm and 14 mm hexagon key (Allen key, supplied with the delivery)
• strong cardboard 230 x 230 x max. 2mm thickness
• screwdriver, middle size
• MAY- setup aid (article no. 352040) or a chair
• soft mat / carpet
• MAY protective gloves (supplied)
• torque wrench, 20 Nm, 160 Nm (stainless steel) and 210 Nm (steel),
suitable hexagon key, 8 mm and 14 mm
• extension for a 14 mm hexagon key, minimum length 25 cm
• flat wrench 17 mm
• free-standing double ladder with minimum 4 steps
Only for parasol model Ø 6 m, 12 – segments:
• cordless drill (charged, with spare battery if possible)
• T 30 bit, suitable for the cordless drill
Only in case of theft lock:
• cordless drill (charged, with spare battery if possible)
• centre punch and 200 g hammer
• spiral drill, sizes Ø 5 mm, Ø 8 mm, Ø 11 mm and Ø 12.5 mm
Cleaning:
• broom suitable for cobblestone
• dustpan and brush
• cleansing cloth and CleanoMay (cleaner, article no. 350848) for aluminium mast
(important in case of rain)
• do not use thinner for cleaning
• bear in mind that the packaging must be disposed after assembly

Stand 42-1014
page 20 of 22 Deutsch / English / Français
Delivery and Acceptance Certificate
Customer
Phone no.
The parasol has been assembled as agreed with the technician or dealer,
without any visible defects.*If no, what are the defects?
The customer has been instructed properly according to the operating manual
of the parasol.
*If the customer insists on using the parasol without formal acceptance, the parasol is considered as accepted.
yes no
yes no
MAY-dealer, name in block letters
Customer, name in block letters
Date/place
Date/placeSignature
The customer received following documents:
Mounting instructions
Other instructions
yes no
yes no
yes no
Signature
Type Size, Shape, Segments Quantity of parasols
Date
Quantity of accessoriesInstallation options and art. no.
MAY order no.
Installation instructions
This manual suits for next models
19
Table of contents
Other MAY Patio Furniture manuals

MAY
MAY PARASOLS AZ256 User manual

MAY
MAY SCHATTELLO User manual

MAY
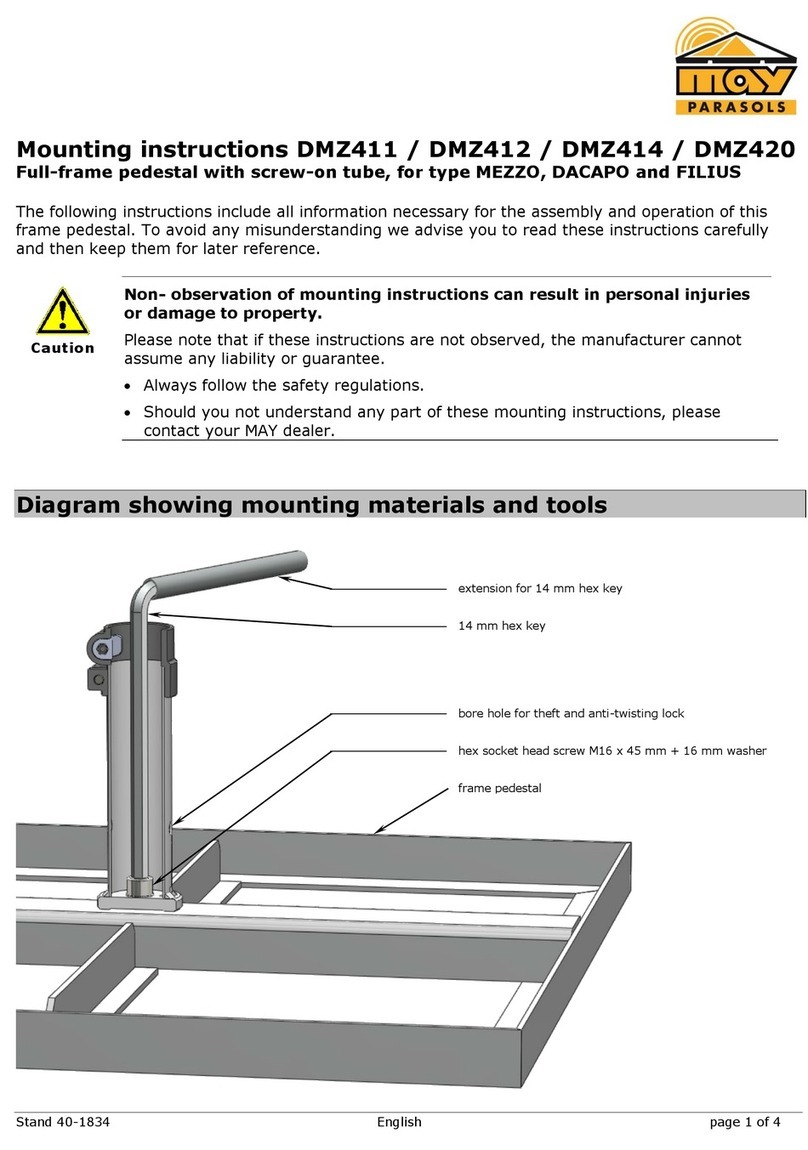
MAY DMZ411 User manual
MAY
MAY ALBATROS AZ024 User manual

MAY
MAY RIALTO RG User manual

MAY
MAY MEZZO User manual

MAY
MAY DACAPO User manual

MAY
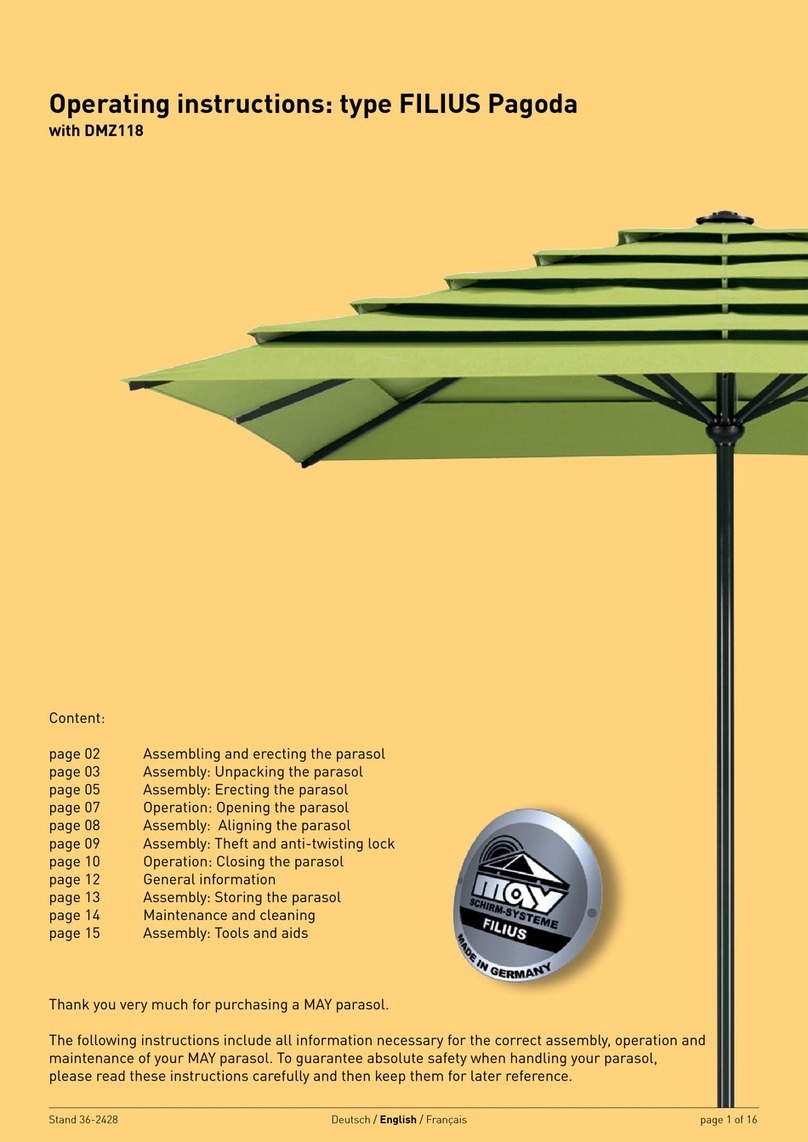
MAY FILIUS Pagoda User manual
MAY
MAY FILIUS SCHATTELLO ALBATROS User manual

MAY
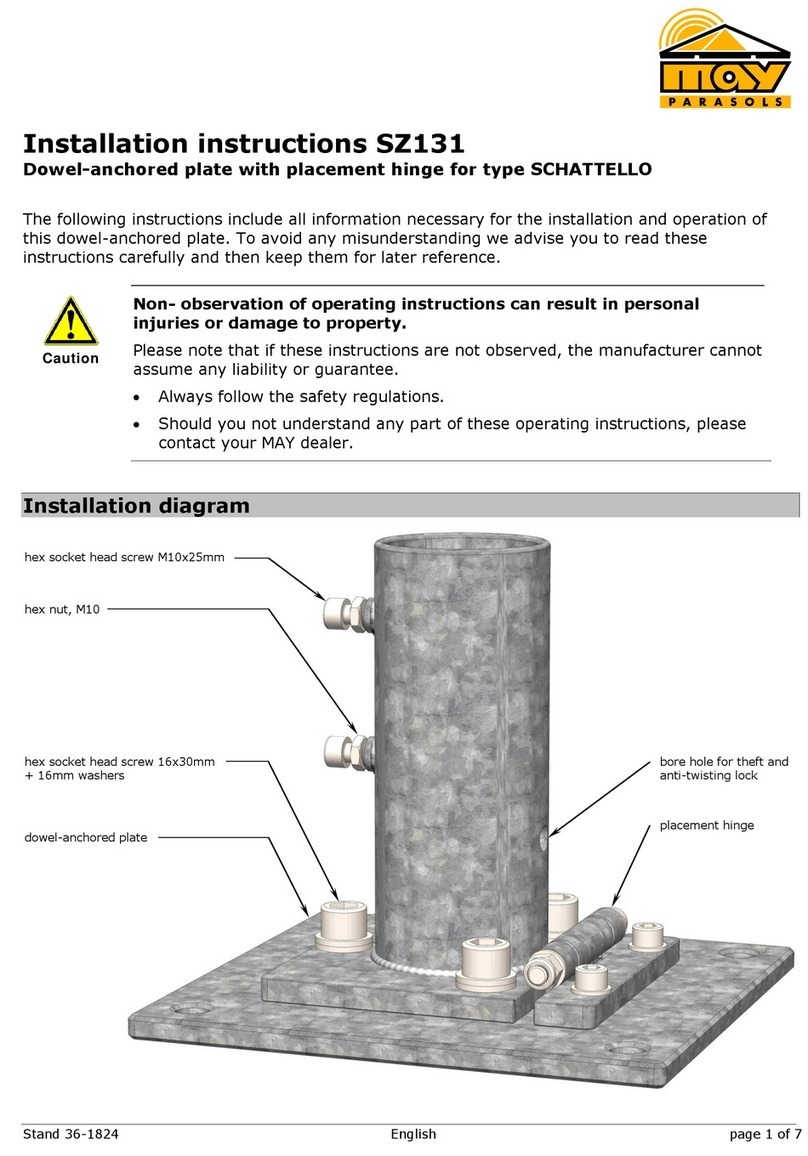
MAY SCHATTELLO SZ127 User manual
Popular Patio Furniture manuals by other brands

Mainstays
Mainstays Moss Falls Patio Glider Loveseat... Assembly instructions

Eclipse
Eclipse SunRoof Plus installation instructions

VONROC
VONROC GP510 Series Original instructions

Allen + Roth
Allen + Roth R04390 quick start guide

Costco
Costco 1900604 Use and care instructions

EMU
EMU 981 Assembly instruction