manuals.online logo
Brands
  1. Home
  2. •
  3. Brands
  4. •
  5. MD SPORTS
  6. •
  7. Game
  8. •
  9. MD SPORTS 1639631 User manual

MD SPORTS 1639631 User manual

Sears/Kmart USA
MODEL/MODELO: 1639631
INSTRUCCIONES DE ARMADO
ASSEMBLY INSTRUCTIONS
TM
ATTENTION
DO NOT RETURN
TO THE STORE
Contact
MD Sports
Customer Service
* For additional resources and Frequently
Ask Questions, please visit us at
themdsports.com
ATENCIÓN
Contacto
MD Sports
NO DEVOLVERLO
A LA TIENDA
Servicio al Cliente
* Por mayor información y Preguntas
Frecuentes, favor visitarnos en
themdsports.com
Español
English
(Continúe en la siguiente página.) www.themdsports.com
1639631 1
(Continued on the next page.)
GARANTÍA LIMITA DE 90 DIAS
LIMITED 90 DAYS WARRANTY
1 - Please leave your name, address, phone number, model number,
parts needed on the answering machine if there is no attendance.
Failure to do so will result in a delay in shipping parts to you.
2 - Please review the replacement parts list and make sure that
you have all of your parts before beginning assembly.
For questions that may arise or for missing/damaged parts,
please contact us.
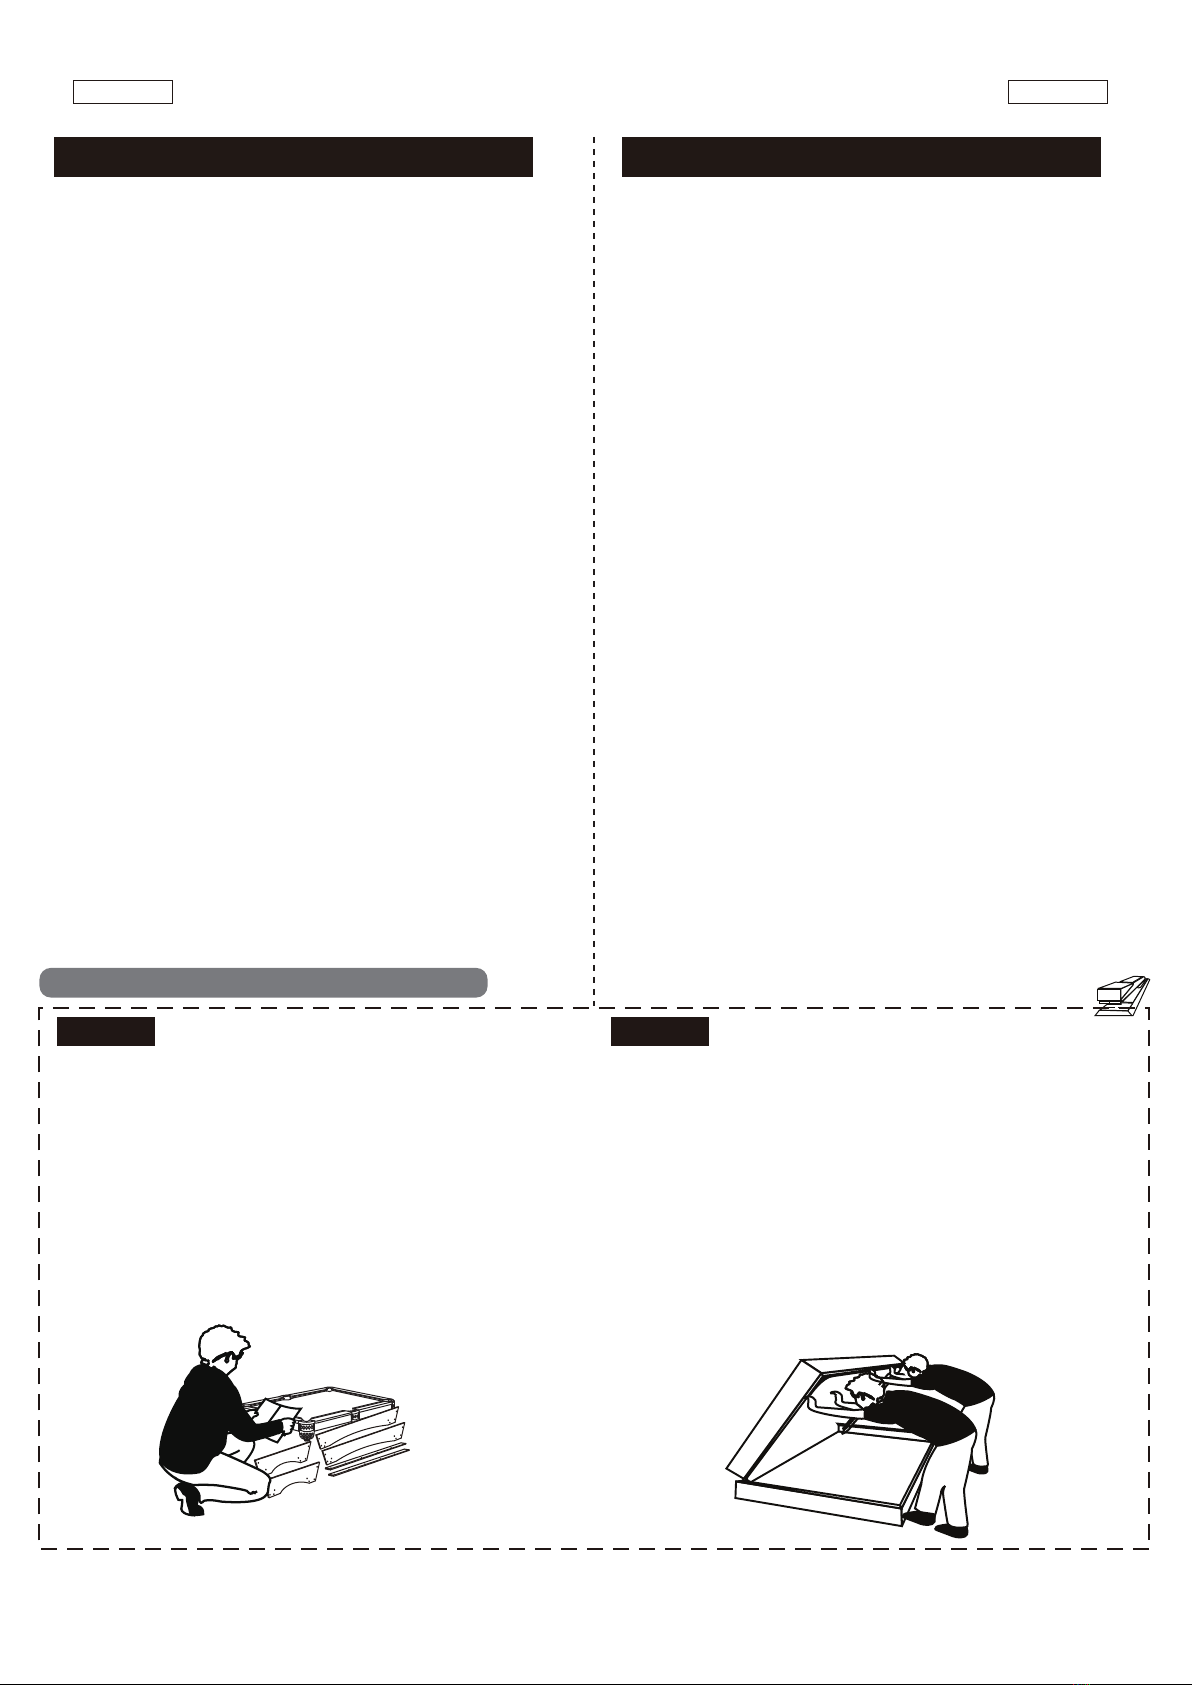
3 - Since you build all tables upside down, please inspect tabletops
or playing surfaces right away before putting together, all
damaged table tops/playing surfaces need to be returned to
the store. Please contact with retailer for their return policy.
1 - Por favor deje su nombre, dirección, número telefónico, número
de modelo, partes necesarios a la máquina contestadora si no
fuera atendido. El fracaso de hacer así le causará un retraso del
envío de partes.
2 - Por favor revise la lista de piezas de repuesto y asegúrese de que
tiene todas las piezas antes de comenzar el montaje.
Para preguntas o para piezas que no se hayan incluidos/dañadas,
por favor pongase en contacto con nosotros.
3 - Ya que usted construye todas las mesas al revés, por favor
inspeccione las partes superiores de mesa o superficies de
juego enseguida antes de poner juntos, que todo tableros
de mesa/superficies dañado tiene que ser devuelto a la tienda.
Por favor comunique con el minorista por su política de
devolución.
¡AVISO!NOTICE!
STAPLE YOUR RECEIPT HERE /
GRAPA SU RECIBO AQU
This product is covered by a limited warranty that is effective for
90 days from the date of purchase. If, during the limited
warranty period, a part is found to be defective or broken, we
will offer replacement parts at no cost to you, the customer. The
only exceptions to the warranty include mainframes, table tops,
playing surfaces, batteries or tools.
The above warranty will not apply in cases of damages due to
improper usage, alteration, misuse, abuse, accidental damage
or neglect.
This Limited Warranty gives you specific legal rights and you
may also have other rights which vary from one State
(province) to another.
A PURCHASE RECEIPT (or other proof of purchase) will be
required before any warranty service is initiated. For all
requests for warranty service, please feel free to contact our
Consumer Service Department at :
WEBSITE: www.themdsports.com
Please be aware of your product’s Limited Warranty for the
return/refund policy from the store, We, at Medal Sports, can
not handle the product which is out of product’s limited warranty
since we only provide available parts. Thank you!
PLEASE CONTACT US BEFORE RETURNING
THE PRODUCT TO THE STORE.
Este producto está cubierto por una garantía efectiva de 90 días a
partir de la fecha de su compra. Durante el periódo límite de la
garantía, si una parte defectuosa o quebrada es encontrada, nosotros
ofreceremos una reparación o un reemplazo de la partes sin ningún
costo para ud, nuestro cliente. Las únicas excepciones de la garantía
incluyen unidad principals, tableros de mesa, superficies, pilas o
herramientas.
La susodicha garantía no se aplicará en los casos de daños y
perjuicios debido al uso impropio, la alteración, el mal uso, el abuso,
el daño accidental o la negligencia.
Esta garantía limitada le da a usted derechos legales específicos,
usted también puede tener otros derechos que varían de un estado
(provincia) a otro.
EL RECIBO DE LA COMPRA (U otra prueba de compra) sería
requerida antes que cualquier servicio de garantía fuera iniciada.
Para todo pedido por servicio de garantía, por favor siéntase libre de
ponerse en contacto con nuestro Departamento de Servicio de
Consumidor en:
WEBSITE: www.themdsports.com
Por favor tenga atención sobre el Límite de Garantía de su producto de
la política de vuelta/reembolsa desde la tienda, Nosotros, Medal
Sports, no podemos manejar el producto que está fuera del límite de
garantía ya que proporcionamos solamente partes disponibles.
¡Gracias!
POR FAVOR PÓNGASE EN CONTACTO CON NOSOTROS ANTES
DE DEVOLVER EL PRODUCTO A LA TIENDA.
Español
English
(Continúe en la siguiente página.) www.themdsports.com
1639631 2
(Continued on the next page.)
CAUTION !
ASSEMBLY TIPS
TOOLS REQUIRED
Phillips Screwdriver - Not Included
Standard (Flat Head Screwdriver) - Not Included
Wrench - Included
Allen Key - Included
Electric Screwdrivers may be helpful
during assembly; however, please set
a low torque and use extreme caution.
1 - This product is intended for INDOOR use only.
2 - Please do not sit, climb or lean on the product.
3 - Please do not drag the product when moving it in order to avoid
damaging the legs.
4 - Please only use furniture polish spray to clean the exterior surfaces
of the product.
5 - This is not a child's toy, adult supervision is required for children
playing this game.
WARNING:
CHOKING HAZARD -- This item contains small parts or /
and small balls.Not suitable for children under 3 years.
WARNING: Adult Assembly Required.
IMPORTANT NOTICE!
Power Tools
-Set Low Torque Ajuste a Bajo par
High Torque
over tightened demasiado apretadas
1 - Please read the instructions carefully, and follow all assembly,
operation and safety instructions properly in order to avoid
damage or injury. For the assembly, at least two adults are
required.
2 - Some figures or drawings may not look exactly like your
product. Please read and understand the text before beginning
each assembly step.
Destornillador Phillips - No incluido
Destornillador de Cabeza Plana - No incluido
Llave Inglesa - Incluida
Llave Allen - Incluida
Los destornilladores eléctricos pueden ser
de gran ayuda durante el ensamblado; sin
embargo, por favor ajuste el par de giro
bajo y sea extremadamente precavido.
PELIGRO DE ASFIXIA - - Este artículo contiene piezas
pequeñas y / o pelotas pequeñas. No apto para menores de 3 años.
ADVERTENCIA:
El ensamblaje debe ser realizado por un adulto.
Herramientas Necesarias
CONSEJOS PARAEL ENSAMBLADO
ADVERTENCIA:
1 - Este producto está destinado para el uso INTERIOR solamente.
2 - Por favor no sientes, subas o inclínes la producto.
3 - Por favor no arrastres el producto cuando está moviendo para
evitar el daño sobre las piernas.
4 - Por favor use solamente pulimento de rociar para muebles para
limpiar la superficie exterior del producto.
5 - Esto no es un juguete de niños, se requieren la supervisión adulta
para niños cuando está jugando este juego.
¡AVISO IMPORTANTE!
1 - Por favor lea las instrucciones con cuidado y siga todo durante el
montaje, la operación y instrucciones de seguridad correctamente
para evitar el daño o la herida. Para el montaje, por lo menos se
requieren dos adultos.
2 - Algunas figuras o dibujos podrían parecer no estén exactamente
como su producto. Por favor lea y entienda el texto antes de iniciar
cada paso del montaje.
¡
PRECAUCI N!
Adultos fuertes
necesarios No tener niños en el
area de ensamble
Mantener alejados a los
animales domesticos
del area de ensamble
No usar o guardar el producto en el
exterior. Solo para uso en interior.
No utilizar ni guardar el producto en
lugares humedos o mojados
Strong Adults Needed No Children in
Assembly Area
Keep away from pets Do not use or keep product
outdoors. For indoor use only.
No wet/humid conditions.
X4
Español
English
www.themdsports.com
1639631 3(Continúe en la siguiente página.)
(Continued on the next page.)
Side Top Board Tablero Superior
Lateral End Top Board Lower End Apron
Tablero Superior
Final
Delantal Final
Inferior
Corner Brace
(260mm)
Abrazadera de
Rincón
(260mm) Support Board Tablero de
Soporte
Leg Support
(380mm)
Soporte de Pierna
(380mm)
“U” Plastic
Bracket
Corchete
Plástico “U”
Lower Side Apron Delantal Lateral
Inferior
910 11 12
13 14 15 16
5/16”x1-1/2” Bolt Cerrojo
5/16”x1-1/2” Arandela 5/16”
5/16” Washer
Glue Pegamento F4x1-1/2” Screw Tornillo F4x1-1/2”
Leg Side Board Tablero Lateral
de Pierna Leg Top Board Leg Base
Tablero Superior
de Pierna Base de Pierna
2 3 4
Mainframe Unidad Principal
1
x1 x8 x4 x4
6 7 85
x2 x2 x2
x4 x2 x8 x4
x1 x50 x32 x32
x2
1/4”x1-1/2” Bolt Cerrojo 1/4”x1-1/2”
18 19 20
1/4” Washer Arandela 1/4”
1/4” Nut Tuerca 1/4” T4x5/8” Screw Tornillo T4x5/8”
x4 x4 x20
17
x4
1639631 PARTS LIST / LISTA DE PARTES
1/4”x1” Bolt Cerrojo 1/4”x1”
22 23 24
2-1/4” Billiard
Ball Set
Bola de
Billar 2-1/4”
57” Cue Taco 57” 2-1/4” Triangle Triángulo 2-1/4”
x2 x1 x1
21
x18
Chalk Tiza
26 27 28
Shims Shim
Brush Cepillo Wrench Llave Inglesa
x1 x9 x1
25
x2
Allen Key Llave Allen
30 31 32
Table Tennis
Top - B
Parte Superior de
Tenis de Mesa-B
Table Tennis
Top - A
Parte Superior de
Tenis de Mesa-A
Table Tennis
Support
Soporte de
Tenis de Mesa
x2 x1 x1
29
x1
Español
English
www.themdsports.com
1639631 4(Continúe en la siguiente página.)
(Continued on the next page.)
EVA Pad Almohadilla EVA
Table Tennis Net Red de
Tenis de Mesa
Table Tennis
Paddle Table Tennis Ball
Paleta de
Tenis de Mesa
Bola de
Tenis de Mesa
34 35 36
Table Tennis Post Poste de
Tenis de Mesa
33
x2 x1 x2 x2
37
x12
Adjustable "L"
Bracket
Corchete “L”
Regulable Corner Pocket Tronera de Rincón Side Pocket Tronera Lateral
P1 P2
x2 x4 x2
P3
5/16” Nut
P4
x32
1/4” Nut Tuerca 1/4”
Tuerca 5/16”
P5
x32
1639631 PRE-INSTALLED PARTS / PIEZAS PREINSTALADAS
1639631 PARTS LIST / LISTA DE PARTES
1/4”x1-3/8” Bolt Cerrojo
1/4”x1-3/8”
38
x32
1. Find a clean, level place to begin the assembly of your
Combo Table. The table will be assembled upside down
and then turned over on its legs once the assembly is
completed. This game table is heavy, and turning it over
will require at least four strong adults.
2. Remove all of the parts from the box and verify that you
have all of the listed parts as shown on the parts list
pages. Carefully cut or tear the four corners of the box
so that the bottom of the box can be used as your
work surface.
1. Encuentre un lugar limpio, plano para comenzar el montaje
de su Mesa de Combo. La mesa será montada al revés y
luego voltee sobre sus piernas una vez completado el
montaje. Esta mesa de juego es pesada y requerirá
por lo menos cuatro adultos fuertes para el volteo.
2. Quite todas las partes desde la caja y verifique que están
todas las partes catalogadas como mostrado en la página
de lista de partes. Con cuidado el corte o el rasgón de
las cuatro rincones de la caja de modo que el inferior
de la caja pueda ser usado como su superficie de trabajo.
INSTRUCCIONES DE ENSAMBLAJE
ASSEMBLY INSTRUCTIONS:
www.themdsports.com
1639631 5(Continúe en la siguiente página.)
(Continued on the next page.)
Español
English
FIG.1
3. Attach one Leg Support (#11) to each Leg Side Board
(#2) using two Bolts (#38) per Leg Support, and then
attach two Leg Side Boards (#2) together using four
Bolts (#38).
4. Attach one Leg Top Board (#3) to the Leg Side Boards
(#2) using four Screws (#14). Attach one Leg Base (#4)
to the Leg Side Boards (#2) using four Screws (#14).
5. Repeat the steps above for the other legs.
FIG.1
3. Pegar 1 Soporte a Pata (#11) a cada Tabla de Pata
Lateral (#2) usando 2 Pernos (#38) por Soporte a Pata,
y luego adjunte 2 Tableros Lateral de Pierna (#2)
juntos usando 4 Cerrojos (#38).
4. Adjunte 1 Tablero Superior de Pierna (#3) a los Tableros
Lateral de Pierna (#2) usando 4 Tornillos (#14). Adjunte 1
Base de Pierna (#4) a los Tableros Lateral de Pierna (#2)
usando 4 Tornillos (#14).
5. Repita dichos pasos para otras piernas.
2
3
4
11
14
X 8
X 4
X 4
X 8
X 32
38
X 32
FIG. 1
P5
X 32
4
14
2
3
38 11
11
2
2
38
38
11
2
P5
P5
14
www.themdsports.com
1639631 6(Continúe en la siguiente página.)
(Continued on the next page.)
Español
English
FIG.2
6. Apply the Glue (#13) into the grooves of the Side and
End Top Boards (#5 and #7). See FIG.2A.
7. Reverse the Side Top Boards (#5) and attach to the
Lower Side Aprons (#6) using six Screws (#14) per Side
Top Board.
8. Reverse the End Top Boards (#7) and attach to the
Lower End Aprons (#8) using three Screws (#14) per
End Top Board.
FIG.2
6. Aplicar el Pegamento (#13) en las ranuras ded las
Tablas Lateral y Tablero Superior Lateral (#5 y #7).
Vea la FIG. 2A.
7. Invierta los Tableros Superior Lateral (#5) y adjunte a los
Delantales Lateral Inferior (#6) usando 6 Tornillos (#14)
por Tablero Superior Lateral.
8. Invierta los Tableros Superior Final (#7) y adjunte a los
Delantales Final Inferior (#8) usando 3 Tornillos (#14) por
Tablero Superior Final.
FIG.3
9. Align the Lower Side and End Aprons with the Top
Boards assembly (
See FIG. 2
) as shown in FIG. 3. Attach
the Corner Braces (#9) to the Lower Side and End
Aprons (#6 and #8) using four Bolts (#15) and four
Washers (#16) per Corner Brace.
FIG.3
9. Alinee los Delantales Final y Lateral Inferior con Tableros
Superior instalado (Vea la FIG. 2) como mostrado
en la FIG. 3. Adjunte las Abrazaderas de Rincón (#9) a
los Delantales Final y Lateral Inferior (#6 y #8) usando 4
Cerrojos (#15) y 4 Arandelas (#16) por Abrazadera
de Rincón.
FIG. 3
9
15
16
X 4
X 16
X 16
FIG. 2
5
6
7
8
13
X 2
X 2
X 2
X 2
X 1
14
X 18
P4
X 32
13
5 7
14
7
8
&
14
5
6
FIG. 2A
P4
15 16
8
8
6
69
www.themdsports.com
1639631 7(Continúe en la siguiente página.)
(Continued on the next page.)
Español
English
FIG.4
10. Attach the assembled Legs (
See FIG. 1
) to the Lower
Side and End Aprons (# 6 and #8) using four Bolts (#15)
and four Washers (#16) per Leg.
FIG.4
10. Adjunte las Piernas instalado (Vea la FIG. 1) a los
Delantales Final y Lateral Inferior (#6 y #8) usando
4 Cerrojos (#15) y 4 Arandelas (#16) por Pierna.
FIG.5
11. Attach the “U” Plastic Brackets (#12) to the Support
Boards (#10) using one Bolt (#17), one Washer (#19)
and one Nut (#18) per “U” Bracket.
FIG.5
11. Adjunte los Corchetes Plástico “U” (#12) a los Tableros
de Soporte (#10) usando 1 Cerrojo (#17), 1 Arandela
(#19) y 1 Tuerca (#18) por Corchete “U”.
FIG. 4
15
16
X 16
X 16
FIG. 5
18
17
12
10
X 2
X 4
X 4
X 4
19
X 4
P1
X 2
8
8
6
6
15
16
FIG. 4A
17
18
19
12
10
P1
FIG.6
12. Lift the Lower Aprons/Legs assembly (See FIG. 4)
from the floor with four strong adults, turn it over, and
set the table on its legs in the location where you will
play.
13. Place the Support Boards (#10) between the Lower
Side Aprons (#6) as shown in FIG. 6. Attach the “U”
Brackets (#12) to the Lower Side Aprons (#6) using
four Screws (#20) per “U” Bracket.
Please note the “L” Brackets (P1) and the Support
Boards (#10) must be parallel as shown in FIG. 6A.
FIG.6
12. Levante los Delantales Inferior/Pierna montado
(Vea la FIG. 4) desde el piso con cuatro adultos fuertes,
Darle vuelta y colocar la mesa en sus patas donde
Ud. vaya a jugar.
13. Coloque los Tableros de Soporte (#10) entre los
Delantales Lateral Inferior (#6) como mostrado en la
FIG. 6. Adjunte los Corchetes “U” (#12) a los Delantales
Lateral Inferior (#6) usando 4 Tornillos (#20) por
Corchete “U”.
Favor notar que los Corchetes “L” (P1) y las
Placas de Soporte (#10) deben venire en paralelo
como se ven en FIG. 6A.
www.themdsports.com
1639631 8(Continúe en la siguiente página.)
(Continued on the next page.)
Español
English
CAUTION: Four strong adults are recommended to turn
the table over as shown.
1. Lift the table off of the ground.
2. Turn the table over.
3. Place it on all four feet at the same time on the ground.
PRECAUCION: Recomienda voltear la mesa por cuatro
adultos fuertes como mostrado.
1. Levantar la mesa del suelo.
2. Voltee la mesa.
3. Coloque los cuatro pies de la mesa sobre el piso al mismo tiempo.
FIG. 6
20
X 16
10
20
12
6
6
10
10
P1
P1
FIG. 6A
Notice: Adjust the playfield level.
/ Noticia:Ajuste el nivel del campo
de juego.
NO APOYES LA MESA
SOBRE SUS PIERNAS
AGARRE LA
MESA
NO AGARRES LAS PIERNAS DO NOT LEAN THE
TABLE ON ITS LEGS
HOLD TABLE
AGARRE LA
MESA
HOLD TABLE DO NOT HOLD THE LEGS
FIG.7
14. Place the Mainframe (#1) on the top of the
pre-assembled Lower Table assembly (See FIG. 6).
Attach the underside of the Mainframe (#1) to the
Side and End Top Boards (#5 and #7) using eighteen
bolts (#21). See FIG. 7 and 7A.
15. Attach the Adjustable "L" Brackets (P1) to the
underside of the Mainframe (#1) using two Screws
(#20) per Bracket. See FIG. 7B.
FIG.7
14. Coloque el Unidad Principal (#1) sobre la parte superior
de la Mesa Inferior montado (Vea la FIG. 6). Debajo
del Unidad Principal (#1), Pegar la parte inferior del
armazón principal (#1) a las Tablas Lateral y Tablero
Superior Lateral (#5 y #7) usando 18 Cerrojos (#21).
Vea la FIG. 7 y 7A.
15. Pegar los Corchetes Regulable “L” (P1) a la parte
inferior del Unidad Principal (#1) usando 2 Tornillos
(#20) por Corchete. Vea la FIG. 7B.
www.themdsports.com
1639631 9(Continúe en la siguiente página.)
(Continued on the next page.)
Español
English
1
X 1
20
X 4
21
X 18
1
10
6
5
7
21
8
20
P1
1
FIG. 7A
FIG. 7B
1
1
Go back and make sure that all connections are tight. Vuelva y asegúrese que todas las conexiones están apretadas.
FIG. 7
FIG.8
16. Under the Mainframe (#1), adjust the "L" Brackets
(P1) in order to level the playfield of the Mainframe.
(#1). See FIG. 8A and 8B.
FIG.8
16. Debajo del Unidad Principal (#1), ajuste los Corchetes
“L” (P1) por el orden de nivel del campo de juego del
Unidad Principal (#1). Vea la FIG. 8A y 8B.
www.themdsports.com
1639631 10 (Continúe en la siguiente página.)
(Continued on the next page.)
Español
English
28
28
P1
P1
P2
P3
NOTE: DO NOT lift the table by the pockets.
If you move the table, do not lift it by placing
your hands beneath the pockets and do not
lean or put pressure on them. Do not lean
or sit on the end or side rails as this may
damage the table.
NOTA: No levante la mesa por las troneras.
Si mueva la mesa, no la levante por colocación
de sus manos bajo las troneras y tampoco
apoyarse o haga presión sobre ellos. No
inclínese o siéntese sobre el final o el lado
de rieles como esto puede dañar la mesa.
FIG. 8
FIG. 8A
FIG. 8B
28
X 1
P2
X 4
P3
X 2
FIG. 9
FIG. 10
www.themdsports.com
1639631 11 (La ultima página)
(The last page)
Español
English
FIG.9
17. Tear off the backside papers of the EVA Pads (#37)
and stick them onto the Table Tennis Tops (#30 and
#31). See FIG. 9A
FIG.9
17. Remover los papeles traseros de las Almohadillas
EVA (#37) y pegarlos en las Parte Superior de
Tenis de Mesa (#30 y #31). Vea la FIG. 9A.
37
30
30
FIG.9A
30
31
30
31
37
X 2
X 1
X 12
27
32
33
X 9
X 1
X 2
34
X 1
Note: Utilize shims (#27) as shown
to level the table if required.
/ Nota: Usar shims (#27) como
indicado para nivelar la mesa en
caso requerido.
27
30
30
33 34
31
32
FIG.10
18. Place the Table Tennis Support (#32) onto the playfield
and place the Table Tennis Tops (#30 and #31) onto
the billiards surface. Then Insert the Net Posts (#33)
and Net (#34) onto the Table Tennis Top. See FIG. 10.
FIG.10
¡USTED ESTA AHORA LISTO PARA JUGAR!
YOU ARE NOW READY TO PLAY!
18.Colocar el Soporte de Tenis de Mesa (#32) en la
cancha y colocar las Parte Superior de Tenis de Mesa
(#30 y #31) en la superficie del billar. Luego inserir los
Postes de Red (#33) y la Red (#34) en la Parte Superior
de Tenis de Mesa. Vea la FIG. 10.

Other MD SPORTS Game manuals

MD SPORTS 1642134 User manual

MD SPORTS

MD SPORTS 1642134 User manual

MD SPORTS AC108Y20015 User manual

MD SPORTS

MD SPORTS AC108Y20015 User manual

MD SPORTS BL090Y20001 User manual

MD SPORTS

MD SPORTS BL090Y20001 User manual

MD SPORTS CB048Y20021 User manual

MD SPORTS

MD SPORTS CB048Y20021 User manual

MD SPORTS FH1517204 User manual

MD SPORTS

MD SPORTS FH1517204 User manual

MD SPORTS SG020Y23001 User manual

MD SPORTS

MD SPORTS SG020Y23001 User manual

MD SPORTS DRB100_047B User manual

MD SPORTS

MD SPORTS DRB100_047B User manual

MD SPORTS FS056Y21001 User manual

MD SPORTS

MD SPORTS FS056Y21001 User manual

MD SPORTS CB056Y19001 User manual

MD SPORTS

MD SPORTS CB056Y19001 User manual

MD SPORTS 1639634 User manual

MD SPORTS

MD SPORTS 1639634 User manual

MD SPORTS TP400Y19001 User manual

MD SPORTS

MD SPORTS TP400Y19001 User manual

MD SPORTS FS054Y19011 User manual

MD SPORTS

MD SPORTS FS054Y19011 User manual

MD SPORTS CB054Y20009 User manual

MD SPORTS

MD SPORTS CB054Y20009 User manual

MD SPORTS AH072Y22006 User manual

MD SPORTS

MD SPORTS AH072Y22006 User manual

MD SPORTS AH084Y19021 User manual

MD SPORTS

MD SPORTS AH084Y19021 User manual

MD SPORTS YUS448 019G User manual

MD SPORTS

MD SPORTS YUS448 019G User manual

MD SPORTS DB410Y19014 User manual

MD SPORTS

MD SPORTS DB410Y19014 User manual

MD SPORTS BL090Y22001 User manual

MD SPORTS

MD SPORTS BL090Y22001 User manual

MD SPORTS CBF054 058M V2 User manual

MD SPORTS

MD SPORTS CBF054 058M V2 User manual

MD SPORTS AC208Y21001 User manual

MD SPORTS

MD SPORTS AC208Y21001 User manual

MD SPORTS WM.COM 1658114 User manual

MD SPORTS

MD SPORTS WM.COM 1658114 User manual

MD SPORTS BL090Y19022 User manual

MD SPORTS

MD SPORTS BL090Y19022 User manual

MD SPORTS BLL084 017B User manual

MD SPORTS

MD SPORTS BLL084 017B User manual

MD SPORTS SOC054-127M User manual

MD SPORTS

MD SPORTS SOC054-127M User manual

Popular Game manuals by other brands

Fisher-Price RollOverRover manual

Fisher-Price

Fisher-Price RollOverRover manual

Tover Tovertafel Pixie Assembly instructions

Tover

Tover Tovertafel Pixie Assembly instructions

Bandai Namco MACH STORM Operation manual

Bandai Namco

Bandai Namco MACH STORM Operation manual

Hasbro ATTACKTIX 6698200000 instructions

Hasbro

Hasbro ATTACKTIX 6698200000 instructions

Tiger Electronics Neopets Aisha 71073/71070 instruction manual

Tiger Electronics

Tiger Electronics Neopets Aisha 71073/71070 instruction manual

Pragma COUGAR HUSTLE XL instruction manual

Pragma

Pragma COUGAR HUSTLE XL instruction manual

Fundex Games Shoot the Moon User instructions

Fundex Games

Fundex Games Shoot the Moon User instructions

DELTA-SPORT 86564 Instructions for use

DELTA-SPORT

DELTA-SPORT 86564 Instructions for use

Hathaway NG2015 Assembly instructions

Hathaway

Hathaway NG2015 Assembly instructions

Franklin 13008D PLAYING INSTRUCTIONS AND RULES

Franklin

Franklin 13008D PLAYING INSTRUCTIONS AND RULES

Roberto Sport SUMMER COVER quick start guide

Roberto Sport

Roberto Sport SUMMER COVER quick start guide

PLAYTIVE 364364 2010 Instructions for use

PLAYTIVE

PLAYTIVE 364364 2010 Instructions for use

Playskool Sounds 'n Vibes Driver 05949 instruction manual

Playskool

Playskool Sounds 'n Vibes Driver 05949 instruction manual

Hasbro B Daman Bakuso 98047 Asst. instruction manual

Hasbro

Hasbro B Daman Bakuso 98047 Asst. instruction manual

Harvil NGD2515 Assembly instructions

Harvil

Harvil NGD2515 Assembly instructions

Brunswick Lane Shield Care Instructions

Brunswick

Brunswick Lane Shield Care Instructions

SPHINX Royal user manual

SPHINX

SPHINX Royal user manual

Disney Hannah Montana: Rock Out the Show owner's manual

Disney

Disney Hannah Montana: Rock Out the Show owner's manual

manuals.online logo
manuals.online logoBrands
  • About & Mission
  • Contact us
  • Privacy Policy
  • Terms and Conditions

Copyright 2025 Manuals.Online. All Rights Reserved.