manuals.online logo
Brands
  1. Home
  2. •
  3. Brands
  4. •
  5. Measumax
  6. •
  7. Measuring Instrument
  8. •
  9. Measumax 22-145 User manual

Measumax 22-145 User manual

INSTRUCTION MANUAL
22-145
Depth Micrometer
0-50mm
Q145
Page 1
Instruction Manual for 22-145 (Q145)
18/12/2014
Depth Micrometers 22-145, 22-146
Measumax Depth Micrometers are a micrometer head-
fitted with a depth base to take direct readings on the
micrometer spindle with the highest degree of accura-
cy. The depth base, allows for level placement over
the hole or slot. With a Depth micrometers it is almost
impossible to overtighten the micrometer spindle and
get a wrong reading. The use of the micrometer's
ratchet or friction feature is best used to find the low
spot in the depth measurement.
To change the interchagable rods unscrew the spindle-
top and removed the top. (Fig.2) The rod is then
passed throuugh the barrel and base.(Fig.3)
Each rod has been set in the factory, but are adjustable
if recalibration is required
Diagram 1
1. Anvil 2. Barrel
3. Spindle 4. Ratchet Thimble
5. Base
Re-Setting the Depth Micrometer
The 0-25mm rodshould be installed and the spindle opened
to the “0” position. When the base is placed on a flat clean
surface the “0” reading can be taken useing the spindle
ratchet to obtain a light, even pressure. The reading should
be zero on the vernier scale. If the zero is slightly off it can
be adjusted by moving the barrel into position (Fig 4). A
special wrench is provided for this procedure.
Maintenance
Before storing your MeasumaX Depth Micrometer, wipe all
exterior surfaces with a clean, soft cloth, and coat the sur-
faces with a light oil.
Should the spindle become loose adjustment can be made
by tightening the nut at the end of the barrel until the action
is smooth and easy.
“Measumax” Depth Micrometers are set and tested during
production
Measumax Tiefe sind Mikrometer ein Mikrometer head-
fitted mit einer Tiefenbasis, direkte Vorlesungen auf der
Mikrometerspindel mit dem höchsten Grad der
Genauigkeit zu nehmen. Die Tiefenbasis, erlaubt für
ebene Unterbringung über dem Loch oder dem
Steckplatz. Mit einem Tiefe Mikrometern ist es fast
unmöglich zu overtighten die Mikrometerspindel und
erhält eine falsche Vorlesung. Der Gebrauch vom
Schaltrad des Mikrometers oder
Reibungskennzeichens ist am besten, der benutzt
wird, den niedrigen Fleck in der Tiefenmessung zu
finden. Um die interchagable Ruten zu ändern,
schrauben Sie den spindletop los und hat das Oberteil
herausgenommen. (Fig. 2) Die Rute dann ist an vor-
beigegangen throuugh das Fass und ist basiert. (Fig.3)
Jede Rute ist gesetzt worden in die Fabrik, aber ist
verstellbar, wenn Neukalibrierung erfordert ist
Tiefe Mikrometer 22-145, 22-146
Stellen Sie das Tiefenmikrometer Das 0-25mm rodshould
werde installiert und die Spindel nach, die zur „0“ Position
geöffnet wird. Wenn die Basis auf eine Wohnung gestellt
ist, reinigen Sie auftaucht die Vorlesung und der Gebrauch
das Spindelschaltrad, ein Licht, sogar Druck zu erhalten,
soll die Vorlesung null sein. Wenn der null etwas ab ihm ist,
kann von Drehen dem Fass in Position (Abb 4) eingestellt
werden. Ein besonderer Schraubenschlüssel ist dieses
Verfahren geliefert.
Wartung
Bevor Speichern von Ihrem MeasumaX Mikrometer, hinter
die Spindel weg vom Amboss, wischt alle
Außenoberflächen mit einem sauberen, weichen Tuch, und
streicht die Oberflächen mit einem leichten Öl an. Soll die
Spindel werden, kann lockere Regelung von Festziehen der
Mutter am Ende vom Fass gemacht werden, bis die
Handlung glatt und leicht ist. (Abb 3) “Measumax”
Mikrometer sind gesetzt und haben während Produktion
geprüft
Zeichnung 1
1. Amboss 2. Fass
3. Spindel 4. Versehen Sie mit einem
Schaltrad Thimble
5. Basis
Reading a Depth Micrometer
The first figure is taken from the last graduation showing on the sleeve directly to the left of the revolving barrel. Note
Each full graduations is 1mm. There is an additional half scale divisions are 0.5 mm. The remaining two figures (hun-
dredths of a millimetre) are taken directly from the thimble opposite the main scale.(Fig 5.) The reading is 10.01mm
Vorlesung ein Mikrometer
Die erste Figur ist von der letzten Abstufung genommen, die auf dem Ärmel direkt links vom sich drehenden Fass
zeigt. Merken Sie Jede vollen Abstufungen ist 1 Mm. Es gibt sind eine zusätzlichen halben maßstabgetreuen
Teilungen 0,5 Mm. Das bleiben zwei Figuren (hundredths von einem Millimeter) sind genommen direkt vom thimble
gegenüber die Hauptskala. (Abb 5.) Die Vorlesung ist 10.01mm

Page 2
Instruction Manual for 22-145 (Q145)
18/12/2014
Fig 2
Fig 3
Fig 1
I Micrometri di profondità 22-145, 22-146
I Micrometri di Profondità di Measumax sono un head-
fitted di micrometro con una base di profondità di
portare le letture dirette sul fuso di micrometro col più
alto grado di precisione. La base di profondità, tiene
conto del collocamento piano sopra il foro o lo slot.
Con uni micrometri di Profondità è quasi impossibile
all'overtighten il fuso di micrometro e prende una let-
tura di ingiustizia. L'uso della caratteristica di arresto
del micrometro o frizione è migliore ha usato per
trovare la macchia bassa nella misura di profondità.
Per cambiare le verghe di interchagable svitano lo
spindletop e hanno tolto la cima. (Fig.2) La verga è poi
passata il throuugh il barile e la base. (Fig.3) Ogni
verga è stato regolata nella fabbrica, ma sono regola-
bile se la ricalibrazione è richiesta
Il diagramma 1
1. L'incudine 2. Il barile
3. Il fuso 4. Il Ditale di arresto
5. Base
Manutenzione
Prima che immagazzinare il suo micrometro di MeasumaX,
sostiene il fuso lontano dall'incudine, pulisce tutte le superfi-
ci esteriori con un panno pulito, morbido, e ricopre le super-
fici con un olio leggero. Dovrebbe il fuso è diventato rego-
lazione sciolto che la può essere fatta stringendo la noce
alla fine del barile finché l'azione è liscia e facile. (Il fico 3)
“Measumax” i micrometri sono regolati e testato durante la
produzione
Ripristinare il Micrometro
Quando il fuso è avvitato chiuso su un 0-25mm il
micrometro, la lettura dovrebbe essere lo zero. Usare il
ratchet di fuso per ottenere una luce, un'anche pressione,
Se lo zero è leggeramente via da esso può essere aggius-
tato girando il barile nella posizione (il Fico 2). Un wrench
speciale è provveduto a questa procedura. Per i più grandi
micrometri colloca la sbarra di test fornita tra le incudini ed
usare il ratchet di fuso di ottenere una pressione leggera,
l'assegno di vedere se il micrometro legge lo zero.
La lettura di un Micrometro
La prima figura è portata dall'ultima graduazione mostrando sulla manica direttamente alla sinistra del che il rivolgen-
do barile. Notare Ogni graduazioni piene è 1 millimetri. C'è une mezze divisioni di scala addizionali sono 0,5 mil-
limetro. Il rimanere due figure (centesimo di un millimetro) sono direttamente portato dal ditale di fronte alla scala
principale. (il Fico 5.) La lettura è 10.01mm
Fig 4 Fig 5
Page 3
Instruction Manual for 22-145 (Q145)
18/12/2014

Other Measumax Measuring Instrument manuals

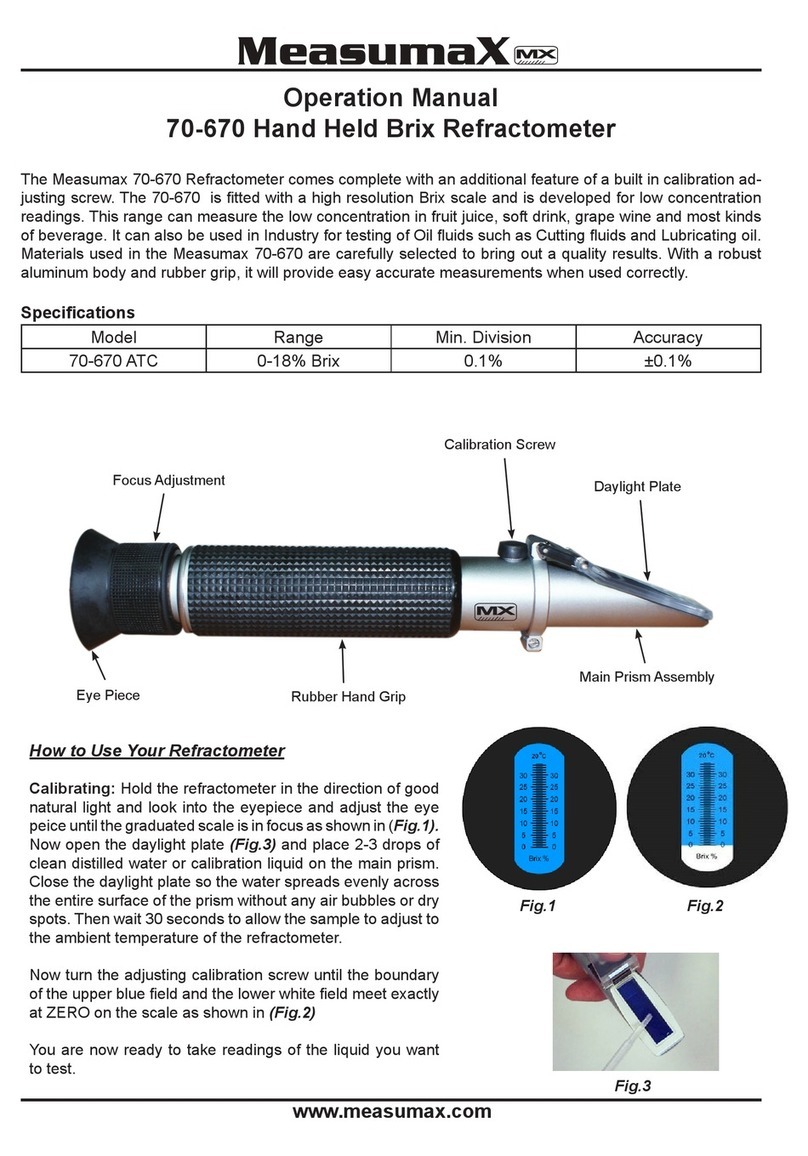
Measumax 70-670 Installation manual

Measumax

Measumax 70-670 Installation manual

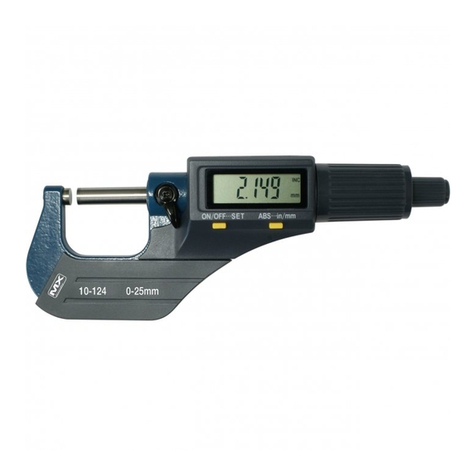
Measumax 10-124 User manual

Measumax

Measumax 10-124 User manual

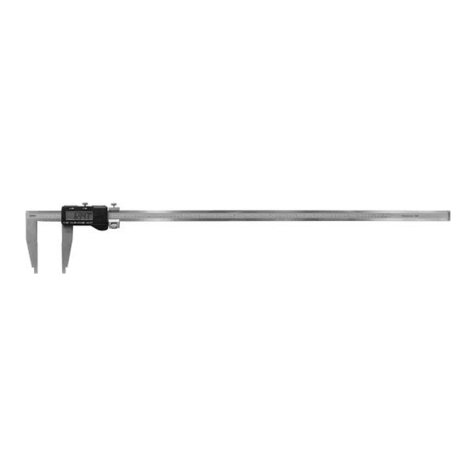
Measumax 31-1885 User manual

Measumax

Measumax 31-1885 User manual

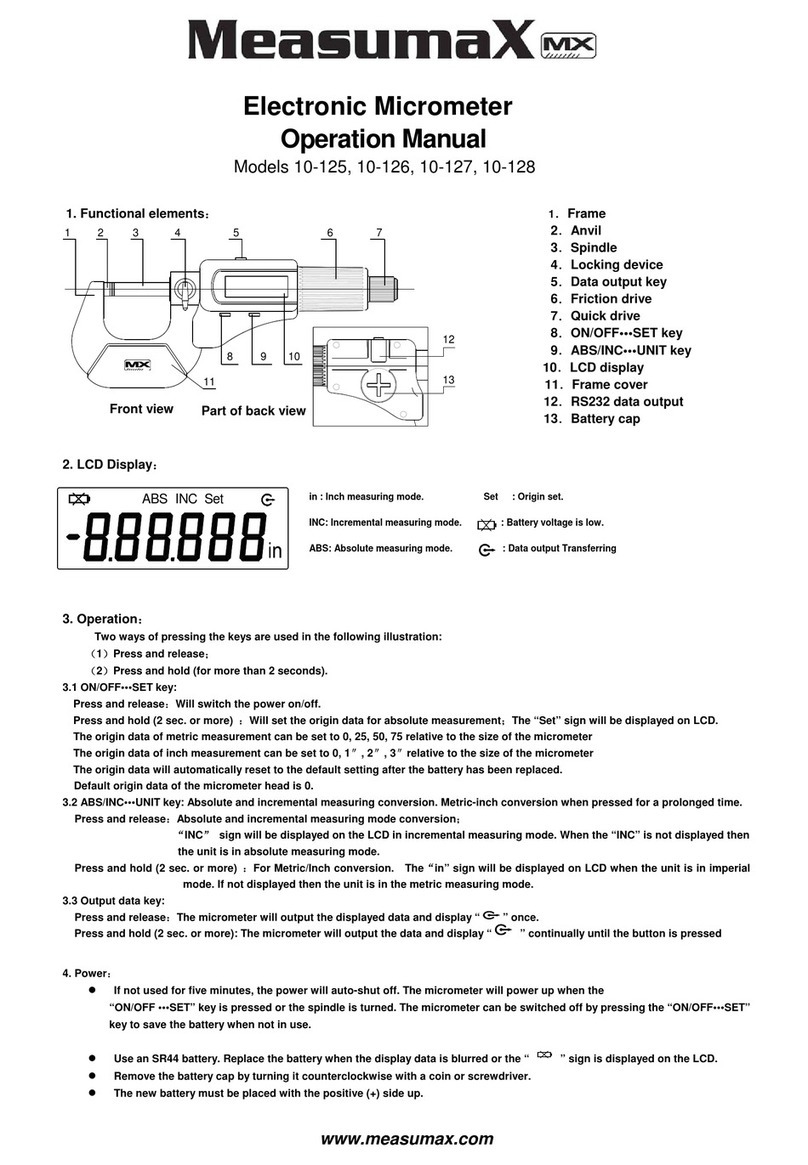
Measumax 10-125 User manual

Measumax

Measumax 10-125 User manual

Measumax 45-502, 45-503 User manual

Measumax

Measumax 45-502, 45-503 User manual

Measumax 31-1851 User manual

Measumax

Measumax 31-1851 User manual

Measumax MX 31-180 User manual

Measumax

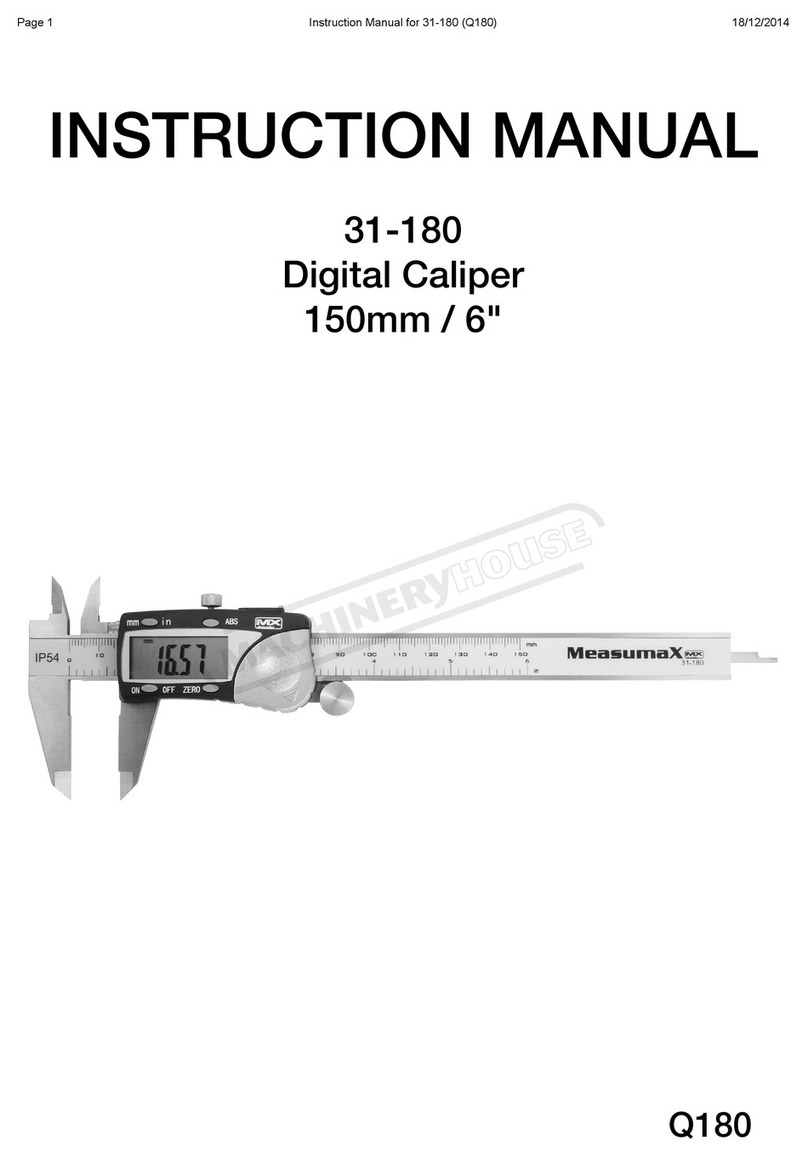
Measumax MX 31-180 User manual

Popular Measuring Instrument manuals by other brands

WEHRLE WECOUNT-S ETK-EAM operating instructions

WEHRLE

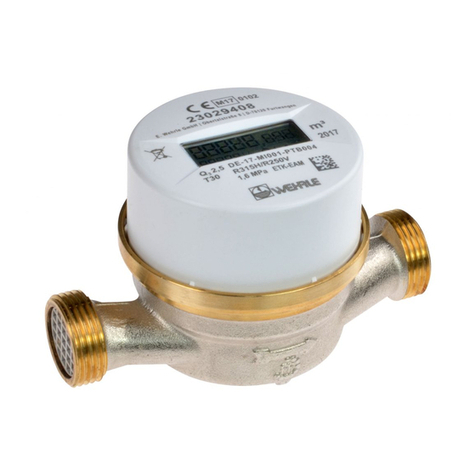
WEHRLE WECOUNT-S ETK-EAM operating instructions

TESTO 340 instruction manual

TESTO

TESTO 340 instruction manual

Emerson Rosemount 1056 instruction manual

Emerson

Emerson Rosemount 1056 instruction manual

emitor DIGIAIR user manual

emitor

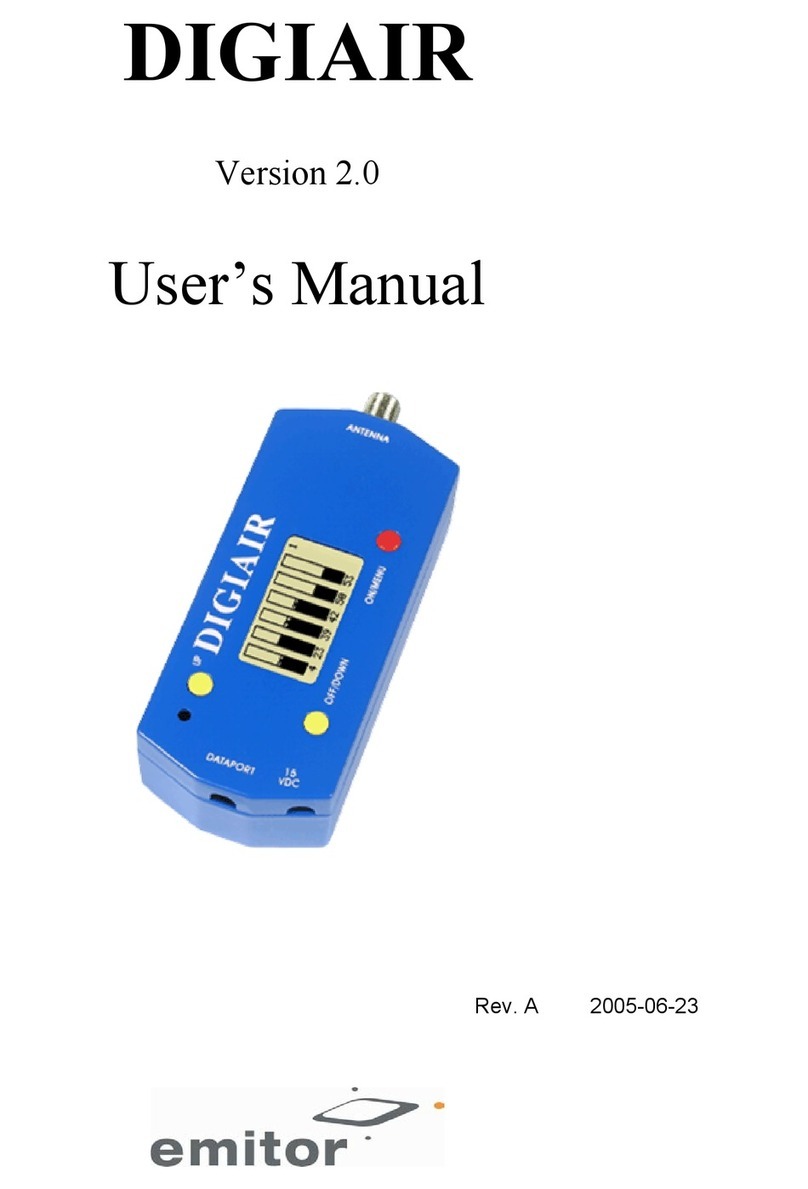
emitor DIGIAIR user manual

Oven TPM138 Passport and operaton manual

Oven

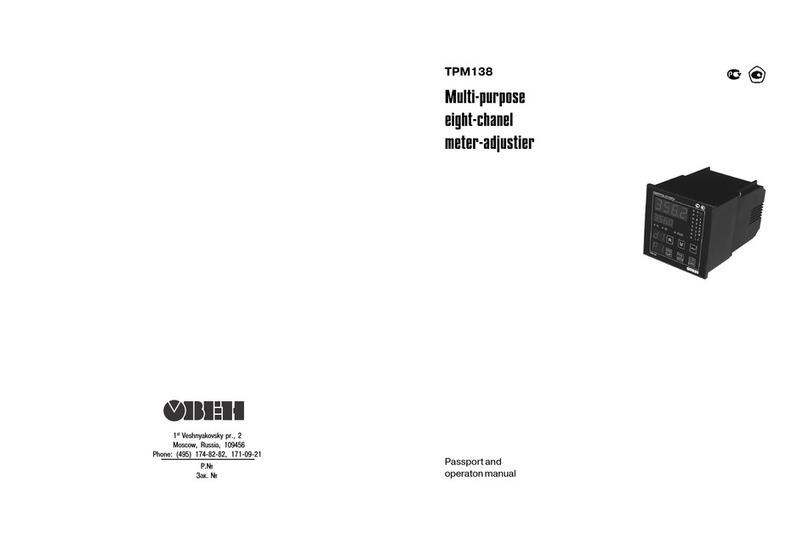
Oven TPM138 Passport and operaton manual

Instantel Micromate Technical note

Instantel

Instantel Micromate Technical note

NTI ENVIROMUX Series Installation and operation manual

NTI

NTI ENVIROMUX Series Installation and operation manual

Bender ISOMETER IR1575H manual

Bender

Bender ISOMETER IR1575H manual

PCB Piezotronics ICP W393B05 Installation and operating manual

PCB Piezotronics

PCB Piezotronics ICP W393B05 Installation and operating manual

Pivot PROGAUGE-PT6 user guide

Pivot

Pivot PROGAUGE-PT6 user guide

LaserLinc 122 quick start guide

LaserLinc

LaserLinc 122 quick start guide

Philips IntelliVue Quick reference service guide

Philips

Philips IntelliVue Quick reference service guide

ABB AX400 Series user guide

ABB

ABB AX400 Series user guide

DMP Electronics 1115 installation guide

DMP Electronics

DMP Electronics 1115 installation guide

Bacharach Comfort Chek 400 Operation manual

Bacharach

Bacharach Comfort Chek 400 Operation manual

Cloudray 3DM580S user manual

Cloudray

Cloudray 3DM580S user manual

Bamo SFA instruction manual

Bamo

Bamo SFA instruction manual

ATAGO PAL-27S instruction manual

ATAGO

ATAGO PAL-27S instruction manual

manuals.online logo
manuals.online logoBrands
  • About & Mission
  • Contact us
  • Privacy Policy
  • Terms and Conditions

Copyright 2025 Manuals.Online. All Rights Reserved.