manuals.online logo
Brands
  1. Home
  2. •
  3. Brands
  4. •
  5. Measumax
  6. •
  7. Measuring Instrument
  8. •
  9. Measumax 31-1851 User manual

Measumax 31-1851 User manual

www.measumax.com
INSTRUCTIONS FOR IP67 CALIPER WITH ABSOLUTE
ENCODING SYSTEM
31-1851, 31-1861, 31-1871
Thank you for purchasing this product. This product has the same reliability as a vernier caliper but with a high protec-
tive level. It can be used in conditions where the instrument is , exposed to coolant, water, dust or oil. The IP67 rating
allows for the digital caliper to be used in water for a short period of time.
The Measumax Absolute encoding measuring system is designed to avoid the loss of the measurement origin when
the slider is moved very fast or is interfered. The need for setting the origin each time before measuring is also re-
moved. After replacing the battery the origin is retained.
In order to maintain the e󰀩ciency of this product, please carefully read and keep the instructions for future reference
FEATURES
• New patented electromagnetic induction displacement measuring system with absolute en
• Waterproof, oil proof, anti-electromagnetic, interference, protection Level IP67 (CEI60529)
• Two-button design, menu prompt, simple, convenient and easy to operate
• Manual/Automatic power switch, automatic shutdown after 5 minutes without being used
(Note: Some models will automatically reboot after a 16 hour shutdown when the slider is moved)
• Low-voltage alarm, high and low temperature, and other error alarm
• Innite response speed, no speed error
• ABS/INC mode and metric/inch units conversion
Technical Data
• Measuring Range 0-150mm/6in, 0-200mm/8in, 0-300mm/12in
• Resolution: 0.01mm/0.0005in
• Repeatability: 0.01mm/0.0005in
•Operating Temperature: 0°C-40°C
•Storage Temperature: 10°C-60°C
• Relative Humidity: 100%
• Protective level: IP67(CEI60529)
• Battery Type: 3V Lithium Battery (CR2032)
• Battery Life: Approximately 2000 hours
Structure Diagram and the name of the main components
Changing The Battery
To load the new battery undo the 3 screws on the
battery cover and remove the at battery.
Place the new battery into the battery seat with “+”
sign facing up, then replace the battery cover and
tighten the screws (Note: Replace the battery in a
dry environment and as quickly as possible so as to
avoid water vapor entering the electronic components)
When replacing the battery, replace the sealing O-ring
in the case if deformed or damaged
ABS/INC Conversion
In the ABS mode, when the lower jaws is closed, “0.00” is displayed, namely the absolute origin position of the digital
caliper and ABS is displayed on LCD screen. For relative measurements at any position, just press the button “0-ON”
and INC is displayed on the LCD screen and 0.00 is displayed in the INC mode (relative measurement mode). To con-
vert to ABS mode, just press the button “0/ON” until ABS is displayed on the LCD screen and then release the button.
The absolute position value is then displayed.
MM/IN Conversion
Press the button “MM/IN” to switch to change between mm or inch mode.
Manual shutdown
To manually shutdown the instrument press the button “0/ON” until OFF is displayed and then release the button.
(Note: Keep pressing the button 0/ON, INC→ABS→ OFF→ INC will be displayed on the LCD screen periodically.
When the needed function menu appears, release the button,
• Button & coin batteries (new or used) are hazardous and are to be kept away
from children
•If a lithium button/coin battery is swallowed or placed inside the body can cause
fatal injuries in 2 hours or less
•If a non-lithium button /coin battery is swallowed or placed inside the body can
cause serious injuries
•Medical attention should be sought immediately if suspected the battery has
been swallowed or placed inside the body
•Phone 13 11 26 Australian Poisons Information Centre for 24/7 fast,
expert advice
WARNING!
www.measumax.com
Precautions and Notes
Avoid colliding and dropping which may cause deformation and reading errors.
Keep all the measuring faces and slide faces clean
If it’s not to be used for a long time, clean the instrument with a soft cloth and anti-rust and store the instrument in the
case provided.
The electronic components must not be exposed to chemical solvents
This digital caliper can be used in water and other liquids not deeper than 1 meter and not longer than 30 minutes
Replace the battery when the low voltage icon appears
When the ambient temperature is too high or too low, or the battery power is too low, “ERR-1” alarm will appear on
the LCD. If the temperature and power are normal, and the “Err-1” alarm appears, the caliper’s should be returned for
service or repair.
While measuring if the “ERR-2” alarm appears, this will indicate that the measurement force is too great, and has
causes the deformation or dislocation of the two measuring jaws to the slide. Reduce the measurement force or elimi-
nate any outside force that may be causing the problem. If a certain part of the slide is bent or deformed, ERR-2 alarm
will also appear at this point. This will need repair
Because the digital caliper adopts the absolute encoding measurement system, the clearance and position between
the reading head and the absolute encoder slide are strict and precise. Therefore do not dismantle so as to avoid
the reading head’s failure to read the data on the absolute encoder slide.
TROUBLESHOOTING
Malfunction Cause Solution
1 Water enters the electronic com-
ponents due to poor sealing
Battery cover screws haven't been
tightened
Tighten screws
The sealing O-ring is deformed Adjust the O-ring shape
The sealing O-ring is damaged Replace the sealing O-ring
Other causes Send back for repair
2 Incomplete or missing LCD
display
Water enters the electronic compo-
nents
Dry it. Avoid water entering (see No1)
Other causes Send back for repair
3 No LCD Display Flat battery Replace battery
Other causes Send back for repairs
4 LCD Display Low power Replace battery
5 The displayed values between
two digits repeatedly change
Poor battery contact Improve the battery seat and contact
6 LCD Displays ERR-1 The temperature is lower than 0° or
higher than 40°
Adjust the ambient temperature be-
tween 0°and 40°
Low power Replace the battery
Electronic components are damaged Send back for repair
7 LCD Displays ERR-2 Numerical
disorder
Too large measurement force causes
parts/deformation
Reduce measurement force
Outside force causes dislocation or
deformation of the measuring jaws
Eliminate the outside force
Clearance between the slider and the
slide is too big
Adjust the adjust screw and reduce
the clearance
The slide is bent Send back for repair
The electronic components are dam-
aged
Send back for repair
Due to the products on going development, the instructions may alter slightly from product to product .
Setting The Origin
To calibrate the absolute origin position
1.Switch on the power and make the external measuring faces touch.
2.Press the button “MM/IN” until “Set 0” is displayed on LCD screen and then release the button. The LCD now dis-
plays 0.00 and it’s in the normal operating mode.
3.Move the slider back and forth several times. Make the external measuring faces touch every time and check if
“0.00” is displayed. If “0.00”is not displayed repeat the above operation until “0.00” is displayed.

This manual suits for next models

2

Other Measumax Measuring Instrument manuals

Measumax 10-125 User manual

Measumax

Measumax 10-125 User manual

Measumax 22-145 User manual

Measumax

Measumax 22-145 User manual

Measumax 45-502, 45-503 User manual

Measumax

Measumax 45-502, 45-503 User manual

Measumax 70-670 Installation manual

Measumax

Measumax 70-670 Installation manual

Measumax 10-124 User manual

Measumax

Measumax 10-124 User manual

Measumax 31-1885 User manual

Measumax

Measumax 31-1885 User manual

Measumax MX 31-180 User manual

Measumax

Measumax MX 31-180 User manual

Popular Measuring Instrument manuals by other brands

GENUV MG-05.1 instruction manual

GENUV

GENUV MG-05.1 instruction manual

Arthur Grillo WR 200-F DESCRIPTION AND OPERATION

Arthur Grillo

Arthur Grillo WR 200-F DESCRIPTION AND OPERATION

Brunton Echo manual

Brunton

Brunton Echo manual

Young 86000-SDI instructions

Young

Young 86000-SDI instructions

BIOLABO Diagnostics KENZA 240 TX user guide

BIOLABO Diagnostics

BIOLABO Diagnostics KENZA 240 TX user guide

Panametrics DigitalFlow GC868 Startup guide

Panametrics

Panametrics DigitalFlow GC868 Startup guide

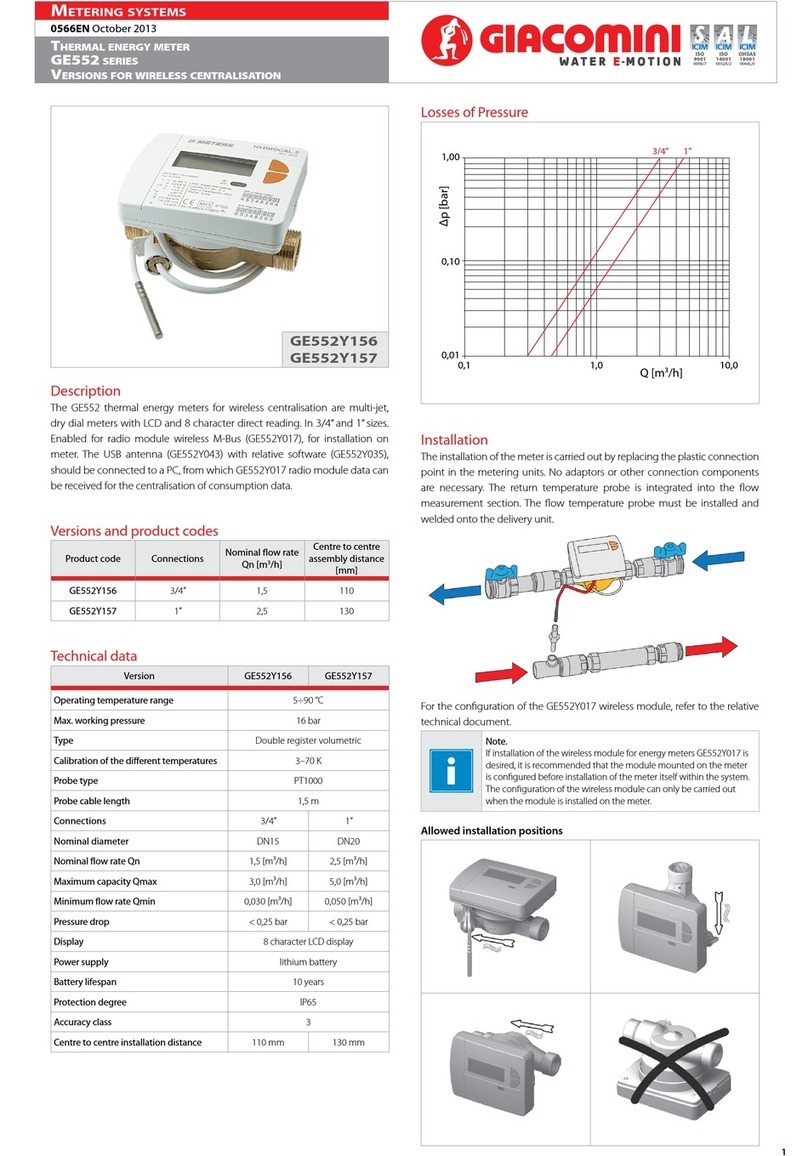
Giacomini GE552Y156 manual

Giacomini

Giacomini GE552Y156 manual

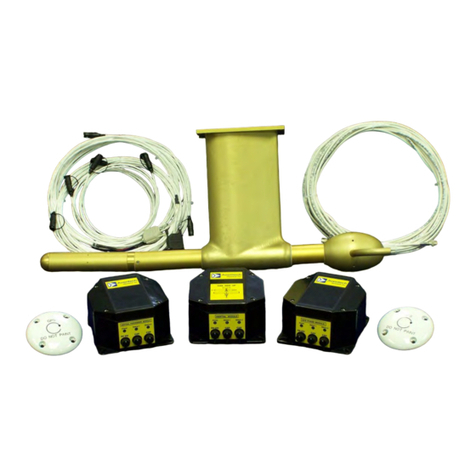
Aventech AIMMS-20 installation manual

Aventech

Aventech AIMMS-20 installation manual

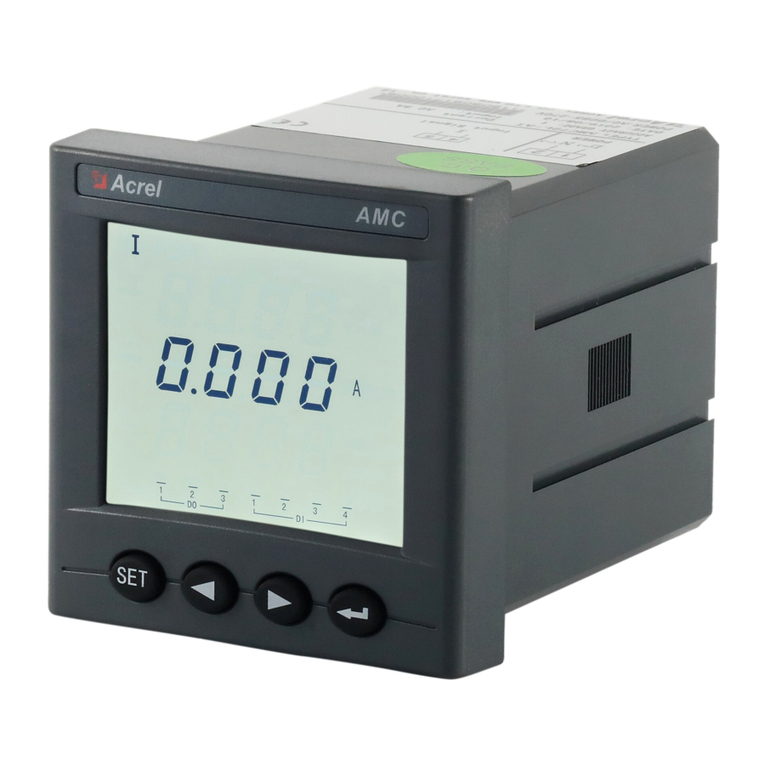
Acrel AMC Series Installation and operation instruction

Acrel

Acrel AMC Series Installation and operation instruction

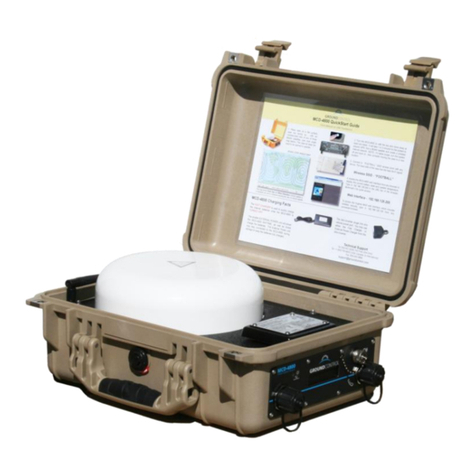
Ground Control MCD-4801 user manual

Ground Control

Ground Control MCD-4801 user manual

Niigata seiki VHS-30D instruction manual

Niigata seiki

Niigata seiki VHS-30D instruction manual

GE RHM 04 Overwiew and specifications

GE

GE RHM 04 Overwiew and specifications

PCE Instruments PCE-360 manual

PCE Instruments

PCE Instruments PCE-360 manual

WIKA 712.15.160 operating instructions

WIKA

WIKA 712.15.160 operating instructions

Ametek DMS-3K Installation & operation manual

Ametek

Ametek DMS-3K Installation & operation manual

BYK micro-TRI-color 345 000 015 Series operating instructions

BYK

BYK micro-TRI-color 345 000 015 Series operating instructions

SATO KEIRYOKI SK-M350-TRH instruction manual

SATO KEIRYOKI

SATO KEIRYOKI SK-M350-TRH instruction manual

Rohde & Schwarz HAMEG HM1508-2 manual

Rohde & Schwarz

Rohde & Schwarz HAMEG HM1508-2 manual

manuals.online logo
manuals.online logoBrands
  • About & Mission
  • Contact us
  • Privacy Policy
  • Terms and Conditions

Copyright 2025 Manuals.Online. All Rights Reserved.