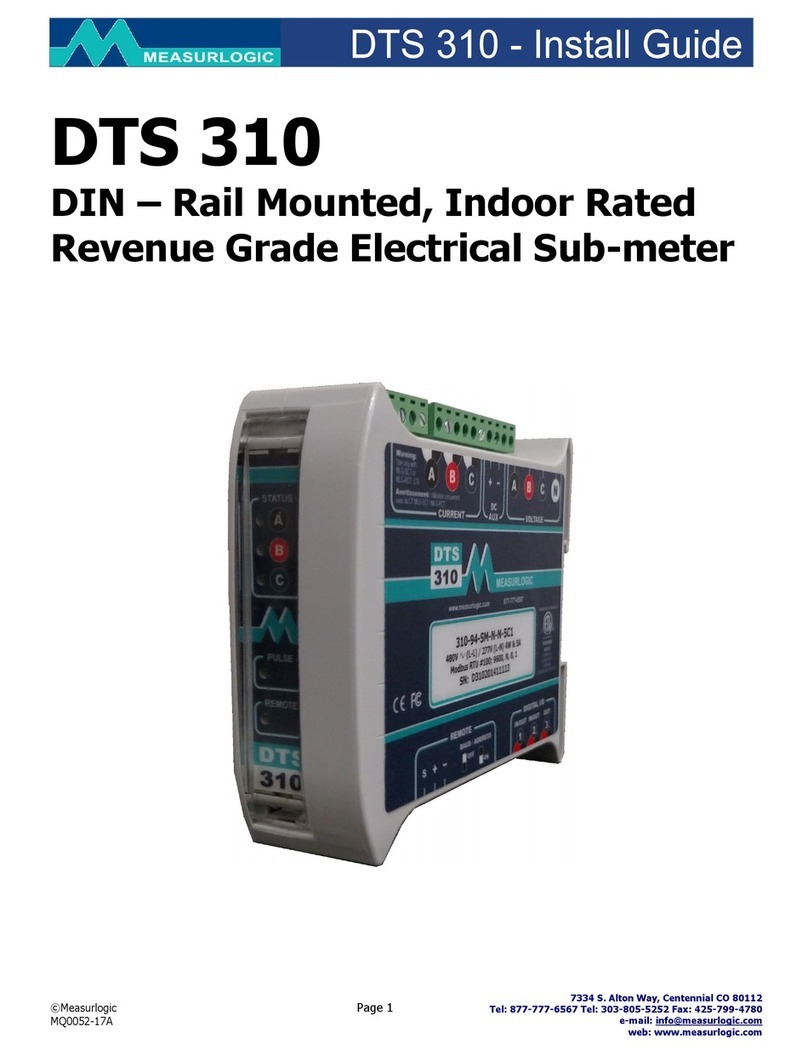
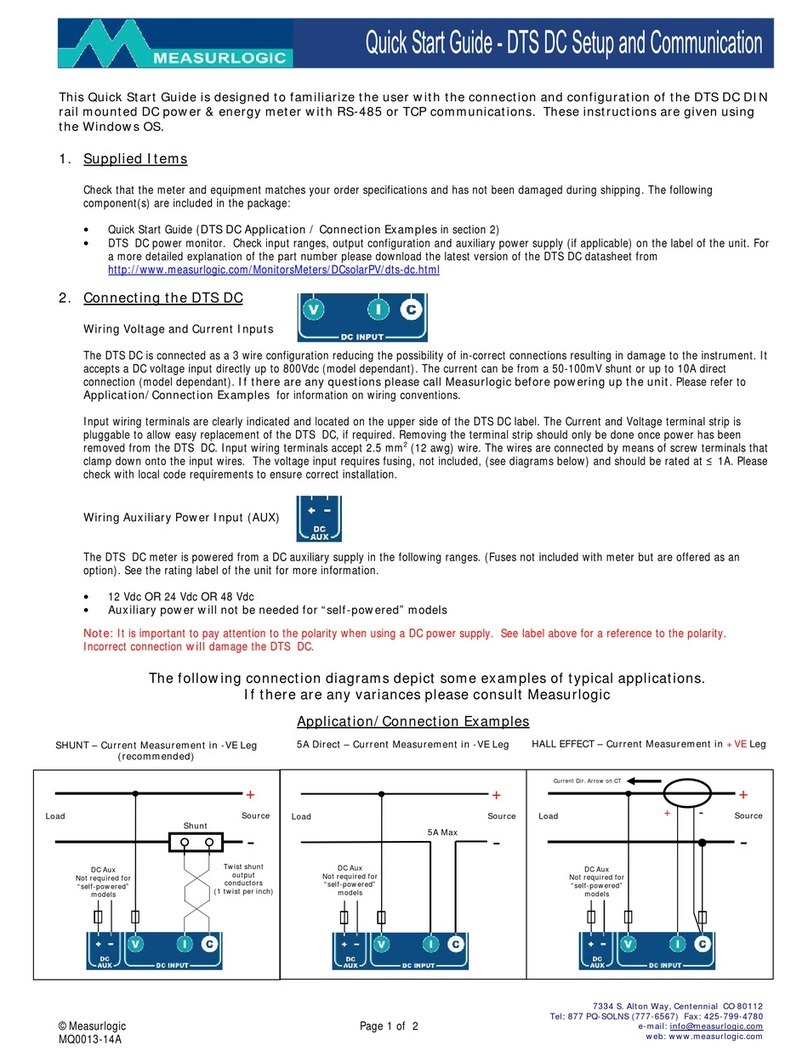
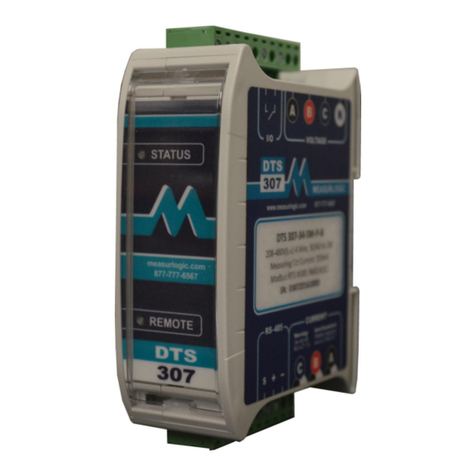
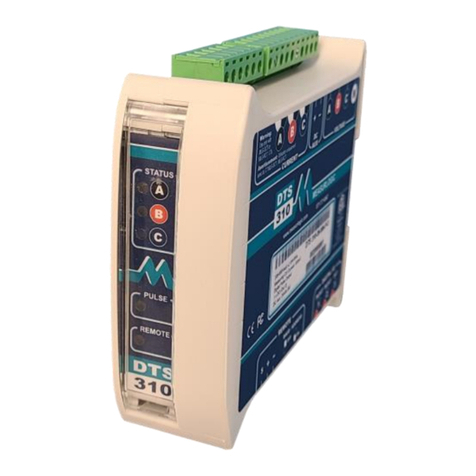
Measurlogic DTS 307 User manual

©Measurlogic Page 2
MQ0052-16B
7334 S. Alton Way, Centennial CO 80112
Tel: 877-777-6567 Tel: 303-805-5252 Fax: 425-799-4780
web: www.measurlogic.com
1PRODUCT OVERVIEW......................................................................................................................................................... 3
1.1 SUPPLIED ITEMS ..................................................................................................................................................................... 3
1.2 DOCUMENT CONVENTIONS ...................................................................................................................................................... 4
1.3 PRODUCT SPECIFICATION ......................................................................................................................................................... 4
1.3.1 Current Inputs ............................................................................................................................................................ 4
1.3.2 Service Type ............................................................................................................................................................... 4
2INSTALLATION ................................................................................................................................................................... 5
2.1 SAFETY GUIDELINES ................................................................................................................................................................ 5
2.2 PRODUCT DIMENSIONS............................................................................................................................................................ 6
2.3 MOUNTING REQUIREMENTS AND GUIDELINES ............................................................................................................................. 6
3CONNECTING TO THE DTS 307 ........................................................................................................................................... 7
3.1 WIRING VOLTAGE AND CURRENT INPUTS .................................................................................................................................... 7
3.1.1 Wiring Examples ........................................................................................................................................................ 7
3.2 CONNECTING MULTIPLE LOADS................................................................................................................................................. 8
4MAINTENANCE AND SERVICE............................................................................................................................................. 9
5DTS 307 COMMUNICATIONS INTERFACE............................................................................................................................ 9
5.1 RS-485 2-WIRE COMMUNICATIONS ......................................................................................................................................... 9
5.2 KWH PULSE OUTPUT (MODEL DEPENDENT).............................................................................................................................. 10
6LED DEFINITIONS ............................................................................................................................................................. 10
6.1 STATUS LED........................................................................................................................................................................ 10
6.2 REMOTE LED....................................................................................................................................................................... 11
7INSTALLATION OF DTS CONFIG AND MONITORING SOFTWARE ....................................................................................... 11
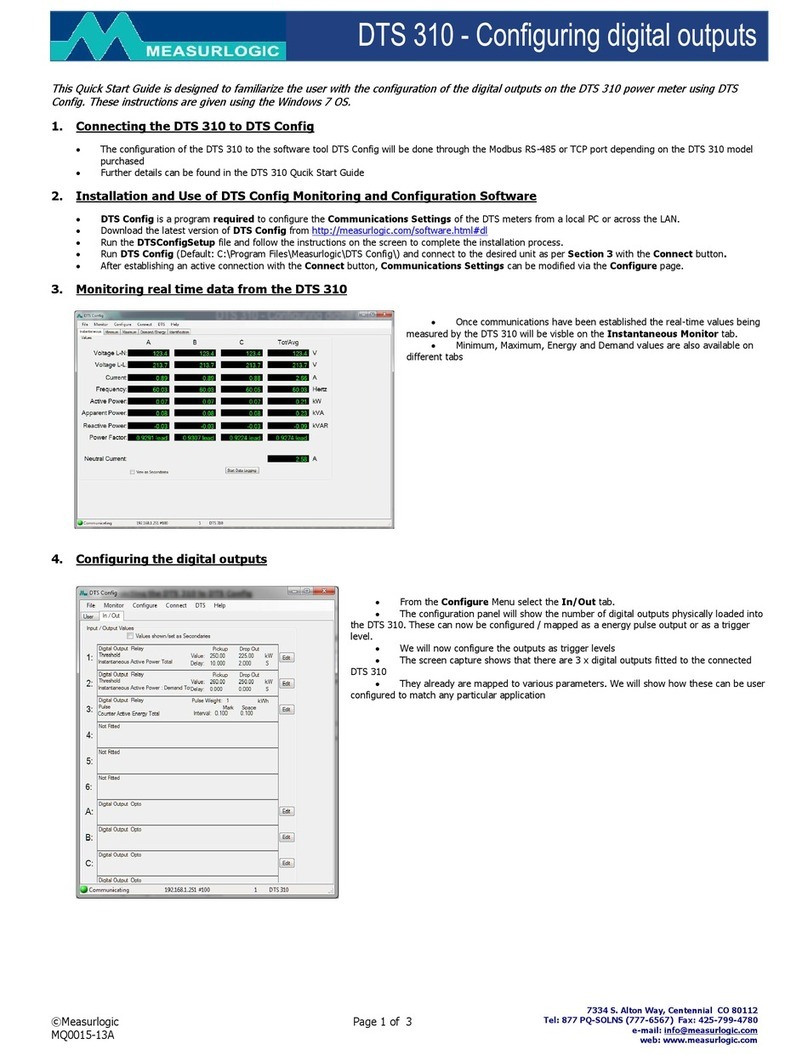
©Measurlogic Page 3
MQ0052-16B
7334 S. Alton Way, Centennial CO 80112
Tel: 877-777-6567 Tel: 303-805-5252 Fax: 425-799-4780
web: www.measurlogic.com
1PRODUCT OVERVIEW
The one revenue grade meter for all applications.
Your new DTS 307 energy sub-meter is one of the most versatile meters available on the market. The DTS 307
can operate in any environment, requires no external power source to operate, and works with all UL or ETL
listed 333mV current transformers.
For ease of installation, the DTS 307 is designed to be compact and fit into most DIN-rail systems.
Some of the exciting features provided with the DTS 307 are
Easy to attach pluggable terminals
Modbus RTU or BACnet MS/TP depending on model
Auto-topology Phase Detection and on-board CT Algorithms for automatic correction of reversed field
mounted CTs
For remote configurability, your DTS 307 comes with our freely downloadable
DTS Config
software tool
The DTS 307 provides you very accurate data acquisition and is certified to ANSI C12.20 Class 0.5 Revenue
Grade.
Also, if in the future, you decide to integrate renewable energy sources, the DTS 307 will conveniently operate as
a Bi-Directional NET meter. Easily integrates with Building Automation Systems and Energy Monitoring Software.
Designed and Manufactured in the USA and complies with the Buy American Provisions of ARRA Section 1605.
Thank you for choosing Measurlogic and a meter from the DTS Family.
1.1 Supplied Items
Check that the meter and equipment matches your order specifications and has not been damaged during
shipping. Verify that the following item(s) match with the corresponding model from the data sheet:
Installation Guide
DTS 307 power & energy meter
10-Pin green pluggable screw terminal connector for Voltage and Digital Input/Output
6-Pin green pluggable screw terminal connector for Current inputs
3-Pin green pluggable screw terminal connector for Remote RS-485 Communications

©Measurlogic Page 4
MQ0052-16B
7334 S. Alton Way, Centennial CO 80112
Tel: 877-777-6567 Tel: 303-805-5252 Fax: 425-799-4780
web: www.measurlogic.com
1.2 Document Conventions
SYMBOLS
ATTENTION –PLEASE CONSULT THE
INSTALLATION MANUAL
WARNING –RISK OF ELECTRICAL
SHOCK
1.3 Product Specification
WARNING
Verify that the model of DTS 307 that was shipped is used
for the correct installation. Failure to use the correct CT’s
or connecting too high a voltage can result in permanent
damage to the DTS Meter.
DTS 307 - Ax-xx-x-F-xx
1.3.1 Current Inputs
Current
Inputs
Value
Description
Notes
A
3
333mV CT
Any 333mV CT is acceptable
9
Unburdened CT
Only use the CT’s that came with the unit
1.3.2 Service Type
Service Type
Value
Description
Neutral Required
Neutral Optional
F
N
(1P 2W, 1P 3W, 3P 4W) 120 –277Vac L–N
●
2
(3P 3/4W) 208 –240 Vac L–L
●

©Measurlogic Page 5
MQ0052-16B
7334 S. Alton Way, Centennial CO 80112
Tel: 877-777-6567 Tel: 303-805-5252 Fax: 425-799-4780
web: www.measurlogic.com
2INSTALLATION
2.1 Safety Guidelines
WARNING
The following installation instructions are intended for qualified personnel only. To avoid
the risk of electrical shock and personal injury, do not perform additional tasks not stated
in this procedure unless you are qualified to do so.
Always adhere to the following safety guidelines:
Only qualified personnel or licensed electricians should handle the installation. Input voltages to
the DTS 307 can be hazardous.
Follow all applicable local and national electric codes.
Verify input voltage and current are within thresholds for the specific DTS 307 model. (See Product
Specification on page 4)
Use only UL or ETL listed current transformers. ONLY USE CURRENT TRANSFORMERS THAT
ARE SPECIFIED BY THE MODEL OF DTS 307. USE OF ANY OTHER CURRENT
TRANSFORMER OTHER THAN THE ONE SPECIFIED BY THE DTS MODEL CAN RESULT IN
PERMANENT DAMAGE TO THE DTS 307.
Avoid any electrostatic discharge prior to working on the DTS 307 by first touching a grounded
structure prior to handling the DTS 307.
Before applying power make sure that all current transformer and voltage connections are securely
connected to the input terminals of the DTS 307.
If the DTS 307 is installed incorrectly any built in safety features may no longer be functional.
Before handling the DTS 307 ensure that all power running to the DTS 307 is removed.
The DTS 307 is for indoor use only, and MUST be mounted in a NEC compliant enclosure suitable for
the environmental conditions and locked with a user supplied lock.

©Measurlogic Page 6
MQ0052-16B
7334 S. Alton Way, Centennial CO 80112
Tel: 877-777-6567 Tel: 303-805-5252 Fax: 425-799-4780
web: www.measurlogic.com
2.2 Product Dimensions
2.3 Mounting Requirements and Guidelines
ATTENTION
Make sure to follow the following mounting requirements
and guidelines when mounting the DTS 307.
When mounting the DTS 307 make sure to follow these guidelines:
Mount the DTS 307 as close as possible to the electrical panel being monitored.
Make sure that there is at least 4” of clearance above and below the DTS 307 for wiring and
connector clearance and ¼” of clearance on both sides for cooling.
Position the DTS 307 such that the labeling can be read from the upright position.
It is recommended that two separate conduits be run for voltage and current connections.
Only UL or ETL rated conduits and glands should be used.
Only UL or ETL rated Current Transformers should be used.
14 to 12 AWG wire should be used for the voltage and ground with 300V or 600V insulation
depending on installation type.
User Supplied UL or ETL certified 2A fast-blow fuses need to be installed between the Voltage
inputs of the DTS 307 and panel being monitored. Recommended Littelfuse BLS002 or equivalent.
Use the breaker guide below to determine the type of breaker to use for installation. The breaker is
used to protect the wiring from the breaker panel to the fused inputs of the DTS 307.
BREAKER GUIDE
Gauge of Wire
Recommended Breaker
14
15 Amp 600V 3-Pole Breaker
12
20 Amp 600V 3-Pole Breaker

©Measurlogic Page 7
MQ0052-16B
7334 S. Alton Way, Centennial CO 80112
Tel: 877-777-6567 Tel: 303-805-5252 Fax: 425-799-4780
web: www.measurlogic.com
3CONNECTING TO THE DTS 307
3.1 Wiring Voltage and Current Inputs
3.1.1 Wiring Examples
ATTENTION
Make sure that your model of DTS 307 is approved for the
following wiring guidelines.
Note: CTs should be connected to the same panel as the
voltage connections.
Single Phase 2/3 Wire
A
N
B
C
A
N
B
C
A
B
3-Phase with Optional Neutral (Model Dependent)
Load
Load
A
B
C

©Measurlogic Page 8
MQ0052-16B
7334 S. Alton Way, Centennial CO 80112
Tel: 877-777-6567 Tel: 303-805-5252 Fax: 425-799-4780
web: www.measurlogic.com
A
N
B
C
A
B
C
Load 1
3.2 Connecting Multiple Loads
The DTS 307 allows for ease and flexibility when monitoring multiple branches. The DTS 307 allows multiple CT
sensors to be connected in parallel via the quick connect terminals.
When using parallel CT sensors, the following guidelines must be followed to ensure accurate measuring.
All CT sensors must have a 333mV output.
All CT sensors must be of the same manufacturer/model number and current rating.
A full set of CT sensors must be used for each load.
The pair of wires from the CT sensor to the green pluggable screw terminal must be twisted.
All CT sensors must be terminated at the green pluggable screw terminal.
A maximum of 3 loads can be monitored at once (Contact Measurlogic if more than 3 loads must be
monitored).
The measured phase current will be the total current across all the loads on that phase.
The CT primary rating for the DTS 307 must be set to the CT rating * Number of CT sets.
The example below shows how to calculate the service current for figure 3.2.1.
Service Current for Figure 3.2.1
Number of CT Sensor Sets
2
CT Rating
100 Amps
CT Primary
200 Amps
A
B
C
Load 2
Figure 3.2.1

©Measurlogic Page 9
MQ0052-16B
7334 S. Alton Way, Centennial CO 80112
Tel: 877-777-6567 Tel: 303-805-5252 Fax: 425-799-4780
web: www.measurlogic.com
RS-485 2-Wire
+ to +
-to -
S to S
4Maintenance and Service
WARNING
There are NO other user serviceable parts in the DTS 307, and no regular maintenance is
required. If additional maintenance is needed, please contact Measurlogic Inc.
5DTS 307 COMMUNICATIONS INTERFACE
The DTS 307 has 3 exclusive options for outputting data depending on the model ordered:
Modbus RTU over RS-485 2-Wire
BACnet MS/TP over RS-485 2-Wire
kWh Energy Pulse Output through a Potential-Free Normally Open Solid State Relay
(N.O. SSR)
5.1 RS-485 2-Wire Communications
The RS-485 is a Daisy Chained Bus terminated at both ends with 120 Ohms.
DO NOT use a STAR or RING configuration.
Use 18-22 AWG, 2-core, shielded, twisted pair cable
When fitted with Modbus RTU, unless otherwise stated through correspondence prior to ordering or
specified on the label of the DTS 307 unit, the default communications parameters are as follows:
oModbus Address: 100, Baud Rate: 9600, Parity: None, Data Bits: 8, Stop Bits: 1. This is notated as
9600, N, 8, 1 #100.
Modbus parameters can be changed either through DTS Config or by writing to specific registers in the
meter. Please see the Modbus Map document or section 7 for DTS Config.
When fitted with BACnet MS/TP, unless otherwise stated through correspondence prior to ordering or
specified on the label of the DTS 307 unit, the default communications parameters are as follows:
oDevice Object ID: 100, MAC Address: 100, Baud Rate: 38400, Parity: None, Data Bits: 8, Stop Bits:
1. This is notated as 38400, N, 8, 1 #100.
BACnet parameters must be changed via the BACnet interface.

©Measurlogic Page 10
MQ0052-16B
7334 S. Alton Way, Centennial CO 80112
Tel: 877-777-6567 Tel: 303-805-5252 Fax: 425-799-4780
web: www.measurlogic.com
Digital Input module
or Counter
5.2 kWh Pulse Output (Model Dependent)
The DTS 307 comes with a Digital I/O port that can be configured for pulse outputs.
The DTS 307 will pulse at 1kWh by default but can be changed using DTS Config.
The relay closure of each pulse will last for 100ms (pulse width) with a minimum delay
of 100ms between any two pulses.
6LED Definitions
The DTS 307 is equipped with 2 LEDs useful for diagnostics and troubleshooting –STATUS and REMOTE.
6.1 Status LED
The STATUS LED consists of a repetition of two flashes and shows whether the measured power is being
consumed/imported or generated/exported, as well as the magnitude of the total current.
The First Flash is the “heartbeat” and indicates that the meter is ON and the direction of energy:
The Color and Length of the Second Flash indicates the “total current level” for all the measured phases
relative to the total service current:
oGREEN for 5-80% of total service current
oORANGE for 80-100% of total service current
oRED for >100% of total service current
Relative
Illustration of the Repeating Status LED Sequence for Heartbeat and Relative Measured Current Level
Current
Level
|
Heartbeats are approximately 2 seconds apart
|
Time
%
|
|
50%
HB
HB
80%
HB
HB
>100%
HB
HB
Green –Energy is being
consume/imported
Orange –Energy is being
generated/exported

©Measurlogic Page 11
MQ0052-16B
7334 S. Alton Way, Centennial CO 80112
Tel: 877-777-6567 Tel: 303-805-5252 Fax: 425-799-4780
web: www.measurlogic.com
6.2 Remote LED
The REMOTE LED is a communications indicator which is present on all meters fitted with an RS-485
serial port.
The LED will flicker GREEN when the DTS 307 receives data on the BUS and AMBER when the DTS 307
transmits data in response.
7INSTALLATION OF DTS CONFIG AND MONITORING SOFTWARE
DTS Config is a program used to easily monitor and configure meters from the DTS family from your local
PC or across the LAN.
Download the latest version of DTS Config from http://www.measurlogic.com/software. Alternatively, an e-
Unzip the DTSConfigSetup file and double click the setup.exe file to begin the installation process.
Follow the instructions on the screen.
Green –Data being received
Amber –Data being transmitted
Other manuals for DTS 307
1
Table of contents
Other Measurlogic Measuring Instrument manuals

Measurlogic
Measurlogic DTS DC User manual

Measurlogic
Measurlogic DTS 310 User manual

Measurlogic
Measurlogic DTS 307 User manual

Measurlogic
Measurlogic DTS 310 Guide

Measurlogic
Measurlogic DTS 310 User manual

Measurlogic
Measurlogic DTS SMX User manual

Measurlogic
Measurlogic DTS 310-3 SB-A Series User manual

Measurlogic
Measurlogic DTS 310 User manual