Medi Alarm Landline Unit User manual

www.medialarm.com.au
© 2018. Medi Alarm. All rights reserved.
Medi Alarm
Landline Unit
User Guide
1. Introduction
2. Overview
3. Installation - Option 1 and Option 2
4. Storing Emergency Contacts and Recording Message
5. Operation
6. Trouble Shooting
7. Extra Information
8. Legal Disclaimer and Contact Us

Introduction
www.medialarm.com.au
© 2018. Medi Alarm. All rights reserved.
BEFORE YOU START
If we have programmed your device with your listed numbers, it is ready
to use almost straight away- you just need to plug it in. Please familiarise
yourself with all instructions prior to use. Your Medi Alarm is an aid and
should be used in conjunction with your emergency plan already in place
with your family and friends.
The Medi Alarm Landline Unit is a
personal and medical alert pendant
that will give you back your freedom
and sense of security within your home
and surrounding yard within a 50m
radius.
This alarm operates on your home landline.
Simply press the button either on the
Landline Base Unit or the supplied pendants
to sound the alert.
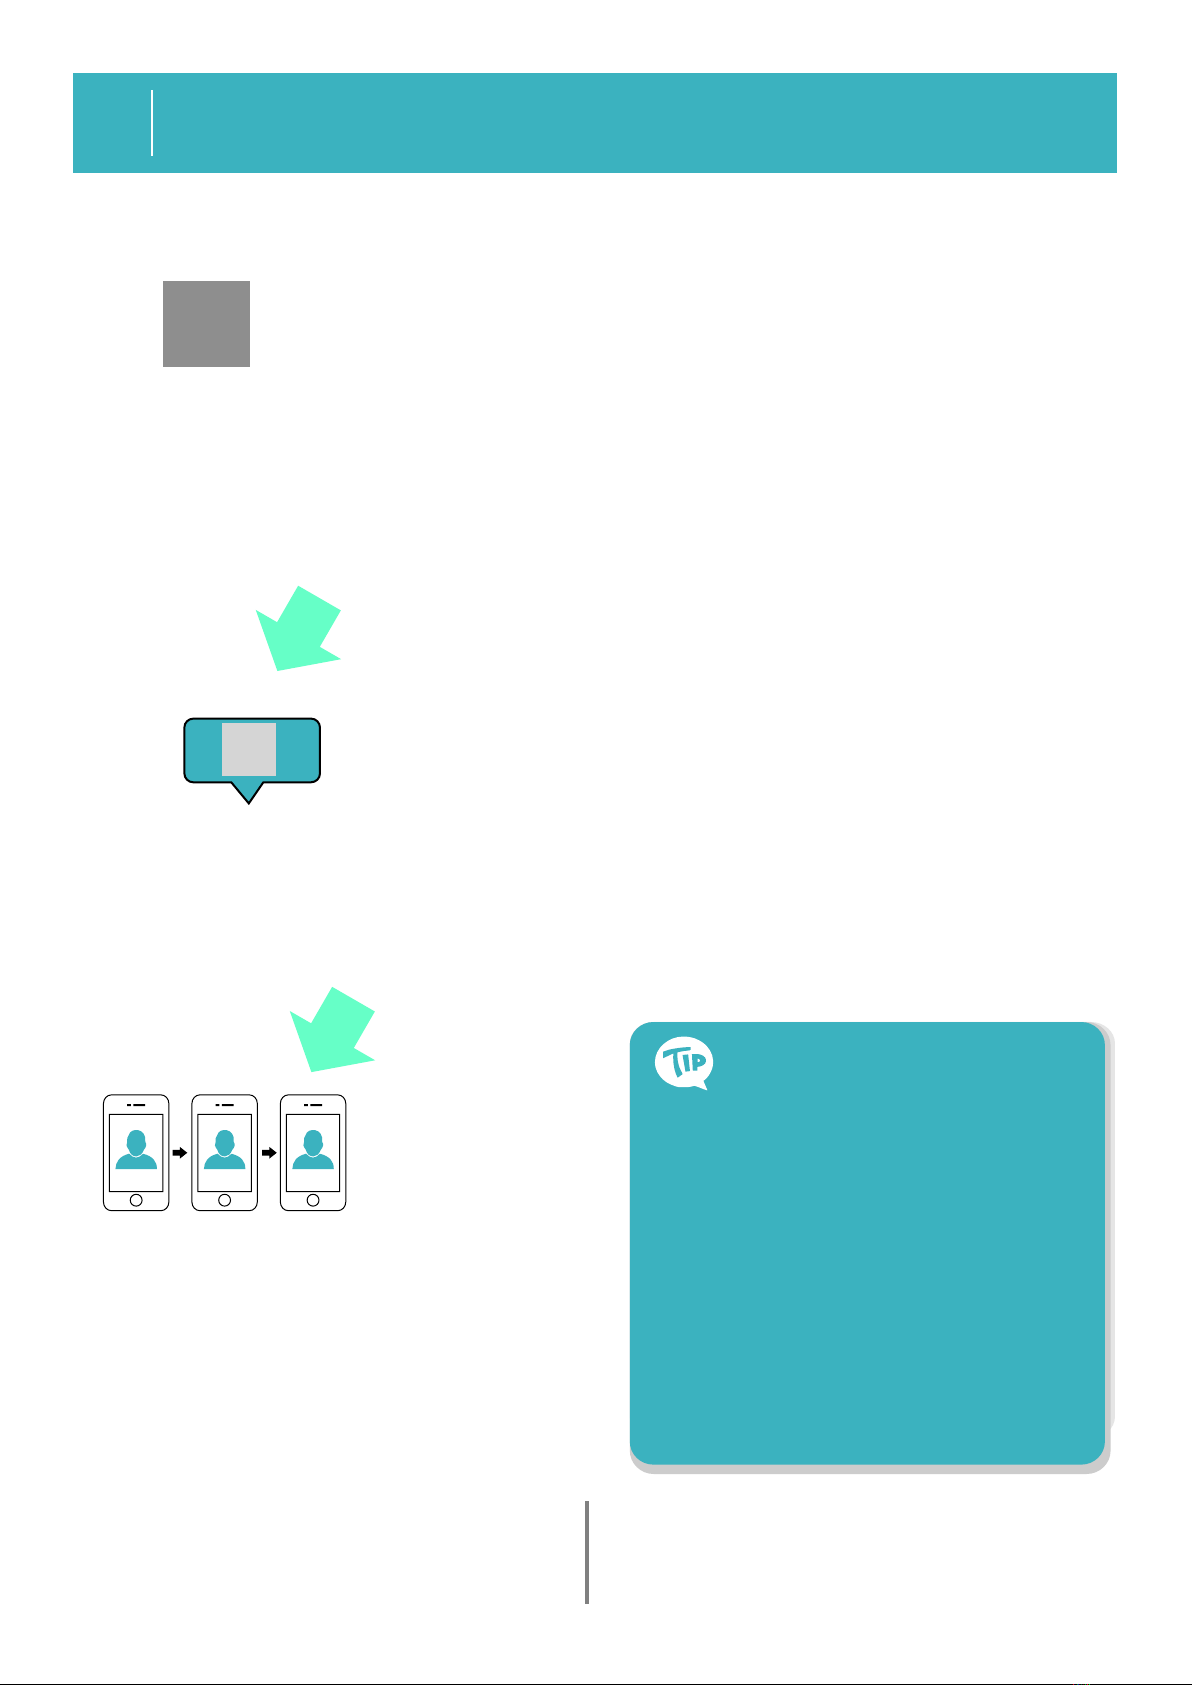
Your device will call your nominated
emergency contacts one at a time to alert
them that you need help.
The Medi Alarm has an inbuilt transmitter inside the Necklace FOB and Wristwatch
alarm. This transmitter sends a signal to the Landline Base Unit when the user presses
the alarm button. The Landline Unit is then activated and will start dialling your
programmed contacts. It does this by playing a pre-recorded message to the contact
when answered. Please only use your supplied accessories included in your box.
Testing your Device
We recommend that you familiarise yourself with your device before an emergency
occurs. For your peace of mind, we test every unit with our own testing numbers. We
want you to be happy and confident with your device and we believe in our product as
we have seen the difference that it makes to our customers lives.
When testing your device, refer to the confirmation sheet included which specifies the
numbers that have been programmed (if we have programmed your device) and
check them. Let your emergency contacts know that you will be testing your device so
that they are aware and ready.
Package Inclusions
Medi Alarm Landline Base Unit
Necklace FOB Pendant
Wristwatch Pendant
6 Volt Power adaptor
Phone line cable
Telephone Splitter
User Manual
1

Overview
www.medialarm.com.au
© 2018. Medi Alarm. All rights reserved.
2

Installation - Option 1 and Option 2
www.medialarm.com.au
© 2018. Medi Alarm. All rights reserved.
3
Option 1 - Typical Set Up (No NBN at Home)
For a home phoneline with no internet or NBN. We recommend using a surge power
adaptor to protect from storms and power surges.
Option 2 - NBN Set Up at Home
This device IS compatible with the NBN. We recommend using a surge power
adaptor to protect from storms and power surges. Please NOTE that if you have
the NBN, the Medi Alarm can only function if the NBN service is active at the
time. Eg if there is a blackout, the NBN would be down and hence your phone
line will not work and the Medi Alarm will not work.
Storing Emergency Contacts and Recording Message
www.medialarm.com.au
© 2018. Medi Alarm. All rights reserved.
4
Test your device
Check that your device operates as it
should and do a test run (see next page
for operation), but inform your contacts
first so that they don't panic.
Unfortunately 000 will not work as a listed contact.
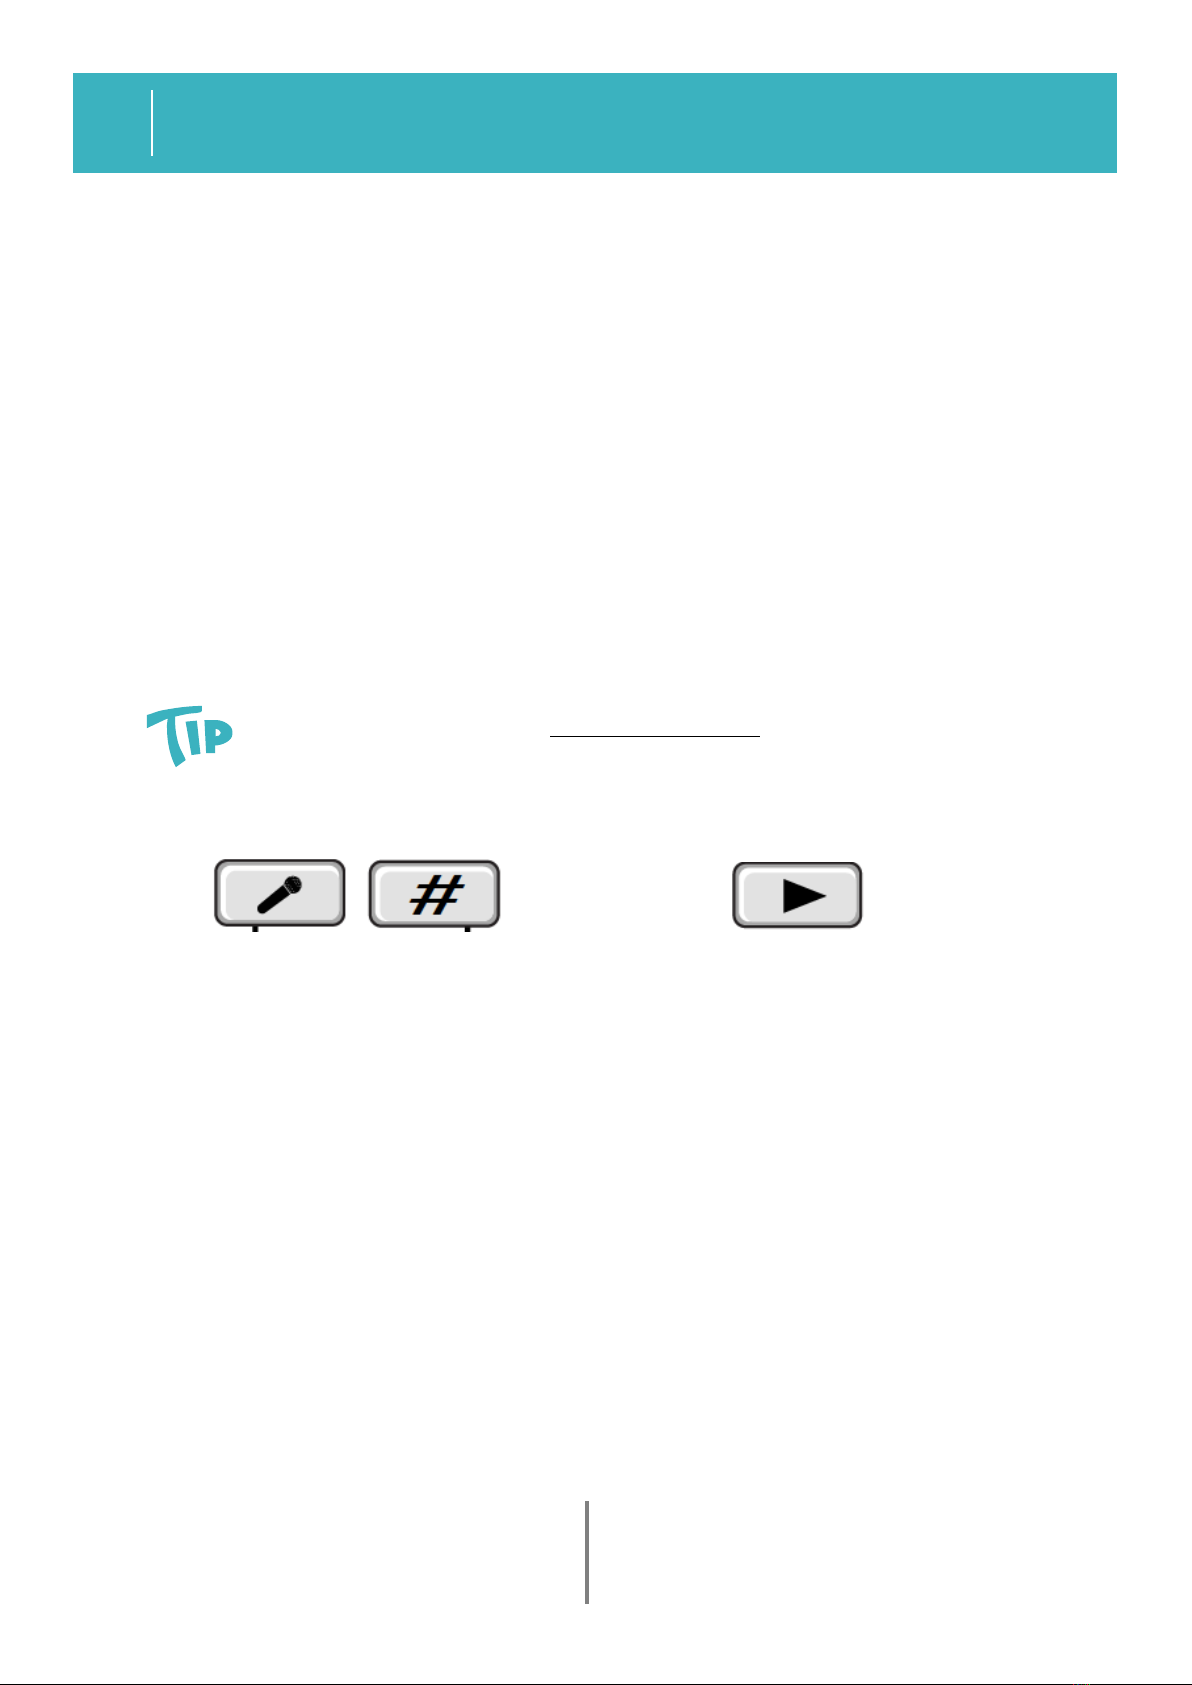
Storing Emergency Contacts
Record and Play your Message
Press and hold the above buttons
on the keypad at the same time,
the red LED light (top right
corner of base unit) will be on
and you will have 6 seconds to
record your message before the
red LED light goes out.
To playback your own
recorded message, press
the above button on the
keypad. NOTE: to change
the recorded message,
repeat 'Record and Play
your Message' steps.
Device Not Working
Check the set up, and if it still isn't
working, then reset Base Unit by
switching OFF and back ON and
repeating programming steps.
Operation
www.medialarm.com.au
© 2018. Medi Alarm. All rights reserved.
5
IN AN EMERGENCY:
If you need help Press the Help button on
any of the 3 pendants - the base unit,
necklace fob or wristwatch pendant. This
activates the alarm sequence of help calls.
Recorded message
Your device will start calling your 3 listed
contacts over and over for 5 times each and
will play your recorded message. Each call will
last 45 seconds.
1 2 3
Help Call Sequence Starts
Your listed emergency contacts will be called
in order one by one until someone answers.
To acknowledge the call and STOP the
sequence the call receiver presses '55' on their
keypad when the recording pauses. OR the
user can STOP the alarm by switching the
base unit off and on and this will reset the
Medi Alarm.
If it is a false alarm, or if you
simply change your mind, you can
STOP the calling sequence by
turning the base unit off and then
back on again. Please do not
worry! If it reaches the calling
stage, the receiver of the call can
press '55' on their keypad to end
the calling sequence when the
recording pauses.
1
2
3
Activating 2-Way Speakerphone
If the user is within 6 feet of the base
station, once the receiver
acknowledges the call by pressing
'55' during the recording pause- the
user will be able to communicate via
the 2-way speakerphone for 45
seconds. The unit will beep 3 times to
warn that the call will end. To extend
this talk time, the receiver must press
'55' again and this will extend another
60 seconds maximum. Please note
that this is only a secondary feature
and as such, it may not be very clear
if the user is not very close to the
base unit microphone.

www.medialarm.com.au
© 2018. Medi Alarm. All rights reserved.
6Troubleshooting
Issue Reason Solution
False Alarm
Recorded
message
not clear or
muffled
HELP button was pushed or pressed by accident from
either leaning against pendant or having object
pushed into pendant. The device cannot activate itself,
it has to be pressed to sound the alarm.
User too far away from microphone or there is
noise in background when recording message.
Be aware of sensitivity of device. To
stop false alarm, switch base unit off
and on again to reset it or call receiver
can press '55' on their keypad during
the pause if it has reached calling
sequence.
User can re-record message- please
refer to Page 4. Stand close to
microphone (front of unit) and speak
clearly. Ensure that there is no
background noise interference.
Device not
calling
contacts
Can hear
interference
in base unit or
on call
Device not installed correctly or programming not saved. Please refer back to Installation guide
on Page 3 and check connections. For
programming, please refer back to
Storing Emergency Contacts on Page
4.
- Check wireless devices
-Keep radios/mobile phones
away from base unit
-If problem persists, try moving
the base unit to another
location and do a test.
NBN
The Medi Alarm
keeps calling
and won't stop
There is a power
blackout and I
do not have the
NBN
Medi Alarm
Necklace
fob pendant and/or
Wristwatch pendant
will not work.
-Medi Alarm help button has been pressed either
accidently or on purpose.
-The Medi Alarm has not been reset or call has not
been acknowledged by emergency contact receiver.
-The User may be out of range
-Dust and dirt have clogged pendants
-Batteries may be expired in pendants
-Devices may need to be paired again to
Base unit.
-Please refer to Installation for NBN home
on Page 3.
-Whatever line is coming out of the modem
making your phone ring, unplug that line
from the modem, insert telephone splitter,
then plug in phone line and Medi Alarm
-Please refer to Page 5 Operation.
-To STOP the Medi Alarm, user can
switch Base Unit OFF and ON again.
This will reset the Medi Alarm.
-Call receiver needs to press '55' on
their own keypad when the
recording pauses.
-Please refer to Page 7 Extra Information.
-Insert 4 x AAA batteries into the back of your
Medi Alarm (you will need a small
screwdriver). If the power button is red
instead of green, you need to replace
batteries. Battery backup is for NON NBN only.
-Best results are achieved within 50m radius-
device is only for at home use. Check any
obtacles eg walls/ concrete/ fridges
-Use a dry or microfibre cloth to shift grime
-Pendants use watch batteries that last on
average 2 years- they may need replacing.
-Call Tech on 0434 093 118 for pairing.
There is something interfering with the Medi Alarm.
The Medi Alarm IS compatible with the NBN.
Please note that if you have the NBN, the
Medi Alarm can only function if the NBN
service is active.
The Medi Alarm can still function if your phone line still
works! Please note, unfortunately this is not the case if
you have the NBN as when the NBN network is down,
they will cut your phone line off and the Medi Alarm
will not work.

www.medialarm.com.au
© 2018. Medi Alarm. All rights reserved.
7
Waterproof
Your Medi Alarm Fob Necklace
Pendant can be worn in the shower
or in the rain. Your Wristband
Pendant is only splashproof.
Your pendants cannot be immersed
under water. You risk breaking your
device and as such you cannot wear it in
the pool, spa or bath. It will not work
when immersed and immersion can
destroy your device, voiding your
warranty.
Maintaining your device
Keep watch that dirt and grime does not
plug up the pendants as this can cause the
device to not function or seize. Always
wipe with a soft dry cloth (eg microfibre)
regularly if wearing in dusty environments.
Never use any chemicals to clean your
device.
Hardware Specifications
Storing Emergency Contacts: 3
Message Length: 6 Seconds
2-Way Speakerphone Distance: 6 feet
approx
Medi Alarm Range: 50m free and clear
NOTE: It may be possible to extend the
range if you limit the amount of obstacles
the Medi Alarm signal has to go through
eg putting beside a window at back of
house if you want more coverage in yard
Power Adaptor: 6V
Pendant Battery: Watch battery average
lifespan 2 years- light will fade as nears
replacement.
Base Unit Batteries
If you do not have the NBN and there is
a blackout, your Medi Alarm can operate
on 4x AAA batteries (not included).
Please insert these into the back of the
Medi Alarm, but check these regularly
and replace annually. If the unit is using
batteries and the Power light is red
instead of green, the batteries need
replacing. The pendants use watch
batteries that last an average of 2 years.
Warranty
The Medi Alarm is covered by a 12
month warranty. This covers normal
usage of the product and does not cover
any misuse of the equipment
whatsoever.
Physical damage, misuse, lightning strike
or damage, power surge, immersion,
high voltage transient damage,
disassembly, corroded batteries or using
a charger other than your included
charger are not covered under the terms
of this warranty.
The Warranty is not transferable to
another person.
Please visit our website
medialarm.com.au for further
details or alternatively, contact us on
0434 093 118 during business hours if
you are concerned with your device.
Extra Information
GPS

www.medialarm.com.au
© 2018. Medi Alarm. All rights reserved.
Downloads
This User manual is available as a
downloadable PDF on our website.
Go to:
medialarm.com.au
Legal Disclaimer
General information
The Medi Alarm ‘User Guide’ is a general
informative guide only and is not medical
advice and should not be relied upon as
such.
Always seek advice from your health care
professional to work out if this device is
right for you. You should never rely on
this piece of technology as the be all, end
all solution to your heath and welfare. No
technology is ever failsafe. This device
should be used in addition to an already
established emergency plan that has
been formulated with your healthcare
professional, friends and family.
Contacts
TECHNICAL HELP:
Please read this guide BEFORE
operation, Troubleshooting
Page 6 and consult the FAQ
online.
For anything else, during
business hours phone
0434 093 118 OR Email
Sales:
During business hours phone
1300 665 322
Website: medialarm.com.au
8Legal Disclaimer and Contact Us
On Behalf of the Team at
MediAlarm,
We Thank You for
Your Valued Custom.
And We Thank You for
Supporting an Australian Family
Owned Business!
Table of contents
Other Medi Alarm Security System manuals


