Mediacom XTREAM CM4652442-MM User manual
December 2019
R01
Power
Adapter
RJ-45
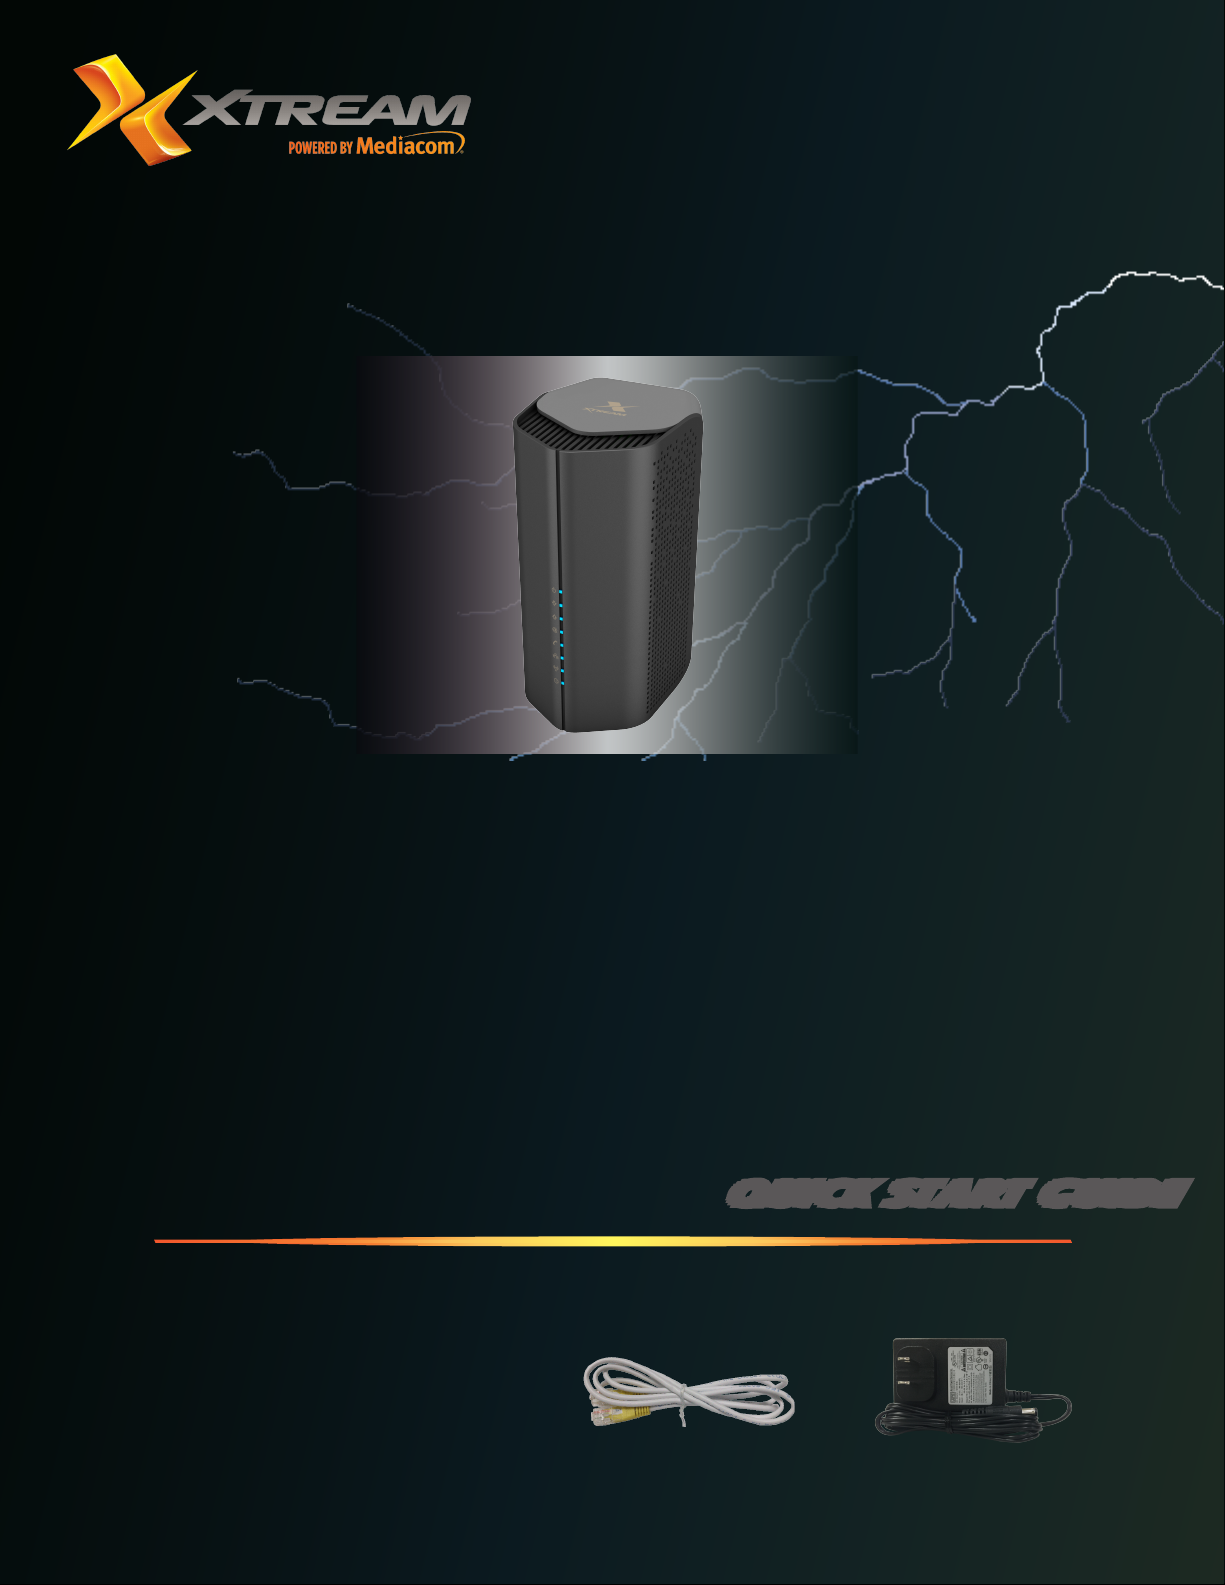
Quick Start Guide
Package Contents:
1 Docsis 3.1 Wi-Fi 6 Voice Gateway
1 RJ-45 Ethernet Cable
1 Power Adapter
Quick Installation Guide
Wi-Fi 6 Cable Gateway
CM4652442-MM

page 1
Device Overview
The Wi-Fi 6 Cable Gateway supports both MoCA 2.1 and DOCSIS
3.0/3.1 for broadband data transfer to an existing coaxial cable system.
With the channel bonding connectivity, the Gateway allows for the
aggregation of multiple downstream and upstream channels and brings
up to 5 Gbps for download speed and 1 Gbps for upload speed.
The Gateway is also compliant with the IEEE 802.11ax specification
while maintaining full backwards compatibility with the 802.11ac/a/b/
g/n standards. IEEE 802.11ax is the new addition of the IEEE 802.11
standards, running at dual-band of 2.4 GHz and 5 GHz band types, as
well as co-existing with the 802.11ac/11n network. It delivers wide
bandwidth of up to 160 MHz, and reliable high data rates of up to 4.8 Gbps.
The Wi-Fi 6 Cable Gateway supports four wired gigabit LAN ports, one
F-type coax WAN port, one FXS RJ-11 port for telephony, and 802.11ax
dual-band wireless capabilities. It provides high speed transmission rate
for data/voice/video triple-play services. The Wi-Fi 6 Cable Gateway
delivers sufficient bandwidth to stream HD video, listen to digital music,
play online games, transfer large files, voice service, and surf the Internet
simultaneously.
LED Indication
Power
On Blue Flashing Blue Off
Receiving
power
System
initializing
Power off
Downstream
On Blue Flashing Blue
Downstream channel
has been locked.
Scanning for a
downstream channel
connection
Upstream
On Blue Flashing Blue
Upstream channel has
been locked.
Scanning for a
upstream channel
connection
Online
On Blue On Green
WAN connection is in
DOCSIS 3.1 mode.
WAN connection is in
DOCSIS 3.0 mode.
Flashing Off
Synchronizing with
termination system
of your ISP (Internet
service provider),
and waiting for IP
assignment from
DHCP server
No WAN connection
Voice
On Blue Flashing Blue Off
EMTA
(Embedded
Multimedia
Terminal
Adapter)
link has been
established.
Phone call
ongoing, a
phone has
been picked up
to dial,
or there is an
incoming call.
No voice-over-
cable link
LAN (Front Panel)
On Blue Flashing Blue Off
Ethernet LAN
connection
has been
established.
Sending or
receiving data
on any LAN
port of the
device.
No LAN
connection
(Rear Panel)
On Green Flashing Green Off
Ethernet LAN
connection
has been
established.
The indicated
LAN port
is sending
or receiving
data..
No LAN
connection on
the indicated
LAN port.
Wireless
On Blue Flashing Blue
Wireless link has been
established.
Data is being
transmitted via wireless
network.
Slow Flashing Off
WPS mode in process No wireless link
MoCA (Multimedia over Coax Alliance)
On Blue Flashing Blue Off
Coaxial
connection
has been
established
and working
properly.
Sending or
receiving
network traffic
via coaxial
link
No MoCA link

page 2
Device Connectors
WPS Button - Press this button for at least 4 seconds when activating
the WPS function.
Ethernet LAN Ports - Gigabit Ethernet ports (RJ-45). Connect
network devices on your local area network to these ports.
Reset Button
• Pressing this button less than 5 seconds brings up a reboot to the
Gateway.
• Pressing the button over 5 seconds restores the Gateway to the
default factory settings.
Coax Port - Connect the coax line to this port.
Phone Port - Connect the telephone line to this port (RJ-11).
Power Inlet - Connect the included power adapter to this inlet.
Hardware Installation
Installation Precaution
Comply with the following guidelines for a safe use of your
product:
• Avoid installing this product during an electrical storm. There may be
a remote risk of electric shock from lightning.
• Do not try to disassemble and/or reassemble this device. Tempering
the device might void the product warranty.
• When mounting or cleaning the device, be sure to unplug the power
cord from the device.
• Keep your hands dry when handling the device to avoid the possible
electrical shock.
Choose a Location
• Appropriate safe and solid location which can sustain the device even
in strong wind.
• Do not place the device in high humidity environments.
• For best RF performance, be sure to position this device at the highest
possible location for getting the strongest signal strength from a base
station.
Network Connectivity
Step 1-
a. Connect one end of the provided
Ethernet cable into any of
the four LAN ports on the
Wi-Fi 6 Cable Gateway. Then
insert the other end of the cable
into the Ethernet port of your
PC or other Ethernet network
device.
b. Use a coaxial cable to connect the
coaxial port of the Gateway to a
cable wall outlet.
Step 2- Plug the power adapter
into the power socket on the rear
of the Wi-Fi 6 Cable Gateway,
and the other end into a power
outlet.
Step 3- Wireless Link: On the
Windows desktop, click Start/
Settings/Network & Internet.
The Network status window
will open. Click Wi-Fi on the left menu bar of the screen. to browse the
available wireless networks. Choose Wi-Fi 6 Cable Gateway from the list
and click Connect button to start using the wireless network.
NOTE: Be sure all of the clients use the same values on your wireless
network. (Default SSID: Wireless) The SSID is the name of your
wireless network. It is used to distinguish your wireless network from
other wireless network.
The SSID and password was printed at the bottom of the Gateway.
System Requirements
To install and connect to the Wi-Fi 6 Cable Gateway, you must have:
• Broadband Internet service and modem/gateway with coax or
Ethernet connection.
• 2.4/5 GHz 802.11ax/ac/a/b/g/n wireless adapter installed on each
PC. Alternatively an Ethernet adapter can be used.
• Windows 7 or later, or Mac OS 10 or later.
• An up to date web browser: Internet Explorer 5.5 or later, Google
Chrome, or Mozilla 1.7/Firefox 1.0 or later.

page 3
Software Installation
Conguring Client PC
After completing the hardware setup by connecting all your network
devices, you need to configure your computer to connect to the
Wi-Fi 6 Cable Gateway.
To access the Internet through the Wi-Fi 6 Cable Gateway, you must
configure the network settings of the computers in your LAN to use
the same IP subnet as the gateway. The default IP settings for the
Wi-Fi 6 Cable Gateway are:
• IP address: 192.168.0.1
• Subnet mask: 255.255.255.0
Windows 7
1. On the Windows desktop, click Start/Control Panel/Network and
Internet/View network status and tasks.
2. The Network and Sharing Center window will open. Click Local
Area Connection in the View your active networks field of the
screen.
3. On the connection status screen, click Properties.
4. Double-click Internet Protocol Version 6/Version 4 (TCP/IPv6/v4).
5. If Obtain an IP(v6) address automatically and Obtain DNS server
address automatically are selected, your computer is already
configured for DHCP. If not, select the options.
Windows 8
1. On the Windows desktop, click Start/Desktop.
2. Right-click the Ethernet icon on the task bar, then select Open
Network and Sharing Center.
3. The Network and Sharing Center window will open. Click Ethernet
in the View your active networks field of the screen.
4. On the Ethernet Status screen, click Properties.
5. Double-click Internet Protocol Version 6/Version 4 (TCP/IPv6,v4).
6. If Obtain an IP(v6) address automatically and Obtain DNS server
address automatically are selected, your computer is already
configured for DHCP. If not, select the options.
Windows 10
1. On the Windows desktop, click Start/Settings/Network & Internet.
2. The Network status window will open. Click Ethernet on the left
menu bar of the screen.
3. Click Open Network and Sharing Center.
4. Double-click the Ethernet connection for this device.
5. On the connection status screen, click Properties.
6. Double-click Internet Protocol Version 6/Version 4 (TCP/IPv6/v4).
7. If Obtain an IP(v6) address automatically and Obtain DNS server
address automatically are already selected, your computer is
already configured for DHCP. If not, select the options.
Obtain IP Settings from Your Wireless
Wi-Fi 6 Cable Gateway
Now that you have configured your computer to connect to your
gateway, it needs to obtain new network settings. By releasing
old DHCP IP settings and renewing them with settings from your
Wi-Fi 6 Cable Gateway, you can verify that you have configured your
computer correctly.
1. On the Windows desktop, click Start/Programs/Accessories/
Command Prompt.
2. In the Command Prompt window, type ipconfig /release and press
the Enter key.
3. Type ipconfig /renew and press the Enter key. Verify that your IP
Address is now 192.168.0.xxx, your Subnet Mask is 255.255.255.0
and your Default Gateway is 192.168.0.1. These values confirm
that your Wireless Wi-Fi 6 Cable Gateway is functioning correctly.
4. Type exit and press the Enter key to close the Command Prompt
window.
Manual TCP/IP Settings
1. Follow steps 1-5 in “Windows 7” on page 3.
2. Select Use the following IP Address.
3. Enter an IP address based on the default network 192.168.0.x
(where x is between 2 and 254), and use 255.255.255.0 for the
subnet mask. Use 192.168.0.1 for the Default gateway field.
4. Select Use the following DNS server addresses.
5. Enter the IP address for the Wi-Fi 6 Cable Gateway in the Preferred
DNS server field. This automatically relays DNS requests to the
DNS server(s) provided by your ISP. Otherwise, add a specific
DNS server into the Alternate DNS Server field and click OK to
close the dialogue boxes.
Record the configured information in the following table.
TCP/IP Configuration Setting
IP Address ____.____.____.____
Subnet Mask ____.____.____.____
Preferred DNS Server ____.____.____.____
Alternate DNS Server ____.____.____.____
Default Gateway ____.____.____.____
Macintosh Computer
You may find that the instructions here do not exactly match your
operating system. This is because these steps and screen shots were
created using Mac OS 10.2. Mac OS 7.x and above are similar, but may
not be identical to Mac OS 10.2.
Follow these instructions:
1. Pull down the Apple Menu . Click System Preferences.
2. Double-click the Network icon in the Systems Preferences window.
3. If Using DHCP Server is selected in the Configure field, your
computer is already configured for DHCP. If not, select this option.
Your new settings are shown in the TCP/IP tab. Verify that your IP
Address is now 192.168.0.xxx, your Subnet Mask is 255.255.255.0
and your Default Gateway is 192.168.0.1. These values confirm
that your Wireless Wi-Fi 6 Cable Gateway is functioning.
4. Close the Network window.
Now your computer is configured to connect to the
Wi-Fi 6 Cable Gateway.


