English – instructions
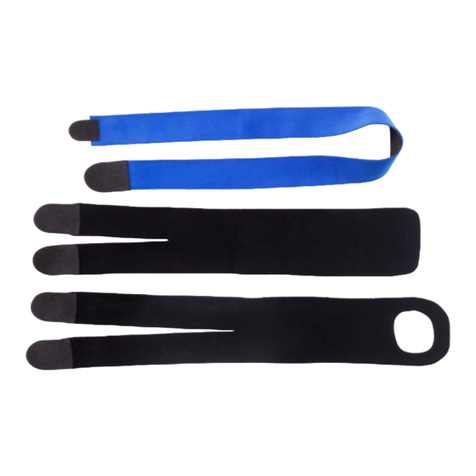
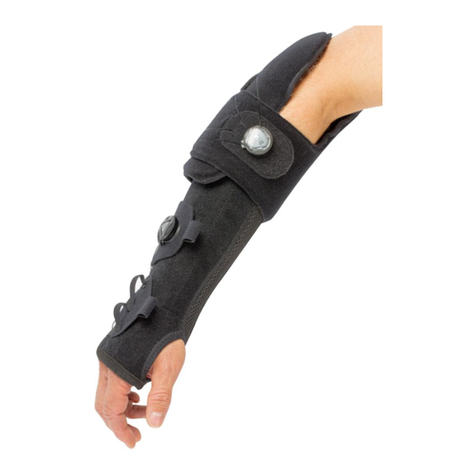
Instruction Overlap Thumb Christine
Before application, if you use the lined Comfort quality, remove the
lining of the inside of the thumb tab that will be used to overlap. This
can be done by scratching it with blade knife. Otherwize it might be
difcult to bond it to the surface.
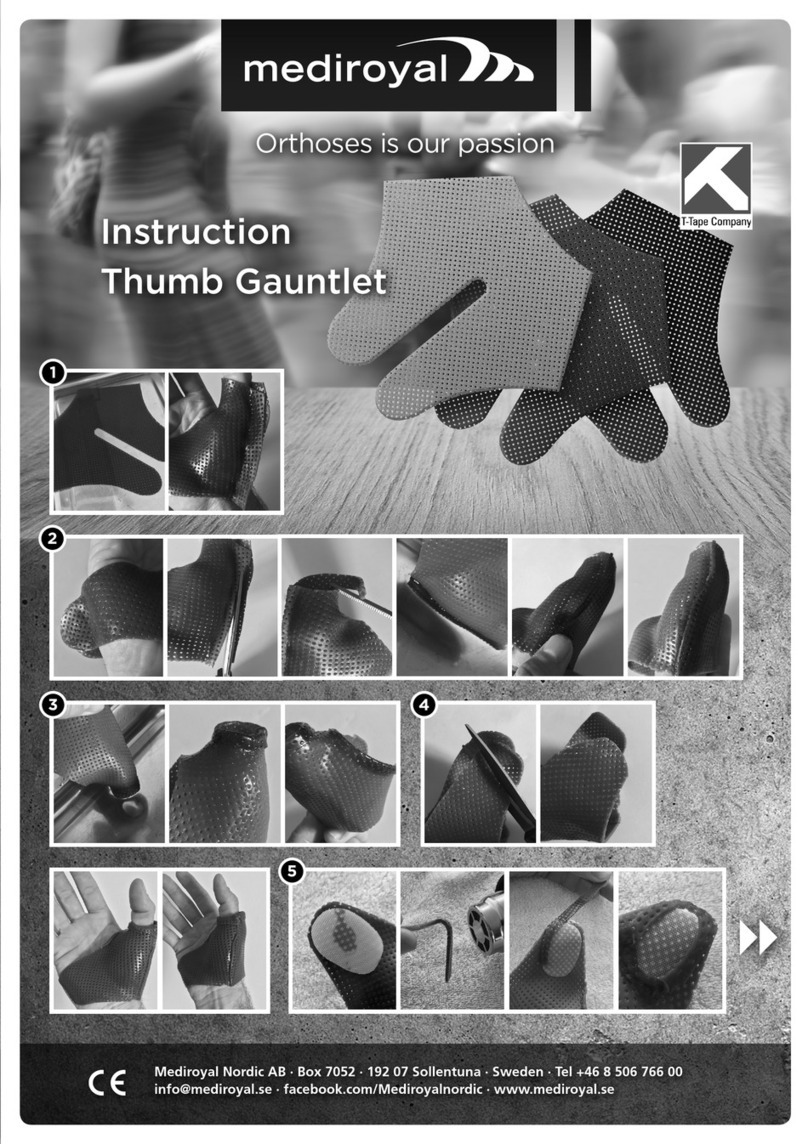
Immerse the pre-cut into the water and let it stay for about one
minute. Carefully lift it up and place it quickly on a dry towel. Move
it from the towel onto the patient.
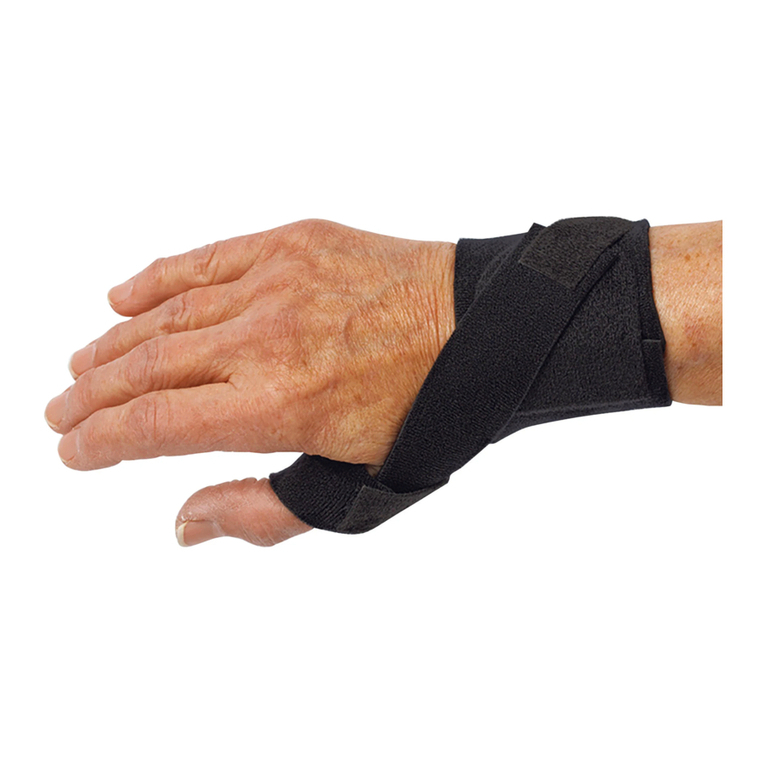
Position the pre-cut so the thumb ap overlaps from the inside
of the palm to the dorsal side of the thumb. Carefully attach the
material together by stretching the thumb ap and attaching it
to the surface of the plastic. Press the surface slightly to get a
permanent bond.
While the thermoplastic is still soft, position the thumb into an
opposition grip so the tip of the thumb can reach the tip of the
Dig II. Then attach the two arms of the brace on the ulnar side by
pressing the material together.
When the thermoplastic has cooled, open the ulnar side by
separating the material and slide the thumb splint off the thumb.
Adjust the length of the thumb piece by immersing the tip into the
water and then fold it circular. Then adjust the length of the two arms
by cutting them with a scissor. Round the ends for a better comfort.
To shape the pre-cut individually you have to use hot
water. Recommended temperature is 65–75° C.
Adjust the web-space area by immersing it into water and then roll
it outwards.
Attach the hook closure on the part inside of the hand. Cut a hook
piece. If not self adhesive, spot heat the surface of the arm for a
few seconds then position the hook part and press slightly.
The hook part can be welded in the edge by using a strip of
thermoplastic. Cut a 3–4 mm wide strip that is 6–8 cm long. Heat it
with a heat gun and then attach the adhesive strip around the hook
and then work the thermoplastic into the hook part and the main
body.
The loop strap can be permanently welded onto the dorsal ap.
Cut a loop strap in the desired length. Use a heat gun to melt the
loop on the rst 2–3 cm of the strap. Once it has cooled, cut a
small hole in the center of the strap. Spot heat the area where the
strap should be positioned onto the at and press it into place.
Then let the ap cool. In order to make the attachment stable,
cut a thermoplastic piece that is 2–3 mm wider than the strap
and 4–5 cm long. Spot heat the rst 2 cm of the strip and when
soft you position that over the attached loop piece. Cut away the
excess part of the strip and work the hot thermoplastic over the
strap, pressing the area over the hole in the strap. That creates a
thermoplastic weld.
Svenska – instruktioner
Instruktion Tumortos Christine
Innan du börjar tillverkningen, kontrollera om du använder den klädda
Comfortplasten. Klädseln gör att överlappningen vid tummen blir svårare,
därför rekommenderar vi att du skrapar bort klädseln med en kniv över
delen som läggs som överlapp.
Lägg ner thermoplasten i det varma vattnet och låt den ligga i ca en
minut. Lyft upp den försiktigt och placera den på en torr handduk,
detta är speciellt viktigt på Comfortplasten eftersom den annars
kommer att vara mycket fuktig under arbete. Placera den därefter på
patienten.
Tumdelens överlapp skall placeras volart så den övre delen
fäster dorsalt på ortosen. Sträck tumdelen något för att få mer
kompression runt MCP.
Fäst sedan ortosens båda sidoarmar mot varandra på den ulnara
sidan av vola. Det gör att de blir parallella. Positionera därefter
tummen i ett oppositionsgrepp där tumtoppen kan möta pekngrets
topp.
När thermoplasten har kallnat öppnar du sidoarmarna på den
ulnara sidan och tar sedan av ortosen.
Justera därefter tummens längd genom att värma den översta delen
i vatten. När den är mjuk så rullar du enkelt kanten utåt. Klipp sedan
längden på de båda sidoarmarna, runda dem för bättre komfort.
Tänk på att inte skall gå ihop helt. Lämna en öppning på ca 2 cm
när ortosens band är på. Justera sedan delen mellan tummen och
pekngret. Den skall inte vara för bred men får inte heller vara för
För att forma tumortosen behöver du varmt vatten.
Vi rekommenderar 65–75° C för bästa resultat.
kort eftersom du då förlorar en del av ortosens funktion. Värm
området i vatten och rulla sedan kanten utåt över området.
Applicera kardborrehaken på armen som går inne i vola. Klipp till
en hakdel efter ytans storlek. Är inte kardborren självhäftande kan
du punktvärma några sekunder över ytan på ortosen och sedan
trycka fast hakdelen. Låt sedan ortosen kallna helt.
Svetsa in kardborren med hjälp av thermoplast. Klipp thermoplast
av samma kvalitet som du tillverkat ortosen av. Det går utmärkt att
använda spillmaterialet från sidosvetsen som du klippte bort. Se till
att delen är torr och klipp sedan en 2–3 mm bred del som är 4–5
cm lång. Värm delen med en varmluftspistol från botten till strax
under där du håller den. När den är mjuk placerar du den över
hakdelens kant och drar den runt genom att trycka fast den lätt
med ngret. Arbeta sedan in den varma plasten över kanten runt
kardborren.
Den mjuka kardborredelen placeras på den dorsala armen. För att
lättare kunna svetsa fast den rekommenderar vi att du smälter bort
2–3 cm på början av bandet med varmluftspistolen. Klipp sedan ett
hål i mitten av ytan. Punktvärm sedan ytan med en varmluftspistol
där bandet skall placeras. Tryck sedan fast bandet med den mjuka
sidan nedåt tills det fastnat. Klipp sedan en bit thermoplast som är
2–3 mm bredare än bandet. Värm den första 2–3 cm på plasten
och placera den över bandet så den täcker in hålet. Klipp sedan av
den resterande delen av den varma plasten och arbeta in ytan över
bandet med dina ngertoppar. Ytan över hålet kommer bilda en
permanent svets som fäster bandet.
GB
SE
1
1
2
2
3
3
4
4
5
5
6
6
7
7
8
8
8
