List of Figures
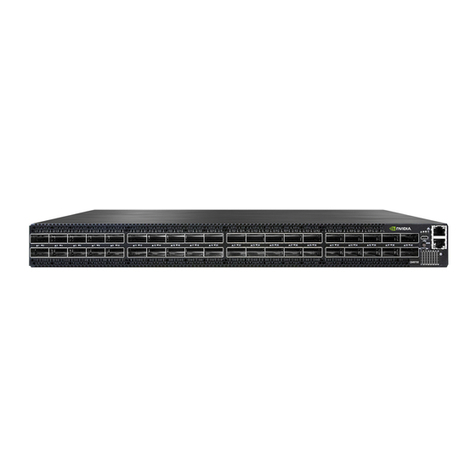
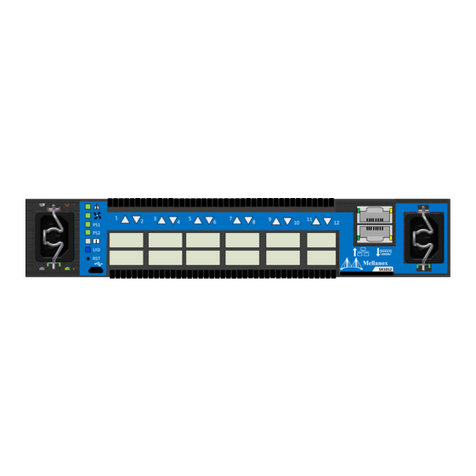
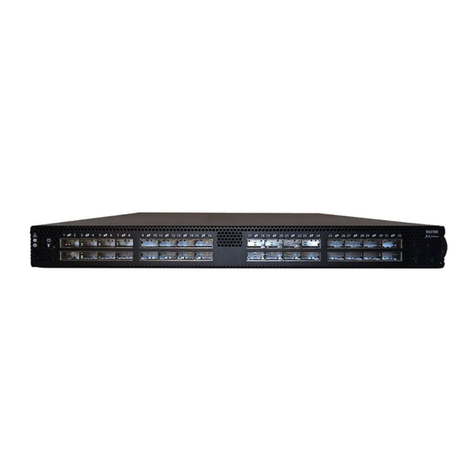
Figure 1: 4036/2036 Front View.............................................................................................................. 9
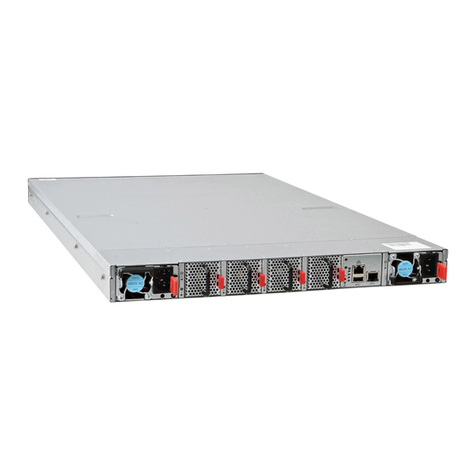
Figure 2: 4036/2036 Rear View............................................................................................................... 9
Figure 3: 4036/2036 Cardboard Package (Open) - Standard............................................................... 12
Figure 4: Removing the 4036/2036 Switch from the Cardboard Package............................................ 13
Figure 5: Fixed Rail (KIT-00008)........................................................................................................... 14
Figure 6: Packing the 4036/2036 Switch............................................................................................... 15
Figure 7: 4036/2036 Front Panel........................................................................................................... 16
Figure 8: InfiniBand Cluster Using 4036 Switch Single-hop Configuration........................................... 20
Figure 9: InfiniBand Cluster Using 2036 Switch Single-hop Configuration........................................... 20
Figure 10: InfiniBand Cluster Using 4036/2036 Switch Three-hop Configuration................................. 22
Figure 11: 4036 Label (Example).......................................................................................................... 28
Figure 12: 2036 Label (Example).......................................................................................................... 28
Figure 13: 4036/2036 –Option 1 Assembly.......................................................................................... 35
Figure 14: Mounting the long bracket.................................................................................................... 36
Figure 15: Positioning and aligning the mounting bar and long bracket ............................................... 36
Figure 16: Securing the mounting bar................................................................................................... 36
Figure 17: Installing the clip nuts and placing the power cord .............................................................. 37
Figure 18: Inserting the switch into the rack.......................................................................................... 37
Figure 19: Power cord over the long bracket ........................................................................................ 38
Figure 20: Securing power cords .......................................................................................................... 38
Figure 21: Connecting the power cables............................................................................................... 38
Figure 22: Secure the long brackets to the rack rail.............................................................................. 39
Figure 23: Mounting the short bracket................................................................................................... 39
Figure 24: Adjusting the short bracket................................................................................................... 40
Figure 25: Securing Screws and Brackets............................................................................................ 40
Figure 26: Switch mounted in a rack –Rack rear view......................................................................... 40
Figure 27: Switch mounted in a rack –Rack front view ........................................................................ 41
Figure 28: 4036/2036 –Option 2 Assembly.......................................................................................... 42
Figure 29: Mounting the short bracket................................................................................................... 43
Figure 30: Mounting the long bracket.................................................................................................... 43
Figure 31: Positioning and aligning the mounting bar and long bracket ............................................... 44
Figure 32: Securing the rail ................................................................................................................... 44
Figure 33: Placing the clip nuts on the vertical rack rails ...................................................................... 45
Figure 34: Insert the switch into the rack............................................................................................... 45
Figure 35: Secure the rack screws........................................................................................................ 45
Figure 36: Installing the long bracket .................................................................................................... 46
Figure 37: Securing the rack screws..................................................................................................... 46
Figure 38: Securing the long bracket screws to the mounting bar........................................................ 47
Figure 39: Switch mounted in a rack –Rack front view ........................................................................ 47
Figure 40: Replacing the Fan................................................................................................................ 48
Figure 41: Replacing the Power Supply................................................................................................ 49
Figure 42: Cabling Guide Bracket (CG-24)........................................................................................... 50


