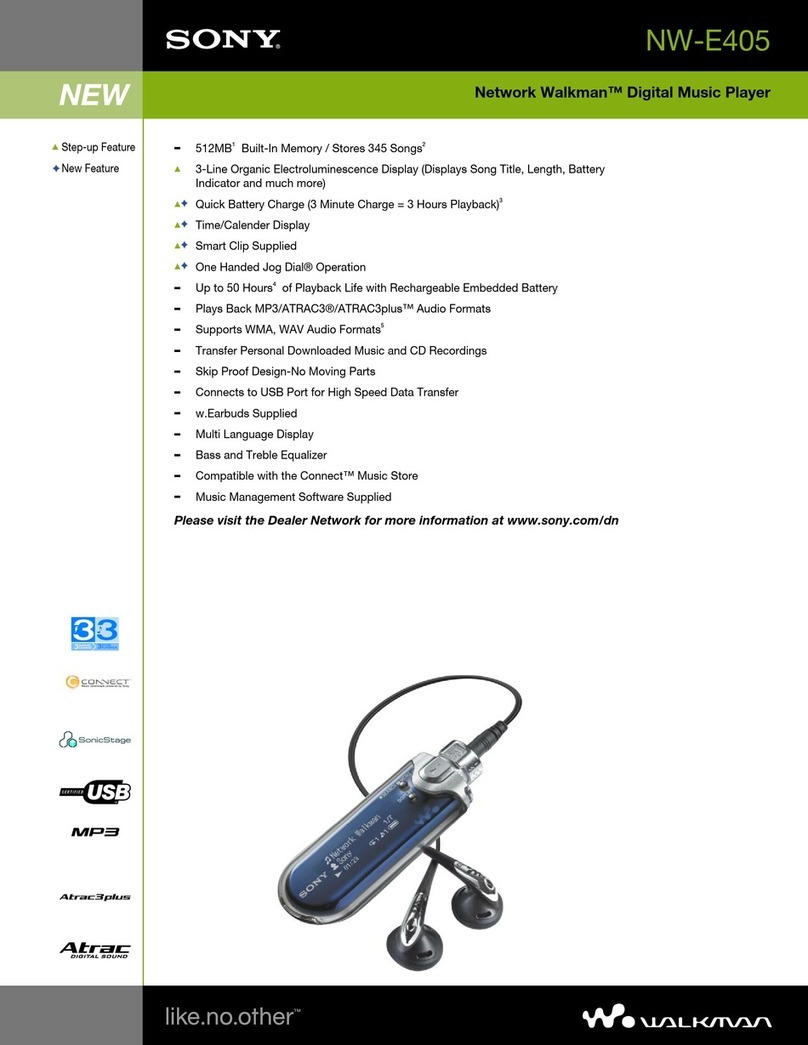
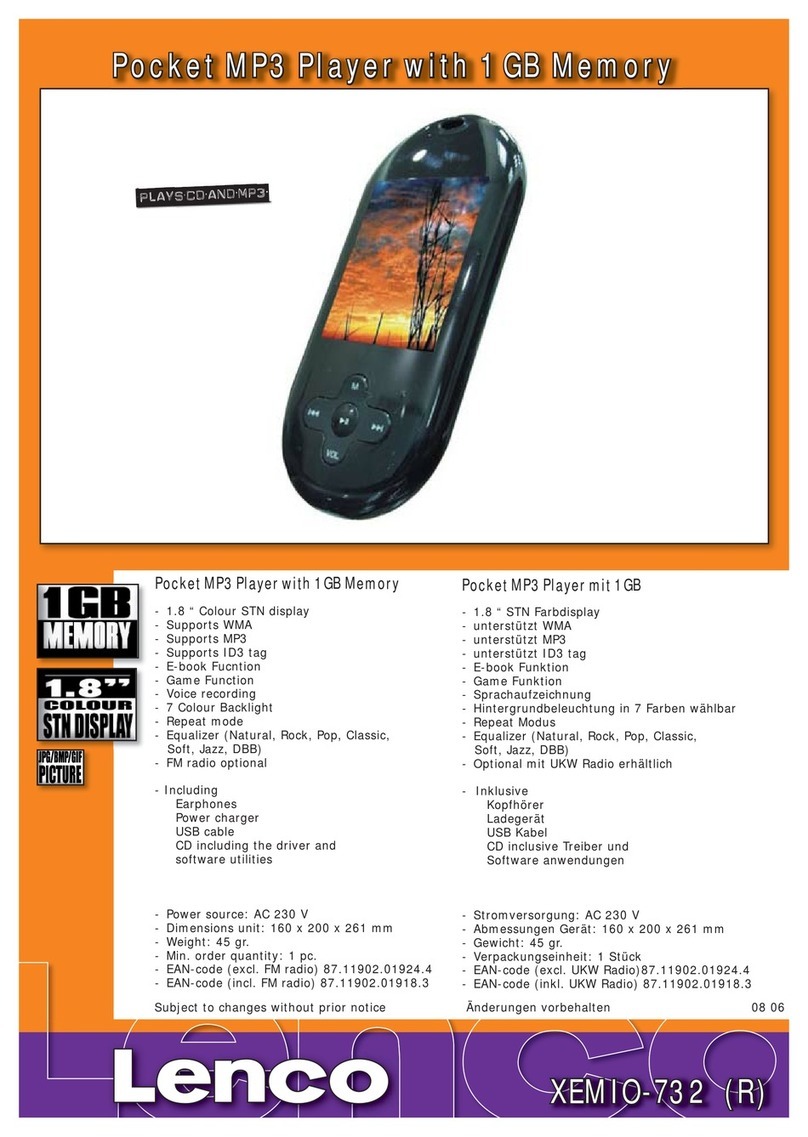
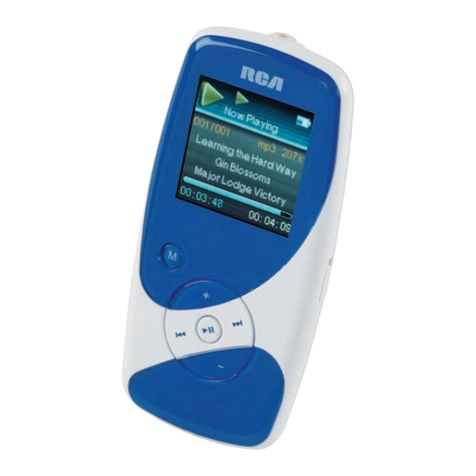
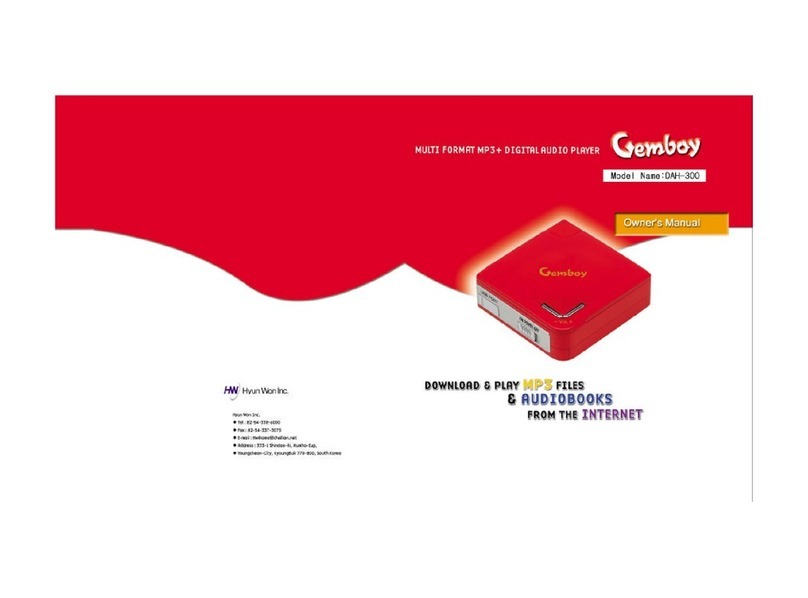
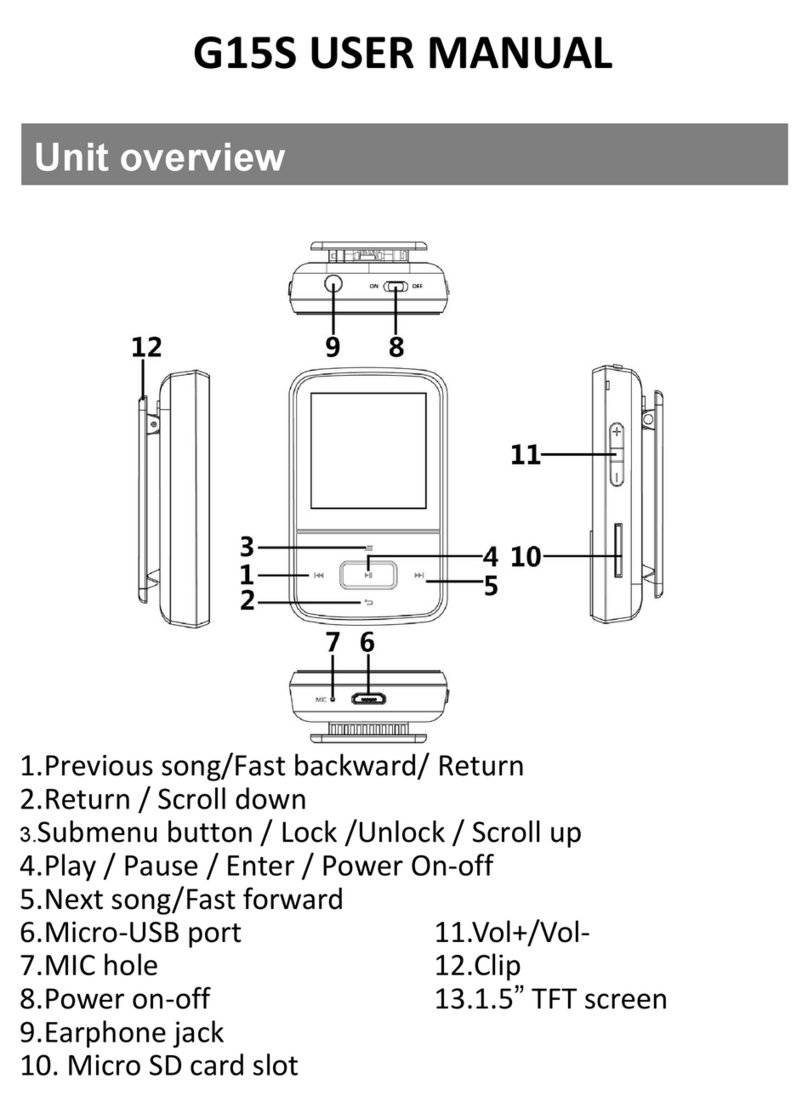
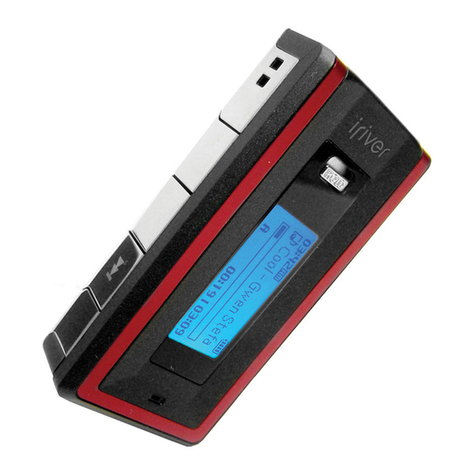
Memoq MR-120 User manual

음성 녹음기 & MP3 플레이어
MR-120 사용설명서
*이기기는 가정용(B급) 전자파적합기기로서 주로 가정에서 사용하는 것을 목적으로 하며, 모든 지역에서 사용할 수 있습니다.
인증번호:R-R-ESO-MR-120
보 증 서
제 품 명
모 델 명
구 입 일
구 입 처
전 화
기 타
보증기간
서 명
주 소
전 화
음성 녹음기(Voice Recorder)
구입일로부터 1년
유상서비스
-사용상의 취급 부주의로 인한 고장.
-사용자의 임의의 내부 개조로 인한 고장.
-화재, 염해, 수해, 지진 등의
천재지변으로 인한 고장.
-제품 보증기간이 지난 제품일 경우
택배A/S : 운임을 선불로 지급하셔야 이용 가능합니다.
(제조자) ㈜이소닉 www.esonic.co.kr
(원산지) 대한민국/MADE IN KOREA
(주소) 경기도 군포시 엘에스로 166번길 10-19,
2층(이소닉)
(전화)
070-4015-7114~5
MR-120
제품규격
녹음저장 시간
재생 시간
구성품
사용환경
배터리
크기(mm), 중량
최대녹음파일수
충전 시간
배터리사용 시간
메모리
모델
약 288시간
약 15시간
약 12시간
약 18시간
약 10시간
약 2시간
9,999 개
(W)18.2 x (H)55.3 x (D)11.8 / 10.2g
3.7V, Li-Polymer 120mAh
온도:0~ 40℃, 습도:20~80%(비응결)
사용설명서, 이어폰, USB젠더, 클립
약 144시간
8GB
약 576시간
약 288시간
16GB
약 1152시간
약 576시간
약 24시간 약 48시간 약 96시간
32GB
MR-120
XHQ
PCM
PCM
HQ
XHQ
HQ
사용 방법
* 소리감지녹음(VOS)은 녹음 시작 후 소리가 감지되지 않으면
녹음이 일시 정지되고, 다시 소리가 감지되면 이어서 녹음이 됩니다.
* ⓖ녹음 스위치를 가운데로 이동하면 녹음이 정지되며,
MP3형식으로 VOICE 폴더에 저장됩니다.
* 5시간 이상 녹음할 경우에는 5시간 단위로 분할하여 저장됩니다.
* 녹음 파일이 9,999개를 초과하면 더이상 녹음이 진행되지 않습니다.
불필요한 녹음 파일을 삭제한 뒤 사용하시기 바랍니다.
③ 제품을 PC에서 분리하면 ⓗ동작 표시등이 적색LED가 빠른 속도로 깜빡이다
꺼지면, 시간설정이 완료됩니다.
② “date_time.cfg Creator”창 안에 있는 “Start” 버튼을 클릭하면
제품 내에 “date_time.cfg” 파일이 생성됩니다.
① PC의 USB포트에 연결 후 제품에 저장된 “Time Setup” 프로그램을
더블클릭하여 실행하면, 우측의 “date_time.cfg Creator”창이 나타납니다.
장시간 녹음하기
* 장시간 녹음은 메모리별 녹음저장 시간까지 녹음하실 수 있습니다. (제품규격 참조)
* ⓕ이어폰 단자에 이어폰을 연결하고 ⓒ재생버튼을 3초 이상 길게 누르면, 전원이 켜지면서
ⓗ동작 표시등에 청색LED가 켜지고 바로 재생이 됩니다.
(이어폰을 연결하지 않고 전원을 켜면 ⓗ동작 표시등에 녹색LED가 켜지고 대기 상태로 있습니다.)
* 일시 정지 상태에서 ⓒ재생버튼을 짧게 누르면 전에 듣던 파일을 이어서 재생이 됩니다.
* 재생, 대기 중에 전원을 끄려면 ⓒ재생버튼을 길게 3초 이상 누르면 전원이 꺼집니다.
* 재생 중에 ⓓ음량 버튼을 길게 3초 이상 누르면, ⓖ동작 표시등에 청색LED가 깜박거리면서
음량이 커집니다.
* 재생 중에 ⓑ음량 버튼을 길게 3초 이상 누르면, ⓖ동작 표시등에 청색LED가 깜박거리면서
음량이 작아집니다.
* 전원을 다시 켜면 음량이 기본음량으로 변경 됩니다.
* 재생 중에 ⓓ음량 버튼을 짧게 누르면 다음 파일로 이동 됩니다.
* 재생 중에 ⓑ음량 버튼을 짧게 누르면 이전 파일로 이동 됩니다.
* 마지막 파일 재생 중에 다음 파일로 이동을 하면 첫 번째 파일로 이동 됩니다.
날짜 및 시간 설정
녹음 음질(Mode) 설정
소리 감지녹음(VOS) 레벨 설정
* 소리 감지녹음 시 감지 레벨을 설정할수 있습니다.
* 우측 “date_time.cfg Creator”창 안에 있는 VOS Level 에서
“+2, +1, 0, -1, -2” 중 하나를 선택하고 “Start” 버튼을 클릭하면 설정이 완료됩니다.
* VOS Level 설정은 장소와 상황에 맞게 직접 테스트한 뒤 변경하시기 바랍니다.
VOS Level
-2 -1 0 +1 +2
(작은소리에 반응)(큰소리에 반응) (기본설정)
. . . . . .
Time Setup 프로그램은 당사 홈페이지(www.esonic.co.kr)
고객지원 ▶ 프로그램다운로드 ▶ 자동시간설정 프로그램에서 다운로드 받을 수 있습니다.
정지
(OFF)
정지
(OFF)
연속 녹음
(REC)
연속 녹음
(REC)
* ⓖ녹음 스위치를 『 』 방향으로 이동하면 ⓗ동작 표시등에
적색 LED가 5초간 켜지고 연속녹음(REC)이 시작됩니다.
* ⓖ녹음 스위치를 『 』 방향으로 이동하면 ⓗ동작 표시등에
적색 LED가 5초간 깜박거리고 소리 감지녹음(VOS)이 시작됩니다.
* ⓖ녹음 스위치를 『 』 또는 『 』 방향으로 이동하여 녹음을 시작한 이후에, PC 또는 USB 충전어댑터에 연결하면
장시간 녹음을 할 수 있습니다.
ⓗ동작표시등
ⓔ마이크
ⓖ
녹음하기
녹음 기능
설정하기
설정을 하지 않은 상태로도
녹음 할 수 있습니다.
주의 : 소리감지녹음(VOS)은
감지된 소리에 따라 저장된
녹음파일의 시간이 달라집니다.
(시간은 상이할 수 있습니다.)
주의 : 소리 감지녹음(VOS)을
사용하여도 배터리
사용 시간은 늘어나지 않습니다.
소리감지 녹음
(VOS)
소리감지 녹음
(VOS)
주의 : 녹음 중에는
재생기능을 사용 할 수 없습니다.
주의: 녹음 시간이 긴 파일은
PC에서 재생을 권장합니다.
(외부 전원 사용)
* 녹음기를 특정 장소에 설치하고 녹음 시작과 정지 조작이 어려울 때 소리 감지녹음을 권장합니다.
* 일반적으로 녹음기를 휴대하면서 녹음 시작과 정지를 조작할 수 있으면 연속녹음을 권장합니다.
Tip
Tip
고
객
재생하기
음량 조절하기
파일 이동하기
*ⓖ녹음 스위치를 정지(가운데) 상태로 두고 PC의 USB포트에 연결하면 “이동식 디스크(MemoQ)”로 인식되며,
파일의 이동, 복사, 삭제, 재생이 가능합니다.
*녹음파일의 재생은 윈도우미디어 플레이어 또는 곰플레이어 등 PC의 음악재생 소프트웨어를 이용합니다.
*녹음파일의 삭제는 PC의 일반적인 파일 삭제 방법으로 삭제합니다.
주의 : 제품을 PC에서 분리하실 때에는 반드시 “하드웨어 안전하게 제거”를 실행하시기 바랍니다.
사용중 PC에서 강제로 제품을 제거하면 제품에 치명적인 오류가 발생 할 수 있습니다.
주의 : ⓖ녹음 스위치가 정지(가운데) 상태에서만 USB 연결이 가능합니다.
*충전 중에는
ⓗ동작 표시등이 배터리 잔량에 따라 적색▶청색▶녹색이 깜빡 거리고 충전이 완료되면 녹색이 켜집니다.
동작 표시등
(USB연결 시 LED가 켜집니다.)
* PC에서 MemoQ(이동식디스크)를 포맷하면 제품의 모든 데이터가 삭제됩니다.
주의 : 포맷 유형은 FAT32만 지원하며, 이외 다른 유형으로 변경 시 제품이 정상 동작하지 않을 수 있습니다.
주의 : 한번 삭제된 데이터는 복구가 불가능합니다.
주의 : 포맷을 하면 시간 설정 프로그램도 삭제됩니다.
*PC 또는 USB 충전어댑터에서 제품을 분리하면 ⓗ동작 표시등에
5초간 배터리 잔량에 따라 3단계로 깜박거립니다.
*녹음 또는 대기중에 음량 버튼(ⓑ 또는 ⓓ)을 길게 3초 이상 누르면,
ⓗ동작 표시등에 5초간 배터리 잔량에 따라 3단계로 깜박 거립니다.
적 색ⓗ 동작 표시등
배터리 잔량
청 색 녹 색
충분
70~100%
보통
30~70%
부족
0~30%
* 본 제품의 오사용, A/S, 기타의 사유로 인한 녹음 내용의 손실은 당사에서 책임지지 않습니다.
* 본 제품의 사용으로 인한 손해 또는 제3 자로부터의 배상 청구에 대하여 당사는 책임을 지지 않습니다.
* 분해, 개조, 충격을 주거나, 저온, 고온, 다습한 곳에서 사용하면 고장의 원인이 됩니다.
* 중요한 녹음 내용은 수시로 PC에 저장하여 두시기 바랍니다.
*본 제품은 배터리가 내장되어 있습니다.
*구입하신 제품은 충전하여 사용하시기 바랍니다.
*
본 제품의
ⓕ
이어폰 단자에 USB젠더를 연결하고 PC의 USB 포트 또는 USB 충전어댑터에 연결하면 충전이 시작 됩니다.
(충전 소요시간: 약 2시간)
ⓐ본체 ⓑ음량 (이전파일로 이동) ⓒ재생버튼 ⓓ음량 (다음파일로 이동) ⓔ마이크 ⓕ이어폰 단자
ⓖ녹음 스위치 ⓗ동작 표시등
ⓕ이어폰 단자
<본체 후면>
ⓗ
ⓗ
ⓐ
ⓖ
<전면> <측면>
<후면>
PC에 시간 설정 프로그램을 복사하여 사본을 만들어 놓으면, 제품 내부에 시간 설정 파일이 없을 때,
언제든지 복사 하여 편리하게 사용할 수 있습니다.
PC 지원 OS
Windows (XP, Vista, 7, 8, 10)
PC 지원 OS
Windows (XP, Vista, 7, 8, 10)
PC USB 연결하기
전지 잔량 표시
사용상 주의사항
충전하기
각부의 명칭
&
구성품
포맷
Tip
ⓕⓓ ⓔ
ⓒⓑ
ⓖ
USB 젠더
(Start 버튼을 클릭한 시간으로
제품을 분리한 시점에 설정됩니다.)
주의 : PC에 설정된 날짜와
시간으로 설정됩니다.
주의 : 제품사용 전 구성품을
반드시 확인 하시기 바랍니다.
주의 : 배터리가 방전되면
날짜와 시간이 초기화됩니다.
(충전 후 시간 설정을 다시 실행하고
사용하시기 바랍니다.)
USB 젠더 클립이어폰
구성품
* 재생 중에 ⓒ재생버튼을 짧게 누르면 일시 정지가 되고 ⓗ동작 표시등에 녹색LED가 켜지고,
대기 상태로 있습니다.
* 녹음된 파일은 R-00001부터 순차적으로 “R-00001_20(년)/01(월)/01(일)/24(시)/00(분)_녹음모드.MP3” 저장 됩니다.
예시:(연속녹음:R-00001_2001012400_REC.MP3 / 소리감지녹음:R-00001_2001012400_VOS.MP3)
*제품향상을 위해 사전예고 없이 변경될 수 있습니다.
ⓕ
ⓓ
ⓒ
ⓑ
ⓗ
클립 분리하기
본체 후면
21
<Time Setup 프로그램>
* 우측 “date_time.cfg Creator”창 안에 있는 Mode(Record Quality) 에서
“PCM(무압축 원음) 또는 XHQ(고음질) 또는 HQ(중음질)”를 선택하고 “Start” 버튼을
클릭하면 설정이 완료됩니다.
V101
Version.
date_time.cfg Creator V3.0
V101
PCM
XHQ
HQ
Mode (Record Quality) VOS Level
+ 2
+ 1
- 1
- 2
0
2020:01:01:13:00:00
Date _Time
Start
(기본설정)
(기본설정)

Digital Voice Recorder & MP3 Player
MR-120 User`s Manual
Certification No. R-R-ESO-MR-120
Warrnty Card
Product
Model No
Purchasing Date
Purchasing Place
Telephone No
Others
Period
Name
Address
Tel.
Voice Recorder&MP3 Player
1 Year
MR-120
Specifications
How to use
* In case of sound detection recording(VOS), if sound is not
detected after starting recording, recording pauses and
when sound is detected again, recording is continued.
* When you move ⓖrecording switch to the center, recording
stops and is saved in the folder of VOICE by MP3 type.
* In case of recording more than 5 hours, it is divided by unit of
5 hours and is saved.
* If recording files exceed 9,999 files, recording does not proceed any more.
Please delete unnecessary recording files and use it.
③ When you separate product from PC, ⓗoperation indication lamp flickers
rapidly in red and is turned off, and then time setting is completed.
② Click the button of “Start” in the window of “data_time.cfg Creator”,
and file of “data_time.cfg” is created in product.
① After USB connection on PC, perform the program of ‘Time Setup’
saved in product by double-click, and the right window of
“data_time.cfg” is created in product.
* It is possible to record up to recording time per memory.
* When you connect earphone to ⓕearphone terminal and press ⓒplay button for 3 seconds at
length, power is turned on and ⓗoperation indication lamp is turned on in blue and it is played
back immediately. (If you does not connect earphone and turn on power, ⓗoperation indication
lamp is turned on in green and becomes standby status.)
* When you press ⓓ volume button more than 3 seconds at length during playback,
ⓖoperation indication lamp flickers in blue and volume is increased.
* When you press ⓑ volume button more than 3 seconds at length during playback,
ⓖoperation indication lamp flickers in blue and volume is decreased.
* When you turn on power again, volume is changed to basic volume.
VOS level setting
* You can set up the volume of sound of start recording in sound detection recording
* In VOS Level within right window of “date_time.cfg Creator”, select one among “+2,+1,0,-1,-2” and setting is completed.
* Please change after testing according to place and situation.
OFF
OFF
Continuous
Recording
Continuous
Recording
* When you move ⓖrecording switch to the direction of [ ],
ⓗoperation indication lamp is turned on in red for 5 seconds
and continuous recording starts.
* When you move ⓖrecording switch to the direction of [ ],
ⓗoperation indication lamp flickers in red for 5 seconds
and sound detection recording(VOS) starts.
* After turning ⓖ recording switch to the direction of 『 』 or 『 』 and starting recording,
connect it to PC or USB adaptor and long-time recording is possible..
ⓔMic
ⓖ
Recording
Caution : in case of sound
detection recording(VOS),
the time of saved recording
file becomes different
according to detected sound.
(Time can be different)
Caution : Even though you use
sound detection recording(VOS),
hours of battery use is not increased.
V.O.S
Recording
V.O.S
Recording
Caution : You can not use the
function of playback during recording.
Caution : In case of file having long
recording time, playback on PC is
recommended.
* If recorder is installed in specific place and the operation of recording start and stop is difficult, sound detection recording is recommended.
* If you can operate the start and stop of recording with recorder carried generally, continuous recording is recommended.
Tip
Playing
Volume control
Moving file
*When you connect it to USB port of PC with ⓖrecording switch in the state of stop(center),
it is recognized as "removable disc(MemoQ)", the movement, copy, deletion, playback of file is possible.
*Please use music playback software of PC like Windows media player or Gom player, etc. for the playback of recording file
*Deletion of recording file is same as the general file deletion method of PC.
Caution : When you separate product from PC, please be sure to perform "hardware safety removal"
Whne you remove product from PC by force, fatal error on product can occur.
Caution : USB onnection is possible only in the state of recording switch stop(center).
*During charging,
ⓗ
operation indication lamp flickers to red ▶ blue ▶ green according to battery remains and green is turned on when charging is completed.
Operation indication lamp
(LED is turned on in connecting USB)
* When you format MemoQ(removable disk) in PC, product is initialized to factory status.
Caution : Format type of FAT32 only is supported. If you change it to other type, product can not work properly.
Caution : Once data is deleted, it is impossible to recover it.
Caution : when you format it, time setup program is also deleted.
*When you separate product from PC or USB charging adaptor,
ⓗoperation indication lamp flickers for 5 seconds by 3 steps
according to battery remains.
*When you press volume button ⓑ or ⓓfor 3 seconds at length,
ⓗoperation indication lamp flickers for 5 seconds by 3 steps according to battery remains.
RED LED
ⓗoperation
indication lamp
Battery remains
Blue LED Green LED
enough
70~100%
average
30~70%
short
0~30%
*This product has built-in rechargeable battery.
*Please charge it before use.
*
When you connect USB gender to
ⓕ
earphone terminal and connect it to the USB port of PC or USB charging adaptor, charging starts.
ⓐBody ⓑVolume (movement to previous file) ⓒPlay button ⓓVolume (movement to next file)
ⓔMic ⓕEarphone terminal ⓖRecording switch ⓗOperation indication lamp
ⓕEarphone terminal
<Rear>
<Setting date and time window>
ⓗ
ⓗ
ⓐ
ⓖ
<Front> <Side>
<Rear>
- In formatting product, time setup program is deleted. After keeping time setup program in PC, use it in case of necessity.
PC O/S
Windows (XP, Vista, 7, 8, 10)
PC O/S
Windows (XP, Vista, 7, 8, 10)
PC USB connect
Cautions in use
Name of each part
& Composition
Tip
ⓕⓓ ⓔ
ⓒⓑ
ⓖ
USB gender
(It is set to time to click Start
button at the time of product
separation.)
Caution : it is set to the
date and time set in PC.
Caution : be sure to check
composition before
using product.
Caution : when battery is
discharged, date and time
is initialized.
(Please perform time setting
again after charging and use it)
USB gender ClipEarphone
Composition
* When you press ⓒ play button in short during playback, it pauses and ⓗoperation indication lamp
is turned on in green and becomes standby status.
* When you press ⓒ play button in short in state of pause, file you listened to before is played back subsequently.
* If you want to turn off power during playback, standby, press(c)play button more than 3 seconds at length, and power is turned off.
* When you press ⓓvolume button in short during playback, it moves to next file.
* When you press ⓑvolume button in short during playback, it moves to previous file.
* When you move to next file during the playback of last file, it moves to first file.
* Recording files are saved as "R-00001_20(year)/01(month)/01(date)/24(hour)/00(minute)_recording mode.MP3" from R-00001 in order.
Ex:(
Continuous Recording
:R-00001_2001012400_REC.MP3 /
V.O.S Recording
:R-00001_2001012400_VOS.MP3)
ⓕ
ⓓ
ⓒ
ⓑ
ⓗ
Separating clip
Back side of body
21
* Please save the important recordings into PC immediately.
* We are not responsible for the damage or third part`s claims caused by the usage of this product.
* We are not responsible for the loss of recordings caused by wrong usage, A/S, other reasons.
Charging the unit
(Charging time : about 2 hours)
Battery remains
indication
Format
Warranty
period
Setting date and time
Setting recording
function
Recording sound quality setting
* in Mode(Recording Quality) within right window of “date_time.cfg Creator”,
select PCM or XHQ or HQ and click the button of “Start”
and setting is completed.
VOS Level
(basic setting) (response to low sound)
. . . . . .
(response to loud sound)
-2 -1 0 +1 +2
Long Recording
(use of external power)
You can record even
in a state of non-setting.
Recording time
Playback time
Accessory
Tenperature
Battery
Size(mm), Weight
Max. Recording files
Charging time
Hours of
battery use
Memory
Model
about 15hrs
about 12hrs
about 18hrs
about 10hrs
about 2hrs
9,999 files
(W)18.2 x (H)55.3 x (D)11.8 / 10.2g
3.7V, Li-Polymer 120mAh
0~ 40℃
Manual, Earphone, USB gender, Clip
8GB 16GB 32GB
MR-120
about 144 hrs
about 288 hrs
about 288 hrs
about 576 hrs
about 576 hrs
about 24 hrs about 48 hrs about 96 hrs
about 1152 hrs
XHQ
PCM
PCM
HQ
XHQ
HQ
* Specification can be changed for product improvement without prior notice.
ⓗOperation indication lamp
V101
Version.
date_time.cfg Creator V3.0
V101
PCM
XHQ
HQ
Mode (Record Quality) VOS Level
+ 2
+ 1
- 1
- 2
0
2020:01:01:13:00:00
Date _Time
Start
(Basic setting)
(Basic setting)
Table of contents
Languages:
