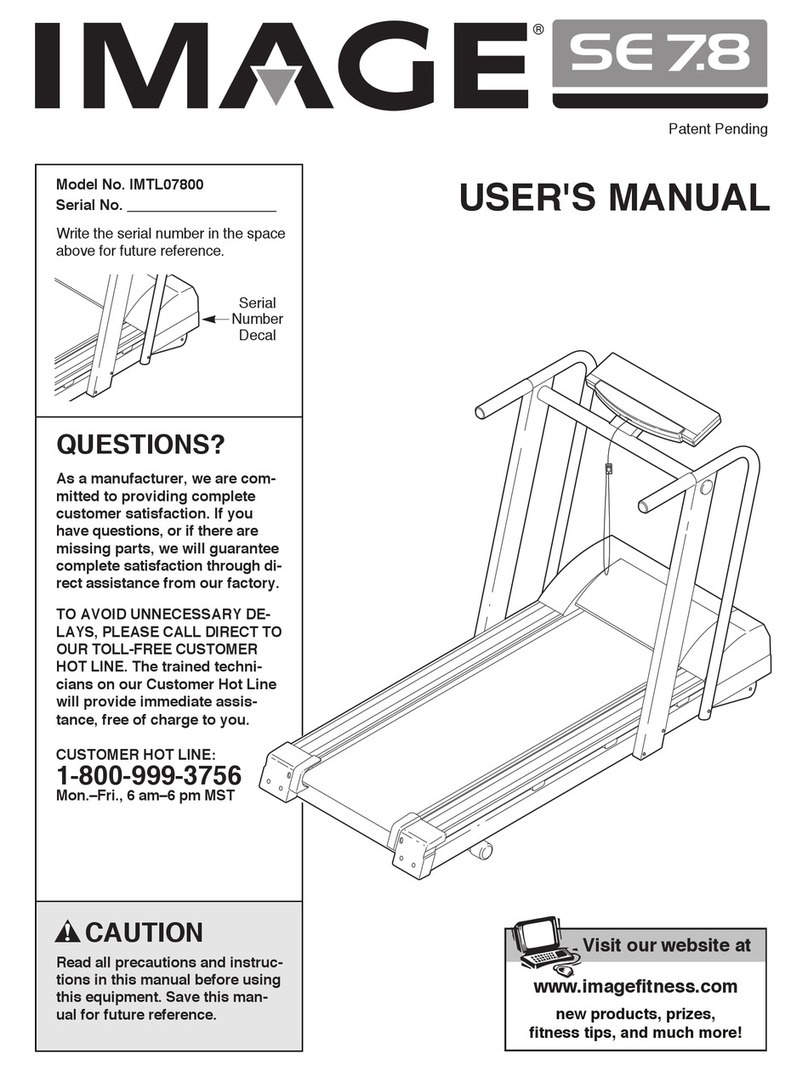
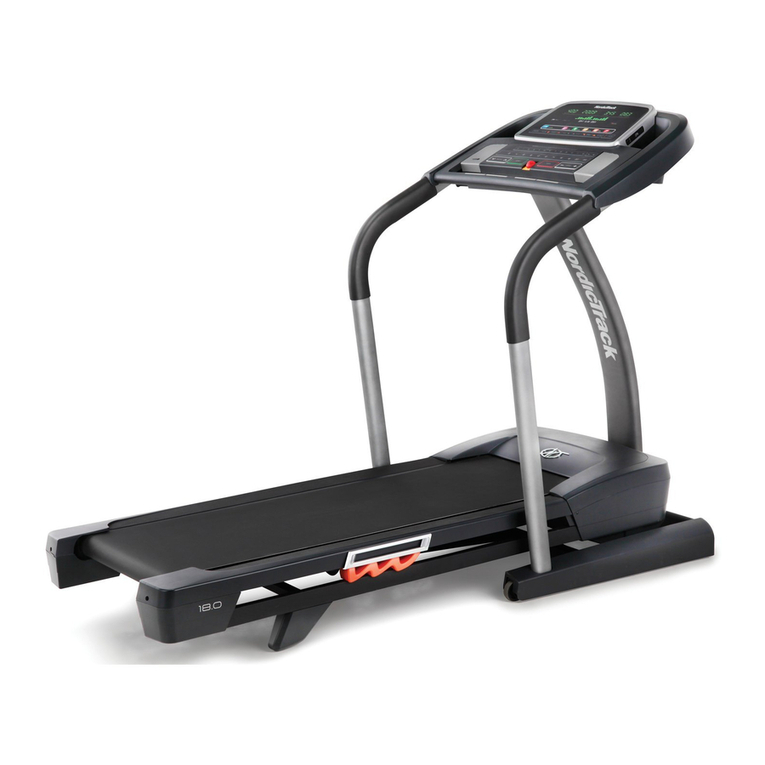
Metagenics Fitness PowerJog User manual

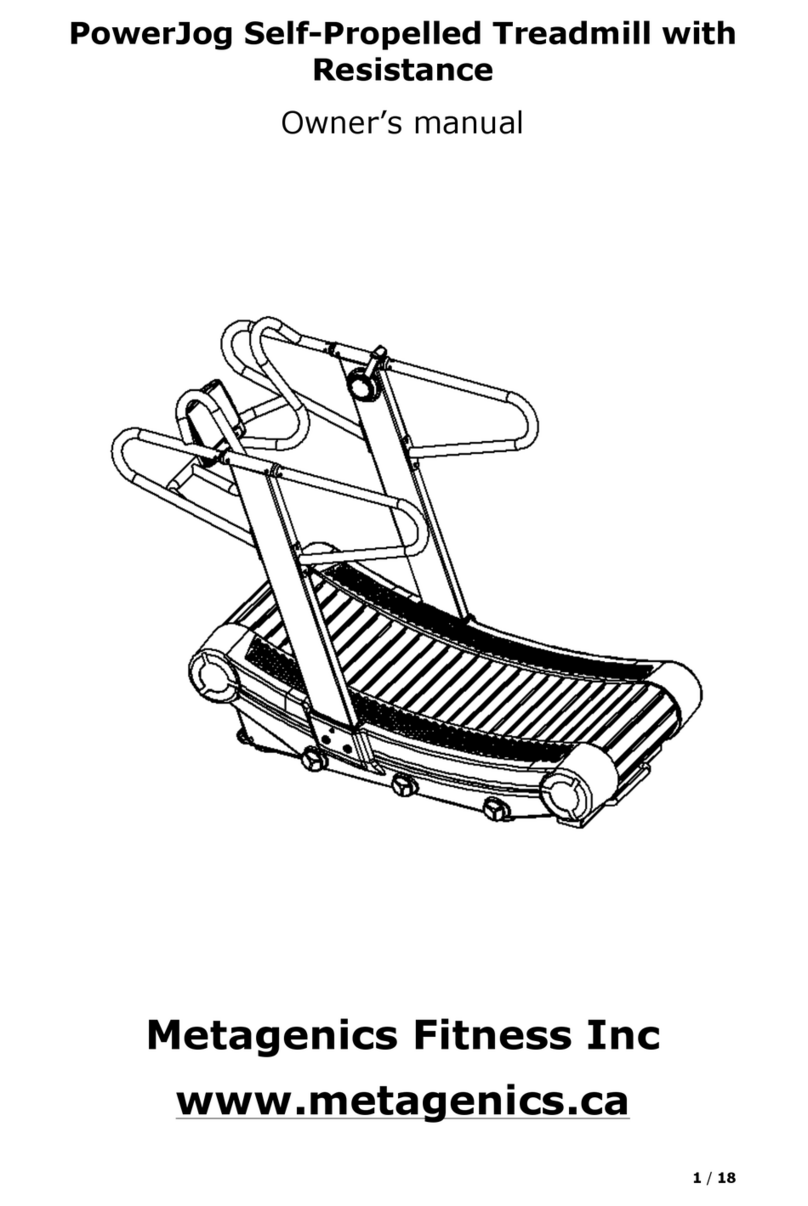
PowerJog Home Treadmill
Metagenics Fitness Inc
www.metagenics.ca

Important Safety Instructions
Please read all the instructions before using the Powerjog Home.
These instructions will ensure user safety and protection of the
treadmill. Always consult a physician prior to starting any exercise
program or using the treadmill, especially if you have a history of
heart disease, high blood preasure, diabetes, respiratory disease,
elevated cholesterol, smoker, etc. Only under the supervision of
qualified personnel, children and disabled people can come to close or
use the treadmill. The product can be used only as specified in the
User Manual. Any other improper use,may cause danger.
Don't touch any moving parts. Don't put your feet under the moving
parts. Don’t soak the treadmill surfaces with any liquid; just use a
damp cloth to clean the treadmill and maintain the running surface
clean and clear of obstructions. Don't let objects fall or insert the
openings. Don't use the treadmill if you are too tired or exhausted.
Wrong training or excessive exercise may result in serious injury or
death. When suffering from pain or abnormal symptoms, stop
exercising and consult a doctor. Wear only suitable clothes and shoes
when training; Don't wear loose clothes that could get caught in the
moving parts.Tidy up long hair. Keep clothing or towels away from
moving parts. Tie your shoe laces.When the product is in use, third
parties must maintain a safe distance.
The product can only be used after fully installed. Please visually
inspect the Powerjog Home before use to check for abnormal wear
and tear. Keep a safe space of two meters behind the treadmill. Do
not expose the product to the direct sunshine. Do not use the
treadmill outdoor or in a humid environment, such as a swimming
pool, bathtub and sauna room. Keep the Powerjog Home in good
operating condition. If you find wear, please consult Metagenics
Fitness technical support services.
Metagenics will not be responsible for the loss caused by the following
reasons: maintenance without authorization, improper use, accident,
negligence, improper assembly or installation, any modifications or
adjustments without the written authorization of Metagenics Fitness
Inc. and users do not comply with the user manual when using,
running and maintenance of the product.
PLEASE SAVE THIS INSTRUCTIONS.

Product Description
Display (A): Display ongoing exercise, PowerJog Home treadmill is
equipped with this display.
Running Belt (B): Surface is rubber, which can ease the impact on the
joints.
Lateral Handle(C): When standing on treadmill or losing balance, you
can hold it to stand firm; when quick walking or running, you can keep
balance by it .
Center handle (D): You can hold the center handle when doing
advancing exercises.
Side upper boards (E): When the user is in danger or feels tired, he or
she can put his feet on the boards for a pause, in addition, it can be
used as a tool for single foot exercise.

Installation Instructions
A . Use hexagon socket head screw B1 (M10*20) and washer B2 (Φ10)
(Picture 1)
B . Attach finger tight the side armrests and central armrests with the
hexagon socket flat head screws B1 (M10*20) and washers B2 (Φ10).
(Picture 1)
C. Fix the central armrest with the hexagon socket set screw B1
(M10*20). (Picture 2)
Installation diagram.

Instructions for Use
Hold the side handle,then step on the
running belt from the back.View front ,then
put the feet on both side rails. Standing firm
on the running belt begin to walk.
At the beginning of exercise, hold the
handle rails to keep safe. After getting use
to the new treadmill you can release your
hands from the handrails to improve
balance and maintain the correct posture.
At beginning, walk slow or jog with the
speed of 6-7 km /h.Then increase the speed
gradually while maintaining a certain
stability and security.
Because the running surface is slightly
curved, the more forward you move, the
faster you'll go and to slow down or stop ,
move backwards to the flatter part of the
curve.
When finishing exercise, you can grab the
handrails on both sides, hard to hold
yourself and put your feet on the siderails.
Running belt is not driven by motor, so the
speed will depend on the position of your
body in the curved surface.

Fast Walking Fast Running
Side shuffle step
WARNING
The user must concentrate, otherwise will cause losing
stability and balance
Two person use one treadmill at the same time is forbidden
PowerJog Home treadmill is designed and produced only for
simulation walking and running, Any other purpose will be regarded
as improper and may cause danger.
Do not touch the running belt that is rotating.
Be careful to avoid shoelaces and other clothing details rolled into the
crevices of the equipment, as it may cause wrestling.

Display Description:
1. SPEED: 0.0~99.9 KM / ML.
2. TIME: 1:00:00~1:59:59, can count up or count down.
3. DISTANCE: 0.00~999.9 K / M, can count up or count down.
4. CALORIES: 0~999, can count up or count down.
5. WATT: 0~1999.
6. PULSE: P~30~230.
7. INTERVAL: Intermittent rest exercise mode.
8. TARGET HR: Heart rhythm control mode.
9. KM/M: Metric/English system.
10, PACE: average stride
Key function description:
1. START KEY:
A. Pause during exercise
B. Resuming exercise after a pause
2. STOP KEY:
A. Stop function during exercise
B. Long press for 3 seconds at any time to reset
3. UP KEY:
A. After pressing this KEY during the display of each function, you
can set TIME, DISTANCE, CAL, and AGE respectively.
B. During the display of each function, press this KEY for more than
1 second to continue to carry (8 steps per second), and stop when
it is put down.
4. DOWN KEY:
A. After pressing this KEY during the display of each function, you can
set TIME, DISTANCE, CAL, and AGE respectively.
B. During the display of each function, press the KEY for more than 1
second to continuously retreat (8 steps per second), and stop the
carry when it is lowered.

5. ENTER KEY: This KEY is the main function selection key, and the
ENTER function in SET
6. INTERVAL 20-10 KEY: Press this KEY to directly enter the function
menu 7. INTERVAL 10-20 KEY: Press this KEY to directly enter the
function menu 8. INTERVAL CUSTOM KEY: Press this KEY to directly
enter the function menu
9. TARGET TIME KEY: Press this KEY to directly enter the function
menu 10. TARGET DISTANCE KEY: Press this KEY to directly enter the
function menu
11. TARGET CALORIES KEY: Press this KEY to directly enter the
function menu
12. TARGET HR KEY: Press this KEY to directly enter the function
menu 13: Press ENTER+START at the same time to switch between
ML and KM 14: Press ENTER+DOWN simultaneously to shut down
quickly
Operation setting instructions:
1. After installing the battery (POWER ON), the LCD will display for 2
seconds (Picture 1) and at the same time, after a long beep of BI, the
wheel diameter value will be displayed in the DIST column for 1
second (Picture 2), enter the AGE setting, and the age value will flash.
Press UP/DOWN to adjust and press ENTER to confirm and enter the
standby screen.

Picture 1 Picture 2 Picture3
2. INTERVAL10/20, READY, WORK, REST, TARGET, TIME, DISTANCE,
CALORIES, TIME, DISTANCE, CALORIES, WATTS, SPEED, PACE,
HEART RATE will flash in sequence for 1 second in SCAN mode
(similar to Figure 2).
3. If no button is pressed, PACE signal, heartbeat signal will
automatically sleep after 60 seconds.
4. Fast exercise mode:
A. If there is a PACE signal input during standby, immediately QUICK
START, and the buzzer will sound for 1 second at the same time.
B, TOTAL TIME, TIME, DISTANCE, CALORIES, WATTS, SPEED, PACE
start counting according to the calculated value (Figure 3).
C. The heartbeat symbol flashes when there is a heartbeat input, and
the symbol flashes on and displays the current heartbeat value
(Figure 4); when there is no heartbeat input, P keeps on
D. After 30 seconds without any signal input, the buzzer will sound for
1 second to enter the wake-up mode.
E. Press the START button once, the buzzer will sound for 0.5 seconds
every 30 seconds when entering the pause mode. When entering the
pause mode, all the displays will remain on the screen for 3 seconds
and then flash once every four seconds (3 on/1 off), continuing After
a pause of 5 minutes, the buzzer will sound for 2 seconds to enter the
wake-up mode, press START to continue running.

F. Press the STOP button to ring for 1 second, TIME displays the total
time, DISTANCE displays the total distance, CALORIES displays the
total calories burned for 30 seconds, and WATT, SPEED, PACE
exchanges and displays the average and maximum values every five
seconds.
G. When there is a heartbeat input, 85%, 65% of the heartbeat value
and the maximum value are exchanged and displayed every five
seconds, if there is no heartbeat input, it will not be displayed.
H. Press any PROGRAM key to execute the action.
5. INTERVAL selection: This function can be entered by pressing the
UP/DOWN selection function when the machine is turned on, or by
selecting the shortcut key when it is stopped.
5.1. Select INTERVAL20/10:
A. Press INTERVAL Key to select INTERVAL20/10, press Enter Key,
enter this mode, INTERVAL20/10 will light up, and the buzzer will
sound for 1 second at the same time.
B. CYCLE TIME counts down three seconds and then START. During
the countdown, the buzzer sounds once per second and READY
flashes once per second (0.75 on/0.25 off), and the count displays
00/08 (Figure 5).
C. CYCLE TIME starts to count down 20 seconds and WORK flashes
once per second (0.75 on/0.25 off). The buzzer also sounds
synchronously. At this time, the rim will have a rotating animation
and count down from four minutes, TOTAL TIME, DISTANCE,
CALORIES, WATTS, SPEED, PACE start counting according to the
calculated value, and the counting displays 01/08.
D. CYCLE TIME starts to count down for 10 seconds and REST flashes
once per second (0.75 on/0.25 off). The buzzer also sounds
synchronously, and the READY flashes synchronously in the last 3
seconds. The animation is in a static state.
E, C and D continue to repeat the cycle, each cycle count increases by
1 until CYCLE TIME starts to count down 10 seconds after 08/08
WORK movement and REST flashes once per second (0.75 on/0.25
off).
F. After 30 seconds without any signal input, the buzzer will sound for
1 second to enter the wake-up mode.
G. Press the START button once, the buzzer will sound for 0.5
seconds every 30 seconds when entering the pause mode. When
entering the pause mode, all the displays will remain on the screen
for 3 seconds and then flash once every four seconds (3 on/1 off),

continuing After a pause of 5 minutes, the buzzer will sound for 2
seconds to enter the wake-up mode, press START to continue
running.
H. Press the STOP button or the buzzer will sound for 1 second after
the end, TIME displays the total time, DISTANCE displays the total
distance, and CALORIES displays the total calories for 30 seconds.
WATT, SPEED, and PACE exchange display average and maximum
values every five seconds.
I. When there is a heartbeat input, the 85%, 65% heartbeat value
and the maximum value are exchanged and displayed every five
seconds, if there is no heartbeat input, it will not be displayed.
J. Press any PROGRAM key to execute the action.
Pic 1 Pic 2 Pic 3 Pic 4
5.2 Select INTERVAL 10-20:
A. Press INTERVAL Key to select INTERVAL10/20, press Enter Key,
enter this mode, INTERVAL10/20 will light up, and the buzzer will
sound for 1 second at the same time.
B. CYCLE TIME counts down three seconds and then START. During
the countdown, the buzzer sounds once per second and READY
flashes once per second (0.75 on/0.25 off), and the count displays
00/08 (Figure 5).
C. CYCLE TIME starts to count down 10 seconds and WORK flashes
once per second (0.75 on/0.25 off) buzzer also sounds synchronously,
REMAINING lights up and counts down from four minutes, TOTAL
TIME, DISTANCE, CALORIES, WATTS, SPEED, PACE Start counting
according to the calculated value, and the counting displays 01/08.

D. CYCLE TIME starts to count down 20 seconds and REST flashes
once per second (0.75 on/0.25 off). The buzzer also sounds
synchronously, and READY also flashes synchronously in the last 3
seconds.
E, C and D continue to repeat the cycle, each cycle count increases by
1 until CYCLE TIME starts to count down 20 seconds after the 08/08
WORK exercise and REST flashes once per second (0.75 on/0.25 off).
F. After 30 seconds without any signal input, the buzzer will sound for
1 second to enter the wake-up mode.
G. Press the START button once, within 30 seconds of entering the
pause mode, the buzzer will beep every 1 second for 0.5 seconds.
When entering the pause mode, all displays will remain on the screen
for 3 seconds and then flash once every four seconds (3 on/1 off) ,
After 5 minutes of continuous pause, the buzzer will sound for 2
seconds to enter the wake-up mode, press START to continue
running.
H. Press the STOP button or the buzzer will sound for 1 second after
the end, TIME displays the total time, DISTANCE displays the total
distance, and CALORIES displays the total calories for 30 seconds.
WATT, SPEED, and PACE exchange and display the average and
maximum values every five seconds.
G. When there is a heartbeat input, the 85%, 65% heartbeat value
and the maximum value are exchanged and displayed every five
seconds, if there is no heartbeat input, it will not be displayed.
5.3 INTERVAL CUSTOM:
A. Press INTERVAL Key to select INTERVAL CUSTOM. After pressing
Enter Key, enter this mode. INTERVALCUSTOM, 00/XX flashes, and
the buzzer sounds for 1 second. You can press UP or DOWN to set
00/XX. The setting range is 1~99 , Can be set in cycles, press ENTER
to confirm, the buzzer will sound for 1 second and enter the next
option setting (Figure 6-7).
B. TIME keeps on, WORK and 0:01 flashes, you can press UP or DOWN
to set the working time, the setting range is 0:00~9:59, it can be set
cyclically, press ENTER to confirm, the buzzer will sound for 0.75
seconds and enter The next option is set.
C. TIME is continuously lit, REST and 0:01 flashing, and the working
time can be set by pressing UP or DOWN. The setting range is
0:00~9:59 and can be set cyclically. After confirming by pressing
ENTER, the buzzer will sound for 1 second. INTERVALCUSTOM
continues Light up.

D. CYCLE TIME counts down three seconds and then START. During
the countdown, the buzzer sounds once per second and READY
flashes once per second (0.75 on/0.25 off), and the count displays
00/XX.
E. CYCLE TIME starts to count down and WORK flashes once per
second (0.75 on/0.25 off). The buzzer also sounds simultaneously.
REMAINING lights up and starts to count down according to the set
total time. TOTAL TIME, DISTANCE, CALORIES, WATTS, SPEED, PACE
follow The calculated value starts to count, and the count displays
01/XX.
F. CYCLE TIME starts to count down and REST flashes once per second
(0.75 on/0.25 off) the buzzer also sounds synchronously, the last 3
seconds
G, C and D continue to repeat the cycle, and each cycle count
increases by 1 until the set value WORK moves and CYCLE TIME starts
to count down and REST flashes once per second (0.75 on/0.25 off).
H. After 30 seconds without any signal input, the buzzer will sound for
1 second to enter the wake-up mode.
I. Press the START button once, the buzzer will sound for 0.5 seconds
every 1 second within 30 seconds of entering the pause mode. When
entering the pause mode, all the displays will remain on the screen for
3 seconds and then flash once every four seconds (3 on/1 off) , After
5 minutes of continuous pause, the buzzer will sound for 2 seconds to
enter the wake-up mode, press START to continue running.
J. Press the STOP button or after the end, the buzzer will sound for 1
second, TIME displays the total time, DISTANCE displays the total
distance, and CALORIES displays the total calories for 30 seconds.
WATT, SPEED, and PACE exchange and display the average and
maximum values every five seconds.
K. When there is a heartbeat input, the 85%, 65% heartbeat values
and the maximum value are exchanged and displayed every five
seconds, if there is no heartbeat input, it will not be displayed.
L. Press any PROGRAM key to execute the action.

Pic 8 Pic 9 Pic 10 Pic11 Pic12
6. TARGET TIME:
A. Press the button to enter the mode, the value flashes, and the
buzzer sounds for 1 second at the same time.
B. TIME is continuously lit, the TIME value flashes and the time can be
set by pressing UP or DOWN (Figure 8). After pressing ENTER, the
buzzer will sound for 1 second. Start counting down, DISTANCE,
CALORIES, WATTS, SPEED, PACE start counting according to the
calculated value (Figure 12)
7. TARGET DISTANCE:
C. After pressing the button, the value flashes in this mode, and the
buzzer will sound for 1 second.
D. TIME is continuously lit, the TIME value flashes and the time can be
set by pressing UP or DOWN (Figure 9). After pressing ENTER, the
buzzer will sound for 1 second. Start counting down, DISTANCE,
CALORIES, WATTS, SPEED, PACE start counting according to the
calculated value (Figure 12
8. TARGET CALORIES:
A. After pressing the button, enter this mode with TARGET and
CALORIES flashing values, and the buzzer will sound for 1 second at
the same time.
B. CALORIES is continuously lit, the CAL value flashes and you can
press UP or DOWN to set CAL (Figure 10), press ENTER to confirm
and the buzzer will sound for 1 second. TARGET, CALORIES starts to
count down and the current distance is displayed interactively for five
seconds until the countdown After that, TIME, DISTANCE, WATTS,
SPEED, PACE start counting according to the calculated value (Figure
12).

9. TARGET HR:
A. After pressing the button, enter this mode, TARGET HEART RATE
flashes, and the buzzer sounds for 1 second at the same time.
B. AGE is continuously lit, the age value flashes and the age can be
set by pressing UP or DOWN (Figure 13), press ENTER to confirm, the
buzzer will sound for 1 second, TARGET HEART RATE, HEART RATE
will continue to light up, and MAX HR will continue to light up after the
start And display the heart rate of 65% and 85%, TIME, DISTANCE,
CALORIES, WATTS, SPEED, PACE start counting according to the
calculated value.
C. When the heart rate drops to 65% and the 65% value flashes, the
buzzer will sound once every 10 seconds until the heart rate reaches
more than 65%.
D. When the heart rate exceeds 85% and the 85% value flashes, the
buzzer will sound once every 10 seconds until the heart rate reaches
below 85%.
E. When the heart rate is in the range of 65%~85%, the heartbeat
symbol flashes and MAX/65%/85% is not displayed, which means it
is in the range of 65%~85%.
Pic 13
12. In any key state, press the START button once, and the buzzer
will sound for 0.5 seconds every 1 second within 30 seconds of
entering the pause mode. When entering the pause mode, all
displays will remain on the screen for 3 seconds and then flash once
every four seconds ( 3 on/1 off), after 5 minutes of continuous pause,

the buzzer will sound for 2 seconds to enter the wake-up mode, press
START to continue running.
13. After 30 seconds without any signal input, the buzzer will sound
for 1 second to enter the wake-up mode.
Technical Data
Model No.
PowerJog Home
Treadmill
N.Weight
90KG
Max User Weight
100KG
Noise Degree
Below 80dB (A)
Protection Level
IP 20
Running Temperature
From +5°C to +40°C
Electrical insulation level
II Level
Product Dimension(L*W*H)
1470*800*1550mm
Package Dimension(L*W*H)
1550*830*500mm
Equipment Movement & Adjustment
The equipment is equipped with two fixed front wheels. If you need to
move the equipment, just lift it slightly and move forward or
backwards.
Warning
You must be very careful when you move, otherwise it will
damage the stability of the equipment.
Equipment can only be run on flat floor.
You can adjust the feet as shown below to level the treadmill:
A, unscrew the nut (B);
B, screwing or unscrewing the feet (A) till the equipment is stable and
firm.
C, after adjustment, tighten the nut (B).

Routine Maintenance
In order to ensure good sanitation, the equipment should always be
kept clean and dust-free, comply with basic hygienic standards.
-Clean the console with a damp cloth.
-Vacume or clean the Powerjog Home once a week.
-You can roll the Powerjog to clean the floor beneath with a vacuum
cleaner
-Do not use chemicals or solvents.
Warning
In order to ensure the equipment can be used safely,it should
be inspected every two weeks for product damage or wearing
issue.
Inspection should be every two weeks:
- Whether the components and surfaces of the running belt are worn;
Other manuals for PowerJog
1
Table of contents
Other Metagenics Fitness Treadmill manuals


