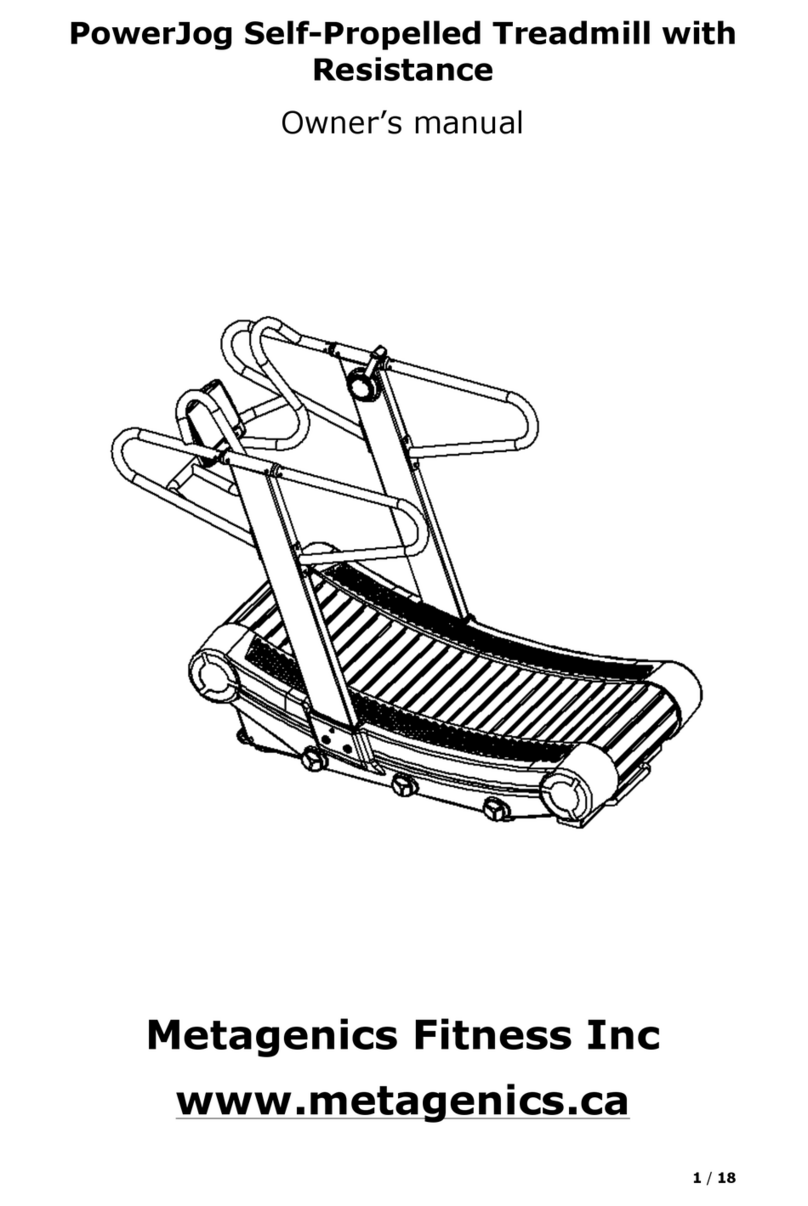
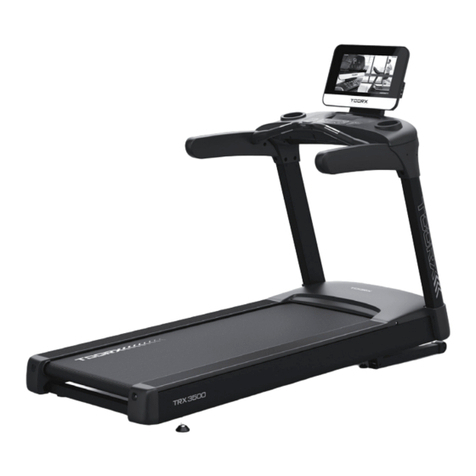
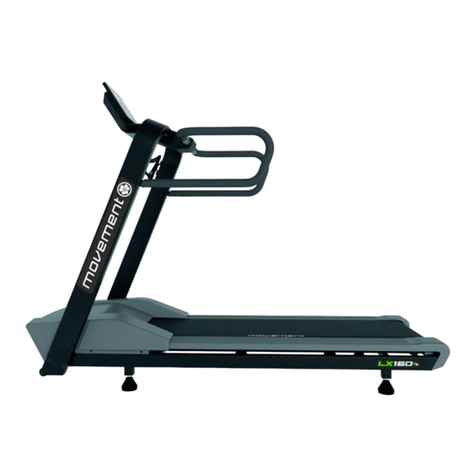
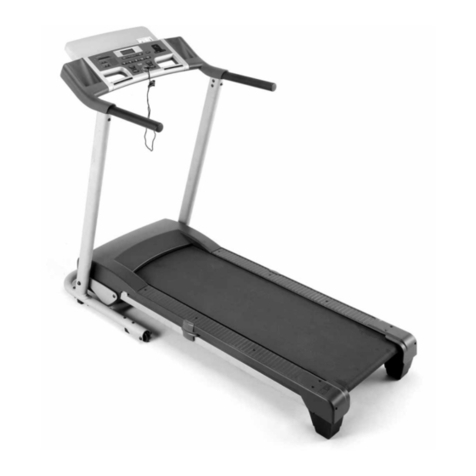
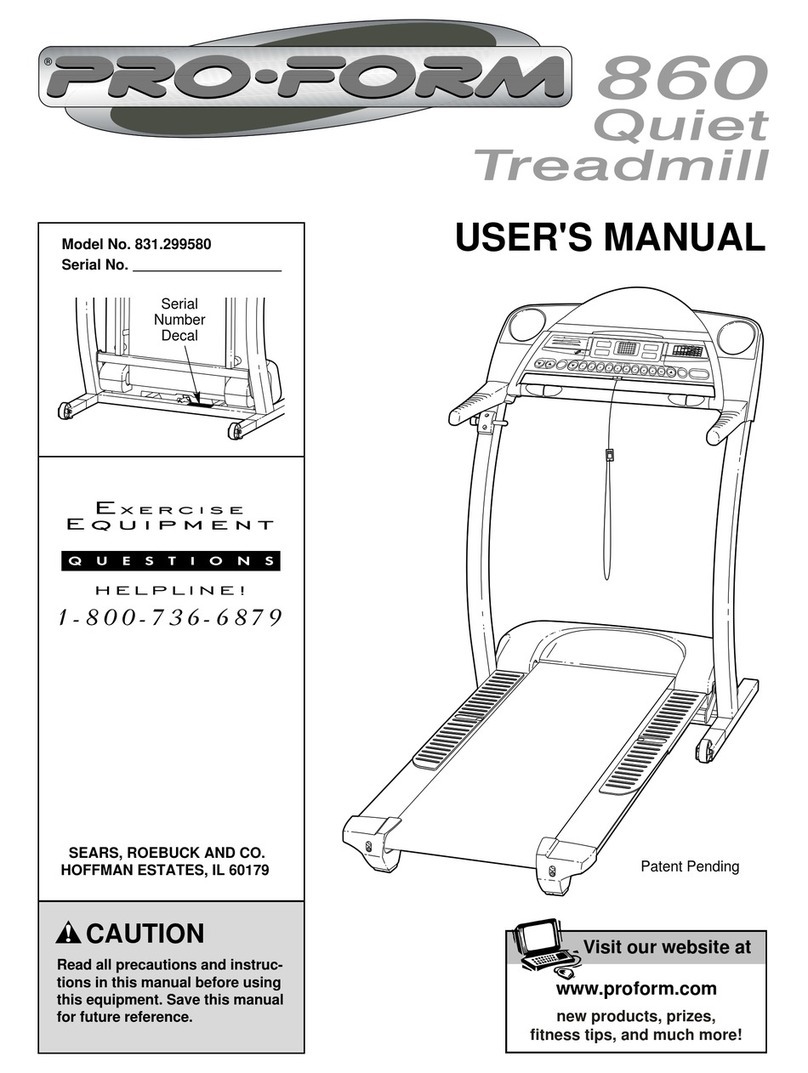
Metagenics Fitness MF-P096L LED User manual

1
FITNESS EQUIPMENT MANUFACTURER
SHANDONG JINGGONG FITNESS EQUIPMENT CO.,L
INSTRUCTIONS OF INSTALLATION, USE AND MAINTENANCE MANUAL
NOTICE:
1、Please read the manual carefully before using the electronic treadmill.
2、Please keep the instruction well for future reference.
COMMERCIAL TREADMILL
MF-P096L LED
Metagenics Fitness Inc.

2
SPECIFICATION
Size
2030*950*1600
Electricity
AC 220v~240v
Folded size
Non-folded
Rate of work
2200W
Running area
600*1550
Circuit
≤10A
N.W
210Kg
Speed
1.0-20Km/H
Gross weight
Kg
Temperature
0—40
Incline
0%~20%
degree
SB
Weight limit
≤180Kg
Dashboard
Time; distance; heart rate; calorie; speed; incline
Security
1,Red button on dashboard
2, PPTC
3,Circuit safety in the front of the dashboard
Implementation standard:
GB17498.1-2008/ISO20957-1:2005
GB5296.7-2008
Photos and specification is copyrighted by Metagenics Fitness Inc.
The modification shall be conducted without further notice.

3
INSTALLATION INSTRUCTION
NO. and description of each parts
NO
NAME
specification
QT
Y
NO.
NAME
specification
QT
Y
1
Mainframe of treadmill
1
12
Middle wire I
1
2
Left post
1
13
Middle wire II
1
3
Right post
1
14
Lower wire
1
4
Join part for Electrical meter
1
15
Half round
Inside hexagonal bolt
M8 *20
8
5
Horizontal frame for handrail
1
16
Half round
Inside hexagonal bolt
M10 *20
16
6
Electrical meter
1
17
Cross self-tapping
screw
ST4*15
14
7
Cover above motor
1
18
Flat gasket
Dia 10.5 * Dia 20
16
8
Side cover of right post
1
19
Flat gasket
Dia 8.4 * Dia 15
4
9
Side cover of left post
1
20
Safety lock
1
10
Lower cover for horizontal
frame
1
21
Power line
1
11
Upper wire
1
Installation tools
Cross screwdriver 6mm socket head wrench(Provide as spare parts)
Installation steps:
Open the plywood case,take out the main part of the treadmill, and lay the machine
on the level ground.
Kind Remind:As taking out the machines from the plywood case, need at least 3
persons and a flat furniture dolly is recommended to put the treadmill on the side.
Please finger tighten bolts #16 with washers #18 to set up the pedestals # 2 & 3.

4
“ª°¢»ÁÕºÀ˘+ 棨œ»Ω´13∫Õ14¡¨Ω”∫√.
+++++ π” √ƒ ⁄¡ ˘Ω«∞‚+ ÷Ω´2∫ Õ3Õ®π ˝16∫ Õ18
++++« ·À ¯‘ ⁄1…œ.(¬ ›À®œ»≤ ªÀ¯ΩÙ)
1
3
2
16
18
16
18
16
18
13
14
I. As
shown in the figure, firstly connect part 13 and 14, and then use inner hexagon spanner to lock part 2 and 3
onto part 1 lightly through 16 and 18. VERY IMPORTANT: The data cable goes on the outside hole of pedestal
#3 not the middle hole as shown in the picture. If the data cable is routed thru the middle hole it will get
destroyed when the top handrail with console is inserted. All data cable length comes attached to the console

5
so assembler need to unplug the segment that goes on pedestal # 3 (outside hole).
2
3
16
18
18
1
13
12
∂ ˛° ¢» ÁÕ ºÀ ˘+ æ£ ¨œ »Ω ´12∫ Õ13¡ ¨Ω ”∫ √.
+++++ π” √ƒ ⁄¡ ˘Ω«∞‚+ ÷Ω´5Õ®π ˝16∫ Õ18
+ + + + À ¯Ω Ù‘ ⁄2∫ Õ3… œ. ‘ ŸÀ ¯Ω Ù≤ Ω÷ Ë“ ªµ ƒ
++++¬ ›À®.
5
II. As shown in the figure, route the short segment of data cable thru an opening in # 5 so part 12 and 13 can

6
connect, and then insert handrail # 5. VERY IMPORTANT, please wiggle # 5 to make sure is fully inserted and
that all holes are seen to insert the 6 bolts #16 NO WASHERS, assembler can wiggle the handrail #5 to fully
tighten all six bolts # 16. DO NOT force the bolts #16, they should go very easy and you have to fully tighten
then use inner hexagon spanner to lock part 5 onto part 2 and 3 lightly through 16. Then tighten the bolts of
step 1 that will secure pedestal 2 & 3.
»˝° ¢»ÁÕºÀ˘* 棨* π”√ƒ ⁄¡ ˘Ω«∞‚* ÷Ω´4
* * * * Õ ®π ˝15∫ Õ19À ¯Ω Ù‘ ⁄5… œ.
5
4
15
19
15
19
III. As shown in the figure, use inner hexagon spanner to lock part 4 onto part 5 tightly through 15 and 19.

7
22
Àƒ° ¢»ÁÕºÀ˘* 棨¥Úø™22(∫ ·≥≈œ¬∑‚∏«).
IV. As shown in the above figure, open part 22 (cross brace lower cover).

8
VI. As shown in the below figure, inserting part 6 into part 4, and connect part 11 with 12, A with a, C with c, D
with d. Then use inner hexagon spanner to lock part 6 onto 4 tightly through 15. At last cover part 22(cross
brace lower cover).
AB C
D
b
c
a
d
22
11
12
15
ŒÂ° ¢» ÁÕ ºÀ ˘+ æ£ ¨Ω ´6à ◊» Î4÷ –£ ¨
+ + + + œ »Ω ´11∫ Õ12° ¢A∫ Õa° ¢C∫ Õc° ¢D∫ Õd
++++¡ ¨Ω”∫ √.
++++‘ Ÿ+ π” √ƒ ⁄¡ ˘Ω«∞‚+ ÷Ω´6Õ®π ˝15
++++À¯ΩÙ‘ ⁄4…œ.
+ + + + ◊ Ó∫ Ûø €… œ22£ ®∫ ·≥ ≈œ ¬∑ ‚∏ «£ ©.
6
4

9
7
17
17
8
9
17
17
17
17
17
2
3
1
23 24
¡˘°¢»ÁÕºÀ˘*棨œ»≈°ø™23∫Õ24£¨
***** π” √* Æ◊ ÷¬ ›Àøµ ∂Ω´8∫ Õ9
****Õ®π ˝23° ¢24∫ Õ17À ¯ΩÙ‘ ⁄2∫ Õ3…œ
****‘ Ÿ* π” √* Æ◊ ÷¬ ›Àøµ ∂Ω´7Õ®π ˝17
****À ¯ΩÙ‘ ⁄1…œ.
****◊ Ó∫ Û◊ ∞…œ20£ ¨Ω”…œµ Á‘ ¥œfl.
20
Important: to fit #9 & #8 first remove the two bolts of the front plastic on both sides, insert
9 & 8 and then put front plastic back securing the two bolts from each side that were
previously removed. Parts 8 & 9 have a plastic U shape that will fit under metal parts 24 &
23 please tighten the bolts to leave the metal opening pointing outwards so the motor
shroud can be screwed in. Please use the bigger head bolts provided (2 units) to screw
motor shroud.
VI. As shown in the figure, firstly twist off part 23 and 24, use cross screwdriver to lock part 8 and 9 tightly
onto 2 and 3 through 23,24 and 17, and then use cross screwdriver to lock part 7 lightly onto 1 through 17. At
last install part 20, connect the power line.
VERY important, please level the treadmill using the back rubber feet. You will need an adjustable wrench to
do this.

10
Please notice: You can only connect the power line after confirming all the parts are
installed according to the instructions.
Kindly reminder: Please check whether the security lock reset or not before starting the treadmill.
OPERATION GUIDE

11
DIGITAL DISPLAY WINDOW
1. TIME
Display running time, show the time area: (00:00-99:59)
2. PULSE
Show the user pulse every minute
3. CALORIES
show the user lost how much calories
4. INCLINE
Show the incline: 0-20%
5. DISTANCE
Show running distance, unit: km
Precision: 0.001 km
6. SPEED
7. Running circle
Show running circle, every circle is 400
一.button specification
1. :enter this button to start running
2. :enter this button to stop running
3. :enter this button for intermit

12
4. (SPEED+):enter this button speed up
5. (SPEED-):enter this button speed down
6. (INCLINE+):enter this button can increase incline
7. (INCLINE-):enter this button can drop the incline
8. (PRG): Enter program selection state
9. Under this status you can select up or down to
choose different programs
10. :Confirm button
11. :Cancel button

13
IMPORTANT PRECAUTIONS
We appreciate that you have chosen our company’s treadmill, when use a
treadmill, basic precautions should always be followed, including the following:
1. Connect the power after Setting the treadmill up well according to the
instruction and ensure it is stable and leveled.
2. Connect the treadmill to a properly grounded outlet only. Never operate the
treadmill if it has a damaged power cord or plug, if it is not working properly,
call Customer Tech Support for examination and repair.
3. A dedicated 15 AMP/ 110 volt outlet should be used for each treadmill.
4. It is essential that your treadmill is only used indoors, in a climate controlled
room and the location for treadmill must be clean and flat, do not operate it on
a thick blanket and the like. Use the treadmill only for its intended use as
described in the treadmill guide.
5. Do not wear clothes that might catch on any part of the treadmill. Always
wear athletic shoes while using this equipment.
6. Do not remove the console cover unless instructed by Customer Tech
Support and unplug the outlet first.
7. At no time should children under of fourteen be closer to the treadmill when
using.
8. Children should not use the treadmill without adult supervision.
9. If you never use the electric treadmill, please be sure to put hands on the
handrails until getting use to it.
10. Please attach the magnetic safety key clip to your cloth. When the safety
lock is pulled off, the treadmill will stop working immediately.

14
11. Please turn the electric treadmill’s power supply off in timely and pull the
safety lock and power line away.
12. Absolutely forbidden to touch any operational part of one treadmill.
13. Heart rate sensors are not a medical device so results might not be
accurate.
14. If you feel unwell during the exercise, you should stand on the side rails
and stop the treadmill.
15. The back part of electric treadmill has to be unobstructed and required
2000 mm of clearance.
Please keep the instruction well for future reference
Table of contents
Other Metagenics Fitness Treadmill manuals


