MHS Boilers Voltec Series User manual

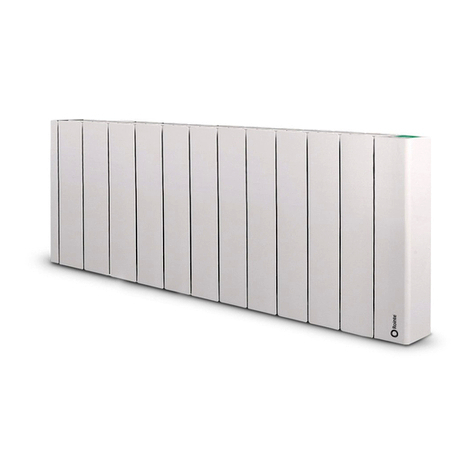
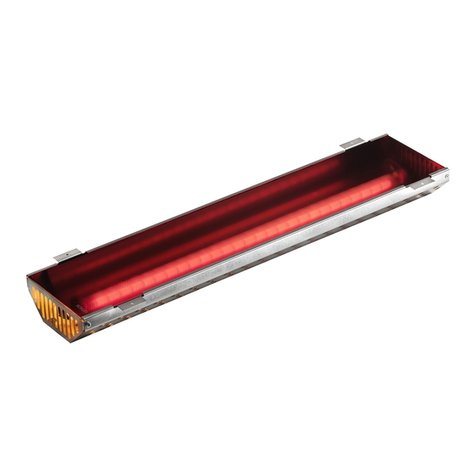
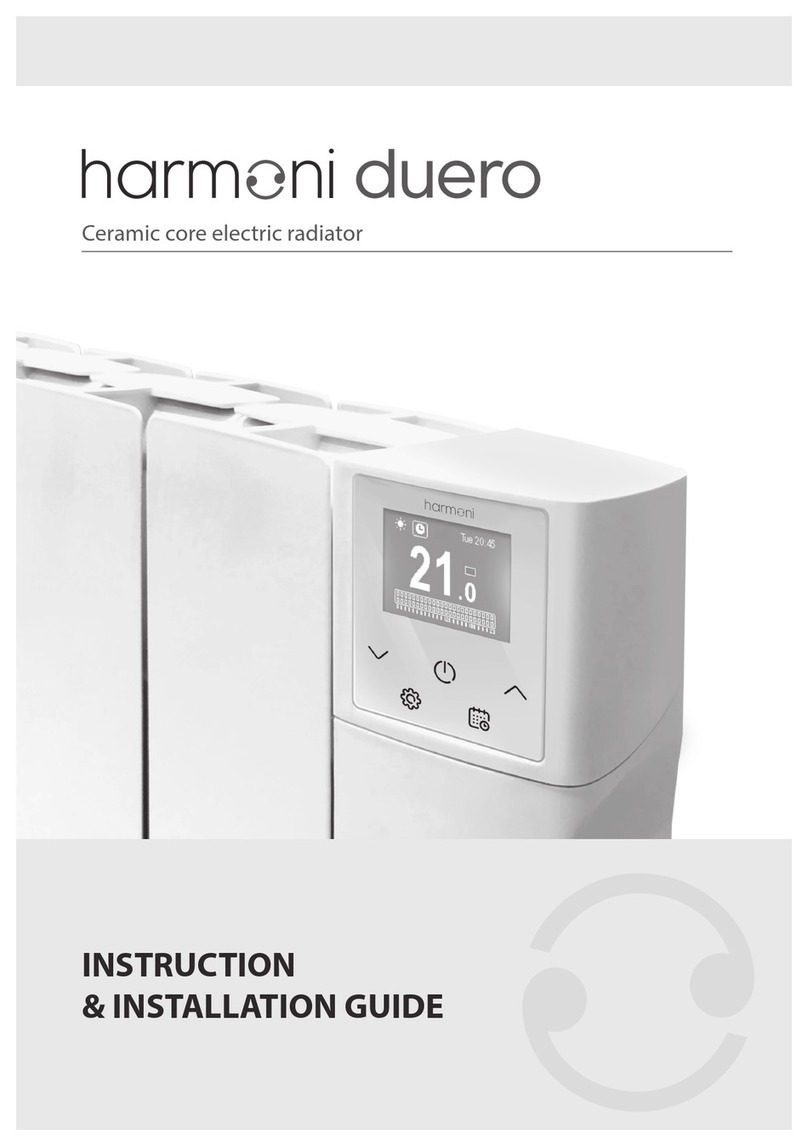
Your Voltec heater has been designed to produce warmth where and when you need it.
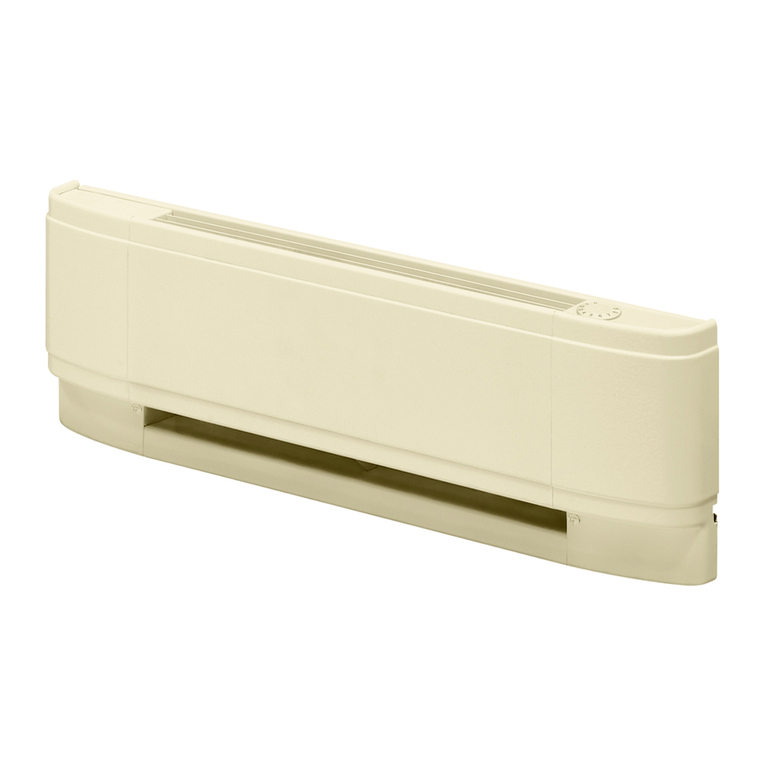
Radiant Convector (RC) heaters provide mostly radiant and varying proportions of convected heat.
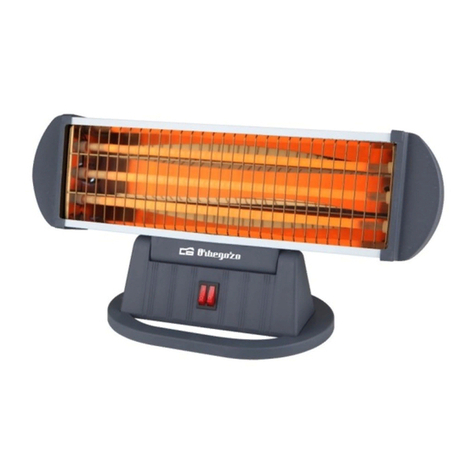
Radiant panel and IPx4 radiated heaters produce mostly radiant heat.
Radiant heat does not directly warm air but warms objects and we therefore recommend that furniture etc. be kept one metre
clear from the front of the heater.
The heaters are supplied with a mains cord length which should be sufficient to allow connection to a
convenient 13A fused spur, or socket outlet via a 13 amp plug. (See fitting detail below).
Either must be fitted with the correctly rated fuse as detailed below;
© VOLTEC REF 02.2012
PRESS CORD BETWEE GRIPS
BEFORE CO ECTI G
CO DUCTORS TO TERMI ALS.
General notes
Voltec panel heaters
Installation Guide
Voltec heating products are specifically designed to give you comfortable, controllable warmth when and where you need it.
PLEASE READ THESE NOTES BEFORE INSTALLATION AND RETAIN FOR FUTURE REFERENCE.
IMPORTANT SAFETY ADVICE
1. WARNING: THIS HEATER MUST BE EARTHED.
2. This heater is for use as an indoor fixed appliance and is
NOT FOR PORTABLE USE.
3. DO NOT use heater outdoors.
4. DO NOT operate switches etc. with wet hands.
5. Ensure that the heater is switched off when cleaning.
6. DO NOT use where flammable gases or liquids are stored.
7. This heater will be hot when in use. To avoid the possibility of
burns do not let bare skin touch hot surfaces. Momentary
contact should not cause any harm.
8. DO NOT allow small children to play with the heater.
9. To avoid over heating do not obstruct the air circulation around
the heater or allow curtains or furniture to touch or cover any
part of the casing.
10. The installation of this heater should be carried out by an
electrician or competent person and be in strict accordance with
current IEE Wiring Regulations and all relevant Building
Regulations.
11. Before connecting the heater, check that the supply voltage is
the same as that marked on the heater.
12. If the flexible mains lead gets damaged DO NOT USE the
heater, but have it removed (by a competent person) and
arrange to return it to the manufacturer for the fitting of a
replacement lead.
13. There are no user serviceable parts inside the heater.
14. Heaters must never be covered.
(a) 500 watts (5amp)
(b) 750 & 1000 watts (7amp)
(c) 1500 & 2000 watts (13amp)
Prepare lead for connection to a 13A plug as follows:
E– Green & Yellow core,
Length 41mm O/ All,
Strip off insulation to expose 8mm of bare wire.
L– Brown core,
Length 20mm O/ All,
Strip off insulation to expose 8mm of bare wire.
N– Blue core,
Length 35mm O/ All,
Strip off insulation to expose 8mm of bare wire.
WARNING!
WARNING THIS APPLIANCE MUST BE EARTHED
THE HEATER MUST NOT BE FIXED IMMEDIATELY BELOW A SOC ET OUTLET
CONVECTION MODELS MUST NOT BE FITTED IN A BATHROOM
REFER TO BATHROOM / SPLASH PROOF & 1PX4 MODELS

IMPORTANT
The wires in the mains lead are coloured in accordance
with the following code:-
GREE & YELLOW - EARTH
BLUE - EUTRAL
BROW - LIVE
oConnect GREE & YELLOW wire to terminal marked E or
oConnect BROW wire to terminal marked L
oConnect BLUE wire to terminal marked
Standard Voltec heaters must NOT be used in the immediate surroundings of a bath,
a shower, or a swimming pool.
IF IN DOUBT – CONSULT A QUALIFIED ELECTRICIAN
The supply cord of this appliance cannot be replaced without opening the sealed panels
of the appliance. Should the supply cord become damaged DO OT USE the heater, but have it
removed (by a competent person) and arrange to return it to the manufacturer for the fitting of a
replacement lead at cost.
METHOD OF FITTING – WALL PANEL HEATERS
(Applies to Radiant/Convector & IPx4 rated models)
1.Select the correct place near a 13amp supply, ensuring that the warmed air will be able to circulate freely in
the room/area being heated.
DO NOT COVER WITH CURTAINS ETC
IPx4 rated heaters for use in bathrooms, kitchens etc.,may be fitted with a towel rail if specified when ordered.
Towels should only hang to the front of the heater and must not cover the heater completely.
2. Voltec heaters are primarily designed to be mounted vertically, however due to their unique design, may
also be mounted horizontally.
3. Decide on the orientation required. In the vertical and horizontal mounting, the switch must always be at the
bottom.
4. Referring to the illustrations below, measure the heater mounting centres.
5. Mark the wall in the required place – re-check the heater mounting centres. Use the mounting “T” brackets as
a template to determine the hole centres. When you are happy with the positions, drill the wall and fit the
appropriate rawlplugs.
(Please measure your heater to determine the mounting centres before commencing drilling.)
BATHROOM / SPLASH PROOF & IPX4 MODELS
This type of heater may be used in a bathroom, but special regulations apply,
including the requirement for RCD protection.
It is important that you consult a qualified electrician before installation.
© VOLTEC REF 02.2012
Voltec panel heaters
Installation Guide

6. Turn the lower securing tag(s) down.
7. When all the wall brackets are fixed you can now mount the heater onto the brackets.
8. All heaters have a security tag(s) along the bottom edge which should be fixed after the heater is placed on the wall
mountings.
A Screw (no 6), red Rawlplug and nylon spacer which fits between the tag and the wall is supplied in the fixing kit (larger heaters
may have 2 tags). On all heaters the tags are already attached to the heater and need rotating down to the fixing position.
Rotating the tag down allows the drilling point to be marked, then rotate the tag clear to drill the hole (6mm x 40mm) for the
red Rawlplug. Insert the Rawlplug, rotate the tag back over the Rawlplug, insert the spacer between the tag and the wall and
insert the no 6 long screw through tag and spacer – screw in until tight.
Dimension D
Dimension A
Dimension BDimension C
Dimension E
The top brackets are the primary location, the lower brackets are
the secondary location, and may not always be required on
smaller panels. In all cases the lower securing tag must be fitted. Fit additional
10mm nylon
spacers
Dimension D
Dimension A
Dimension BDimension C
Dimension E
© VOLTEC REF 02.2012
Dimension D
Dimension A
Dimension BDimension C
Dimension E
Voltec panel heaters
Installation Guide
Vertical
Mounting
Vertical Installation
Horizontal
Installation
Dimension D
Dimension A
Dimension BDimension C
Dimension E
Horizontal Mounting
Fixing Dimensions
Prod Code Model Height Width Dimension A Dimension B Dimension C Dimension D Dimension E
VOL013050050
Voltec 500/500 Electric Radiator
500 500
250 131 181 171 136
VOL013075050
Voltec 750/500 Electric Radiator
500 750
250 130 180 421 134
VOL013100050
Voltec 1000/500 Electric Radiator
500 1000
250 148 198 571 136
VOL013150050
Voltec 1500/500 Electric Radiator
500 1500
250 131 181 1071 136
VOL013200050
Voltec 2000/500 Electric Radiator
500 2000
250 131 181 1571 136
VOL013100025
Voltec 1000/250 Electric Radiator
250 1000
172 148 198 571 108
VOL013150025
Voltec 1500/250 Electric Radiator
250 1500
150 148 198 1071 108
VOL013200025
Voltec 2000/250 Electric Radiator
250 2000
172 148 198 1571 108

10. Voltec heaters are primarily designed for vertical
installation. However the dual function mounting facility will
allow a horizontal installation. The safety tags supplied with
the heater will be as the heater was ordered. If a change of
mounting is required, then the safety tag(s) must be fixed to
the corresponding bottom edge. Remove the pozi head
screw(s) and re-attach the safety tag(s).
11. When the heater is securely fitted to the wall and
connected to a suitable power supply point, power can
then be switched on.
OPERATING
At this point the red switch on the heater should also be
switched on. The red switch should illuminate to confirm that
power is now available to the heater. If the switch does not
illuminate when operated, first ensure that the wall connection
is switched on. If that does not solve the problem, then we
recommend that you consult your electrician.
AUTOMATIC/REMOTE CONTROL
For wireless operation refer to the instructions
provided with the WCT 100/TX programmable
thermostat.
Manual control (when shipped from the factory)
ear to the red switch referred to above, there is an LED which
lights up red to indicate that the heater is warming up. The
panel surface temperature is factory preset. Please note, that in
manual control, your heater will not automatically control room
temperature.
If the LED shows green, and the heater does not warm up, it
means that it may need to be set to operate in manual mode by
following this procedure:
A: If the panel is on, switch it off.
B: Switch it on for about three seconds then switch it off
again. Do this 5 times in succession, and your heater
should be back in manual control.
In manual operating mode the heater can be switched on and
off by using the power switch on the heater, or via the supply
point. Should you in future require automatic room temperature
and/or time control, then a WCT100/TX control may be
purchased separately. Full instructions would be provided to
enable the heater to be connected wirelessly.
12. To clean, simply wipe with a damp cloth, but do not allow
any water to enter the top of a heater that has grilles.
Brushed stainless steel heaters often clean well when
wiped with a soft cloth and a little baby oil.
13. Safety - Overheating
All heaters are fitted with a thermal safety fuse. If the heater
severely overheats then the thermal fuse will fail. When
that occurs the heater will not operate and must be
returned to the manufacturer for repair and servicing.
14. After sales service
Voltec panel heaters have a 2 year warranty. Within this
period Voltec will repair or exchange this product free of
charge provided it has been installed and operated
correctly according to these instructions and has not been
subjected to misuse.
Your right under this guarantee are additional to statutory
rights.
For after sales service contact your supplier or Voltec help
on 01268 546775. It would assist processing your call if
you can have available the model type, serial number, date
of purchase, your supplier and some details of the fault.
Please do not return a product you consider faulty without
first obtaining returns approval.
© VOLTEC REF 02.2012
Voltec panel heaters
Installation Guide
9. Fixing kit contents
Standard Larger Heaters
2-“T” brackets 4 - “T” brackets
4- no 10 screws 8- no 10 screws
1- no 6 screw 2- no 6 screws
1- nylon spacer 2- nylon spacers
MHS Radiators Limited,
3 Juniper West, Fenton Way, Southfields Business Park,
Basildon, Essex SS15 6SJ
Tel: 01268 546700 Fax: 01268 888260
orders@mhsradiators.co.uk
www.mhsradiators.co.uk
SALES OFFICE - 01268 546700
AFTER SALES SUPPORT - 01268 546775
This manual suits for next models
16
Other MHS Boilers Heater manuals
