Midland STREET GUARDIAN NIGHT User manual

VIDEOCAMERA DA AUTO
CAR CAMCORDER
KFZ-KAMERA
CAMÉSCOPE DE VOITURE

1
ENGLISH
About this Guide
The content in this document is for information purpose and is subject to change without prior notice.
We made every eort to ensure that this User Guide is accurate and complete. However, no liability is
assumed for any errors and omissions that may have occurred.
The manufacturer reserves the right to change the technical specifications without prior notice.
Introduction
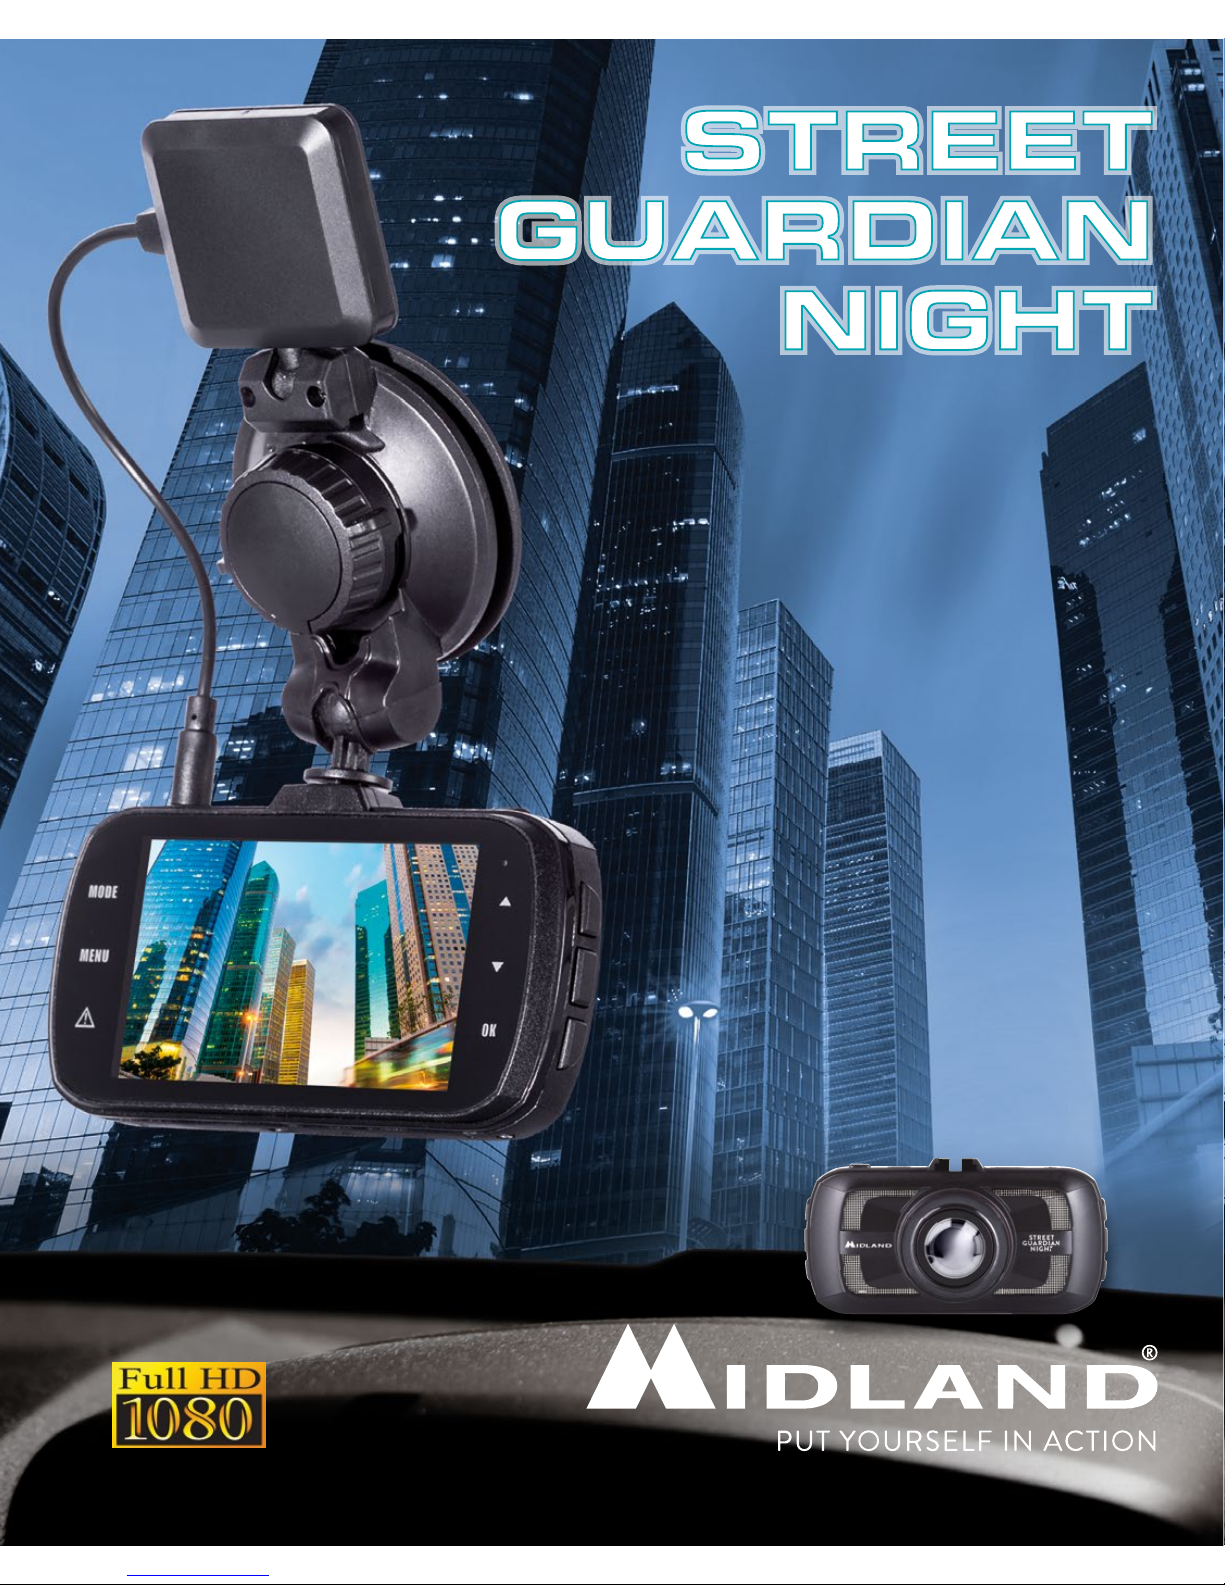
Thank you for purchasing STREET GUARDIAN NIGHT, the FULL HD car DVR.
STREET GUARDIAN NIGHT is a robust and compact car camcorder, with a stylish and modern desi-
gn, that is able to record whatever happens while you are driving. A reliable witness in case of accidents
or unforeseen events.
This product is based on maintaining the original appearance of the vehicle and does not aect your
driving and the view.
If compared to the other car camcorders, STREET GUARDIAN NIGHT stands out for its exclusive
design and elegant appearance, and perfectly fits inside the vehicle.
Main functions:
• FULL HD car camcorder
• Super video resolution: HD 1080P
• HDR (High Dynamic Range) videos
• Clear images during the night or in poor light conditions
• ADAS (Advanced Driving Assistance System) feature
• G Sensor
• Files protected in case of emergency
• Audio data saving
• HDMI output, etc.
Warnings
• This manual includes details on how to use the device, its working, technical specifications and pre-
cautions. We recommend to carefully read it before using the camera and keep it for the future. We
trust that this car dvr will meet your needs for a long time!
• Do not use the camera in damp conditions. STREET GUARDIAN NIGHT is not waterproof, so
please do not expose it to water or rain.
• Do not try to open the shell and repair it: this will void the warranty. If you experience problems, go
to the professional service centre for repairing.
• To clean the camera do not use thrill chemical substances or clean solvents, but only a moist soft
cloth.
• To avoid aecting the videos, do not use STREET GUARDIAN NIGHT in presence of excessive
dust or fog.
• At the end of its life, do not discard the camera randomly and do not throw it into the fire, it may
explode.

2
• The results of GPS positioning are only for reference, and should not aect the actual driving situa-
tion. The feature cannot ensure the location accuracy.
• GPS location accuracy may dier depending on weather and location such as high buildings, tun-
nels, undergrounds, or forests. GPS satellite signals cannot pass through solid materials (except
glass). Tinted window may aect the performance of the GPS satellite reception.
• This camera is intended for non-commercial use, within the limits permitted by applicable law. The
company is NOT responsible for the loss of any data/content during operation
• Due to local laws and vehicles safety considerations, do not manually operate the device while dri-
ving
What’s in the box
• Street Guardian Night car camcorder
• Suction cup with GPS
• 12V charger with cigarette lighter plug
• Cable for the connection to PC
Notes on Installation
• Install the device near the rear-view mirror to obtain the best open-field view. Do NOT install the
camcorder in a location that will obstruct your required driving view.
• Make sure that the lens is within the wiping range of the windscreen wiper to ensure a clear view
even when it rains.
• Do not touch the lens with your fingers. Finger grease may be left on the lens and will result in
unclear videos or snapshots. Clean the lens on a regular basis.
• Do not install the device on a tinted window. Doing so may damage the tint film.
• Make sure that the installation position is not hindered by the tinted window.

3
ENGLISH
Description of the controls
1 2 3 4 5
910
6
7
8
11
12
13
14 15 16
17

4
Ref. Name Function Description
1GPS connector GPS connector When the GPS function is activated, the relative icon
appears on the display. This GPS shows tracking of the
longitude and latitude while driving, without navigation
function.
2. HDMI interface High definition
output To view videos and photos connect the camera to HD
television by HDMI cable
3. GPS support Mount the support Mount the support on the camera
4. USB port Storage/charging 1. Connect the USB cable for auto recording, and view
the video/photo.
2. Connect the USB cable for auto charging
3. Connect the USB to PC to download photos/videos
5. Power/Taking
photo button Power on/o and
take photos 1. Power on: Short press to turn on and the red indication
will light on
2. Power o: Long press to turn o and the red indication
will light o
3. Take photos: In the photograph mode, short press to
take photos
4. Screen shot: in the video mode, while recording, short
press MODE button to screen shot of the current
figure
5. In video/playback mode: short press to toggle between
locked and unlocked folder
6. Mode Switch amongst
photo/recording/
playback
1. In the video mode: short press once to switch to
photograph mode
2. In the photograph mode: short press once to switch to
video/photo playback mode
3. In the video/photo playback mode: short press once to
switch to video mode
4. In the menu mode: short press to toggle between
General settings and mode settings and viceversa
7. Menu Photograph/
record/ playback,
functions setting
1. In video mode: short press once to switch to video
setting
2. In the photograph mode: short press once to switch to
photograph setting
3. In the video/photo playback mode: short press once to
switch to playback setting

5
ENGLISH
8. SOS Emergency
Button Press to lock the
file Press to lock the file while recording.
NOTE: when you press the SOS button, the camera creates
a new file in locked folder.
After 1 minute the camera will return to record in
unlocked folder
9. LCD DISPLAY
10. LED
11. Up Up/
Turn on/o the
audio recording
function
1. In the menu mode: Up
2. In the video mode: short press to turn on/o the audio
recording
12. OK / REC 1.Video start/stop
2.Photograph
function
3.Menu
confirmation
1. In the video mode: short press to start recording, short
press again to stop recording
2. In the photograph mode: short press to confirm taking
a photo
3. In the menu mode: set and confirm
13. Down Down In the menu mode: Down
14. Microphone
15. TF card slot Micro SD card slot Insert the micro SD card into this slot
16. Reset Reset 1.short press to reset. The camera turns o.
17 Lens Lens

6
Getting Started
Inserting the Memory Card
1. Insert the memory card with the gold contacts facing the back of the camcorder. Push the memory
card until it clicks into place.
2. To remove the memory card: push to eject the memory card out of the slot.
Note:
Do not remove or insert the memory card when the device is powered on. This may damage the memory
card.
Use class 10 micro SD cards for this camcorder.
It is recommended to format the micro SD cards before the initial use.
Installing in Vehicles
Mount to Windshield
1. Attach the bracket to the device. Slide it into the bracket holder until you hear a click.
2. With the suction-cup laying flat, position the suction-cup on the windshield.
Charge and power on/o instructions
Charging
1. To power up the device and charge the built-in battery use only the supplied car adapter or USB
cable.
2. Connect one end of the car adapter to the USB connector of the camcorder.
3. Plug the other end of the car charger to the cigarette lighter socket of your vehicle. Once the vehi-
cle engine is started, the camcorder automatically powers on.
Attention: in some vehicles the cigarette lighter has no outage after the vehicle turns o, this means that
the automatic turning on/o is not possible. Therefore the camera must be manually switched on/o.
Note
The blue led lights up while the battery is being charged (a complete recharge takes about 120 minutes).
Then the led will turn o.
Auto power on/o
After STREET GUARDIAN NIGHT has been connected to vehicle’s power, it will automatically start
recording at the turning on of the vehicle and will automatically stop recording when the vehicle is
turned o.
Attention: in some vehicles the 12V plug does not switch o the power when the engine is turned o, the-
refore the automatic turning on and o cannot be done. You have to do it manually.
Manual power on/o
1. Press shortly the Power button: the red indication will light up.

7
ENGLISH
2. Enter the video mode, press long the Power button again: the red led will turn o.
Attention: in case of very low battery, the camera will emit an acoustic sound and then switch o.
Recharge
To recharge the car camcorder connect it to the PC by means of the USB cable.
The camera however, must be always powered while in use : in standby conditions the battery life is
about 10 minutes; if you use it for a longer time, it must be powered through the cable.

8
Basic operation instructions about photo/video/playback
Video mode and recording
• Press the MODE button until enter to video mode: , there is a video recording icon shown on the
top left corner of the LCD;
• Short press the OK/REC button to start recording, the red video indication light starts flashing,
indicating that the DVR is recording. To stop recording, short press again the OK/REC button.
Photo mode
• Short press the MODE button to switch to photo mode: on the top left corner of the LCD the
relevant icon will appear;
• short press Power or OK/REC to take photos. The LCD will be flash one time.
Attention: The camera can take up to 50 photos max.
Video/photo playback mode
1. Press shortly the MODE button twice to switch to playback mode: the playback icon will appear in
the upper left corner of the LCD.
2. Press shortly the Power button to switch from locked to unlocked folder and viceversa.
3. To select the desired file use the UP/DOWN control.
4. Press OK to enter the single file playback.
Menu settings
Video settings
1. After turning on the camera, enter the video mode: the video icon will be shown on the top left

9
ENGLISH
corner of the LCD;
2. press shortly the MENU button once to switch to the video setting: the video blue icon will appear
on the top right corner of the LCD.
3. The following setting options are available on the display:
• Video resolution
• Image quality
• Advanced driving assistant system detection
• Motion detection
• G sensor
• Parking mode
• Split Record
• Microphone deactivated
• Anti-flicker
4. Use the UP/DOWN controls to browse the setting options, press OK to enter the setting, select
the desired option with UP/DOWN and confirm with the OK button.
Attention: during the video recording it is not allowed to enter the MENU; first stop recording.
Video resolution: 1920*1080 60P 1920*1080 30P HDR 1920*1080 30P
HDR (High Dynamic Range) is a technique able to reproduce a greater range of luminosity, it makes
your videos brighter and the colors more intense. HDR improves the contrast while shooting a video
and is very useful in poor light conditions, for example if a person is located in a dim place or if you are
shooting a landscape.
Image quality: Super fine / Fine / Normal
Advanced Driving Assistant System (ADAS) detection: on/o. This function is disabled by default. We
suggest you activating it in case you want to use and enable the LDWS and FCWS features described
here below.
Advanced Driving Assistant System (ADAS):
• LDWS - Lane Departure Warning system: when the vehicle exceeds the white lines during changing
lanes, this feature will warn the driver.

10
• FCWS - Front Collision Warning system: the driver will be advised 3 seconds before a possible
dangerous event happens, in case of excessive reduction of the braking distance.
Motion detection: On/O. This function is disabled by default. Before activating or enabling it, you
have to select “Auto o” OFF (Automatic switching o).
With the motion detection feature the camera automatically starts recording everytime a movement is
picked up: either a person or an object; and will stop recording as soon the motion stops.
Important: the motion detection picks up evident movements and not the little ones; therefore this may
cause a chopped recording because little motions are not detected.
G sensor setting: O / High / Medium / Low
When the G sensor is enabled, in case of car collision it will automatically save and lock the file.
Parking mode: On/O. This function is deactivated by default.
To activate it, set “Parking Mode” in the menu setting and select ON.
When the vehicle vibrates owing to a collision the camera will automatically turn on and starts recording.
STREET GUARDIAN NIGHT will be recording for 1 minute and the file will be locked and protected
from being overwritten by cycle recording.
Split (loop) Record Mode: O / 1min / 3min / 5min
When this mode is OFF, the camera stops recording when the micro SD card is full.
If this function is enabled, the car camcorder continues recording deleting the older videos. The videos
protected by overwriting won’t be deleted.
Microphone on/o. This option is activated by default.
The camera records video with audio; when this mode is OFF, it will record only videos.
Anti-flicker: 60Hz 50 Hz
System settings
Turn on the car camcorder and enter the video mode: the video icon will appear on the top left corner
of the LCD.
Shortly press the MENU button to open the video settings, then press the MODE control to switch to
system settings: a blue gear icon will be shown on the top right corner of the LCD.
The following settings are available:
• Language
• ID driver
• Time/date
• Time zone
• Stamp
• Format
• Reset
• Auto power o
• SD card info
• Tone (beep sound)
• Display back light o
• Over speed warning setting
• Version information

11
ENGLISH
Operation:
1. Press shortly the Up/Down button to browse the setting options
2. Press OK to enter the setting and select the desired option with Up/Down
3. Confirm your selection with OK; if you don’t want to save the modification, exit the setting by
pushing MENU.
Language setting: select the desired language
Driver ID setting: Insert your ID: use the Up/Down buttons to change a letter, OK to change position
(9 positions), MENU to save and exit
Time/date setup: set year/month/day and time. Use the MODE button to change field and Up/Down
to change value
Time zone setting: set your time zone. Use the MODE button to change field and Up/Down to change
value
Stamp: date time Driver ID (O by default). OK to select the option and MENU to save and exit
Format: choose or . Choose to format and means no;
Default setting: choose or . Choose to reset to default parameters and means no;
Auto power o setting: O / 1 minute / 3 minutes / 5 minutes
If no button is pressed within the set period, the unit will turn o.
Audio volume (shown in playback mode only): set the playback volume
SD card info: shows the memory status (total, used and free memory)
Beep sound setting: on/o. (default is on)
Display back light o setting: O / 1 minute / 3 minutes / 5 minutes
If no button is pressed within the set period, the unit will turn o.
Over Speed Warning setting: O 70Km/h 80Km/h 90Km/h 100Km/h 110Km/h 120 Km/h 140
Km/h
An alarm will be displayed if the vehicle exceeds the selected speed.
Firmware version: shows info about the firmware version

12
Photo setting
1. After power on, press the MODE button to switch to photo mode: the photo icon will appear on the
top left corner of the LCD; push MENU to enter the setting.
2. Two setting options are available: Photo resolution, Image quality.
3. To look at the options use the UP/DOWN buttons;
4. press OK to enter the setting and modify it with the UP/DOWN controls;
5. confirm your selection by pushing OK.
Photo resolution:
• 2M(1920x1080 16:9)
• 4M(2688×1512 16:9)
• 9M(4000×2250 16:9)
• 13M (4800×2700 16:9)
Image quality: Super fine / Fine / Normal
Playback setting
After power on, press shortly the MODE button twice to switch to the playback setting: the playback
icon will appear on the top left corner of the LCD; press MENU to enter the setting.
Two setting options are available: Play mode and Delete file.
• Press shortly the Up/Down button to browse the setting options
• Press OK to enter the setting and select the desired option with Up/Down
• Confirm your choice with the OK button.
Play mode setting: Play One / Play All / Repeat One / Repeat All (the default is: Play One)
Delete file: Delete the selected file / Delete all files (default is: Delete the selected file)

13
ENGLISH
Midland Player software: installation and use
If need check the GPS information , the Midland Player must be installed firstly.
Player software is stored in the internal memory of the unit.
1. Connect the unit to the PC via USB data cable
2. Open the PLAYER directory stored in the internal memory of the unit
3.Please copy the file to computer and install.
Using the player software:
1. Please open and install it for the first use.
2. Click “File” “Open” to choose the file which need play, and open the play mode directly, as below.

14
FAQ (Frequently Asked Questions)
Under normal operating conditions, if you experience problems with the device, please refer to the
following methods to solve.
Cannot take pictures and record
Please check whether there is enough space in the SD card.
Automatic stop while recording
Due to the huge amount of HD video data, please use high-speed 10 Class SD card, SDHC compati-
ble. The SD card must be supplied with C10 indication on it.
The LCD shows “wrong file” during the photo/video replay
Uncompleted files because of SD card storage error, please format your SD card.
Fuzzy image
Please check if the lens is dirty and clean it before shooting.
Dark image when shooting the scene of sky or water
Exposure can be wrong when there is big light dierence between the scene.
Minimum system requirements
Free space on disk 50 MB (for SW player setup)
Processor Dual core processor
RAM 4 GB
Requirements may vary depending on the Operating System in use.
SD
The high video quality of this camera requires a high data stream, so we recommend the use of Class10
SD card.

15
DEUTSCHE
Product specifications
Product Feature HD Camera, HD Recording
G-sensor Built-in (to save locked file when collision happens)
LCD Size 3.0 LTPS 16:9
Lens 150 Degree A+ HD ultra wide angle
Photo Pixel 13MP
Video Pixel 2MP
Lens Aperture F=2.0
Language English Dutch Polski Francais Español Italiano Deutsch
Portuguese
Video Format MP4
Video Resolution 1920*1080 60P 1920*1080 30P HDR 1920*1080
30P
Video Codec. H.264
Color Eect Standard
Loop Recording Recording with seamless, no leakage
Auto turn on/o while
vehicle power on/o Support turn on while vehicle starts and turn o while
vehicle turns o.
Motion Detection Support
Year/Month/Day/Hour/Minute Support
Photo Pixel 2M 4M 9M 13M
Photo Format JPEG
Memory card TF (Support Max 64GB )
MIC Support
Built-in Speaker Support
GPS Yes
ADAS Function LDWS,FCWS
USB Function Storage/Charging
Power Interface 5V 1.5A
Battery Built-in polymer Battery 400mA
Park Mode Support
Normal operating temperature range 0°to 60°
Weight 116gr
Size 98x50x15mm

16
WARNING: Direct plug-in ac/dc power supplì must be used for disconnecting the device from the mains;
the deskotp charger must be positone closet o the unit and easily accessibly.
To download further updatings and for information about the warranty please visit www.midlandeurope.
com

Prodotto o importato da:
CTE INTERNATIONAL s.r.l.
Via. R.Sevardi 7- 42124 Reggio Emilia Italia
www.midlandeurope.com
Prima dell’uso leggere attentamente le istruzioni.
Produced or imported by:
CTE INTERNATIONAL s.r.l.
Via. R.Sevardi 7 42124 Mancasale Reggio Emilia Italy
Imported by:
ALAN - NEVADA UK
Unit 1 Fitzherbert Spur Farlington Portsmouth Hants.
P06 1TT - United Kingdom
www.nevada.co.uk
Read the instructions carefully before installation and use.
Importado por:
ALAN COMMUNICATIONS, SA
C/Cobalt, 48 - 08940 Cornellà de Llobregat (Barcelona - España)
Tel: +34 902 384878 Fax: +34 933 779155
www.midland.es
Lea atentamente las instrucciones antes de usar el equipo.
Vertrieb durch:
ALAN ELECTRONICS GmbH
Daimlerstraße 1K - D-63303 Dreieich Deutschland
www.alan-electronics.de
Vor Benutzung Bedienungsanleitung beachten.
ALAN FRANCE S.A.R.L
5 rue Ferrié - ZAC des portes du Vexin - 95300 Ennery - France
Tél : 01.34.21.46.90 - SAV : 01.34.21.46.92
www.alan-midland.fr
Table of contents
Other Midland Dashcam manuals