manuals.online logo
Brands
  1. Home
  2. •
  3. Brands
  4. •
  5. MIDWEST FASTENERS
  6. •
  7. Welding System
  8. •
  9. MIDWEST FASTENERS EAGLE Troubleshooting guide

MIDWEST FASTENERS EAGLE Troubleshooting guide

Quick Startup Guide
MIDWEST FASTENERS, INC.
Solid State — Capacitor Discharge
Pin Welding System
for ACCESSORIES
and SPARE PARTS
see:
VOLTAGE SETTINGS
The chart settings shown below are “reference” settings to be used as
starting points. Actual voltage settings may vary depending upon the
conditions or each application and use.
MIDWEST FASTENERS
800-852-8352
Toll Free: 800-852-8352 • Fax: 937-866-4174
www.midwestfasteners.com
CD STUD WELDING ACCESSORIES
SPECIFICATION GUIDE
SET-UPS
STANDARD
Adjustable and with spark
shield, for Pins or Studs.
COLLET PROTECTOR
Fixed, for Pins.
CUP HEAD CHUCK
For all Cup Head Pins.
TEMPLATE ADAPTOR
For precise location of studs.
Your MIDWEST FASTENERS welder is designed for long service with
minimal care. Ordinary common sense maintenance will keep it operating
efficiently. The following are a few tips on preventive maintenance.
1. Treat the cables with respect. Avoid sharp bends or kinks which may
break the cables. DO NOT use the cables as a “towline” to drag or lift
the controller. Avoid damaging or straining the cables at connectors
where they enter the gun or controller. Never tie-off or heavily pull on
cables in any way.
2. Unit fan and louvers on the sides of the controller should be free from
obstructions at all times to prevent overheating.
3. Keep the controller and gun clean and dry as well as free of grease,
moisture, dust and dirt. Do not lubricate any part of your Eagle
weld gun.
4. The weld gun is for welding pins and studs only. Do not use the weld
gun as a multipurpose tool (i.e., Hammer—banging pins to test welds
or break studs, Scraper—removing rust, scale or weld splatter, etc.)
When troubleshooting the Eagle, the following precautions must be observed.
1. Controller power must be TURNED OFF and unplugged!
PREVENTIVE
MAINTENANCE
TROUBLESHOOTING
8 ©2005 MIDWEST FASTENERS, INC. — Eagle Pin Welding System
Aluminum
Aluminum
Insulation Pin
Weld Studs
(Flanged)
E) Good, clean accessories and work surface to be welded, with proper
setup of all accessories.
Pin/Stud Type Pin/Stud Dia Pin/Stud Mat’l. Voltage Setting
12 GA Mild Steel 75-85
10 GA or Stainless 85-95
12 GA 110-120
10 GA 120-130
#10 or 3/16" Mild Steel 120-130
1/4" or Stainless 145-155
#8 120-130
#10 or 3/16" 130-140
NOTE: Be sure that proper observation of all safety precautions are
in place before performing the next step.
Eagle Gun Setup
INSULATION PINS
WITH COLLET PROTECTOR
Eagle Gun Setup
INSULATION PINS
(Fig. 1) (Fig. 2)
Weld
Pin
1. Seat weld pin firmly against stop.
2. Loosen these adjustment screws.
3. Slide the Leg / Foot assembly until
weld pin flange extends 1/8"- 3/16"
beyond foot (or spark shield.)
4. Retighten adjustment screw.
Adjustable
Leg
Foot
1/8"- 3/16" Protrusion
“B”
Collet
Spark
Shield
(Optional)
“B”
Stop
Weld
Pin
1. If “B” Stop is used, seat weld pin firmly
against stop.
2. Loosen these adjustment screws.
3. Slide the Leg / Foot assembly until
weld pin flange extends 1/8"- 3/16"
beyond foot (or spark shield.)
4. Retighten adjustment screw.
Adjustable
Leg / Foot
1/8"- 3/16" Protrusion
“B”
Stop
(optional)
“B”
Collet
(inside
Protector)
Collet
Protector
Collet
Protector
Insert
11 ©2005 MIDWEST FASTENERS, INC. — Eagle Pin Welding System
Continues, next page. >
3. Circuit Breaker trips when
weld is made.
4. Welder turns on, but
does not operate.
A. Shorted charge SCR.
B. Faulty printed circuit (PC) board.
A. Open circuit in weld or ground
cables.
B. Open circuit in trigger cable or
defective trigger switch.
C. Capacitors not charging.
replace transformer.
Check with ohmmeter. (Should not
show continuity in either direction.)
Replace if defective.
Repair or replace PC board.
With cables plugged into welder, touch
collet or chuck to grounded surface.
Check for “Contact” (yellow) light.
If light does not come on, repair or
replace defective cables. (NOTE:
DO NOT trigger gun while in
contact with grounded surface.)
With cables plugged into welder, hold
gun away from grounded surface
and depress trigger button. Check
for “Trigger” (green) light. If light
does not come on, repair or replace
defective trigger switch or control
cable assembly.
Check for indication of capacitor charge
on voltmeter. Replace PC board if
no charge is actually occurring.
EAGLE INSTALLATION
Eagle Components
Controller
CDSW-005-00
Weld Gun
CDWG-201-06T
Ground Cable
CDGC-200-15
WELDVOLTAGE
MINMAX
VOLTAGE
CONTACT
TRIGGER
CONTROLGUN
GROUND
READY
13 ©2005 MIDWEST FASTENERS, INC. — Eagle Pin Welding System
EAGLE GUN
SPECIFICATIONS
Weight...............................1.6 pounds
(not including cables)
Pin/Stud Range .................14 ga. – 1/ 4" dia.
Weldable Materials ...........Mild Steel, Stainless,
and Aluminum
Material ............................High strength, impact
resistant, polycarbonate
Dual Cable Length............35'
5

"
4


"
2

"
Follow the process below to properly install your Eagle pin welder.
1. Carefully remove the controller, cables and weld gun from the shipping
packaging.
2. Set the Controller on a clean, dry, sturdy surface near an appropriate
voltage supply and the workpiece.
Eagle Cable Connections
Controller
Weld Gun
Ground
Cable
Weld
Pin
1. If “B” Stop is used, seat weld pin firml
y
against stop.
2. Loosen these adjustment screws.
3. Slide the Leg / Foot assembly until
weld pin flange extends 1/8"- 3/16"
beyond foot.
4. Retighten adjustment screw.
Adjustable
Leg / Foot
1/8"- 3/16" Protrusion
“B”
Stop
(optional)
“B”
Collet
(inside
Protector)
Collet
Protector
Collet
Protector
Insert
MIDWEST FASTENERS
800-852-8352
MIDWEST FASTENERS
800-852-8352
Remove the controller, cables and weld gun from the shipping packaging.
Connect the Cable connectors to the controller as marked: “GROUND”
or “GUN”.
NOTE: All cables should be
laid out straight or in a random
fashion.
CD-2 WELD GUN
SETUP
WELD PINS
CD-2 WELD GUN
SETUP
INSULATION PINS
WITH
COLLET PROTECTOR
PARTS
MIDWEST FASTENERS INC.
SETUP

Other manuals for EAGLE

1

This manual suits for next models

3

Other MIDWEST FASTENERS Welding System manuals

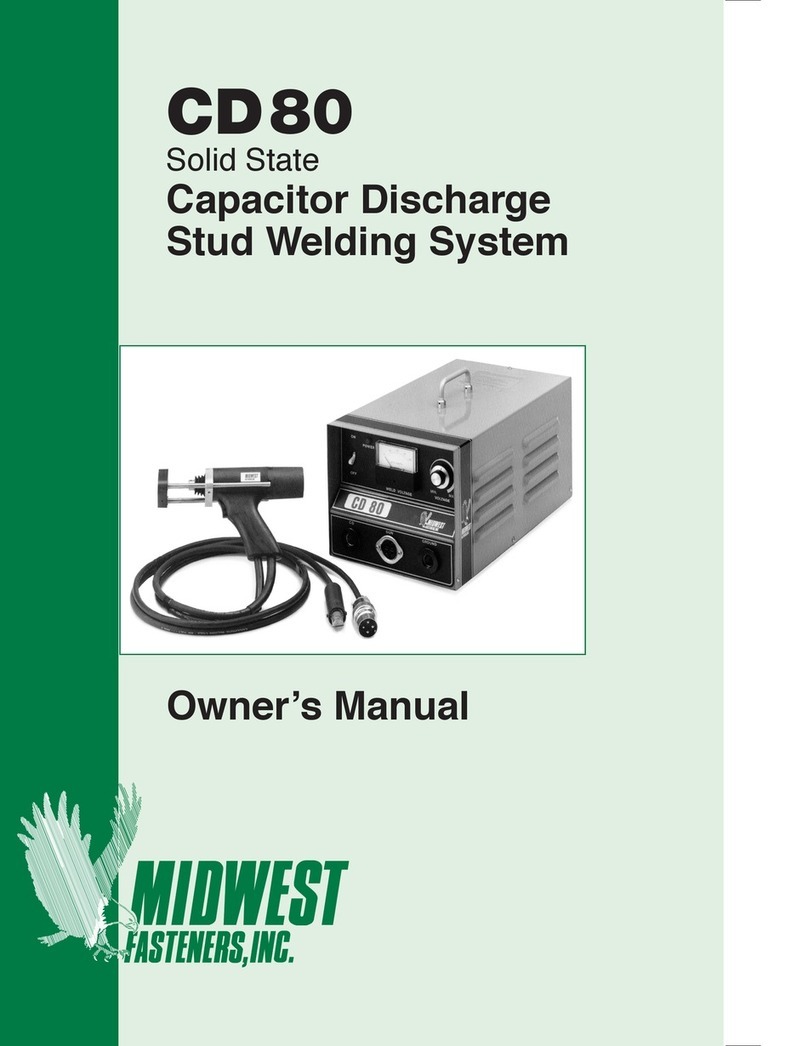
MIDWEST FASTENERS CD80 User manual

MIDWEST FASTENERS

MIDWEST FASTENERS CD80 User manual

MIDWEST FASTENERS CD50 User manual

MIDWEST FASTENERS

MIDWEST FASTENERS CD50 User manual

MIDWEST FASTENERS EAGLE User manual

MIDWEST FASTENERS

MIDWEST FASTENERS EAGLE User manual

MIDWEST FASTENERS CD 100 User manual

MIDWEST FASTENERS

MIDWEST FASTENERS CD 100 User manual

MIDWEST FASTENERS SURE SHOT II User manual

MIDWEST FASTENERS

MIDWEST FASTENERS SURE SHOT II User manual

MIDWEST FASTENERS UA500 User manual

MIDWEST FASTENERS

MIDWEST FASTENERS UA500 User manual

MIDWEST FASTENERS sureshot User manual

MIDWEST FASTENERS

MIDWEST FASTENERS sureshot User manual

MIDWEST FASTENERS TALON User manual

MIDWEST FASTENERS

MIDWEST FASTENERS TALON User manual

Popular Welding System manuals by other brands

Fujikura 70S instruction manual

Fujikura

Fujikura 70S instruction manual

Magmaweld megaMIG user manual

Magmaweld

Magmaweld megaMIG user manual

Linde BOC RAPTOR 140 MMA operating manual

Linde

Linde BOC RAPTOR 140 MMA operating manual

Kemppi Kempomat 2500 operating manual

Kemppi

Kemppi Kempomat 2500 operating manual

BossWeld 200X manual

BossWeld

BossWeld 200X manual

Yeswelder CT2050 Operator's manual

Yeswelder

Yeswelder CT2050 Operator's manual

Unitor UWI 202 owner's manual

Unitor

Unitor UWI 202 owner's manual

Miller XMT 350 FieldPro owner's manual

Miller

Miller XMT 350 FieldPro owner's manual

stayer POTENZA HD TIG170 HF GE operating instructions

stayer

stayer POTENZA HD TIG170 HF GE operating instructions

Draper MWD100AGL instructions

Draper

Draper MWD100AGL instructions

GÜDE GIS 161 Translation of the original instructions

GÜDE

GÜDE GIS 161 Translation of the original instructions

Miller Electric Big Blue 401DXQ owner's manual

Miller Electric

Miller Electric Big Blue 401DXQ owner's manual

Lampert DENTA PUK operating instructions

Lampert

Lampert DENTA PUK operating instructions

Miller Electric MP-75E owner's manual

Miller Electric

Miller Electric MP-75E owner's manual

Magmaweld Monostick 200i user manual

Magmaweld

Magmaweld Monostick 200i user manual

Sealey MIGHTYMIG100.V3 manual

Sealey

Sealey MIGHTYMIG100.V3 manual

Denyo DN-C-50-4-06 instruction manual

Denyo

Denyo DN-C-50-4-06 instruction manual

Pro Spot i4 instruction manual

Pro Spot

Pro Spot i4 instruction manual

manuals.online logo
manuals.online logoBrands
  • About & Mission
  • Contact us
  • Privacy Policy
  • Terms and Conditions

Copyright 2025 Manuals.Online. All Rights Reserved.