Miele DGC 6800 User manual

Operating and installation instructions
Built-in coffee machine
CVA 6800 (C)
To avoid the risk of accidents
or damage to the machine,
it is essential to read these
instructions before it is installed
and used for the first time. M.-Nr. 09 549 860
en-GB

Disposal of the packing
material
The packaging is designed to protect
the appliance from damage during
transportation. The packaging materials
used are selected from materials which
are environmentally friendly for disposal
and should be recycled.
Recycling the packaging reduces the
use of raw materials in the
manufacturing process and also
reduces the amount of waste in landfill
sites.
Disposal of your old machine
Electrical and electronic machines
often contain valuable materials. They
also contain materials which, if handled
or disposed of incorrectly, could be
potentially hazardous to human health
and to the environment. They are,
however, essential for the correct
functioning of your machine. Please do
not therefore dispose of it with your
household waste.
Please dispose of it at your local
community waste collection/recycling
centre, or contact your Dealer for
advice. Ensure that it presents no
danger to children while being stored
for disposal.
Caring for the environment
2

Caring for the environment..........................................2
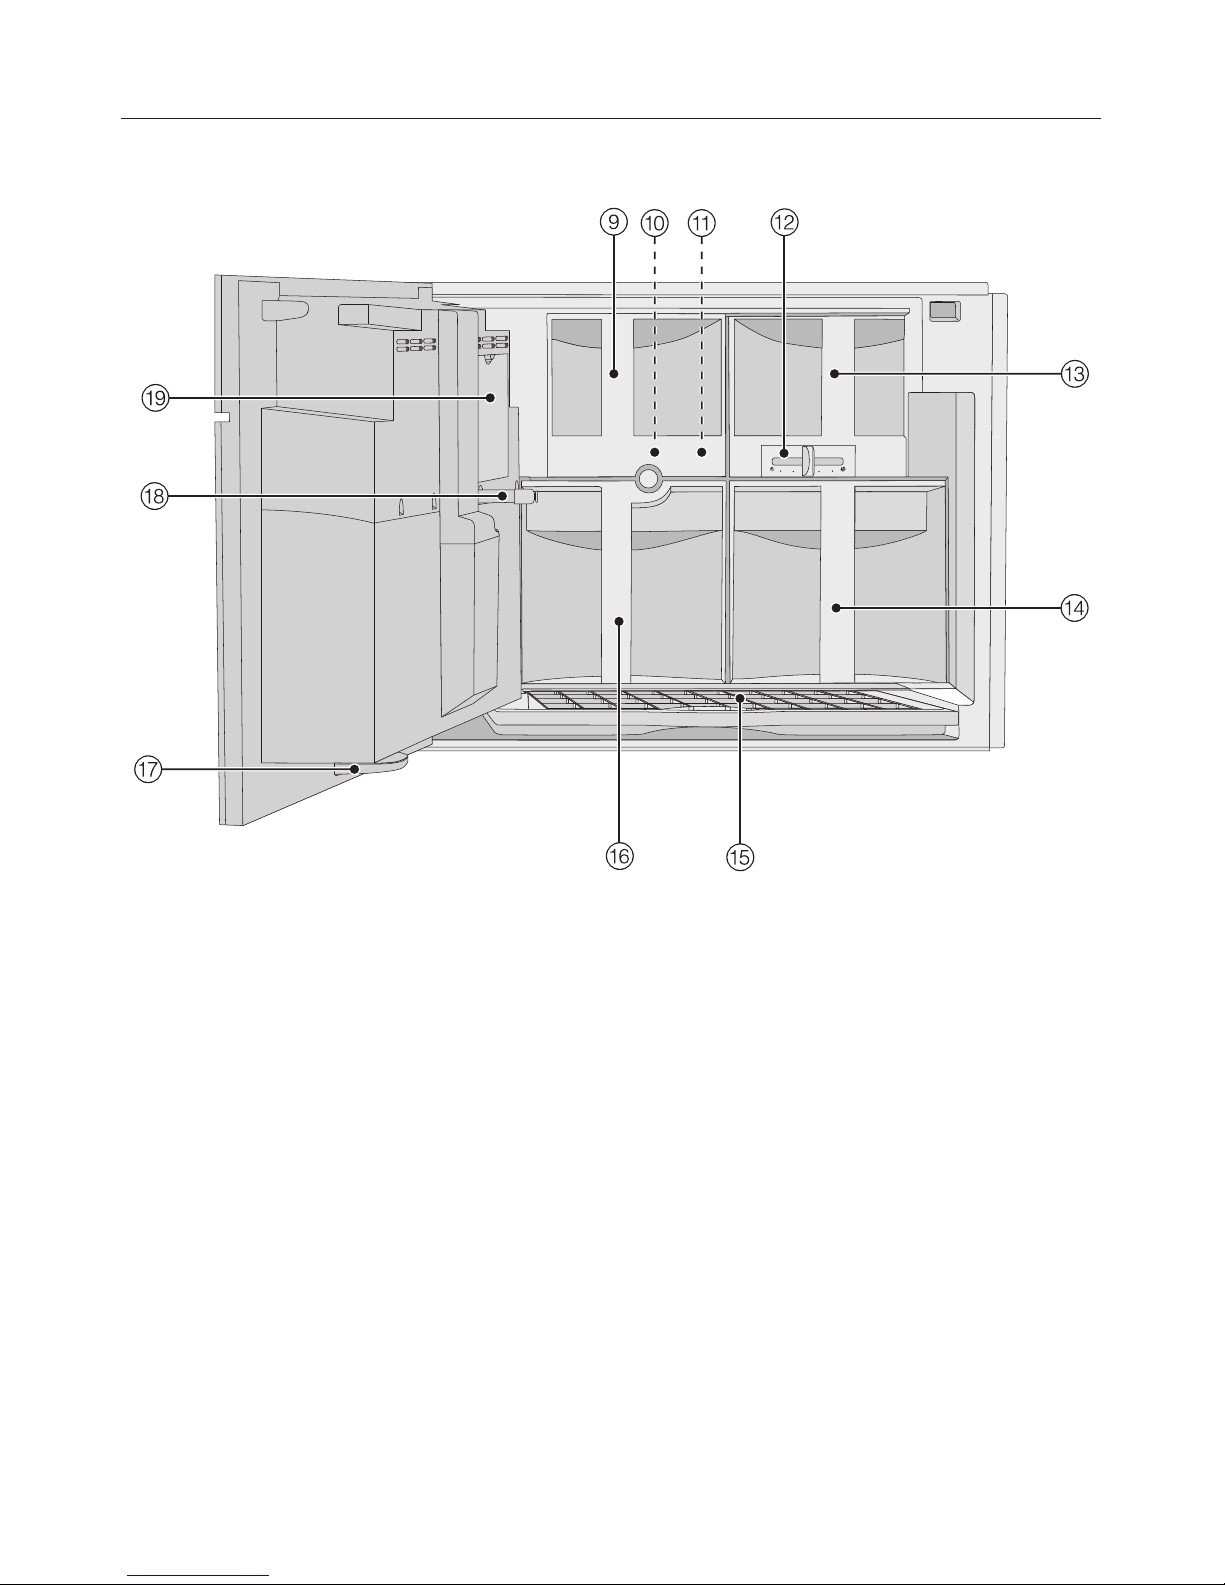
Guide to the machine ..............................................6
Accessories ......................................................8
Warning and Safety instructions .....................................9
Operation .......................................................17
Using for the first time.............................................21
Before using for the first time.........................................21
Switching on for the first time.........................................21
Water hardness ...................................................22
Filling the water container .........................................24
Filling the coffee bean container ....................................25
Switching the coffee machine on and off .............................26
Spout adjustment (CupSensor) .....................................27
Making drinks....................................................28
Espresso, Coffee or Long coffee ......................................28
Making two portions................................................28
Cancelling preparation .............................................29
Dispensing several cups of coffee one after the other (Coffee pot ²).........29
Making espresso and coffee using ready ground coffee ...................29
Drinks with milk ...................................................31
Milk flask ......................................................31
Dispensing hot water ...............................................32
Making drinks using a profile.........................................32
After making drinks ................................................32
Coffee the way you like it ..........................................33
Grinder setting ....................................................33
Altering the drinks parameters .......................................34
Amount of coffee ..................................................34
Brewing temperature ...............................................34
Pre-brewing the coffee .............................................35
Setting the portion size ............................................36
Setting the portion size .............................................36
Resetting drinks..................................................38
Contents
3

Setting up profiles ................................................39
Calling up a profile.................................................39
Creating a profile ..................................................39
Selecting a profile .................................................39
Changing the name ................................................39
Deleting a profile ..................................................40
Changing a profile .................................................40
Processing drinks for a profile ......................................41
Creating a drink ...................................................41
Changing a drink: changing the portion size(s), drinks parameters and names . 41
Deleting a drink ...................................................41
Settings.........................................................42
Calling up the "Settings" menu........................................42
Changing and saving settings........................................42
Possible setting options.............................................43
Language........................................................45
Time ...........................................................45
Date ............................................................45
Timer ...........................................................46
Eco mode........................................................47
Lighting .........................................................48
Info (Display information)............................................48
Locking the coffee machine (System lock 0)............................48
Water hardness ...................................................49
Brightness .......................................................49
Volume ..........................................................49
Plate warmer .....................................................49
Spout adjustment..................................................49
Factory default ....................................................50
Demo mode (Showroom programme) ..................................50
Contents
4

Cleaning and care ................................................51
Quick guide ......................................................51
Rinsing the coffee machine ..........................................53
Milk pipework.....................................................53
Rinsing the milk pipework manually .................................53
Cleaning the milk pipework using the cleaning agent for milk pipework .....54
Milk flask and lid ..................................................55
Central spout .....................................................56
Conditioning the milk valve ..........................................58
Sensor cover .....................................................58
Water container ...................................................59
Waste container ...................................................59
Drip tray ........................................................60
Drip tray cover ....................................................61
Coffee bean container ..............................................61
Central spout connector ............................................61
Interior and machine front ...........................................62
Brew unit ........................................................62
Machine front .....................................................65
Descaling .......................................................66
Problem solving guide ............................................68
Cleaning blockages from the milk pipework...........................77
After Sales / Guarantee ............................................80
Saving energy ...................................................81
Electrical connection U.K., ZA, IRL ..................................82
Installation ......................................................83
Building-in and combination options ...................................83
Ventilation .......................................................84
Installation .......................................................84
Adjusting the hinges ...............................................86
Copyright and licences ............................................87
Contents
5

Exterior view
aOn/Off sensor K
bTouch display
c"Back" #sensor
dHandle
eHot water spout
fDrip tray cover
gCentral spout with lighting and automatic height adjustment
hMilk flask and lid
Guide to the machine
6

Interior view
iGround coffee chute cover
jBrew unit
kGround coffee chute
lSlide control to select fineness of ground coffee
mCoffee bean container
nWater container
oDrip tray with grid
pWaste container
qDrip catcher
rCentral spout connector
sService panel
Guide to the machine
7

Accessories supplied
–Measuring spoon
for ready ground coffee
–Milk flask with lid
for storing and heating/frothing milk
–Milk pipework cleaner
for cleaning the milk system
(Starter set)
–2 containers (large and small)
for cleaning and maintenance
–Descaling tablets
for descaling the water pipework
(Starter set)
–Cleaning tablets
for degreasing the brew unit
(Starter set)
–Test strips
for determining the water hardness
level
–Cleaning brush
for cleaning the milk pipework
–Silcone grease
for lubricating the cap on the central
spout connector
–Central spout connector cap
–Angled connector for milk
pipework
Replacement part
These products and other useful
accessories can be ordered via the
internet, from Miele (see back cover for
contact details) or from your Miele
dealer.
Optional accessories
Miele accessories and cleaning and
conditioning products are available for
your coffee machine.
–Microfibre cloth
for removing finger marks and light
soiling
–Milk flask with lid
for storing and heating/frothing milk
–Small lid
for storing the milk flask in the fridge
–Milk pipework cleaner
for cleaning the milk system
–Descaling tablets
for descaling the water pipework
–Cleaning tablets
for degreasing the brew unit
–Silcone grease
for lubricating the cap on the central
spout connector
Accessories
8

This coffee machine complies with all statutory safety
requirements. Inappropriate use can, however, lead to personal
injury and damage to property.
To avoid the risk of accidents and damage to the machine,
please read these instructions carefully before using it for the first
time. They contain important information on installation, safety,
use and maintenance.
Miele cannot be held liable for damage caused by
non-compliance with these instructions.
Keep these instructions in a safe place and ensure that new users
are familiar with the content. Pass them on to any future owner.
Correct application
~This coffee machine is intended for use in domestic households
and similar working and residential environments. It is not intended
for outdoor use.
~It must be used as a domestic appliance and only to make
espresso, cappuccino, latte macchiato etc.
Any other use is not permitted.
~The coffee machine can only be used by people with reduced
physical, sensory or mental capabilities, or lack of experience and
knowledge, if they are supervised whilst using it, or have been
shown how to use it in a safe way and recognise and understand the
consequences of incorrect operation.
Warning and Safety instructions
9

Safety with children
,The spouts present a danger of burning or scalding.
Children's skin is very sensitive and reacts to hot temperatures.
Do not allow them to touch hot components of the coffee machine
or to place any part of their body under the spouts.
~Install the coffee machine where it is out of the reach of children.
~Children under 8 years of age must be kept away from the
machine unless they are constantly supervised.
~Children 8 years and older may only use the machine
unsupervised if they have been shown how to use it in a safe way
and recognise and understand the consequences of incorrect
operation.
~Children must not be allowed to clean the coffee machine
unsupervised.
~Please supervise children in the vicinity of the coffee machine
and do not allow them to play with it.
Remember that coffee and espresso are not suitable drinks for
children.
~Danger of suffocation. Packaging, e.g. plastic wrappings, must
be kept out of the reach of babies and children. Whilst playing,
children could become entangled in packaging or pull it over their
head and suffocate.
Warning and Safety instructions
10

Technical safety
~Installation and repairs may only be carried out by a Miele
authorised service technician. Installation, repairs and other work by
unqualified persons can cause considerable danger to users. The
manufacturer cannot be held liable for unauthorised work.
~A damaged coffee machine could be dangerous. Before building
in the machine, check it for any externally visible damage. Do not
use a damaged machine.
~To avoid the risk of damage to the machine, make sure the
connection data (voltage and frequency) on the data plate
corresponds to the household supply, before connecting the
machine to the mains supply. Consult a qualified electrician if in any
doubt.
~The electrical safety of this machine can only be guaranteed if
correctly earthed. It is essential that this standard safety requirement
is met. If in any doubt, please have the electrical installation tested
by a qualified electrician.
~Do not connect the machine to the mains electrical supply by a
multi-socket adapter or an extension lead. These are a fire hazard
and do not guarantee the required safety of the machine.
~For safety reasons, this machine may only be used when it has
been built in.
~If the coffee machine is to be built in above another appliance,
there must be a full-width, closed shelf between them (except when
it is combined with a Miele built-in plate or food warming drawer).
Warning and Safety instructions
11

~The coffee machine must not be used in a non-stationary location
(e.g. on a ship).
~The second electrical connection socket on the back of the
machine may only be used for connecting a Miele EGW 4000-29,
EGW 5000-14 plate warming drawer or an ESW 6x14, ESW 6x29
food warming drawer.
~Only use the coffee machine in rooms where the ambient
temperature is between +10 °C and +38 °C.
~Ensure that there is sufficient ventilation around the coffee
machine. The ventilation gaps in the furniture housing unit and the
gap between the top of the housing unit and the ceiling must be at
least 200 cm2. Otherwise condensation can build up and damage
the machine or the housing unit.
~If the coffee machine is installed behind a kitchen furniture door,
it may only be used with the furniture door open. Do not close the
furniture door while the coffee machine is in use.
~While the machine is under guarantee, repairs should only be
undertaken by a Miele authorised service technician. Otherwise the
guarantee is invalidated.
~Miele can only guarantee the safety of the machine when original
Miele replacement parts are used. Faulty components must only be
replaced by genuine Miele original spare parts.
Warning and Safety instructions
12

~The machine must be disconnected from the electrical supply
during installation and repair work.
~Do not open the outer casing of the machine. Tampering with
electrical connections or components and mechanical parts is
highly dangerous to the user and can cause operational faults.
~Only use genuine original Miele accessories with this machine.
Using spare parts or accessories from other manufacturers will
invalidate the guarantee, and Miele cannot accept liability.
~In areas which may be subject to infestation by cockroaches or
other vermin, pay particular attention to keeping the appliance and
its surroundings clean at all times. Any damage caused by
cockroaches or other vermin will not be covered by the guarantee.
Warning and Safety instructions
13

Correct use
,The spouts present a danger of burning or scalding.
The liquids and steam dispensed are very hot.
Water in the drip tray can also be very hot. Take great care when
emptying it.
Please note:
–Keep well away from the area underneath the spouts when hot
liquids and steam are being dispensed.
– Do not touch hot components.
– The spouts can spray hot liquid or steam. Make sure that the
central spout is clean and that it is fitted correctly.
,Never look directly at the lighting or use optical instruments to
look at it.
~The machine must not be used for cleaning objects.
~Clean the coffee machine and the milk flask thoroughly before
using for the first time. Rinse through the coffee and milk pipework
(see "Cleaning and care").
Warning and Safety instructions
14

~Please note the following regarding water:
–Only use cold, fresh tap water to fill the water container. Hot water
and other liquids could damage the machine.
–Change the water every day to prevent a build-up of bacteria.
–Do not use mineral water. Mineral water will cause serious
limescale deposits to build up in your machine and damage it.
–Do not use water from a reverse osmosis unit in this machine. This
would damage it.
~Only fill the bean container with roasted espresso/coffee beans.
Do not fill the bean container with coffee beans which have been
treated with additives or with ground coffee.
~Sugar will damage the machine. Only use pure coffee beans. Do
not use coffee beans which have been treated with anything
containing caramel, any kind of sugar or other substances. Do not
put liquids containing sugar in the coffee machine.
~Only add ground coffee or the Miele cleaning tablets for
degreasing the brew unit to the ground coffee chute.
~Do not use milk with additives. Sugar additives will stick to the
milk pipework and damage the coffee machine.
~If using animal milk, use only pasteurised milk.
~Do not place any alcohol mixtures which are alight underneath
the central spout. The flames could ignite plastic components and
cause them to melt.
~Do not swing from or hang anything on the machine front when it
is open as this could damage the machine.
Warning and Safety instructions
15

~Please note the following with regard to cleaning the coffee
machine:
–Always disconnect the coffee machine from the electrical supply
before cleaning.
–Clean the coffee machine and the milk flask every day (see
"Cleaning and care" for more information).
–Do not use a steam cleaner to clean the machine. Steam could
reach electrical components and cause a short circuit.
–Descale the coffee machine regularly using the appropriate
number of Miele descaling tablets for the water hardness level in
your area. Descale the machine more frequently in areas with very
hard water. Miele cannot be held liable for damage arising from
insufficient descaling.
– Degrease the brew unit regularly with Miele cleaning tablets.
Depending on the natural oil content of the coffee used, the brew
unit can become blocked quite quickly.
~The central spout connector cap is lubricated with silicone
grease. Take care not to get this on your clothes when removing or
replacing the containers or other components.
For machines with stainless steel surfaces:
~Do not use sticky notes, transparent adhesive tape, masking tape
or other types of adhesive on stainless steel surfaces. These
damage the surface, causing it to lose its dirt repellent protective
coating.
~The finish on stainless steel surfaces is susceptible to scratching.
Even magnets can cause scratching.
Warning and Safety instructions
16

Touch display
The coffee machine is operated by finger tip contact.
Touching the Touch display with your finger creates a tiny charge which releases
an electrical impulse. This impluse is picked up by the Touch display.
It is possible for the Touch display not to react to your finger contact if your fingers
are cold.
Do not use pointed or sharp objects, e.g. pens to operate the Touch display as
they can damage the surface.
The Touch display will also not react to being tapped by such objects.
Do not let water get behind the Touch display.
Screen
The screen is organised into three areas:
The top line shows you where you are in a menu. Touching the name of the menu
you want will open the menu. Touching "..." will return you to the menu above. The
time of day is displayed on the right hand side.
The control field in the middle: The current menu and options are displayed there.
The Vand Warrows are used to scroll to the right or left and to select various
actions.
Using the bottom line you can go to the menus displayed by touching the
appropriate grey field.
The number of boxes in the middle indicates the number of available pages in the
current menu.
Operation
17

Operation
Each touch of an available option changes the relevant field to orange.
Selecting or calling up a menu
^Touch the field you want once with your finger.
Scrolling
^Swipe the screen, i.e. place your finger on the Touch display and swipe it in the
direction you want.
You can scroll to the right or the left. Some options allow you to scroll up and
down too.
^Touch the Vand Warrows to scroll to the left or right.
Exiting a menu (#sensor)
Touch the #sensor to revert to the previous screen. Entries made before this
which have not been confirmed with "OK" will not be saved.
Touching the #sensor three times in succession will take you to the drinks menu.
Touching the "Back" #sensor in the "Profile" menu will take you step by step back
to the beginning.
Entering numbers using the numerical keypad z
You can enter numbers by swiping and touching the roller or via the numerical
keypad.
Wait until the roller goes grey again. The entered setting will not be saved until
it goes grey.
^Touch z.
Operation
18

The numerical keypad will appear.
^Touch the numbers you want.
When you enter a valid number the "OK" field will go green.
^Touch "OK".
Entering letters
Profile names or the names for your own drinks are entered using a keyboard. It is
best to select short names.
^Touch the letters or characters you want.
^Touch "Save".
Operation
19

The following symbols can appear in addition to the text and the drinks symbols:
P P P P G G GM Settings, e.g. the brightness of the display or the volume of
the buzzer and keypad tones, are selected via a bar chart.
:This indicates information and instructions about operating
the coffee machine.
Confirm the messages with "OK".
0The system lock is active (see "Settings - Locking the coffee
machine (System lock 0)").: The coffee machine cannot be
operated.
+The timer is activated for "Switch on at" (see "Settings –
Timer").
The symbol and the desired switching-on time appear in the
display 23:59 hours before the coffee machine is due to
switch on, as long as "On" or "Night dimming" is selected for
the time display.
8This symbol appears while the milk pipework is being
cleaned.
(The symbol is also on the water container: fill the water
container up to this symbol).
FThis symbol appears while the descaling process is being
carried out.
(The symbol is also on the water container: fill the water
container up to this symbol).
Operation
20
Other manuals for DGC 6800
11
This manual suits for next models
1
Table of contents
Other Miele Coffee Maker manuals

Miele
Miele CM6150 User manual

Miele
Miele CVA7440CTS User manual

Miele
Miele CM 5000 User manual

Miele
Miele CVA 7775 User manual

Miele
Miele CVA 4070 EN-CA User manual

Miele
Miele cva 610 User manual

Miele
Miele CVA 2650 Manual

Miele
Miele CVA 5060 User manual

Miele
Miele CVA 4075 Parts list manual

Miele
Miele cva 610 User manual

Miele
Miele CVA 26x2 User manual

Miele
Miele TX3587 User manual

Miele
Miele CM 6100 User manual

Miele
Miele DGC 6800 User manual

Miele
Miele CVA 7440 User manual

Miele
Miele CVA 7370 User manual

Miele
Miele CM7500 User manual

Miele
Miele CM 6110 User manual

Miele
Miele CVA 5068 Product manual

Miele
Miele CVA 5065 User manual