Miele G 663 Plus User manual

Operating instructions
for dishwashers
It is essential to read the operating and
installation instructions before Q
installing or using the machine,
to avoid the risk of accident or
damage to the machine. M.-Nr. 05 184 440

Contents
Guide to the appliance. . . . . . . . . . . . . . . . . . . . . . . . . . . . . . . . . . . . . . . . . . . . . . 4
View of the machine. . . . . . . . . . . . . . . . . . . . . . . . . . . . . . . . . . . . . . . . . . . . . . . . . 4
Control panel . . . . . . . . . . . . . . . . . . . . . . . . . . . . . . . . . . . . . . . . . . . . . . . . . . . . . . 5
Warning and safety instructions. . . . . . . . . . . . . . . . . . . . . . . . . . . . . . . . . . . . . . 6
Caring for the environment. . . . . . . . . . . . . . . . . . . . . . . . . . . . . . . . . . . . . . . . . 10
Disposal of the packing material . . . . . . . . . . . . . . . . . . . . . . . . . . . . . . . . . . . . . . 10
Disposal of your old appliance . . . . . . . . . . . . . . . . . . . . . . . . . . . . . . . . . . . . . . . 10
Energy saving washing . . . . . . . . . . . . . . . . . . . . . . . . . . . . . . . . . . . . . . . . . . . . . 10
Before using for the first time . . . . . . . . . . . . . . . . . . . . . . . . . . . . . . . . . . . . . . 11
Before using the machine for the first time you require . . . . . . . . . . . . . . . . . . . . . 11
To open the door . . . . . . . . . . . . . . . . . . . . . . . . . . . . . . . . . . . . . . . . . . . . . . . . . . 12
To close the door . . . . . . . . . . . . . . . . . . . . . . . . . . . . . . . . . . . . . . . . . . . . . . . . . . 12
Water softener . . . . . . . . . . . . . . . . . . . . . . . . . . . . . . . . . . . . . . . . . . . . . . . . . . . . 13
Programming the water softener . . . . . . . . . . . . . . . . . . . . . . . . . . . . . . . . . . . . . . 13
Programming the machine to the water hardness level . . . . . . . . . . . . . . . . . . 13
Setting the water hardness level selector in the wash cabinet. . . . . . . . . . . . . 18
Filling the salt reservoir . . . . . . . . . . . . . . . . . . . . . . . . . . . . . . . . . . . . . . . . . . . . . 19
Salt indicator . . . . . . . . . . . . . . . . . . . . . . . . . . . . . . . . . . . . . . . . . . . . . . . . . . . . . 20
Rinse aid . . . . . . . . . . . . . . . . . . . . . . . . . . . . . . . . . . . . . . . . . . . . . . . . . . . . . . . . 21
Adding rinse aid. . . . . . . . . . . . . . . . . . . . . . . . . . . . . . . . . . . . . . . . . . . . . . . . . . . 21
Rinse aid indicator . . . . . . . . . . . . . . . . . . . . . . . . . . . . . . . . . . . . . . . . . . . . . . . . . 22
Setting the rinse aid dosage . . . . . . . . . . . . . . . . . . . . . . . . . . . . . . . . . . . . . . . . . 23
Loading the dishwasher . . . . . . . . . . . . . . . . . . . . . . . . . . . . . . . . . . . . . . . . . . . 24
Loading examples . . . . . . . . . . . . . . . . . . . . . . . . . . . . . . . . . . . . . . . . . . . . . . . . . 25
Upper basket . . . . . . . . . . . . . . . . . . . . . . . . . . . . . . . . . . . . . . . . . . . . . . . . . . 25
Flap up rack . . . . . . . . . . . . . . . . . . . . . . . . . . . . . . . . . . . . . . . . . . . . . . . . . . . 26
Positioning rail. . . . . . . . . . . . . . . . . . . . . . . . . . . . . . . . . . . . . . . . . . . . . . . . . . 26
Adjusting the upper basket . . . . . . . . . . . . . . . . . . . . . . . . . . . . . . . . . . . . . . . 27
Lower basket . . . . . . . . . . . . . . . . . . . . . . . . . . . . . . . . . . . . . . . . . . . . . . . . . . 28
Glassware insert . . . . . . . . . . . . . . . . . . . . . . . . . . . . . . . . . . . . . . . . . . . . . . . 29
Bottle holder . . . . . . . . . . . . . . . . . . . . . . . . . . . . . . . . . . . . . . . . . . . . . . . . . . . 29
Cutlery. . . . . . . . . . . . . . . . . . . . . . . . . . . . . . . . . . . . . . . . . . . . . . . . . . . . . . . . 30
Items not suitable for dishwashers. . . . . . . . . . . . . . . . . . . . . . . . . . . . . . . . . . . . . 31
Contents
2

Operating the dishwasher . . . . . . . . . . . . . . . . . . . . . . . . . . . . . . . . . . . . . . . . . 32
Adding detergent . . . . . . . . . . . . . . . . . . . . . . . . . . . . . . . . . . . . . . . . . . . . . . . . . 32
Programme selection . . . . . . . . . . . . . . . . . . . . . . . . . . . . . . . . . . . . . . . . . . . . . . 35
Switching on. . . . . . . . . . . . . . . . . . . . . . . . . . . . . . . . . . . . . . . . . . . . . . . . . . . . . . 36
Starting a programme . . . . . . . . . . . . . . . . . . . . . . . . . . . . . . . . . . . . . . . . . . . . . . 36
At the end of a programme . . . . . . . . . . . . . . . . . . . . . . . . . . . . . . . . . . . . . . . . . . 36
Switching off. . . . . . . . . . . . . . . . . . . . . . . . . . . . . . . . . . . . . . . . . . . . . . . . . . . . . . 36
Changing a programme. . . . . . . . . . . . . . . . . . . . . . . . . . . . . . . . . . . . . . . . . . . . . 37
Interrupting a programme . . . . . . . . . . . . . . . . . . . . . . . . . . . . . . . . . . . . . . . . . . . 37
Additional functions . . . . . . . . . . . . . . . . . . . . . . . . . . . . . . . . . . . . . . . . . . . . . . . . 38
“Top Solo” (2) . . . . . . . . . . . . . . . . . . . . . . . . . . . . . . . . . . . . . . . . . . . . . . . . . 38
Delay start(d) . . . . . . . . . . . . . . . . . . . . . . . . . . . . . . . . . . . . . . . . . . . . . . . . . 39
Drying heat . . . . . . . . . . . . . . . . . . . . . . . . . . . . . . . . . . . . . . . . . . . . . . . . . . . 41
Buzzer to indicate the end of a programme . . . . . . . . . . . . . . . . . . . . . . . . . . . 43
Unloading the dishwasher . . . . . . . . . . . . . . . . . . . . . . . . . . . . . . . . . . . . . . . . . . 45
Cleaning and care . . . . . . . . . . . . . . . . . . . . . . . . . . . . . . . . . . . . . . . . . . . . . . . . 46
Cleaning the filters in the wash cabinet . . . . . . . . . . . . . . . . . . . . . . . . . . . . . . . . 46
Cleaning the spray arms . . . . . . . . . . . . . . . . . . . . . . . . . . . . . . . . . . . . . . . . . . . . 48
Cleaning the wash cabinet . . . . . . . . . . . . . . . . . . . . . . . . . . . . . . . . . . . . . . . . . . 49
Cleaning the door and the door seal . . . . . . . . . . . . . . . . . . . . . . . . . . . . . . . . . . 49
Cleaning the control panel . . . . . . . . . . . . . . . . . . . . . . . . . . . . . . . . . . . . . . . . . . 49
Cleaning the door panel. . . . . . . . . . . . . . . . . . . . . . . . . . . . . . . . . . . . . . . . . . . . . 49
Problem solving guide . . . . . . . . . . . . . . . . . . . . . . . . . . . . . . . . . . . . . . . . . . . . 50
Solving problems. . . . . . . . . . . . . . . . . . . . . . . . . . . . . . . . . . . . . . . . . . . . . . . . . 57
Cleaning the water inlet filter . . . . . . . . . . . . . . . . . . . . . . . . . . . . . . . . . . . . . . . . . 57
Checking the water level . . . . . . . . . . . . . . . . . . . . . . . . . . . . . . . . . . . . . . . . . . . . 58
Increasing the water intake time . . . . . . . . . . . . . . . . . . . . . . . . . . . . . . . . . . . . . . 59
Cleaning the drain pump and non-return valve . . . . . . . . . . . . . . . . . . . . . . . . . . 61
After sales service . . . . . . . . . . . . . . . . . . . . . . . . . . . . . . . . . . . . . . . . . . . . . . . 63
Special accessories . . . . . . . . . . . . . . . . . . . . . . . . . . . . . . . . . . . . . . . . . . . . . . 64
Comparison tests . . . . . . . . . . . . . . . . . . . . . . . . . . . . . . . . . . . . . . . . . . . . . . . . 65
Transport. . . . . . . . . . . . . . . . . . . . . . . . . . . . . . . . . . . . . . . . . . . . . . . . . . . . . . . . 68
Technical data . . . . . . . . . . . . . . . . . . . . . . . . . . . . . . . . . . . . . . . . . . . . . . . . . . . 69
Programme chart . . . . . . . . . . . . . . . . . . . . . . . . . . . . . . . . . . . . . . . . . . . . . . . . 70
Contents
3

Guide to the appliance
View of the machine
1 Upper spray arm (not visible)
2 Cutlery tray
(depending on model)
3 Upper basket
4 Water feed for middle
spray arm
5 Middle spray arm
6 Water hardness selector
7 Lower spray arm
8 Rinse aid reservoir
(with dosage selector)
9 Dual compartment detergent
dispenser
10 Data plate
11 Control panel (fascia)
12 Salt reservoir
13 Filter combination
14 Four height adjustable screw feet
Guide to the appliance
4

Control panel (11)
15 “On” touch pad / indicator light
16 “Off” touch pad
17 Time display for delay start
18 Delay start touch pad
19 Top solo touch pad / indicator light
20 Check/Refill indicators
21 Programme names
22 Programme touch pads / indicator
lights
Note:
The control panel is covered by a pro-
tective foil on delivery.
Carefully remove the protective foil
before using the appliance for the
first time.
Guide to the appliance
5

Warning and safety instructions
This appliance conforms to current
safety requirements. Inappropriate
use can however lead to personal
injury and damage to property.
Read the operating instructions
carefully before starting to use this
machine.This way you will avoid the
risk of accidents, and damage to
the machine.
Keep these instructions in a safe
place for reference, and pass them
on to any future user.
Appropriate usage
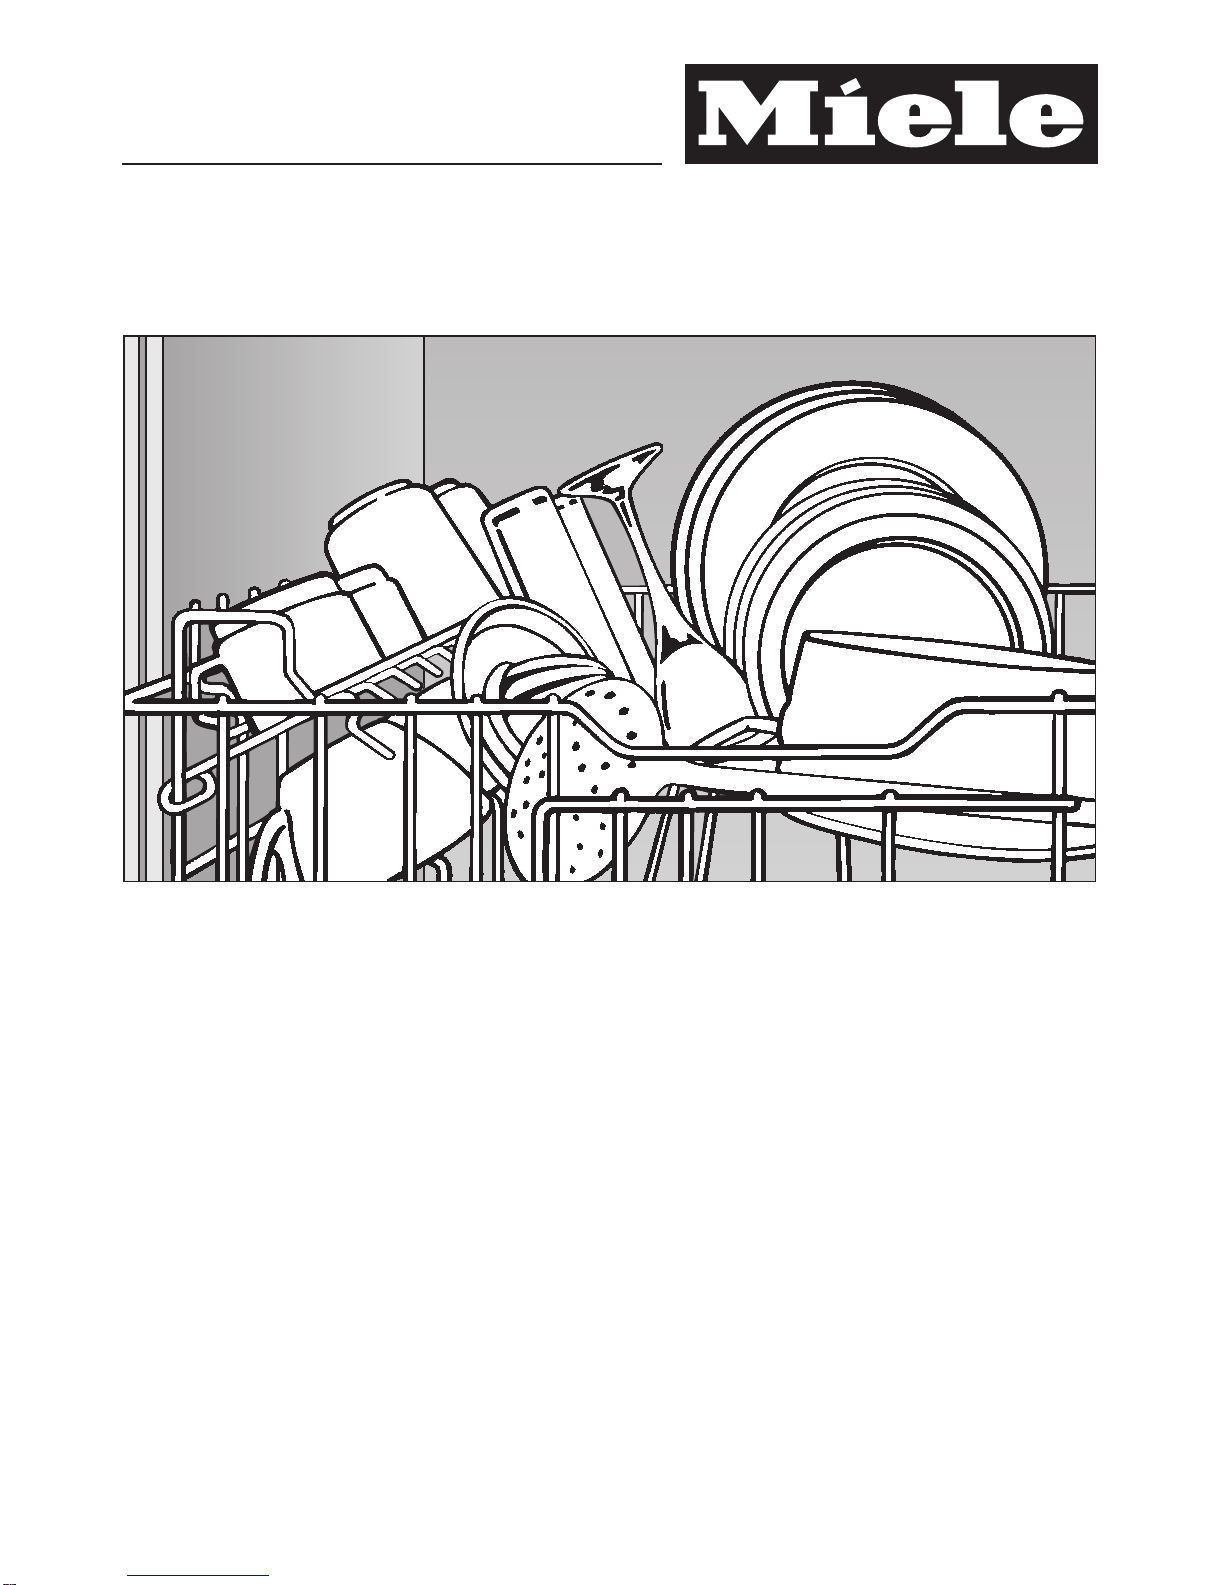
This dishwasher is intended exclu-
sively for cleaning domestic croc-
kery and cutlery in a domestic house-
hold. Do not use for purposes other
than those for which it was designed.
Any other applications may be dan-
gerous.
The manufacturer cannot be held re-
sponsible for any damage caused by
improper use or for uses other than
those for which the appliance is in-
tended.
Delivery
A damaged appliance is dan-
gerous. It is therefore essential to
check packaging immediately and
examine the dishwasher for transport
damage. Under no circumstances
should you use a damaged machine.
Please ensure that the packaging
material is offered for recycling.
Installation
The dishwasher must be installed
and connected in compliance with
the installation instructions.
In order to ensure stability, built-
under and integrated dishwashers
must only be installed under a con-
tinuous worktop which is secured to ad-
jacent cabinetry.
The dishwasher must not be in-
stalled under a hob unit. The high
temperatures sometimes dissipated by
radiant heat could damage the dish-
washer.
Do not connect the dishwasher to
the mains supply until it has been
installed.
Check that the voltage, frequency
and fuse rating shown on the data
plate match the household mains sup-
ply.
The electrical safety of this ap-
pliance can only be guaranteed
when continuity is complete between
the appliance and an effective earthing
system. It is imperative that this basic
safety requirement is tested and where
there is any doubt the electrical system
in the house is checked out by a quali-
fied electrician.
The manufacturer cannot be held re-
sponsible for damage caused by the
lack or inadequacy of an effective ear-
thing system (electric shock, for
example).
Warning and safety instructions
6

A damaged appliance is dan-
gerous. Switch off at the mains and
call your Miele supplier or the Miele Ser-
vice Department.
With the “Waterproof system” the
plastic housing of the water inlet
connection contains an electrical com-
ponent. The housing must therefore not
be dipped in water.
Never cut the water inlet hose,
even if it is too long. There are live
wires in this hose.
For safety reasons do not operate
this appliance on an extension
cable. (Danger of overheating).
Daily use
Do not use solvents in the dish-
washer. Danger of explosion.
Water in the dishwasher must not
be used as drinking water.
Avoid inhalation of powder deter-
gents. Dishwasher detergents con-
tain irritant or corrosive ingredients. They
can cause burning in the mouth and
throat if swallowed, or inhibit breathing.
Consult a doctor immediately if detergent
has been swallowed or inhaled.
Do not sit or lean on the opened
door. This could cause the dish-
washer to tip and be damaged and you
could get injured.
In an appliance with a cutlery bas-
ket (depending on model) cutlery
is cleaned and dried more efficiently if
placed in the basket with the handles
downwards. However, to avoid the risk
of injury place cutlery with sharp points
with the handles upwards.
Only use detergents formulated for
domestic dishwashers. Do not use
washing-up liquid.
Only use rinse aid formulated for
domestic dishwashers.
Only use special coarse grained
dishwasher salt for reactivation, as
other salts may contain insoluble addi-
tives which can impair the functioning
of the softener.
Plastic items which cannot with-
stand being washed in hot water,
such as disposable plastic containers,
or plastic cutlery and crockery should
not be cleaned in the dishwasher. The
high temperatures in the dishwasher
may cause them to melt or lose shape.
Warning and safety instructions
7

Take care on dishwashers with a
visible heater element
Do not touch the heating element
during or directly after the end of a
programme, you could burn yourself.
Some plastic items could melt or
catch fire if they were to come into
contact with the heating element. There-
fore always place plastic items or any
other items which may not be com-
pletely heat resistant in the upper bas-
ket and ensure they cannot drop down
onto the heater element. Any items
which are too small to be lodged se-
curely in the upper basket should not
be cleaned in the dishwasher.
Safety with children
Do not let small children play with
the dishwasher and its controls or
operate it. There is a danger that child-
ren playing might shut themselves in
the dishwasher.
Keep children away from deter-
gents. Dishwasher detergents con-
tain irritant or corrosive ingredients.
They can cause burning in the mouth
and throat if swallowed, or inhibit brea-
thing. Consult a doctor immediately if
your child has swallowed or inhaled
detergent.
To avoid the danger of children
coming into contact with the dish-
washer detergent:
Only add detergent just before starting
the programme and close the door, acti-
vating the child safety lock (depending
on model).
Keep children away from the dish-
washer when the door is open. There
could be detergent residues in the ap-
pliance.
To ensure children do not come
into contact with detergent:
For models with the “Delay start” option
make sure the dispenser is dry before
adding detergent. Wipe dry if necess-
ary. Detergent will clog if poured into a
damp dispenser and may not be thor-
oughly dispersed. If the door is open at
the end of a programme, children may
come into contact with this residue.
To avoid machine and material
damage
Do not fill the rinse aid reservoir
with powder or liquid detergent.
This will cause serious damage to the
reservoir.
Inadvertently filling the salt reser-
voir with powder or liquid dish-
washer detergent always leads to
serious damage to the water softener.
Do not use commercial or indus-
trial detergents as these may dam-
age material and there is a risk of
severe chemical reaction.
Warning and safety instructions
8

The Miele Waterproof System of-
fers protection from water damage,
provided the following conditions are
met:
– The dishwasher is correctly installed
and plumbed in.
– The dishwasher is properly main-
tained and parts are replaced where
it can be seen that this is necessary.
– The stopcock has been turned off
when the machine is not used for a
longer period of time (e.g. during
holidays).
In countries where there are areas
which may be subject to infestation
by cockroaches or other vermin,
pay particular attention to keeping
the appliance and its surroundings
in a clean condition at all times. Any
damage which may be caused by
cockroaches or other vermin will not
be covered by the appliance guar-
antee.
Repairs and maintenance
Repairs may only be carried out by
suitably qualified and competent
engineers in accordance with local and
national safety regulations. Repairs by
unqualified persons could be dan-
gerous.
Always disconnect the appliance
from the electrical supply for main-
tenance work (switch off at wall socket
and remove the plug, or remove the
screw out fuse in countries where this
is applicable).
Disposal of your old machine
When disposing of an old dish-
washer first make it unusable. Dis-
connect, cut off the cable and the plug
from the cable.
Make the door lock inoperative (2 cross-
slotted screws), so that children cannot
accidentally shut themselves in. Make
appropriate arrangements for the safe
disposal of the appliance.
The manufacturer cannot be held re-
sponsible for any damage caused
by non-observance of the warning
and safety instructions.
Warning and safety instructions
9

Caring for the environment
Disposal of the packing
material
The transport and protective packing
has been selected from materials
which are environmentally friendly for
disposal and can normally be recycled.
Rather than just throwing these ma-
terials away, please ensure they are of-
fered for recycling.
Disposal of your old appliance
Old appliances contain materials which
can be recycled. Please contact your
local authorities or scrap merchant
about potential recycling schemes, be-
fore disposing of the appliance.
Ensure that the appliance presents no
danger to children while being stored
for disposal. See the appropriate sec-
tion in the Warning and Safety instruc-
tions.
Energy saving washing
This dishwasher is exceptionally econ-
omical in its use of water and electricity.
You can make the most of your ap-
pliance by following these tips:
If your household water system is
suitable, this dishwasher can be con-
nected to a hot water supply, for fur-
ther economies.
Although all stages of the wash then
take place with hot water, savings are
made in:
– the use of primary energy
– costs
– programme running time.
If, however, your water is heated by
electricity we would still recommend
connection to cold water.
For most economical dishwashing
make full use of the baskets without
overloading the dishwasher.
Choose the programme to suit the
type of crockery being washed and
the degree of soiling.
Select the “Top Solo” function if wash-
ing only a small amount of crockery
(see “Additional functions”).
Select the Economy programme for
energy-saving dishwashing.
Use the correct amounts of deter-
gent.
Use only 2/3 of the given dosage if
baskets are only half full.
The drying heat can be switched off,
shortening the length of the pro-
gramme and saving energy. The
load then dries to a large extent in its
own heat (see “Additional options
and functions”).
Caring for the environment
10

Before using for the first time
Before using the machine for
the first time you require:
– approx. 2 litres of water,
– approx. 2 kg dishwasher reactivation
salt,
– domestic dishwasher detergent,
– rinse aid formulated for domestic
dishwashers.
Every dishwasher is tested at the
factory.
There will be residual water in the
machine from this test. It is not an
indication that the machine has
been previously used.
Before using for the first time
11

To open the door
Pull on the handle.
If the door is opened during operation
all functions are automatically inter-
rupted.
Note:
To open the door without the machine
door front fitted see section 3 of the In-
stallation instructions, “Fitting the
matching door front”.
To close the door
Push the baskets right in.
Lift the door upwards, and push until
it clicks into position.
Before using for the first time
12

Water softener
In order to achieve good cleaning re-
sults, the dishwasher needs to operate
with soft water. Hard water results in
the build-up of calcium deposits on
crockery and in the dishwasher. Hence
if mains water hardness is above 4 °d
(0.7 mmol/l), the water should be soft-
ened. This takes place automatically in
the integrated water softener.
– The water softener must be filled
with dishwasher salt for reactivation.
– The dishwasher must be pro-
grammed to correspond to the water
hardness in your area.
– Your local water authority will advise
you on the highest level of water
hardness in your area.
If the hardness of your local supply is
constantly lower than 4 °d (= 0.7 mmol/l),
you do not need to add dishwasher
salt. The dishwasher must, however,
still be programmed to correspond to
the water hardness level in your area.
Where the water hardness fluctuates
e.g. between 8 - 17 °d (1.4 - 3.1 mmol/l),
always set the machine to the higher
value (17 °d in this example).
In the case of a fault, it willl help the ser-
vice technician if you know the hard-
ness of your local water supply.
Enter the water hardness below:
°d
Programming the water
softener
The water hardness level of your water
supply must be programmed into the
machine using the programme touch
pads.
The water hardness level selector in the
wash cabinet is then also set to the
water hardness level in your area.
Programming the machine to the
water hardness level
The water hardness level programmed
into the machine can be checked or
changed using the programme touch
pads on the control panel. Each time a
pad is touched one of the indicator
lights (n) will flash and light up in the
control panel.
The programming procedure can be
cancelled at any time by pressing the
“Off” touch pad. The procedure can
then be re-started from the beginning
again.
The dishwasher is programmed at the
factory to operate with a water hard-
ness level of between 22 and 35 °d
(4.0 to 6.3 mmol/l).
Before using for the first time
13

Procedure... nlit up nflashes
Open the door.
Switch the dishwasher off with the “Off” touch (o) pad.
Press touch pads band din and whilst doing so
at the same time switch the dishwasher on with the
“On” (g) touch pad.
On Salt
Release pads band dagain. On Salt + c
Note: If a different indicator light is flashing, the pro-
cess must be repeated.
The following indicator lights may also light up, if:
– you have not yet added rinse aid or if rinse aid
needs replenishing, Rinse aid
– drying heat had been switched off (see “Additional
functions”),
b
– the water intake time has been increased (see “In-
crease water intake time”),
d
– the buzzer at the end of a programme is switched off
(see “Additional functions”).
e
Press touch pad c. On Salt
If a water hardness level of between 1 °d and 12 °d has
been programmed in, a further indicator light will come
on: 1 - 4 °d (0.2 - 0.7 mmol/l):
5 - 6 °d (0.9 - 1.1 mmol/l):
7 °d ( 1.3 mmol/l):
8 - 10 °d (1.4 - 1.8 mmol/l):
11 - 12 °d (2.0 - 2.2 mmol/l):
If no additional indicator lights come on, a water hard-
ness level of between 13 °d and 70 °d (2.3 -12.6
mmol/l) has been programmed in.
b
c
d
e
f
Before using for the first time
14

Procedure... nlit up nflashes
Once the correct water hardness level has been pro-
grammed in:
Switch the dishwasher off by pressing the “Off” (o)
touch pad.
If you need to programme in a different water hardness
level:
Press the pad, corresponding to the water hardness
level in your area. Whilst this pad is pressed in, the
relevant indicator will light up.
1 - 4 °d (0.2 - 0.7 mmol/l): Touch pad b
5 - 6 °d (0.9 - 1.1 mmol/l): Touch pad c
7 °d ( 1.3 mmol/l): Touch pad d
8 - 10 °d (1.4 - 1.8 mmol/l): Touch pad e
11 - 12 °d (2.0 - 2.2 mmol/l): Touch pad f
On + b
On + c
On + d
On + e
On + f
Salt
Salt
Salt
Salt
Salt
13 - 70 °d (2.3 -12.6 mmol/l): proceed to next page
Release the touch pad. On Salt +
c
Depending on what has been programmed the follow-
ing indicator lights may also come on:
b, d, e
Press touch pad g.On + gSalt
Press touch pad gagain. On Salt + g
Switch the dishwasher off by pressing the “Off” (o)
touch pad.
The water hardness level is now stored in the pro-
gramme memory.
Check the setting on the water hardness selector in
the wash cabinet, and change if necessary (see “Set-
ting the water hardness level selector in the wash
cabinet”).
Before using for the first time
15

Procedure... nlit up nflashes
Water hardness level 13 - 70 °d:
Press touch pad g.On + gSalt
If a water hardness level of between 13 °d and 70 °d
has been programmed in, a further indicator light will
come on: 13 - 14°d (2.3 - 2.5 mmol/l):
15 - 17 °d (2.7 - 3.1 mmol/l):
18 - 21 °d (3.2 - 3.8 mmol/l):
22 - 35 °d (4.0 - 6.3 mmol/l):
36 - 70 °d (6.5 -12.6 mmol/l):
b
c
d
e
f
If the correct water hardness level has been pro-
grammed in:
Switch the dishwasher off by pressing the “Off” (o)
touch pad.
If you need to programme in a different water hardness
level:
Press the pad, corresponding to the water hardness
level in your area. Whilst this pad is pressed in, the
relevant indicator will light up.
13 - 14 °d (2.3 - 2.5 mmol/l): Touch pad b
15 - 17 °d (2.7 - 3.1 mmol/l): Touch pad c
18 - 21 °d (3.2 - 3.8 mmol/l): Touch pad d
22 - 35 °d (4.0 - 6.3 mmol/l): Touch pad e
36 - 70 °d (6.5 -12.6 mmol/l): Touch pad f
On +g+ b
On +g+ c
On +g+ d
On +g+ e
On +g+ f
Salt
Salt
Salt
Salt
Salt
Release the touch pad. On Salt +
c
Depending on what has been programmed the follow-
ing indicator lights may also come on:
b, d, e
Before using for the first time
16

Procedure... nlit up nflashes
Press touch pad g.On + gSalt
Press touch pad gagain. On Salt + g
Switch the dishwasher off by pressing the “Off” (o)
touch pad.
The water hardness level is now stored in the pro-
gramme memory.
Check the setting on the water hardness selector in
the wash cabinet, and change if necessary (see
“Setting the water hardness level selector in the
wash cabinet”).
Before using for the first time
17

Setting the water hardness level
selector in the wash cabinet
The water hardness level selector in the
wash cabinet must be set according to
the table below.
Setting the selector to the correct set-
ting will help minimise the effects of the
wash process on glass surfaces. Too
high a setting will lead to poor cleaning
results and an increase in water spots
left on crockery and cutlery.
Use a screwdriver to take the cover
off the water hardness level selector
in the wash cabinet. Use a coin or screwdriver to adjust
the water hardness level selector in
the wash cabinet. There is a click as
each setting is reached.
°d mmol/l °f Selector-
setting (level)
1- 7 0.2- 1.3 2- 13 3
8-10 1.4- 1.8 14- 18 2
11-14 2.0- 2.5 20- 25 1
15-70 2.7-12.6 27-126 0
The water hardness selector is set at the
factory to setting “1”.
Example:
For a water hardness level of 6 °d.
Turn the water hardness level selec-
tor to setting 3 (1 - 7 °d).
Replace the cover on the water hard-
ness level selector.
Before using for the first time
18

Filling the salt reservoir
Important. Before filling the salt
reservoir with dishwasher salt for
the first time, you must fill it with ap-
prox. 2 litres of water to enable the
salt to dissolve. Once the dish-
washer has been used, there is al-
ways sufficient water in the reservoir.
Inadvertently filling the salt reservoir
with powder or liquid dishwasher
detergent always causes serious
damage to the water softener. Make
sure that you have picked up the
right packet of dishwasher salt be-
fore filling the salt reservoir.
Please only use special coarse
grained dishwasher salt for reactiva-
tion, as other salts may contain inso-
luble additives which can impair the
functioning of the softener.
Remove the lower basket and un-
screw the salt reservoir cap.
Fill the reservoir with approx. 2 litres
of water (first use).
Place the funnel provided over the
salt reservoir and carefully fill with
salt. The salt reservoir holds approx.
2 kg of salt.
As the salt reservoir is filled, displaced
water will overflow.
Clean any excess salt from around
the reservoir opening and then
screw the cap on again firmly.
Run the Pre-wash programme imme-
diately to remove any traces of salt
water from the cabinet.
Before using for the first time
19

Salt indicator
The salt indicator light in the control
panel comes on to notify you that the
reservoir is empty.
The reservoir should then be refilled
with dishwasher salt for reactivation.
( See: Filling the salt reservoir)
After the reservoir has been filled, the
water softener is automatically reacti-
vated the next time the dishwasher is
run. The salt indicator light may still be
illuminated during this process. It will
go out once the salt concentration has
reached the correct level.
Note
The salt indicator light will also come
on if the water used is very soft (below
4 °d / 0.7 mmol). In this case the reser-
voir should not be filled with salt. The in-
dicator light will remain lit and should
be ignored.
(See “After sales service” for definition
of “PC”).
Before using for the first time
20
Other manuals for G 663 Plus
2
Table of contents
Other Miele Dishwasher manuals

Miele
Miele 11 137 120 / 00 Assembly instructions

Miele
Miele PG 8083 SCVi User manual

Miele
Miele G 1272 User manual

Miele
Miele G 1832 User manual

Miele
Miele EXCELLA G 2630 SCI User manual

Miele
Miele G 1542 User manual

Miele
Miele PFD 101 User manual

Miele
Miele PG 8056 User manual

Miele
Miele G 818 User manual

Miele
Miele PFD 400 User manual

Miele
Miele G 7855 User manual

Miele
Miele G 4225 SC User manual

Miele
Miele G4500SCI User manual

Miele
Miele G 7960 User manual

Miele
Miele PG 8083 SCVi User manual

Miele
Miele G 7961 User manual

Miele
Miele G 803 User manual

Miele
Miele G 349 Plus User manual

Miele
Miele NOVOTRONIC G 842 PLUS User manual

Miele
Miele G 7200 User manual