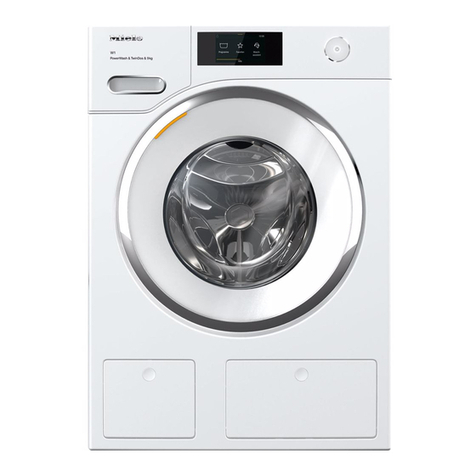
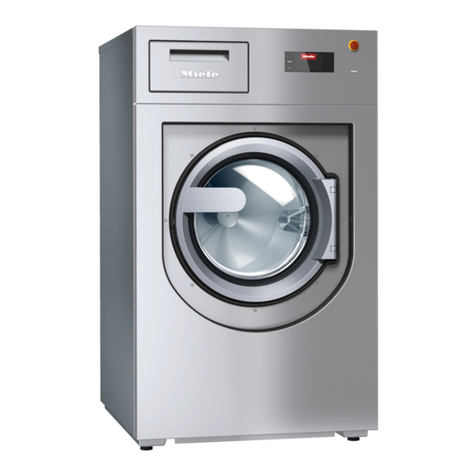
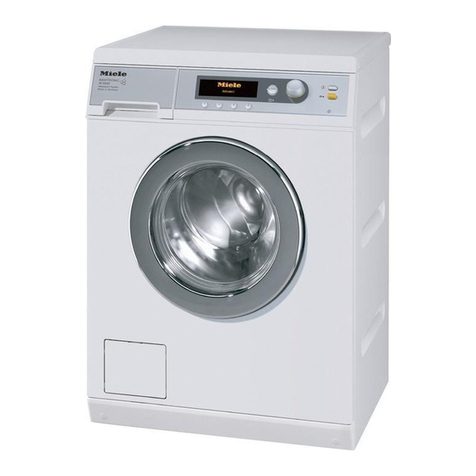
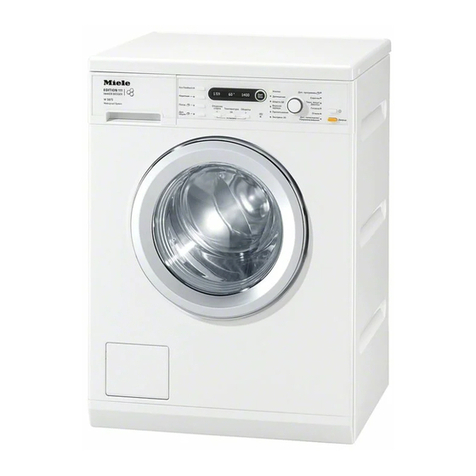
Miele W 1119I WASHING MACHINE User manual

Operating instructions
Washer
W 1119
To prevent accidents and
machine damage,
read these instructions
before installation or use.
UV
M.-Nr. 05 874 961

IMPORTANT SAFETY INSTRUCTIONS. . . . . . . . . . . . . . . . . . . . . . . . . . . . . . . . . 4
Guide to the washer. . . . . . . . . . . . . . . . . . . . . . . . . . . . . . . . . . . . . . . . . . . . . . . . 5
Control panel . . . . . . . . . . . . . . . . . . . . . . . . . . . . . . . . . . . . . . . . . . . . . . . . . . . . . . 5
Before usin for the first time. . . . . . . . . . . . . . . . . . . . . . . . . . . . . . . . . . . . . . . . 6
Usin the washer . . . . . . . . . . . . . . . . . . . . . . . . . . . . . . . . . . . . . . . . . . . . . . . . . . 7
1. Prepare and sort the laundry . . . . . . . . . . . . . . . . . . . . . . . . . . . . . . . . . . . . . . . . 7
2. Load the laundry . . . . . . . . . . . . . . . . . . . . . . . . . . . . . . . . . . . . . . . . . . . . . . . . . 8
3. Select a program . . . . . . . . . . . . . . . . . . . . . . . . . . . . . . . . . . . . . . . . . . . . . . . . . 8
Program guide . . . . . . . . . . . . . . . . . . . . . . . . . . . . . . . . . . . . . . . . . . . . . . . . . . . . . 9
4. Select wash options (if needed) . . . . . . . . . . . . . . . . . . . . . . . . . . . . . . . . . . . . 11
5. Select the temperature and spin speed . . . . . . . . . . . . . . . . . . . . . . . . . . . . . . 12
6. Add detergent . . . . . . . . . . . . . . . . . . . . . . . . . . . . . . . . . . . . . . . . . . . . . . . . . . 14
Deter ent . . . . . . . . . . . . . . . . . . . . . . . . . . . . . . . . . . . . . . . . . . . . . . . . . . . . . . . 15
Water softener . . . . . . . . . . . . . . . . . . . . . . . . . . . . . . . . . . . . . . . . . . . . . . . . . . . . 16
Fabric softener. . . . . . . . . . . . . . . . . . . . . . . . . . . . . . . . . . . . . . . . . . . . . . . . . . . . 17
Starch. . . . . . . . . . . . . . . . . . . . . . . . . . . . . . . . . . . . . . . . . . . . . . . . . . . . . . . . . . . 18
Fabric dye . . . . . . . . . . . . . . . . . . . . . . . . . . . . . . . . . . . . . . . . . . . . . . . . . . . . . . . 18
Usin the washer . . . . . . . . . . . . . . . . . . . . . . . . . . . . . . . . . . . . . . . . . . . . . . . . . 19
7. Select Delay Start (if needed) . . . . . . . . . . . . . . . . . . . . . . . . . . . . . . . . . . . . . . 19
8. Start the program. . . . . . . . . . . . . . . . . . . . . . . . . . . . . . . . . . . . . . . . . . . . . . . . 19
9. Activate the program lock (if necessary). . . . . . . . . . . . . . . . . . . . . . . . . . . . . . 19
10. Remove the laundry. . . . . . . . . . . . . . . . . . . . . . . . . . . . . . . . . . . . . . . . . . . . . 20
Cancelling a program . . . . . . . . . . . . . . . . . . . . . . . . . . . . . . . . . . . . . . . . . . . . . . 21
Interrupting a program. . . . . . . . . . . . . . . . . . . . . . . . . . . . . . . . . . . . . . . . . . . . . . 21
Making changes to the program . . . . . . . . . . . . . . . . . . . . . . . . . . . . . . . . . . . . . . 21
Adding/removing laundry during a wash program . . . . . . . . . . . . . . . . . . . . . . . . 22
Lockin the washer . . . . . . . . . . . . . . . . . . . . . . . . . . . . . . . . . . . . . . . . . . . . . . . 23
Electronic program lock. . . . . . . . . . . . . . . . . . . . . . . . . . . . . . . . . . . . . . . . . . . . . 23
Child Safety Lock. . . . . . . . . . . . . . . . . . . . . . . . . . . . . . . . . . . . . . . . . . . . . . . . . . 23
Washer care . . . . . . . . . . . . . . . . . . . . . . . . . . . . . . . . . . . . . . . . . . . . . . . . . . . . . 24
Cleaning the washer . . . . . . . . . . . . . . . . . . . . . . . . . . . . . . . . . . . . . . . . . . . . . . . 24
Cleaning the detergent drawer . . . . . . . . . . . . . . . . . . . . . . . . . . . . . . . . . . . . . . . 24
Cleaning the water inlet filters . . . . . . . . . . . . . . . . . . . . . . . . . . . . . . . . . . . . . . . . 25
Cleaning the inlet hose filter . . . . . . . . . . . . . . . . . . . . . . . . . . . . . . . . . . . . . . . . . 25
Cleaning the filter in the inlet valve . . . . . . . . . . . . . . . . . . . . . . . . . . . . . . . . . . . . 25
Clean the drain pump . . . . . . . . . . . . . . . . . . . . . . . . . . . . . . . . . . . . . . . . . . . . . . 26
Quick Guide . . . . . . . . . . . . . . . . . . . . . . . . . . . . . . . . . . . . . . . . . . . . . . . . . . . . . 27
Contents
2

Washer Care . . . . . . . . . . . . . . . . . . . . . . . . . . . . . . . . . . . . . . . . . . . . . . . . . . . . . 27
Changing the light bulb . . . . . . . . . . . . . . . . . . . . . . . . . . . . . . . . . . . . . . . . . . . . . 27
Frequently asked questions . . . . . . . . . . . . . . . . . . . . . . . . . . . . . . . . . . . . . . . . 28
A wash program cannot be started . . . . . . . . . . . . . . . . . . . . . . . . . . . . . . . . . . . . 28
The program was interrupted and a fault message appears. . . . . . . . . . . . . . . . . 29
General issues with the washer . . . . . . . . . . . . . . . . . . . . . . . . . . . . . . . . . . . . . . . 30
Poor wash results. . . . . . . . . . . . . . . . . . . . . . . . . . . . . . . . . . . . . . . . . . . . . . . . . . 31
The door will not open when the "Door" button is pressed. . . . . . . . . . . . . . . . . . . 32
Open the door during a power failure or when the drain is blocked. . . . . . . . . . . 33
Draining the wash water . . . . . . . . . . . . . . . . . . . . . . . . . . . . . . . . . . . . . . . . . . 33
Open the drum door . . . . . . . . . . . . . . . . . . . . . . . . . . . . . . . . . . . . . . . . . . . . . . . 34
Technical Service. . . . . . . . . . . . . . . . . . . . . . . . . . . . . . . . . . . . . . . . . . . . . . . . . 35
Repairs . . . . . . . . . . . . . . . . . . . . . . . . . . . . . . . . . . . . . . . . . . . . . . . . . . . . . . . 35
PC Update . . . . . . . . . . . . . . . . . . . . . . . . . . . . . . . . . . . . . . . . . . . . . . . . . . . . 35
Optional accessories . . . . . . . . . . . . . . . . . . . . . . . . . . . . . . . . . . . . . . . . . . . . 35
Help protect our environment. . . . . . . . . . . . . . . . . . . . . . . . . . . . . . . . . . . . . . . 38
Installation . . . . . . . . . . . . . . . . . . . . . . . . . . . . . . . . . . . . . . . . . . . . . . . . . . . . . . 39
Front view. . . . . . . . . . . . . . . . . . . . . . . . . . . . . . . . . . . . . . . . . . . . . . . . . . . . . . . . 39
Back view. . . . . . . . . . . . . . . . . . . . . . . . . . . . . . . . . . . . . . . . . . . . . . . . . . . . . . . . 40
Installation site . . . . . . . . . . . . . . . . . . . . . . . . . . . . . . . . . . . . . . . . . . . . . . . . . . . . 41
Installation . . . . . . . . . . . . . . . . . . . . . . . . . . . . . . . . . . . . . . . . . . . . . . . . . . . . . . . 41
Remove the shipping struts . . . . . . . . . . . . . . . . . . . . . . . . . . . . . . . . . . . . . . . . . . 41
Installing the shipping struts . . . . . . . . . . . . . . . . . . . . . . . . . . . . . . . . . . . . . . . . . 43
Level the washer . . . . . . . . . . . . . . . . . . . . . . . . . . . . . . . . . . . . . . . . . . . . . . . . . . 44
Installing the decor panel . . . . . . . . . . . . . . . . . . . . . . . . . . . . . . . . . . . . . . . . . . . 45
Shortening the door panel . . . . . . . . . . . . . . . . . . . . . . . . . . . . . . . . . . . . . . . . . . . 46
Installation beneath a counter . . . . . . . . . . . . . . . . . . . . . . . . . . . . . . . . . . . . . . . . 47
Washer stand with drawer . . . . . . . . . . . . . . . . . . . . . . . . . . . . . . . . . . . . . . . . . . . 47
Washer/ Dryer Stack . . . . . . . . . . . . . . . . . . . . . . . . . . . . . . . . . . . . . . . . . . . . . . . 47
Plumbin . . . . . . . . . . . . . . . . . . . . . . . . . . . . . . . . . . . . . . . . . . . . . . . . . . . . . . . . 48
Water connection. . . . . . . . . . . . . . . . . . . . . . . . . . . . . . . . . . . . . . . . . . . . . . . . . . 49
Drainage . . . . . . . . . . . . . . . . . . . . . . . . . . . . . . . . . . . . . . . . . . . . . . . . . . . . . . . . 50
Electrical connection. . . . . . . . . . . . . . . . . . . . . . . . . . . . . . . . . . . . . . . . . . . . . . 51
Contents
3

,WARNING - To reduce the risk of
fire, electric shock or injury to
persons while using your appliance
follow basic safety precautions,
including the following:
Read all instructions before using
the appliance.
GROUNDING INSTRUCTIONS
This appliance must be grounded.
In the event of malfunction or
breakdown, grounding will reduce the
risk of electric shock by providing a
path of least resistance for electric
current. This appliance is equipped
with a cord having an
equipment-grounding conductor and a
grounding plug. The plug must be
plugged into an appropriate outlet that
is properly installed and grounded in
accordance with all local codes and
ordinances.
WARNING - Improper connection
of the equipment-grounding
conductor can result in a risk of electric
shock. Check with a qualified
electrician or serviceman if you are in
doubt as to whether the appliance is
properly grounded.
Do not modify the plug provided
with the appliance - if it will not fit
the outlet, have a proper outlet installed
by a qualified electrician.
Do not allow children to play on or
in the appliance. Close supervision
is necessary when the appliance is
used near children.
Do not wash articles that have
been previously cleaned, washed,
soaked or spotted with gasoline,
dry-cleaning solvents or other
flammable substances. These articles
give off vapors that could ignite or
explode. Do not add these items to the
washload.
Under certain conditions, hydrogen
gas may be produced in a hot
water system that has not been used
for 2 weeks or more. HYDROGEN GAS
IS EXPLOSIVE. If the hot water system
has not been used for such a period,
turn on all hot water faucets and let the
water flow from each for several
minutes before using the washing
machine. This will release any built-up
hydrogen gas. Do not smoke or use an
open flame during this time, the gas is
flammable.
Before the appliance is removed
for service or discarded, remove
the door.
Do not reach into the appliance if
the drum is moving.
Do not install or store this
appliance where it will be exposed
to the weather.
Do not tamper with
the controls.
Do not repair or replace any part of
the appliance or attempt any
servicing unless specifically
recommended in these operating
instructions.
SAVE THESE INSTRUCTIONS
IMPORTANT SAFETY INSTRUCTIONS
4
Control panel
aPro ram selection buttons e-
For selecting a program.
bWash options
Special features to enhance a wash
program.
cTemperature button
For selecting the desired wash
temperature.
dSpin speed button
For selecting the desired spin speed.
ePC Indicator
Allows a service technician to check
and update the wash programs.
fPro ram sequence display
Shows the currect cycle of the wash
program.
g"Buzzer" button
hFAULT-indicators
i"Delay Start" button
For delaying the start of a program.
j"Start/Stop" button T
Begins the wash program or
interrupts a program.
k"On/Off" button
Turns the machine on and off.
l"Door" button
Opens the drum door.
mDisplay (h min)
Shows the delayed start time and the
countdown to the end of the
program.
Guide to the washer
5
Table of contents
Other Miele Washer manuals

Miele
Miele NOVOTRONIC W 1918 User manual

Miele
Miele W 211 User manual

Miele
Miele WS 5427 MC 23 User manual

Miele
Miele PW 6207D User manual

Miele
Miele W 5943 WPS User manual

Miele
Miele PWM 912 User manual

Miele
Miele W 1614 User manual

Miele
Miele SUPERTRONIC User manual

Miele
Miele W 2839I WPM User manual

Miele
Miele W 1913 User manual

Miele
Miele WWV 980 WPS Passion User manual

Miele
Miele W 1215 Specification sheet

Miele
Miele PWM 912 User manual

Miele
Miele WCR 860 WPS User manual

Miele
Miele PW 6201 EL User manual

Miele
Miele PWM 916 EL User manual

Miele
Miele W 1753 User manual

Miele
Miele PWM 514 User manual

Miele
Miele WWB 020 User manual

Miele
Miele G 7804 User manual