ATTENTION:
• Please review all the instructions and diagrams carefully before assembling the lamp. This will reduce
assembly time and avoid damage. Do not force parts. Do not apply excessive force to wires during
assembly. Remove all the packing materials before use.
WARNING:
• Do not look directly into the LED’s and do not shine them into the eyes of others. As with other high intensity
light sources, eye damage may occur.
• To avoid the risk of damage or re, do not leave the magnier in direct sunlight or allow sunlight to pass
through the lens.
• Do not look through the lens directly at the sun or other bright lights, as eye damage may occur.
ASSEMBLY STEPS
1. Remove the recyclable paper tray from the recyclable carton. Carefully remove the exible arm with
the Magnier Lamp from the tray. Gently lay them on a large, clean work surface.
2. Assemble the pole with the base at on the ground. Carefully insert the pole into the base being sure to
line up the gray triangular installation marks on the pole and base. (FIG. A)
3. Once secure, gently rest the entire light onto its side. Be careful to protect the magnifying head as you
set it down.
4. Using the included screw asselmbly (FIG. A), connect the base to the pole from the bottom of the base,
turning clockwise until nger-tight. Do not over-tighten.
5. Plug in the supplied AC adapter to the DC jack on the back of the base. The lamp is now ready for use.
6. Be sure to charge the batteries for 4 full hours before attempting to use without the AC power supply.
BATTERIES:
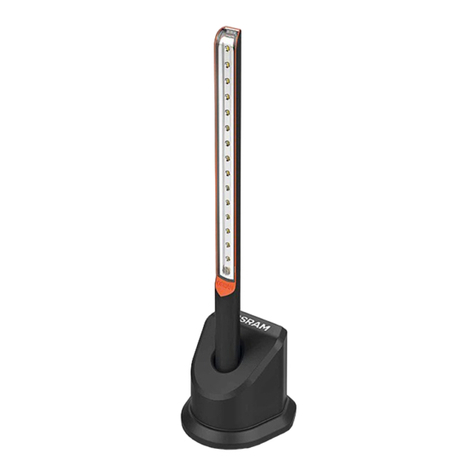
• This product comes with built-in rechargeable batteries along with an AC adapter. The light can be used
with or without the AC adapter, assuming batteries are charged.
• Battery life ranges from 2.5 hours (highest setting) to 7 hours (lowest setting). Batteries charge fully in 4 hours.
AC/DC Adapter specs:
• Input : 100-240VAC, 50 – 60 HZ. Output : 12V DC 1.0A. AC/DC jack is located on the back of the lamp base.
OPERATION
• The power switch is located on the top of the lamp head next to the magnifying lens. Press it once to turn
on the light. Press again to cycle through the other brightness levels (High, Med, Low, Off). If the light fails to
operate after turning the switch on, check that the batteries have been fully charged or that the AC power
supply is fully plugged in.
• The color temperature selector is also located on the top of the lamp head. The touch-activated selector
continuously cycles between cool (5,000K) and warm (3,000K) color temperatures. Press and hold the sensor
to select the ideal color temperature for your needs.
• The exible arm is intended as a convenient means of adjusting the lamp. Properly handled it will provide a
lifetime of service. Do not abuse the exible arm by bending it severely, abruptly, or forcefully.
• Do not attempt to remove or replace the LED’s.
• Magnication: 5” diameter lens is 2X power with a 5X spot lens.
• Care: Clean the lens with a lint-free soft cloth or with a non-abrasive lens cloth. Never use a chemical
cleanser.
8
A
1234567
D
C
B
C
A
D
B
5 3 16 248 7
x
DO NOT SCALE DRAWING
SHEET 1 OF 1
UNLESS OTHERWISE SPECIFIED:
SCALE: 1:2
WEIGHT:
REV
DWG. NO.
D
SIZE
TITLE:
NAME
DATE
COMMENTS:
Q.A.
MFG APPR.
ENG APPR.
CHECKED
DRAWN
FINISH
MATERIAL
INTERPRET GEOMETRIC
TOLERANCING PER:
DIMENSIONS ARE IN mm
TOLERANCES:
ANGULAR: MACH
.5
TWO PLACE DECIMAL
.6mm
THREE PLACE DECIMAL
.1mm
APPLICATION
USED ON
NEXT ASSY
PROPRIETARY AND CONFIDENTIAL
THE INFORMATION CONTAINED IN THIS
DRAWING IS THE SOLE PROPERTY OF
GOLD CREST dba MIGHTY BRIGHT. ANY
REPRODUCTION IN PART OR AS A WHOLE
WITHOUT THE WRITTEN PERMISSION OF
GOLD CREST dba MIGHTY BRIGHT IS
PROHIBITED.
XXXXXX X
FIGURE A
Visit us at:
www.mightybright.com
REV200
