manuals.online logo
Brands
  1. Home
  2. •
  3. Brands
  4. •
  5. Mikroe
  6. •
  7. Microcontroller
  8. •
  9. Mikroe RELAY 2 click User manual

Mikroe RELAY 2 click User manual

Other Mikroe Microcontroller manuals

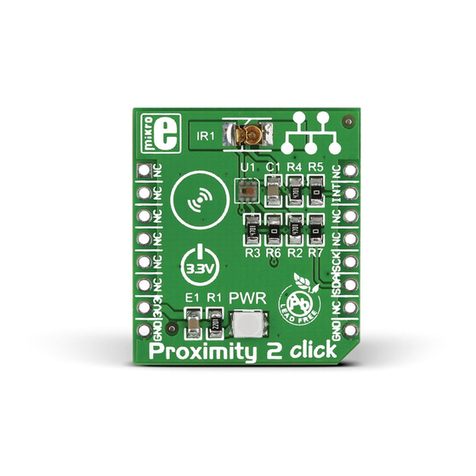
Mikroe click Proximity 2 User manual

Mikroe

Mikroe click Proximity 2 User manual

Mikroe click GPS2 User manual

Mikroe

Mikroe click GPS2 User manual

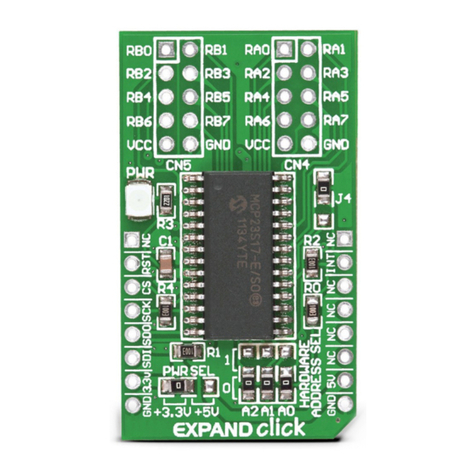
Mikroe Click Board Expand Click User manual

Mikroe

Mikroe Click Board Expand Click User manual

Mikroe SEMITECH N-PLC Click Installation and operating instructions

Mikroe

Mikroe SEMITECH N-PLC Click Installation and operating instructions

Mikroe BOARDS XBEE click User manual

Mikroe

Mikroe BOARDS XBEE click User manual

Mikroe PICPLC16 V7A User manual

Mikroe

Mikroe PICPLC16 V7A User manual

Popular Microcontroller manuals by other brands

Microsemi IGLOO nano Starter Kit user guide

Microsemi

Microsemi IGLOO nano Starter Kit user guide

GOWIN DK START GW1NSR-LV4CQN48PC7I6 V 1.1 user guide

GOWIN

GOWIN DK START GW1NSR-LV4CQN48PC7I6 V 1.1 user guide

HETRONIC ERGO-S Service manual

HETRONIC

HETRONIC ERGO-S Service manual

Laird BL654PA user guide

Laird

Laird BL654PA user guide

Novatek NT6861 manual

Novatek

Novatek NT6861 manual

Lantronix Intrinsyc Open-Q 865XR SOM user guide

Lantronix

Lantronix Intrinsyc Open-Q 865XR SOM user guide

Nuvoton ISD61S00 ChipCorder Design guide

Nuvoton

Nuvoton ISD61S00 ChipCorder Design guide

STMicrolectronics ST7 Assembler Linker user manual

STMicrolectronics

STMicrolectronics ST7 Assembler Linker user manual

Texas Instruments Chipcon CC2420DK user manual

Texas Instruments

Texas Instruments Chipcon CC2420DK user manual

NEC 78GK0S/K 1+ Series Application note

NEC

NEC 78GK0S/K 1+ Series Application note

Intel Agilex user guide

Intel

Intel Agilex user guide

DIGITAL-LOGIC MICROSPACE manual

DIGITAL-LOGIC

DIGITAL-LOGIC MICROSPACE manual

Texas Instruments TMS320F2837 D Series Workshop Guide and Lab Manual

Texas Instruments

Texas Instruments TMS320F2837 D Series Workshop Guide and Lab Manual

CYPRES CY14NVSRAMKIT-001 user guide

CYPRES

CYPRES CY14NVSRAMKIT-001 user guide

Espressif Systems ESP8266EX Programming guide

Espressif Systems

Espressif Systems ESP8266EX Programming guide

Abov AC33M8128L user manual

Abov

Abov AC33M8128L user manual

Silicon Laboratories C8051F800 user guide

Silicon Laboratories

Silicon Laboratories C8051F800 user guide

Energy micro EFM32 Giant Gecko Starter Kit user manual

Energy micro

Energy micro EFM32 Giant Gecko Starter Kit user manual

manuals.online logo
manuals.online logoBrands
  • About & Mission
  • Contact us
  • Privacy Policy
  • Terms and Conditions

Copyright 2025 Manuals.Online. All Rights Reserved.

2 3
2. Soldering the headers
3. Plugging the board in
Once you have soldered the headers your
board is ready to be placed into the desired
mikroBUS™socket. Make sure to align the cut
in the lower-right part of the board with the
markings on the silkscreen at the mikroBUS™
socket. If all the pins are aligned
correctly, push the board all
the way into the socket.
Turn the board upward again. Make sure
to align the headers so that they are
perpendicular to the board, then solder the
pins carefully.
Turn the board upside down so that
the bottom side is facing you upwards.
Place shorter pins of the header into the
appropriate soldering pads.
Before using your click board™, make sure
to solder 1x8 male headers to both left and
right side of the board. Two 1x8 male headers
are included with the board in the package.
4. Essential features
Relay is an electrical switch used to terminate
or establish circuit using a low power signal
from a microcontroller. Relay provides
complete electrical isolation between the
microcontroller and controlled circuits. The
LCA717 have optically coupled outputs that
use the patented OptoMOS technology. Solid
state relays enable fast, silent and bounce-
free switching. On this click board™, each
relay has a corresponding onboard signal
LED to indicate whether it’s on or o.
1
Relay 2 click carries two LCA717 single-pole,
OptoMOS® solid state relays and two screw
terminals for connecting the wiring. These
relays have a load current of 2A, low maximum
on-resistance of just 0.15 Ohms, and a
blocking Voltage of 30V. They are controlled
by the microcontroller through RL1 and RL2
pins, which are in place of default mikroBUS™
AN and PWM pins. The board is designed to
use a 3.3V power supply only.
1. Introduction
RELAY 2 click manual
ver 1.00
0100000080283
click
BOARD™
www.mikroe.com
RELAY 2 click
AN
RST
CS
SCK
MOSI
MISO
+3.3V
GND
PWM
INT
RX
TX
SCL
SDA
+5V
GND
MIKROBUS
DEVICE CONN. GNDGND
CN1
CN2
GND
R1
380
GND
R2
380
LD1
R3
10K
R4
10K
GND
GND
LD2
1
2
6
5
3 4
Relay1
LCA717
1
2
6
5
3 4
Relay2
LCA717
VCC-3.3VCC-3.3
GND
LD3
R5
2K2
8. Code examples
MikroElektronika oers free tech support
(www.mikroe.com/support) until the end of
the product’s lifetime, so if something goes
wrong, we’re ready and willing to help!
Once you have done all the necessary
preparations, it’s time to get your click board™
up and running. We have provided examples
for mikroC™, mikroBasic™ and mikroPascal™
compilers on our Libstock website. Just
download them and you are ready to start.
.com
6. Dimensions
MikroElektronika assumes no responsibility
or liability for any errors or inaccuracies
that may appear in the present document.
Specication and information contained in
the present schematic are subject to change
at any time without notice.
Copyright © 2015 MikroElektronika.
All rights reserved.
mm mils
LENGTH 42.9 1690
WIDTH 25.4 1000
HEIGHT* 12.2 480
5. Schematic
9. Support
* without headers
10. Disclaimer
If you require a relay which can handle higher
currents and voltages, see the original Relay
click: www.mikroe.com/click/relay
25.4 mm / 1000 mils
42.9 mm / 1690 mils
7. Alternative solution