Page 1 of 2
Installation Instructions
Milli Inox Shower Mixer
Plumbers, please ensure a copy of the Installation
Instructions are left with the end user for future reference
INSTALLATION INSTRUCTIONS:
Mixers are recommended for use on mains pressure and instantaneous systems only. Equal pressure for
hot and cold water supply is required for this single lever mixer.
1.
Please flush out new pipe work prior to connecting the new mixer
2.
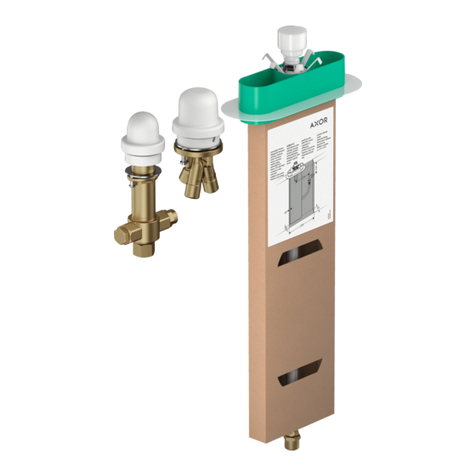
During installation protect the exposed surface by using the plastic cover provided
3.
The label on the plastic cover shows the depth to mount the mixer in wall to face of finished wall - 45mm
min to 65mm max
4.
In a typical installation, the mixer is mounted on a timber/metal noggin and secured using suitable
screws through the mounting lugs
5.
Connect mixer to hot and cold water supply
6.
Pressure check all connections. Leaking joints are not covered by the warranty
7.
When the wall is finished (eg: tiling), remove the protective cover and fit the wall plate and handle
MAINTENANCE:
1.
Unscrew pin handle and unscrew the grub screw using the allen key
2.
Lift off handle and unscrew the retaining nut and lift out cartridge
3.
Replace the cartridge, replace the retaining nut and replace handle
4.
Tighten grub screw and screw on pin handle
WATER SUPPLY REQUIREMENTS:
To ensure optimum performance and customer satisfaction please adhere to the following:
• If the water pressure exceeds or is likely to exceed 500kPa, an approved pressure limiting valve must be fitted
• Flush out all pipe work prior to installation
• If the water temperature exceeds 50°C, an approved tempering valve must be fitted
• Installation should comply with Australian standard AS/NZS 3500 or relevant local authority requirements
CLEANING RECOMMENDATIONS:
We recommend the use of soapy water or approved cleaners. This product should not be cleaned with
abrasive materials. Damage caused by any improper treatment is not covered by the product warranty.
Refer to Warranty Conditions
