Detect Mode
Selects Detect Modes: Park, Field, Beach, and Gold*
Each Detect Mode has 2 customisable Search Proles.
A short press of the Detect Mode button
scrolls through the Detect Modes.
Press and hold for 5 seconds to restore factory preset
for the active Search Prole.
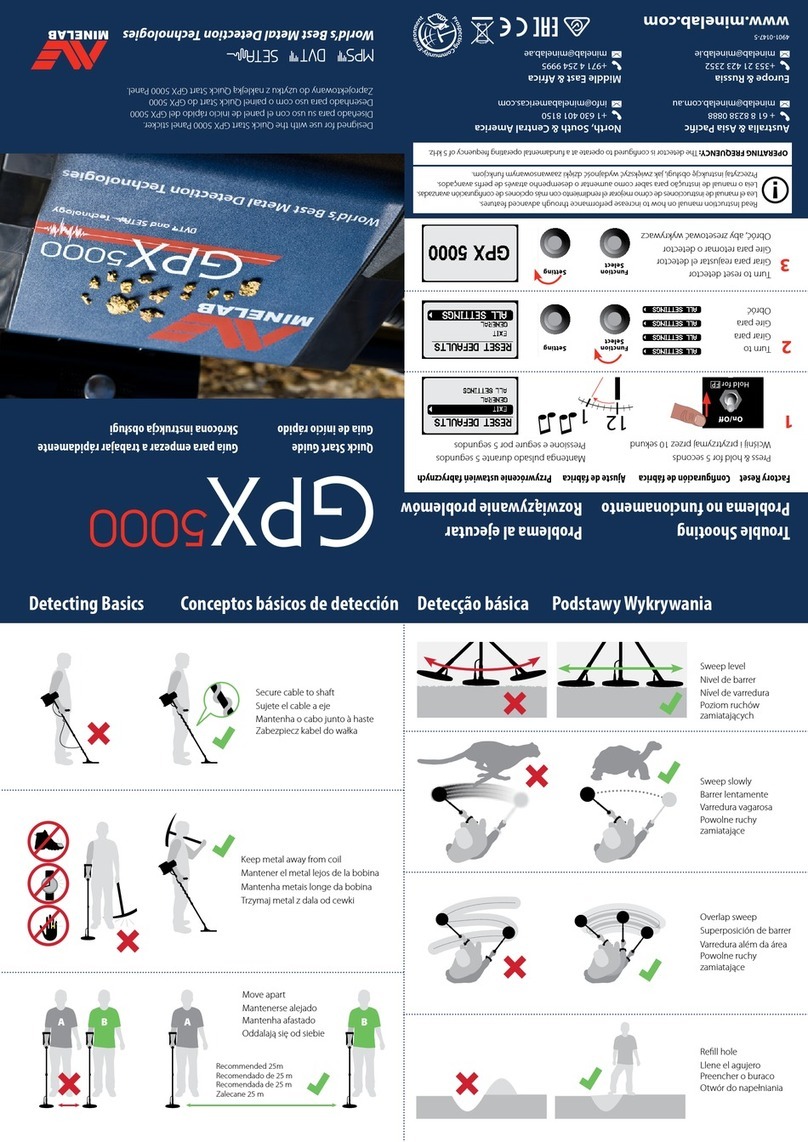
1. Turn on
Press the Power button on the side of the
control panel.
2. Select a Detect Mode
Select the optimum Detect Mode Search Prole for
your detecting location. (EQUINOX 800 shown).
3. Noise Cancel
Select Noise Cancel from the Settings Menu, then
press to initiate an Auto Noise Cancel.
This will take approximately 8 seconds to complete.
4. Begin detecting!
Press to return to the detect screen,
and begin detecting!
Pinpoint
Assists in locating the exact position of a target prior to recovery.
Press the Pinpoint/Detect button to enable pinpoint
mode. Press again to return to the Detect Screen.
Detect Modes | Each Detect Mode has two adjustable Search Proles with unique default settings.
Quick Start | 4 easy steps to get started. Before rst use, it is recommended that you fully charge the battery for 4 hours.
Flashing: Charging
Control Panel | Adjust and view your detector settings.
This asterisk appears throughout the guide, indicating features only available on the EQUINOX 800 model.
Power
A short press of the Power button turns the detector on and o.
A long press (5 seconds) restores the whole detector to factory settings.
Backlight
Selects the backlight
brightness* or turns the
backlight on and o.
The backlight icon will appear
when the backlight is on.
Sensitivity Indicator
Indicates approximate
sensitivity level (25 levels)
Press and from
the detect screen to adjust
sensitivity.
Advanced
Setting
Setting
Detect Mode
Search Proles
1 device paired
70% –100%
30% – 70%
<30%
<5%
Charge the battery when the
battery icon begins to ash.
3 devices paired
Up to 4WM 08 audio modules can be paired and in use simultaneously.
Depth Indicator
Indicates the estimated
depth of a detected
target. (5 levels)
Frequency
Displays the current operating Frequency.
Press the Frequency button any time to scroll through the
available operating frequencies for the active Search Prole.
Detector Settings Menu
A short press of the Settings button accesses
and scrolls through the Detector Settings menu.
A long press when in the Settings Menu
accesses Advanced Settings if available.
Press and with a setting selected to adjust its
value.
Displays the current selected
single frequency in kHz:
5, 10, 15, 20*, or 40*.
Displays a rectangle when
operating in Simultaneous
Multi-Frequency.
Tracking
Indicates thatTracking ground
balance is active.
Wireless Audio
A short press of the Wireless button turnsWireless on and o.
A long press pairs wireless audio devices.
Any Bluetooth®
headphones
aptX™ Low Latency
headphones
WM 08Wireless
Audio Module
Battery Status
LED indicates charge status
during charging.You can
go detecting as usual when
connected to a USB power bank,
just like a spare battery.
Setting Advanced Setting
Noise Cancel
Auto | Manual*
Ground Balance
Auto | Manual
Volume Adjust
0 to 25
Tone Volume
Ferrous | Non-ferrous*
Threshold Level
0 to 25
Threshold Pitch*
0 to 25
Target Tone
1, 2, 5, and 50
Tone Pitch
Ferrous | Non-ferrous*
Accept/Reject
50 Segment resolution
Tone Break
Ferrous | Non-ferrous*
Recovery Speed
1 to 3 | 1 to 8*
Iron Bias
0 to 3 | 0 to 9*
Notch Discrimination
High resolution 50 segment (–9 to 40) discrimination scale for
accurate, stable target identication.
When a target is detected, press the Accept/Reject button to
instantly accept or reject it.
You can also create discrimination patterns via the Settings Menu.
Press or to navigate to a segment, then press the Accept/
Reject button to accept or reject it.
All-Metal
Press the All-Metal button to turn the selected discrimination
pattern on and o for target conrmation.
User Prole*
A long press of the User Prole button saves the current detector
settings.
A short press turns the saved User Prole on or o.
Constant on: Charged
Target IDs –9 to 0 indicate
ferrous targets, e.g. –5.
Target IDs 1 to 40 indicate
non-ferrous targets, e.g. 32.
Park Field Beach Gold*
Great for high-trash recreational areas,
including most general detecting.
Ideal for detecting in historical elds
for the widest range of target sizes.
Optimised for all salty conditions –
dry sand, wet sand, surf, underwater.
Best suited for gold nugget prospecting
in mineralised goldeld locations.
General / Coins Fine Jewellery Coins / Artefacts Fine Coins / Artefacts Wet / Dry Sand Underwater / Surf Normal Ground Dicult Ground
