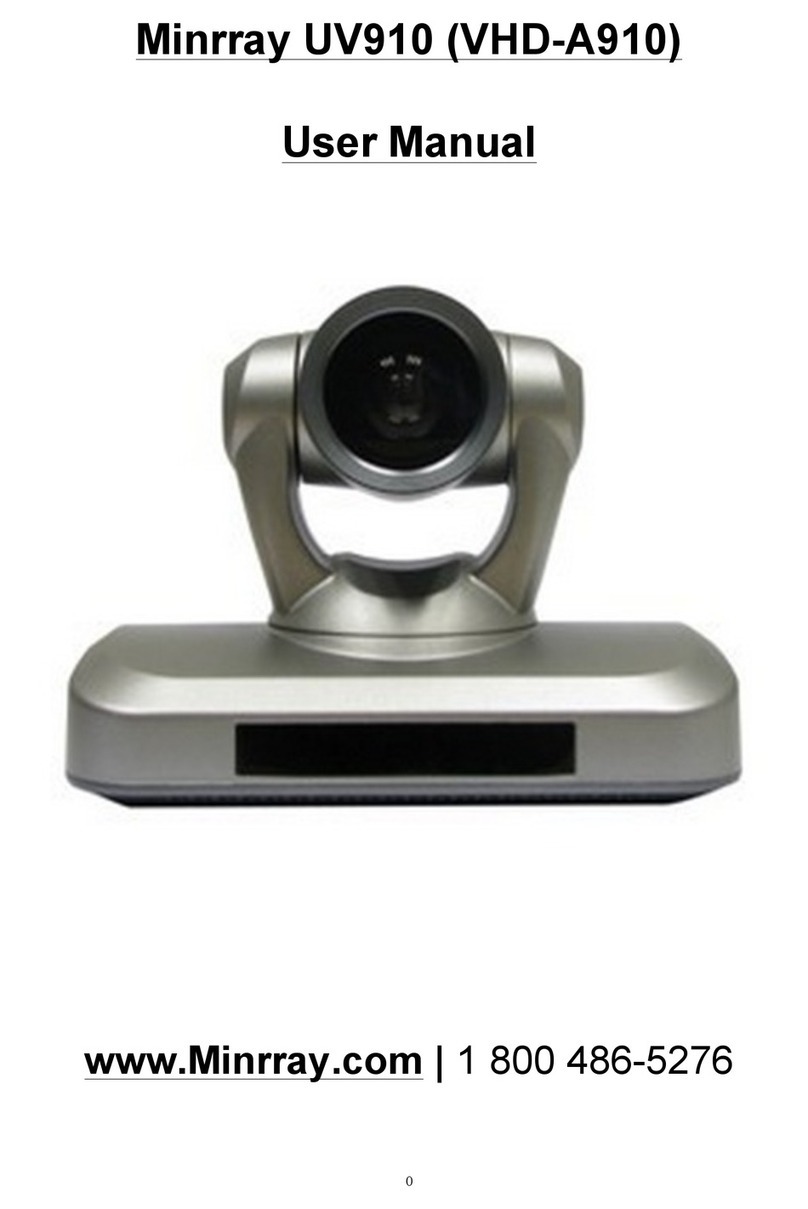
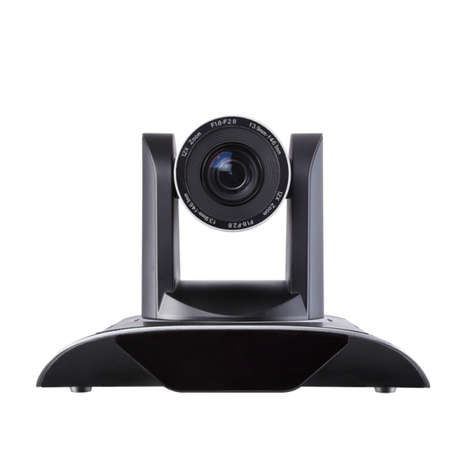
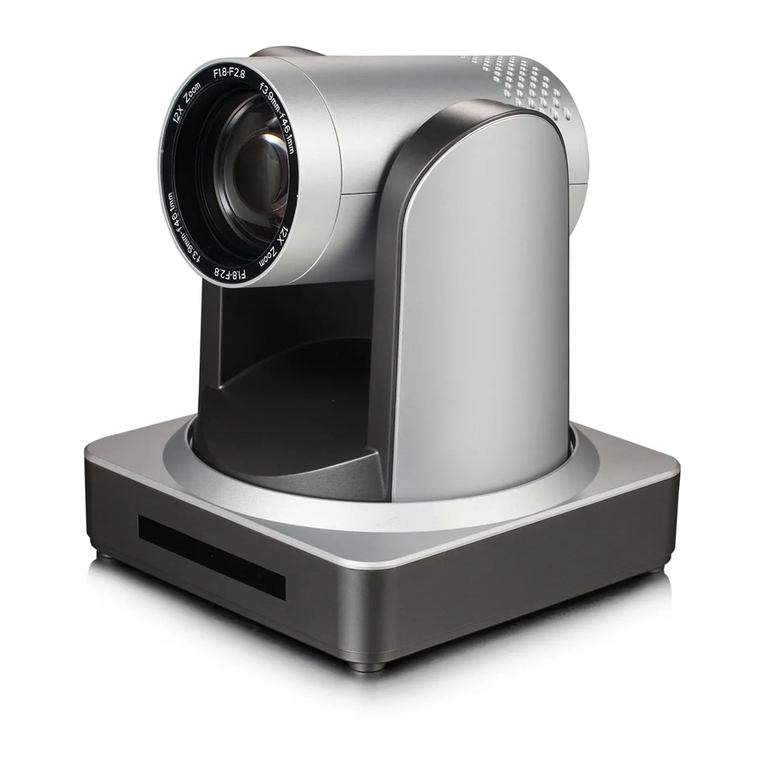
minrray uv83 User manual

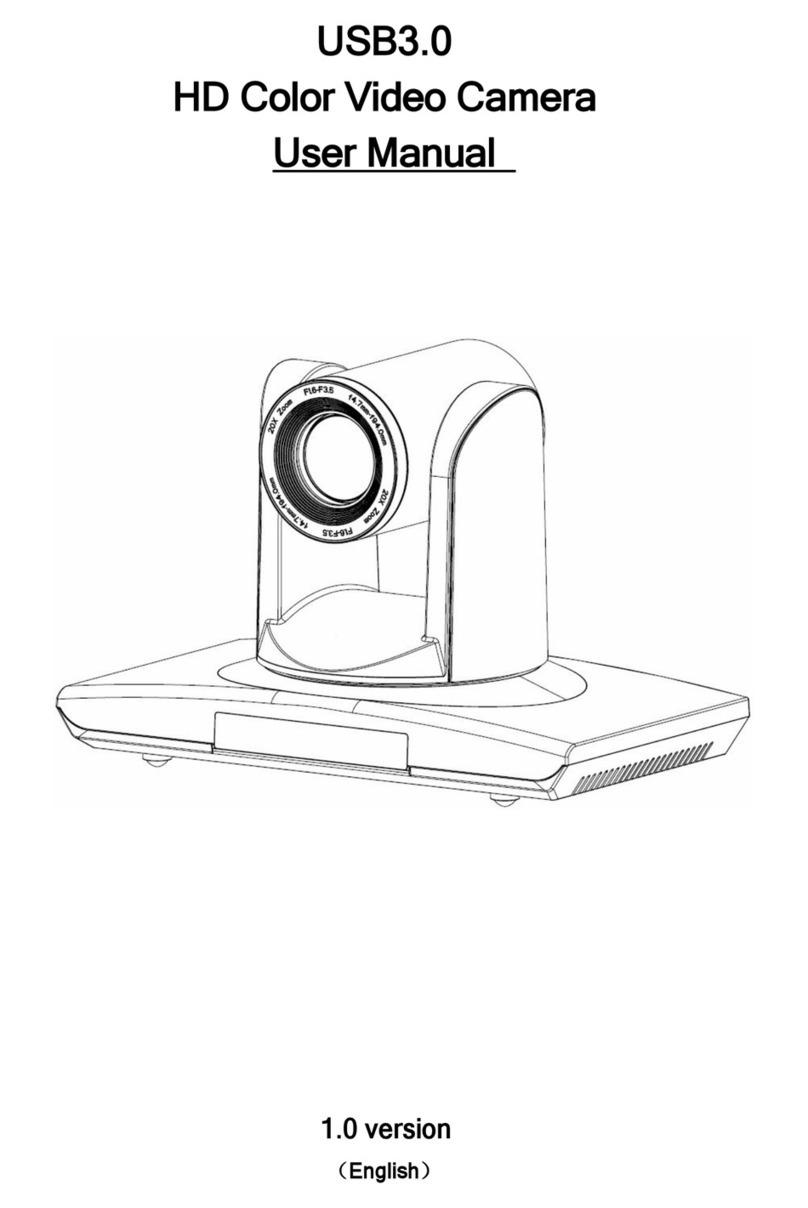
VideoConferenceCamera
UserManual

1
Forward
Thankyouverymuchforbuyingourcameras,pleasecontactusifthereisanydoubtsanytime.Thismanual
mayhavetechnicalerror,productfunctionsmaynotconformtoactualoperationormayhavewrongprintings.
Thecontentofthismanualwillbeupdatedasproductfunctionsstrengthened.Pleasenotetheupdatedcontent
willbeaddedinthenewversionmanualwithoutnotice.
WARNING!
Thisproductcanbeonlyusedinspecifiedrangeinordertoavoidanydamageordanger.
Itmustnotbeinstalledwhereexposedtorainandmoisture
Donot openthe camera boxas to preventthe dangerof electric shock Installation and servicing
shouldonlybedonebyqualifiedservicepersonnel
Itmust not beinstalledwhereexposedto rain and moistureand itcan notbeused in unqualified
temperature,humidityandpowersupply.
Onlyusereplacementpartsrecommendedbymanufacturer.
Pleaseusethesoftclothtocleanthedome.Useneutercleanserifbadsmeared.Nousethestrong
orcorrosivecleanseravoidingscuffing.
Becautiousofmoving,neverpressthedrivepartsheavilyavoidingdometroubles.
Caution!
TheimagemaybeeffectedinElectromagneticfieldundercharacteristicfrequency.

2
【Contents】
1、NOTE ............................................................................................................................................................................ 3
2、MAINFEATURES: ...................................................................................................................................................... 4
3、SUPPLIEDACCESSORIES ....................................................................................................................................... 4
4、CAMERAINTERFACEEXPLANATION.................................................................................................................... 5
8、CONNECTION ............................................................................................................................................................. 9
9、CAMERAINTERFACEEXPLANATION: ................................................................................................................. 9
10、RS485,RS422INTERFACEPINASSIGNMENT. ........................................................................................... 11
11、SVIDEOINTERFACEPINASSIGNMENT .......................................................................................................... 12
12、INSTALLATION ..................................................................................................................................................... 12
13、OPERATION .......................................................................................................................................................... 15
14、MENUCONTROL.................................................................................................................................................. 19
15、MAINTENANCEANDTROUBLESHOOTING.................................................................................................... 24
16、SPECIFICATION ................................................................................................................................................... 24
17、DIMENSION........................................................................................................................................................... 26

3
1、Note
ElectricalSafety
The installation of this product must be completely according to the national or regional electric
specification.
CarefulTransportation
To prevent the product from the damage of stress, violent vibration and marination when under
transportation,storageandinstallation.
Polarity
Thepowersupplyoftheproductis12VDC,themaxelectricalcurrentis2A.Polarityofthepowersupply
isasfollowingdrawing
CarefulInstallation
Never move the camera by seizing the camera head. Don’t rotate camera head by hand, otherwise,
mechanicaltroublewilloccur.
1.Thisseriesitemmustputonthesmoothdeskorplatform,anditcannotbeinstalledslantways
2.IfthecameraisinstalledonTVorcomputer,thebasecanbefixedbythreedoublesidedadhesivetray.
3.Don’t apply in corrosive liquid, gas or solid environment to aovid the cover which is made up of organic
material,
4.Tomakesurenoobstacleinrotationrange.
5.Neverpoweronbeforeinstallationisnotcompleted.
Don’tdispatchdiscretionarily
Thisproducthasnosparepartsforselfrepair,wewillnotguaranteethedamagecausedbyselfdisassembly.

4
2、MainFeatures:
StandardDefinitionVideo
1/4inchhighqualityEXVIEWHADCCDsensor。
18xopticalzoom
F1.43.0
Fast,accurateandstableautofocuslens,18xopticalzoomF1.4~3.0,mechanicalshutter。
Widerange,highspeedandlownoisepan/tiltrotation
Stepmotordriving,smoothrotationanduserfriendlywithoutdithering.Movingtotheappointedposition
quicklyandaccurately,meanwhile,shootinglargearea.
Multiplevideooutputformat
SupportAVinterfaceCVBSvideosignalandSinterfaceSVIDEOvideooutput
RS232Cremotecontroller(VISCAprotocol)
RS232C(VISCAprotocol)interface:Allsettingofcameraandpan/tilt/zoomcanberemotehighspeed
communicationcontrolled.
RS485/RS422remotecontrol(P/D/VISCAprotocol)
RS485/RS422(P/D/VISCAprotocol)interface(3.81mm):Allsettingofcameraandpan/tilt/zoomcanbe
remotehighspeedcommunicationcontrolled.
256presets
User can preset the pan/tilt/zoom for 256 presets(P/D protocol: 256 presetsVISCA protocol: 16) and
reservethepresetdatawhenpoweroff.
SupportcameraInversion
Supportcamerainversion,usercansetthepan/tilt/zoom,verticalflip,imageinversioncommandandwith
poweroffselfrestoringfunction
Multifunctionremotecontroller
Equipped with easy and convenient remote controller Except the basic setting and the control of
Pan,Tilt,zoom,itcanalsosettherelativeparametersofcamerabytheremotecontroller..
EnglishOSDmenu
UsercansetthecameraparametersandrotationparametersbyOSDmenu.
3、SuppliedAccessories
Whenyouunpack,checkthatallthesuppliedaccessoriesareincluded:
Camera……………………………...1
ACpoweradapter…………………..1
Remotecontroller…………………...1
RS232communicationcable……….1
VISCAOUTcable(Optional)……….1
SVIDEOcable………………….…..1
Doublesidedpads………………….4
Usermanual…………………………1
Certificate…………………………….1
5
4、CameraInterfaceExplanation
1.Lens
2.CameraBody
3.MainCameraBase
4.RemoteControllerReceiver
5.Powerindicatorlight(red)
6.Tripodscrewhole
7.InstallationOrientationHole
8.BottomdialSwitch
9.RS485andRS422controlinterface
10.RS232VISCAOUToutputport
11.RS232VISCAOUTinputport
12.SVIDEOsignaloutput
13.AVinterface,CVBSsignalvideooutput
14.Powerindicatorlight(red)
15.DC12VInputPowerSupplyJack
16.PowerSwitch,Onisopen,OFFisclose

6
5、Remotecontrollerinstruction
1、Numberkey
Settingorlocatingpresets
2、*key
Keycombinationuse
3.Setpresetkey:
Setpreset:
Setpresetkey+09numberkey:
Clearpresetkey:
Clearpresetkey+09numberkey
or:#+#+#:clearallthepresets
4、BLCcontrolkey
BLCON:openblacklightcompensation(Onlyavailable
intheexposuremodeeffectiveforAuto)
BLCOFF:closeblacklightcompensation(Onlyavailable
intheexposuremodeeffectiveforAuto)
5、Focuscontrolkey
Focus+:focuslengthfarfromnear
Focus-:focuslengthnearfromfar
Autofocus:thecamerafocusmodeisauto
Manualfocus:thecamerafocusmodeismanual
6、ControlledCameraaddressselection
【*】+【#】+【F1】: CameraAddressNo.1
【*】+【#】+【F2】: CameraAddressNo.2
【*】+【#】+【F3】: CameraAddressNo.3
【*】+【#】+【F4】: CameraAddressNo.4
7、#key
#+#+#deleteallpresets
8、pan/tiltcontrolkey
Normalmode:
Press key :up
Press key :down
Press key :left
Press key:right
“HOME”key:Returntothemiddleposition
Menumode:
Press :selectthemenuupwards
Press :enter into the sub menu and select the current
parameter
Press :backtotheformermenu
9、Menusetting
Openorclosemenu
10、ZoomControlkey
zoom+:lensnear
zoom-:lensfar
11.F1,F2,F3,F4functionsareunavailable.

7
6、CameraBasicFunction
18Xopticalzoom
With18xopticalzoomlensandwideanglelens,absolutelymeetallsizesmeetingroom‘sneeds.
CanbecontrolledbyIRremotecontrollerandVISCAcommandbyRS232interface.
Focus
Auto focus mode and manual focus mode. Can be controlled by IR remote controller and VISCA
command.
1,AutoFocus
2,ManualFocus(putonreserve)
Iris
1,Autoirismode
2,Manualirismode(Controlbyserialinterfacecommand)
ElectricShutter
Autoelectricshutter
Blacklightcompensation
Theobjectwillbecomedarklikeshadowwhenthebackgroundturnupthehighlight.TheBLCfunctionis
thelenscancompensatethebrightnessofdarkerobjectsandadjustthebrighterbackgroundwhenunder
highlight, this is can help to prevent the image become too bright because of too highlight of the
backgroundandtheobjectwillnotberecognizable,sothecameracancapturetheclearimage.
Multiplewhitebalancefunctions
According to the different applications, multiplewhite balance modes can be set to adjust the various light
environmentandensuretheoperatoravivifyingimage.
Videofreezefunction
Openthevideofreezefunction,theextravideoduringrunningthepresetwillnotbedisplayed,thiscan
reachtheeffectofimageswitch.
Multicontrolmodes
1、byIRremotecontroller
2、byRS232serialinterface,P/Dprotocol.VISCAprotocol
3、byRS485serialinterface,P/Dprotocol
4、byRS422serialinterface,P/Dprotocol.VISCAprotocol
MultiSDvideooutput
1、CVBS
2、SVIDEOvideosignaloutput
7、DialSwitchSetting

8
Note:SW1dialswitchposition4、5、6、7、8arecorrespondingtothesettingofBaudrate,IRremoter
(on/off)andsoftwareupdatemodel/normalworkingmodeswitching.
Note:VISCAProtocolonlyworkingwith9600Baudrate.
SW1 SWITCHSETTING
Baudrate,IRremoterand
interfaceupdatesetting SW14
SW15 SW16 SW17
7
7
SW18
DesktopMountON
InceilingMount OFF
1200OFFOFF
2400ONOFF
4800OFFON
9600ONON
IRRemoter OFF
IRRemoter ON
NormalWorkingmodeON
Softwareupdatemode OFF
Note: SW1dialswitchposition1、2、3aretobesetthereceivingaddress.
PcontrolProtocoladdresssetting
SW1SwitchSetting
Address
SW11
SW12
SW13
1 OFFOFFOFF
2 ONOFFOFF
3 OFFONOFF
4 ONONOFF
5 OFFOFFON
6 ONOFFON
7 OFFONON
8 ONONON
DControlProtocoladdresssetting: VISCAControlProtocoladdresssetting:
SwitchSetting
Address SW11 SW12 SW13
1 ONOFFOFF
2 OFFONOFF
3 ONONOFF
4 OFFOFFON
5 ONOFFON
6 OFFONON
7 ONONON
SwitchSetting
Address SW11
SW12
SW13
1 ONOFFOFF
2 OFFONOFF
3 ONONOFF
4 OFFOFFON
5 ONOFFON
6 OFFONON
7 ONONON

9
8、Connection
9、CameraInterfaceexplanation:
ControlInterfaceRS232
RS232seriesinterface, wiringisstandardVISCAcable,oneofthelinkeris8pinminiDIN(1),the
other is RS232C 9 core square linker (DB9),which connect with computer or conference TV
terminal.
StandarddefinitionvideosignalCVBS
AVinterface,SDcompoundvideosignal
StandarddefinitionvideosignalSVIDEO
SVIDEOSDvideosignal
VISCAoutconnectingcable(notattached)
Communicationcabletoconnecttheinterfacesoftwocameras
PowersupplyinterfaceDC12V
Inputpowersupplyisadoptedexternaladaptertooffer12V/2ADC.
BNCpolarityofpowersupplyisshownasfollowingexternaladapter:
Powersupplyswitch
ONisopen,OFF isclose
PowerIndicatorLight(Red)
PowersupplySwitchis“ON”:indicatorlightisopen,otherwise,indicatorlightisclose,nopoweror
voltageisabnormal

10
9.1、VISCARS232pinassignment
Camera WindowsDB9
1.DTR 1.CD
2.DSR 2.RXD
3.TXD3.TXD
4.GND 4.DTR
5.RXD 5.GND
6.GND 6.DSR
7.7.RTS
8.NC8.CTS
9.RI
Camera WindowsDB25
1.DTR1.FG
2.DSR2.TXD
3.TXD3.RXD
4.GND 4.RTS
5.RXD 5.CTS
6.GND 6.DSR
7.7.GND
8.NC
20.DTR
VISCAINDefinition
Camera MiniDIN
1.DTR1.DTR
2.DSR2.DSR
3.TXD3.TXD
4.GND 4.GND
5.RXD5.RXD
6.GND 6.GND
7.7.NC
8.NC8.NC
No. Function
1 DTR
2 DSR
3 TXD
4 GND
5 RXD
6 GND
7
8 NC

11
9.2、VISCAOUToutputcableinterfacepinassignment
VISCAOUTDefinition:
10、RS485,RS422InterfacePinAssignment.
RS485、RS422InterfaceDefinition:
RS422usingmethod:
RX +,RX ,TX +,TX – are the interfaces of RS422 . Connecting controller equipment interface of TX
+(OUT+),TX–(OUT)totheinterfaceofSDvideoconferencecamera’sRX+,RX–.Thenconnectingthe
interface of controller equipment RX +(IN+),RX –(IN)to the camera’s interface of TX +,TX – . Then can
controlthecameraafteradjustingtheprotocol,BaudrateandtheAddress.
RS485usingmethod :
ConnectingthecontrollerequipmentinterfacesofA,B tothecamerainterfacesofA+,B.Thencancontrol
thecameraafteradjustingtheprotocol,BaudrateandtheAddress.
NO. Function
1
2
3 RXD
4 GND
5 TXD
6 GND
7
8 NC
NO. Function
1 RX+
2 RX
3 TX+
4 TX
5 A+
6 B

12
11、SVIDEOinterfacepinassignment
SVIDEODefinition:
12、Installation
Notice:
Donotmovethecamerabyseizingthecameraheaddonotrotatethecameraturnbyforcelestmechanical
malfunctionoccur.
Multipleinstallationmodesareavailableforusersupontheonsitesituation
ondesktop
onterminalequipment
ontripod
onhoistingbracket
Stepstoinstallinceiling
Step1:installtheupperbase
Drillthreeholesontheceiling,withthesize(4mmindiameter)andpositioncorrespondstotheslotsonthe
ceilingbase.PutM4expansionscrewineachholeandfixthebaseonceilingwithscrewcapandspacer.
No. Function
1 YGND
2 CGND
3 YOUT
4 COUT

13
Step2:installthelowerbase
Stampinsulationpadsontheinstallationholesandmakesuretheholesarealigned.Putthepinsinlocating
hole,andthenfixthebaseatthebaseboardofthecamerawith1/4inchscrew.

14
Step3:Installthecamera
Buckletheclaspstothefixedinstallationboardandfixitby3M3screws.
Notice
Donotinstallthecameraonshakingobject
Donotinstallthecameraobliquely
Batteriesinstallation
Openthebatterycover,installthebatteries,andclosethecover.
Beattentiontotheanodeandcathode
Notice
Changebatteriesiftheremoterdoesnotworkproperly
Whencontrolthecamera,maketheremoterpointdirectlytothecameraRemotercannotworkproperly
whenthereisobstructionbetweenthem.

15
13、Operation
Bootstrap
1、Checkifthewireconnectionisrightbeforepoweringon.
2、Turnontheswitchatthebackofcameraandtheindicatorlighton(RED)
3、Camerainitializationbeginsassoonaspoweringon.Itturntotherightlimitposition,downlimitandtheleft
limitinsequence,andthenruntotherightmiddlepositionandstopthere,thatmeanstheinitializationis
complete.
4、“CONFIGUREOK”onthemenumeansthecameraisready
.
IRremotecontrol
Whenthecameraisworking,userscancontrolthepan/tilt/zoom,settingandtakingpresetpositionsviaremote
controller
Instruction:
1、 Inthisinstruction,“pressthekey”meansaclickotherthanalongpress,andaspecialnotewillbegivenif
alongpressformorethanonesecondisrequired.
2、Whenakeycombinationisrequired,doitinsequence.Forexample,“+#+F1”meanspress“*”firstandthen
press“#”andpress“F1”atlast.
1.CameraRemoteControllerAddressSetting
【*】+【#】+【F1】: CameraAddressNo.1
【*】+【#】+【F2】: CameraAddressNo.2
【*】+【#】+【F3】: CameraAddressNo.3
【*】+【#】+【F4】: CameraAddressNo.4
2.Pan/TiltControl
Up: press
Down: press
Left: press
Right: press
Backtomiddleposition:press“HOME”
Pressandholdtheup/down/left/rightkey,thepan/tiltwillkeeprunning,fromslowtofast,untilitruntothe
endpointThepan/tiltrunningstopsassoonasthekeyisreleased.

16
3.ZoomOperation
ZOOMOUT:press“ZOOM“key
ZOOMIN:press“ZOOM+”key
Pressand holdthe key, thecamerawill keep zooming inor zooming out and stopsas soon as the key is
released.
4.,FocusControl
Focus(far): Press”focus+”key
Focus(near): Press“focus“key
AutoFocus:Press"auto"
ManualFocus:Press"manual"
Pressandholdthekey,theactionoffocuscontinuesandstopsassoonasthekeyisreleased.
5、BLCSetting
BLCON:OpenBLC
BLCOFF:CloseBLC
6、Presetssetting
Tosetapresetposition,theusersshouldpressthe“SETPRESET”keyfirstandthenpressthenumberkey
09tosetarelativepreset,10presetpositionsintotalareavailable.
7、PresetClearing
Toclearapresetposition,theusercanpressthe“CLEARPRESET”keyfirstandthenpressthenumberkey
09tocleartherelativepresetOrpressthe“#”keythreetimestocancelallthepresets.

17
8、RunPresets
Pressanumberkey09directlyruntoasetpreset.
Itwillbeinvalidatedifwithnopresetset.
9.Menusetting
PressMENUkeytoopenorclosemenu
Menumode:
Press :selectthemenuupwards
Press :enterintothesubmenuandselectthecurrentparameter
Press :backtotheformermenu
COMControl
In default working mode, the camera is able to communicate with video conferencing terminal via
RS232Ccommand.ThebaudrateofRS232COMis9600bit/s,andeachframedateincludes1startbit,8
databitsand1stopbit.
Connectedtopower,thecamerarunstotherightmiddleposition,withthelowestzoomrate,autofocusing
anddefaultirisdata.Theuserscancontrolthepan/tilt/zoom,manualfocus,presetssettingandrunningofthe
cameraviaRS232command.
Thecontrolofpresetpositionincludesthefollowingtwoaspects
(1)Executepresetpositioncheckingcommand,andreportcurrentpositionandpan/tilt/zoominformation.
(2)Executepresetactivatingcommand.Thecamerareenablesthepresetdata,includingposition,zoom
rateandfocus.
InquiryCommand
SomeLGcameradon’tsupportsomecommand。Mark“*”
Inquirycommand Command
information
Return
command
Remark
Clearcommand 88010001FF88010001FF
Software version
query81090422FF90502010
12FXYZFF
X:versioninteger
Y:Versionafterdecimalone
Z: Version after decimal point
two
This is Modification number
(Range:0XA~0XF)
Like:9050201012F11AFF
Current version is
201012
V1.1A,,andthereturncommand

18
changeswiththeversion
Camera module
query81090002FF90 500020 04
4C010002FF
ThisReturncommandrepresent
thecameramodule
MovementControlCommand
information
Return
commandRemark
Up81 01 06 01HHVV
0301FF
Down81 01 06 01 HH VV
0302FF
Left81 01 06 01 HH VV
0103FF
Right81 01 06 01 HHVV
0203FF
Leftup81 01 06 01 HH VV
0101FF
Rightup81 01 06 01 HH VV
0201FF
Leftdown81 01 06 01 HH VV
0102FF
Rightdown81 01 06 01 HH VV
0202FF
Stop81 01 06 01 HH VV
0303FF
RelativePositiontoturn
81 01 06 03 HH VV
0Y0Y0Y0Y0Z0Z
0Z0ZFF
HOME(middleposition) 81010604FF
Thecamerawillkeeprotating
asorderedorstoponastop
command.
HH for pan running speed,
rangefrom1to24
VVfortiltrunningspeed,range
from0to1x20
YYYY:forpanposition,range
from0XF6A0~0x0960.
ZZZZ:fortilt position,range
from0XFB50~0x04B0
Zoomout 810104073zFF
Zoomin 810104072zFF
Stop8101040700FF
zzoomspeed
z0~F
Autofocus(default) 8101043802FF
Manualfocus 8101043803FF
Focus(far)8101040802FF
Focus(near) 8101040803FF
Stop8101040800FF
Position
preset 81090612FF
90500W0W0W
0W 0Z 0Z 0Z 0Z
FF
WPanpositioninfo
VTiltpositioninfo
Focuspreset 81090447FF90 50 0Z 0Z 0Z
0ZFFZzoomrateinfo
Positionquery
8101060204030Y
0Y 0Y 0Y 0Z 0Z 0Z
0ZFF
9040FFYPanpositioninfo
ZTiltpositioninfo
Presetposition
command1
Zoom
information
query
810104470Z0Z0Z
0ZFF9040FFZzoomrateinfo
Position and
zoompreset 8101043F010zFF
9040FF
Take preset
position 8101043F020zFF
9040FF
Presetposition
command2
Clearpreset
position 8101043F000zFF
9040FF
Z:0-F,thenumberofpreset
positions,16intotal

19
Outputvideosetting
Systemresetcommand 81010605FFReset the pan/tilt and the camera,The pan/tilt
selfinspection。
Lensparametersetting
Function Settingcommand
Autoexposure 8101043900FF
Manualiris810104390BFF
Iris+ 8101040B02FF
Iris 8101040B03FF
Iriscontrol
Irisstop 8101040B00FF
MenuSetting
Function Settingcommand
Openmenu8101045F5FFF
Closemenu 8101045F5EFF
Menucontrol Normal
operationand
menuswitch
8101045F5DFF
14、Menucontrol
Menuindex:
Table of contents
Other minrray IP Camera manuals

minrray
minrray UV910 User manual

minrray
minrray UV850 User manual

minrray
minrray UV830 Series User manual

minrray
minrray UV910 User manual

minrray
minrray UV-J1220 User manual

minrray
minrray UV950 User manual

minrray
minrray UV950A User manual

minrray
minrray UV510A-10-ST User manual

minrray
minrray UV820 User manual