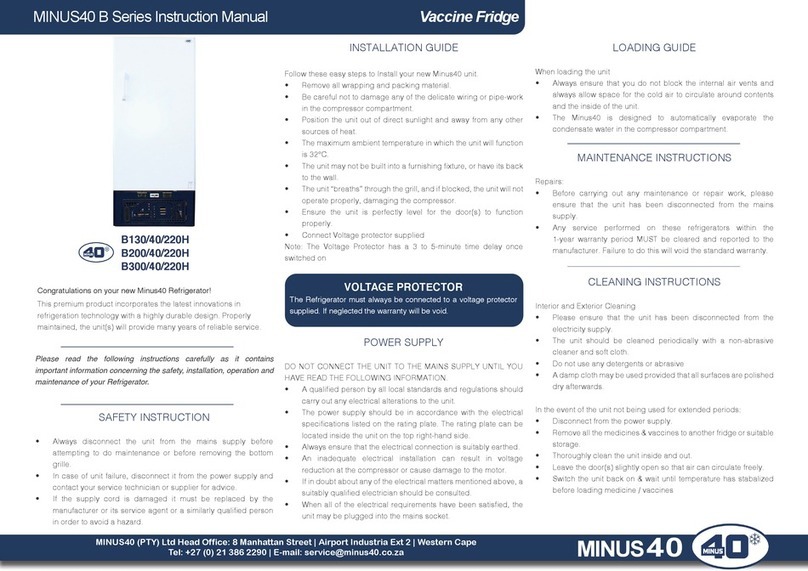
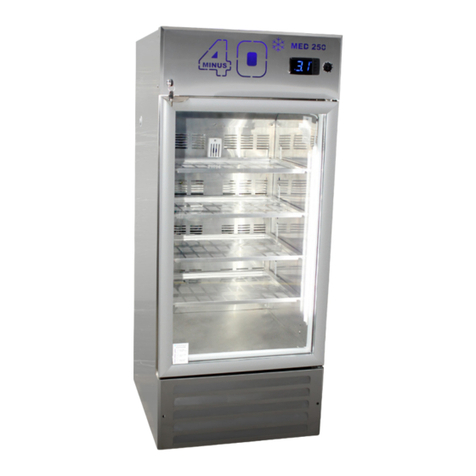
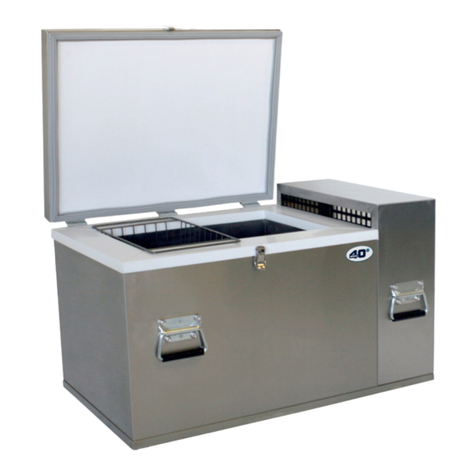
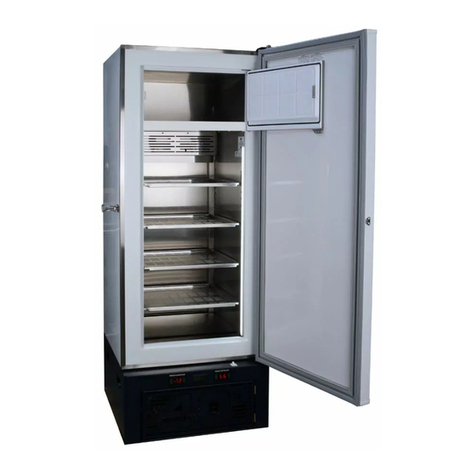
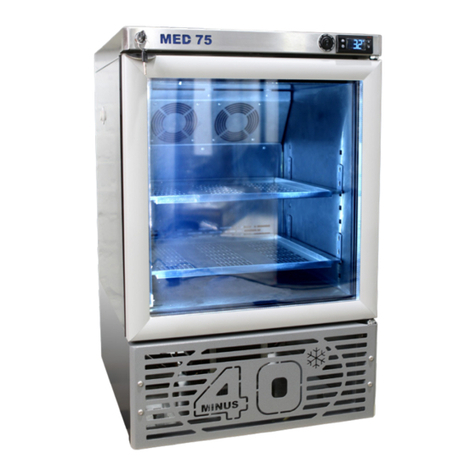
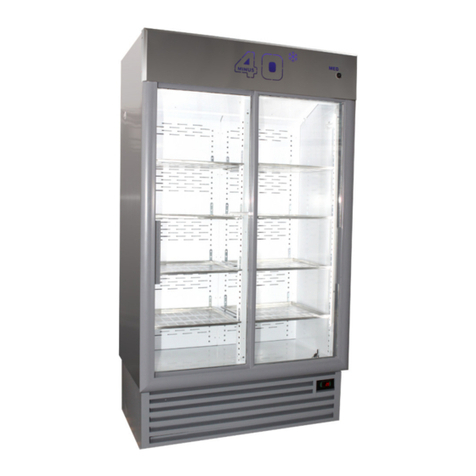
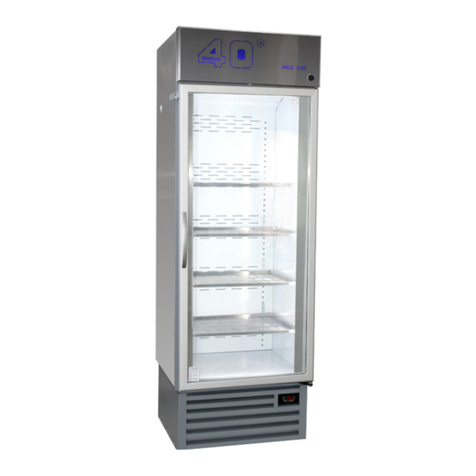
minus40 MED75HD User manual

TC900E Version 7
Version230817
Minus40 is ISO9001:2008 Certified
MINUS 40 (PTY) Ltd , 44 Manhattan Street, Airport Industria Ext 2, Western Cape, Republic of South. Africa
PO. Box 254, Eppindust 7475, Republic of South Africa Tel: +27 (0) 21 386 2290 Fax: +27 (0)21 386 2295
Email: info@minus40.co.za Web: www.minus40.co.za
Minus 40 (Pty) Ltd Reg. No. 89/03489/07 - Vat Reg No: 4090105521
Minus 40 Directors: S E Davison. D N McMurray Michael Werner
INSTRUCTIONS MANUAL FOR MED75HD - UPRIGHT GLASS DOOR FRIDGE
PLEASE NOTE: THE VACCINE REFRIGERATOR WILL IMMEDIATELY GO INTO A DEFROST AFTER BEING POWERED ON
Thank you for choosing a Minus 40 Refrigerator. We have supplied you a premium quality product, which
incorporates the latest innovations in refrigeration technology. Properly maintained, it will give you many years of
reliable service. Please read the following instructions carefully as it contains important information concerning the
safety, installation, operation and maintenance of your Refrigerator.
SAFETY
Always disconnect the appliance from the mains supply before attempting to do any maintenance or
before removing the bottom grille.
In case of appliance failure, disconnect it from the power supply and contact your service technician or
supplier for advice.
If the supply cord is damaged it must be replaced by the manufacturer or its service agent or a similarly
qualified person in order to avoid a hazard.
Any service performed on these refrigerators within the 1-year warranty period MUST be cleared and reported
to the manufacturer. Failure to do this will void the standard warranty.
INSTALLATION
Do a visual check of the unit to check for transport damage. Immediately report any damage to the transporter &
supplier of the refrigerator.
Remove all wrapping and packing material. Remove stacking blocks underneath the cabinet chassis.
oBe careful not to damage any of the delicate wiring or pipe-work in the compressor compartment.
Position the cooler out of direct sunlight and as far away as possible from any other sources of heat.
oThe maximum ambient temperature in which the cabinet will function is 44 Deg C.
oThe cabinet may be built into a furnishing fixture, or have its back to the wall, provided that the grille is
totally unobstructed.
The cabinet “breaths” through the grill. If it is blocked up, the cooler will not operate properly and you risk
damaging the compressor.
Level the appliance by rotating the adjustable feet.
oThe cabinet must be perfectly level in order for the door(s) to function properly.
The door may be refitted to have its hinges on the left hand side and its handle on the right hand side.
oFirst make sure the cooler is not connected to the electricity supply.
Remove ALL shelves, clips and products from the inside so not to damage the glass door.
oThen lay the refrigerator on its back. Release the hinge-pin nuts.
oUnscrew the bottom hinge plate and carefully remove the door.
oRemove the top hinge pin and fit it at the other side.
oRotate the door 180°C. Refit the door hinge pins and screw the bottom hinge plate to the opposite side.
oLock the bottom hinge pin nut with about 90°C torsion on the torsion bar.
oReturn the cabinet to the upright position.
oDo not connect the appliance to the mains supply until you have read the following information.
Page 2
ELECTRICAL CONNECTIONS
A qualified person in accordance with all local standards and regulations should carry out any electrical
alterations to the appliance.
The power supply should be in accordance with the electrical specifications listed on the rating plate. The
rating plate can be located inside the cooler on the top right hand side.
Always ensure that the electrical connection is suitably earthed.
oAn inadequate electrical installation can result in voltage reduction at the compressor which can cause
damage to the motor.
If in doubt about any of the electrical matters mentioned above, a suitably qualified electrician should be
consulted.
When all of the electrical requirements have been satisfied, the cooler may be plugged into the mains
socket.
OPERATING INSTRUCTIONS
When loading the Refrigerator, always ensure that you do not block the internal air vents and always allow
space for the cold air to circulate around the contents and the inside of the cooler.
The Refrigerator is designed to automatically evaporate the condensate water in the compressor
compartment.
Before replacing the light tubes, make sure the appliance is switched off and disconnected from the mains
supply.
oRemove the transparent light covers by pulling outward.
oCarefully pull off the electrical connections from the tube ends.
oReplace with new tube with same dimensions and wattage and reconnect electrical push-on terminals.
oRefit the transparent cover by hooking it back into position.
oIt is recommended to leave the lights switched on at all times (especially in high relative humidity areas).
oIt not only prolongs the lifetime of the light tubes, but also reduces risk of condensation in some areas.
oFrom an electrical efficiency and safety point of view, we do not use electric elements to heat up any areas
on our products.
oSome components are specifically situated to utilize their heat transmission.
CLEANING
Before carrying out any cleaning:
oPlease ensure that the cooler has been disconnected from the electricity supply.
oThe refrigerator should be cleaned periodically with a non-abrasive cleaner and soft cloth.
oDo not use any detergents or abrasive powders.
oA damp cloth may be used provided that all surfaces are polished dry afterwards.
PLEASE READ AND FOLLOW THE INSTRUCTIONS FOR CLEANING YOUR CONDENSER ON LAST PAGE
PLEASE FILL IN: “VACCINE REFRIGERATOR CONDENSER CLEANING SCHEDULE”.
MAINTENANCE
Before carrying out any maintenance or repair work, please ensure that the cooler has been disconnected
from the mains supply.
To maintain maximum operating efficiency and to prolong the life of your cooler, the condenser must be
cleaned regularly (at least every 2 months).
In dusty environments, cleaning should be done more frequently.
IN THE EVENT OF NOT USING THE COOLER FOR EXTENDED PERIODS
oDisconnect from the power supply.
oRemove all the products from the storage compartment.
oThoroughly clean the cabinet inside and out.
oLeave the door(s) slightly open so that air can circulate freely.

Page 3
TROUBLE SHOOTING –COOLER NOT COOLING
Note: some models have only one evaporator fan motor.
Symptom
Check
Fridge does not run and the
controller and the fans does
not work and the lights are off.
Make sure the unit is plugged in
Check for a tripped circuit breaker
Fridge does not run, but the
controller is on.
Check the temperature setting on the controller
Clean the condenser coils
Unplug the unit, wait two hours and plug it in. If you hear it running, a
problem is causing the compressor to overheat
Check if the evaporator fan is running
Listen if the compressor ever runs. If not the compressor might be faulty.
Fridge is not cold enough
Check the temperature setting
Assure that there is enough room for air flow in the fridge.
Check if the evaporator coil is iced-up, and if it is, put the unit in a
manual defrost as noted under MANUAL DEFROST.
Check for air flow restrictions in front and at the back of the grille.
Clean the condenser coils
Check the door seal
Fridge is too cold
Check the temperature setting
Fridge is noisy
Hissing and popping is normal.
Check that the fridge is level
Check the drain pan
Check the condenser fan (1)
Check the evaporator fan (2)
Fridge runs continuously
Clean the condenser coils (1)
Check the door seals
IN THE EVENT OF A BREAKDOWN
Disconnect the cooler from the power supply. Contact your supplier for advice.
TEMPERATURE CONTROL
Minus40 vaccine refrigerators regulates air temperature to control the product (vaccine) temperature.
The running temperature of the refrigerators is factory pre-set at a range between 2°C to 8°C air temperature.
It is factory pre-set with a built-in defrost sequence of 10 minutes every 3 Hours to remove ice build-up from the
evaporator coil.
During these defrost cycles air temperature can exceed 8°C for a short time, but product temperature will remain
in the safe vaccine temperature range between 2°C to 8°C.
FOR FRIDGE TEMPERATURE MONITORING ADVICE PLEASE SEE THE LINK BELOW:
http://www.minus40.co.za/wp-content/uploads/2016/11/Fridge-temperature-monitoring-advice.pdf
SET POINT: 3°C

Page 4
Minus 40 Vaccine refrigerator
Condenser cleaning schedule
1 2 3 4 5 6 7 8 9 10 11 12 13 14 15 16 17 18 19 20 21 22 23 24 25 26 27 28 29 30 31
Jan
Feb
Mar
Apr
May
Jun
Jul
Aug
Sep
Oct
Nov
Dec
Clean the condenser ( Radiator) with a vacuum cleaner or soft brush.
Check the condenser monthly
If there is dirt of fluff on the condenser clean as above
Mark the chart above with a cross on the DAYS that the condenser is cleaned

Page 5
Table of contents
Other minus40 Refrigerator manuals

minus40
minus40 D40SSH User manual

minus40
minus40 MED900GSD User manual

minus40
minus40 B Series User manual

minus40
minus40 MED75GHD User manual

minus40
minus40 MED75GHD User manual

minus40
minus40 MED900GHD User manual

minus40
minus40 MED900GHD User manual

minus40
minus40 MED540HD User manual

minus40
minus40 MED250GHD User manual

minus40
minus40 MED540GHD User manual