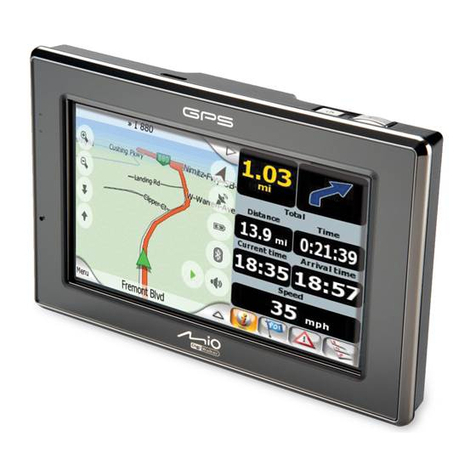
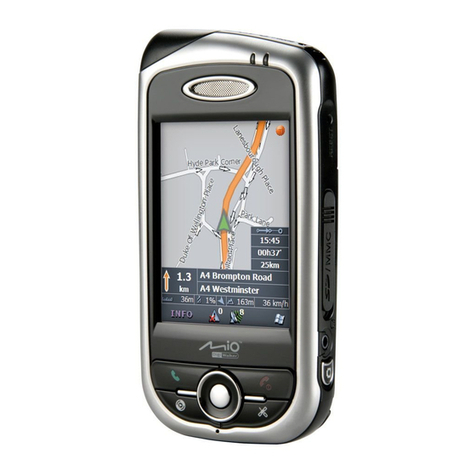
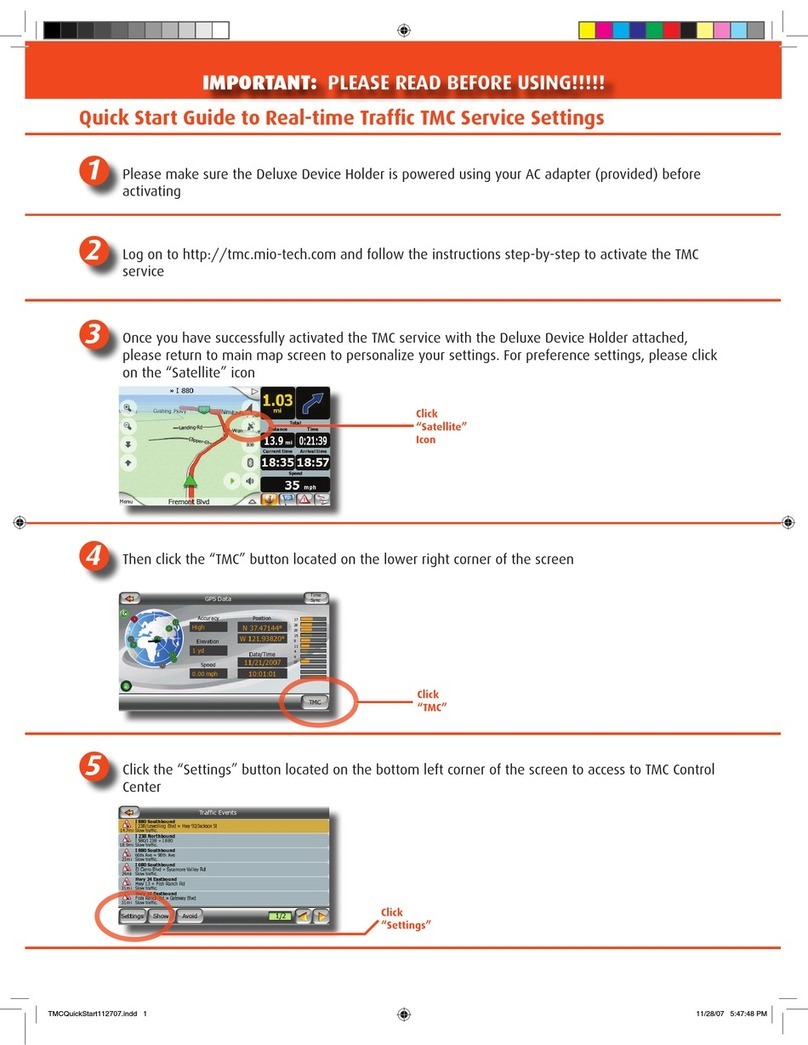
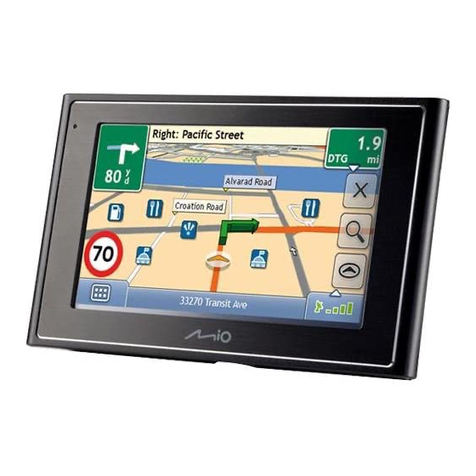
Mio 136 User manual

Mio 136
User’s Manual

US/Canada Version
R01
Jan. 2005
Trademarks
All brand and product names are trademarks or registered trademarks o their
respective companies.
Note
The in ormation in this manual is subject to change without notice.

Table of Contents
Before You Begin.................................................................................v
Part I
.
Basic Operations..................................................................... 1
1 Getting tarted..............................................................................3
1.1 Setting the ON/OFF Switch...............................................................3
1.2 Connecting to AC Power and Charging the Battery..........................4
1.3 Using Yo r Device in a Vehicle......................................................... 5
Using the Car Holder........................................................................ 5
Connecting the Car Charger............................................................. 6
1.4 Understanding Hardware Feat res................................................... 7
Front Components............................................................................ 7
Back Components............................................................................. 8
Left-Side Components...................................................................... 8
Right-Side Components.................................................................... 9
Top Components............................................................................. 10
Bottom Components....................................................................... 10
2 Basic kills..................................................................................11
2.1 T rning On and Off Yo r Device......................................................11
2.2 Operating Yo r Device.................................................................... 12
Using Hardware B ttons................................................................. 12
Using the Navigation Pad............................................................... 12
Using the Vol me Control............................................................... 13
Styl s Pen....................................................................................... 13
3 ystem ettings..........................................................................15
3.1 Using System Settings.................................................................... 15
i

3.2 Brightness....................................................................................... 16
Adj sting the Brightness................................................................. 17
Setting the Sleep Time.................................................................... 17
3.3 Calibration....................................................................................... 18
3.4 Power Stat s.................................................................................. 19
3.5 Date/Time....................................................................................... 20
3.6 Exit.................................................................................................. 21
Part II
.
GPS Navigation..................................................................... 23
4 Navigation Basics.......................................................................25
4.1 Before Yo Start.............................................................................. 25
Inserting the MMC Card.................................................................. 25
Checking the Map Data.................................................................. 26
Maps of North America................................................................... 26
4.2 Starting GPS Navigation Software.................................................. 27
Introd cing Map Screen.................................................................. 28
Zooming the Map............................................................................ 28
Fo r Steps to Navigate................................................................... 29
Q itting Mio Map Navigation........................................................... 30
4.3 Selecting a Destination................................................................... 30
Using Address................................................................................. 30
Using Point of Interest (POI)........................................................... 34
Using Favorites............................................................................... 36
Using History...................................................................................38
Using Map C rsor........................................................................... 39
4.4 Navigational Aids............................................................................ 40
Calc lating a Ro te.........................................................................40
Recalc lating the Ro te.................................................................. 41
4.5 Show Ro te.................................................................................... 41
4.6 Cancel Ro te.................................................................................. 42
5 More Navigation Features.......................................................... 43
5.1 Avoid Roads.................................................................................... 43
Creating a List of Roads to Avoid.................................................... 43
Selecting the Roads to Avoid.......................................................... 46
5.2 Favorites and A to Alerts................................................................ 47
Creating Favorites...........................................................................47
Config ring A to Alert Category...................................................... 49
Managing Favorites........................................................................ 50
5.3 History............................................................................................. 51
5.4 Trip Planner.................................................................................... 52
Part 1. Select Planner Mode........................................................... 52
ii
Part 2. Man ally Select the Origin...................................................53
Part 3. Set Waypoints..................................................................... 53
Part 4. Calc late the Ro te............................................................. 56
5.5 Recording a Jo rney....................................................................... 57
Playing a Recording........................................................................ 58
Deleting a Recording...................................................................... 59
6 Changing Map Views..................................................................61
6.1 Types of View.................................................................................. 61
2D View...........................................................................................61
3D View...........................................................................................62
6.2 View the Ro te................................................................................62
T rn by T rn....................................................................................62
Driving Direction..............................................................................63
6.3 Day/Night Color Skin.......................................................................64
Day Color Skin................................................................................ 64
Night Color Skin.............................................................................. 64
7 Options, ettings, and Preferences .........................................65
7.1 General Settings............................................................................. 65
7.2 Map Settings................................................................................... 66
7.3 Ro te Settings................................................................................ 67
7.4 Alert Settings.................................................................................. 68
7.5 GPS Stat s..................................................................................... 69
8 Using Mio Map Wizard................................................................71
8.1 Installing Map(s).............................................................................. 71
8.2 Removing Map(s)............................................................................ 73
Part III. More Tools........................................................................... 75
9 Using MP3 Player....................................................................... 77
9.1 Starting and Exiting MP3 Player..................................................... 77
9.2 Preparing MP3 Files for Yo r Device.............................................. 78
9.3 Playing MP3 Files........................................................................... 78
MP3 Playback Control.................................................................... 79
9.4 Using Play List................................................................................ 80
9.5 Eq alizer......................................................................................... 82
10 Using Application CD................................................................. 83
10.1 Using Application CD...................................................................... 83
10.2 Installing ActiveSync....................................................................... 84
iii

Part IV. References............................................................................ 7
11 Troubleshooting and Maintenance............................................89
11.1 Resetting Yo r System....................................................................89
11.2 Tro bleshooting.............................................................................. 90
Power Problems.............................................................................. 90
Screen Problems............................................................................ 90
Connection Problems......................................................................91
GPS Problems................................................................................ 92
11.2 Maintaining Yo r Device................................................................. 92
A Regulatory Information............................................................. 95
A.1 Reg lations Statements.................................................................. 95
Class B Reg lations........................................................................95
E ropean Notice............................................................................. 96
A.2 Safety Preca tions.......................................................................... 97
Abo t Charging............................................................................... 97
Abo t the AC Adapter..................................................................... 97
Abo t the Battery............................................................................ 97
iv

Before You Begin
Precautions and Notices
For your own sa ety, do not operate the controls o the product while
driving.
Use this product prudently. The product is intended to be used only as a
navigation aid. It is not or precise measurement o direction, distance,
location or topography.
The calculated route is or re erence only. It is the user’s responsibility to
ollow the tra ic signs and local regulations along the roads.
When you get o the car, do not leave your device on the dashboard that is
subject to direct sunlight. The overheating o the battery can cause
mal unction and/or danger.
GPS is operated by the United States government, which is solely
responsible or the per ormance o GPS. Any change to the GPS system
can a ect the accuracy o all GPS equipments.
GPS satellite signals cannot pass through solid materials (except glass).
When you are inside a tunnel or building, GPS positioning is not available.
A minimum o 4 GPS satellite signals is needed to determine current GPS
position. Signal reception can be a ected by situations such as bad
weather or dense overhead obstacles (e.g. trees and tall buildings).
The wireless devices might inter ere the reception o satellite signals and
cause the reception o the signal to be unstable. For better signal reception,
it is recommended that you use a car antenna (option).
v

A car holder is needed when using the device in a car. It is recommended
that you place the device in an appropriate place, so as not to obstruct the
driver’s view, or deployment o airbags.
Overview
GPS Navigation Features
Electronic maps with roads, reeways, highways, railways, rivers, lakes,
points o interest, etc.
GPS positioning
Optimal route calculation and trip plan
Friendly and e icient navigation with turn-by-turn, voice, and visual
guidance
Various ways or searching a location on the map
Using a known address
Using a POI (point o interest)
Using Favorites (personal stored locations)
Using History (previous destinations)
Recording and playback o journeys
vi
Do not mo nt where the driver’s
field of vision is blocked.
Do not place nsec red
on the dashboard.
Do not mo nt in front of
airbag panels.
Do not mo nt in front of an
airbag field of deployment.

Viewing modes or di erent needs and situations:
2D or 3D
Daytime or nighttime view
Turn-by-turn view o the route
Driving direction o the route
Other Features
MP3 Player: playing MP3 music.
About this Manual
This manual is divided into our major parts:
Part I “Basic Operations” (Chapters 1 to 3) tells you how to get your
device running and customize system settings.
Part II “GPS Navigation” (Chapters 4 to 8) tells you how to use the GSP
navigation unctions.
Part III “More Tools” (Chapters 9 and 10) introduces MP3 Player and
data trans er tools.
Part IV “References” (Chapter 10 and Appendix A) gives guidelines on
troubleshooting and maintenance and provides the regulatory in ormation.
vii

5
8.3
Part I
.
Basic Operations
Part I guides you through the process o getting your device running,
amiliarizes you with the external components, and tells you how to customize
system settings.
1

2 2

1Getting tarted
This chapter tells you step by step how to per orm the initial startup and
introduces you to the external components o your device.
1.1 Setting the ON/OFF Switch
The ON/OFF switch should be set to the ON position or normal operation.
Pull out the stylus pen and use it to slide the ON/OFF switch to the ON (le t)
position.
CAUTION: Alwa s leave the ON/OFF switch in the ON position for normal operation.
3

1.2 Connecting to AC Power and Charging the
Batter
Fully charge the battery be ore using your device or the irst time.
1. Slide and click the connector converter onto the AC adapter.
2. Connect the adapter cable to the bottom o your device.
3. Plug the AC adapter into a wall outlet.
The charge indicator glows amber when charging is in progress. Do not
disconnect your device rom AC power until the battery is ully charged, when
the charge indicator turns green. This will take a couple o hours.
4
Charge
Indicator
Converter

1.3 Using Your Device in a Vehicle
A car holder and a car charger are supplied with your device.
Using the Car Holder
CAUTION:
Select an appropriate location for the car holder. Never place the holder where the
driver’s field of vision is blocked.
If the car’s windshield is tinted with a reflective coating, an external antenna (optional)
ma be needed to route the antenna to the top of the car through a window. When
closing the car window, be careful not to pinch the antenna cable. (Cars with an anti-
jam window design ma automaticall leave adequate space as needed.)
The car holder consists o a bracket and a dashboard stand. Use the car holder
to mount your device in a vehicle.
5
Attach the bracket
to the stand.
The type of the stand may vary.
Follow the instr ctions s pplied
with the stand to mo nt it in a
vehicle.
Rotate the GPS antenna
to the horizontal position,
parallel to the gro nd.
Caref lly fit the device
in the bracket, where it
will snap into place.

Connecting the Car Charger
The car charger supplies power to your device when you are using the device
in a car.
CAUTION: To protect our device against sudden surges in current, connect the car
charger onl after the car engine has been started.
1. Connect one end o the car charger to the power connector o your device.
2. Connect the other end to the cigarette lighter in the car to power and
charge your device.
6
To Cigarette Lighter

1.4 Understanding Hardware Features
NOTE: Depending upon the specific model purchased, the color of our device ma not
exactl match the device shown in this manual.
7

1.1
Front Components
Ref Component Description ee Also
C arge Indicator Glows bright amber to indicate that the
battery is charging, and turns green
when the battery is ully charged.
Section 1.2
Touc Screen Displays the output o your device. Tap
the screen with the stylus pen to select
menu commands or enter in ormation.
Hardware Buttons Power On/O Section 2.1
System Settings Chapter 3
Navigation Settings Chapters 4-7
Back Section 2.2
Zoom In Section 4.2
Zoom Out Section 4.2
Navigation Pad Moves up, down, le t or right by
pressing the corresponding area o the
pad. Section 2.2
Selects highlighted item by pressing in
the center.
Speaker Sends out music, sounds and voice.
8

Back Components
Ref Component Description ee Also
ON/OFF Switc The main power/battery cuto switch. Section 1.1
GPS Antenna Receives signals rom the GPS satellites
overhead. It should be li ted up to the
horizontal position or normal operation.
Section 4.2
External
Antenna
Connector
This connector (under rubber dust cover)
allows use o an optional external antenna
with magnetic mount, which may be
positioned on top o the car or better signal
reception in areas with poor reception.
Left-Side Components
9

Ref Component Description ee Also
SD/MMC Slot Accepts a SD (Secure Digital) or MMC
(MultiMediaCard) card or accessing data such
as maps and MP3 music.
NOTE: Be ore using GPS navigation so tware
and maps, you need to insert the storage card
included with your device. Do not remove the
card during GPS operation.
Section 4.1
Right-Side Components
Ref Component Description ee Also
Stylus Pen Tap on the touch screen to make selections
and enter in ormation. Pull the stylus pen
out o its slot to use it, and store it in the
slot when not in use.
Section 2.2
Volume Control Adjusts the volume level o your device. Section 2.2
Headp one
Connector
Connects to stereo headphones.
10

Top Components
Ref Component Description ee Also
Reset Button Restarts your device (so t reset). Section 11.1
Bottom Components
Ref Component Description ee Also
Power Connector Connects to the AC adapter. Section 1.2
Mini-USB
Connector
Connects to the computer or data
trans er.
Section 10.2
11
Table of contents
Other Mio GPS manuals

Mio
Mio Mio 269 User manual

Mio
Mio Cyclo 105 HC User manual

Mio
Mio Digi Walker C620 User manual

Mio
Mio DigiWalker C220 User manual

Mio
Mio Mio 268 User manual

Mio
Mio DigiWalker C230 User manual

Mio
Mio Digiwalker C710 User manual

Mio
Mio Moov 380 User manual

Mio
Mio 168 User manual

Mio
Mio Spirit 7800 Series Instructions for use

Mio
Mio DigiWalker C230 User manual

Mio
Mio Moov 200 Series User manual

Mio
Mio Digi Walker C510 User manual

Mio
Mio MOOV 500 Series User manual

Mio
Mio Moov 200 Series User manual

Mio
Mio MOOV M400 User manual

Mio
Mio MOOV V Series User manual

Mio
Mio Fuse User manual

Mio
Mio Moov Spirit Series User manual

Mio
Mio Mio DigiWalker H610 User manual