manuals.online logo
Brands
  1. Home
  2. •
  3. Brands
  4. •
  5. miseno
  6. •
  7. Bathroom Fixture
  8. •
  9. miseno MNOTB518 CP User manual

miseno MNOTB518 CP User manual

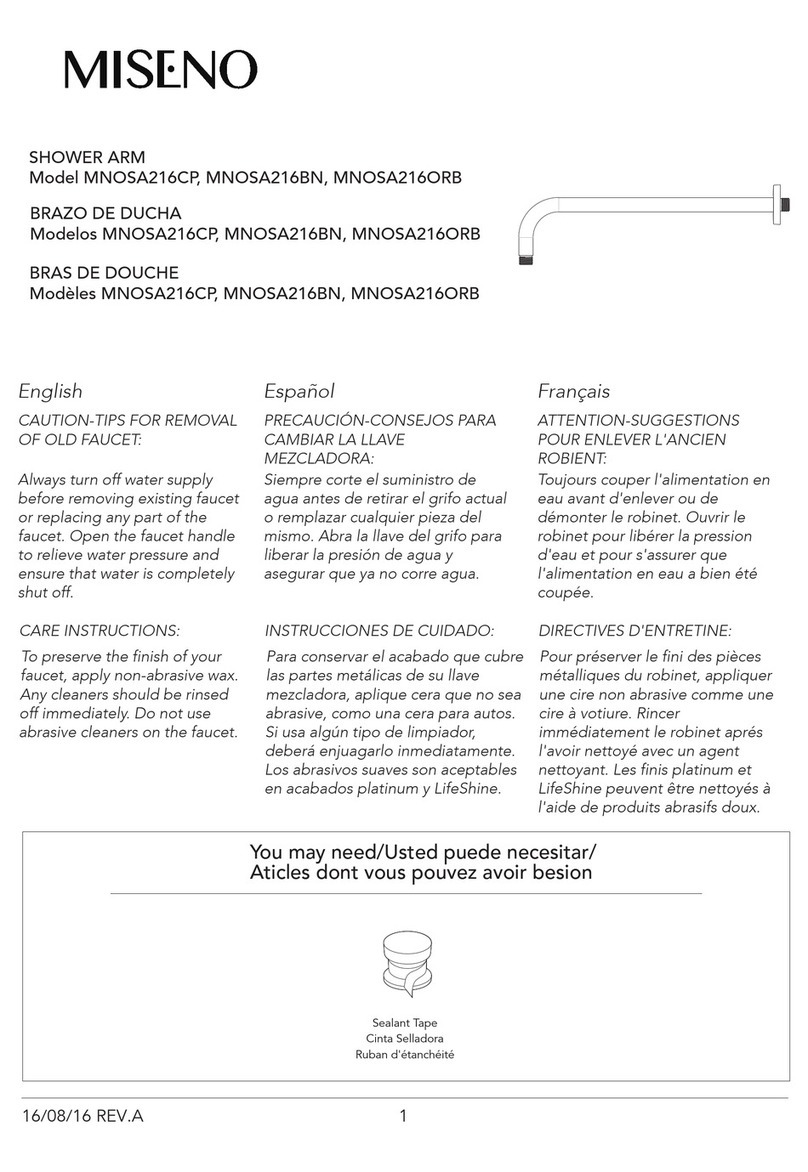
Tools You Will Need
Outils dont vous aurez besoin
Herramientas Necesarias
Bath accessories
Accessoires de salle de bains
Los accesorios del cuarto de baño
Phillips screwdriver
Tournevis Phillips
Destornillador cruciforme
Marking pencil
Marqueur
Lápiz marcador
Drill
Perceuse
Taladro
Claw hammer
Marteau à panne fendue
Martillo de carpintero
SAFETY TIPS
• DO NOT install this product without first reading and understanding this
instruction sheet. If you are unable to understand these warnings and
instructions, contact a professional or technical personnel for assistance before
attempting to install this product - otherwise, injury may occur.
• The fittings should be installed by a licensed plumber.
CONSEILS DE SÉCURITÉ
• NE PAS installer ce produit avant d'avoir lu et compris cette fiche
d'instructions au préalable. Si vous ne comprenez pas ces avertissements et
instructions, contactez un professionnel ou un technicien pour obtenir de l'aide
avant d'essayer d'installer ce produit, afin d'éviter tout risque de blessure.
• Les raccords doivent être installés par un plombier qualifié pour exercer.
CONSEJOS DE SEGURIDAD
• NO instale este equip sin antes leer y entender la hoja de instrucciones. Si
usted no puede entender estas advertencias e instrucciones, contacte a un
profesional de lasalud, a un vendedor, o al personal técnico para asistencia
antes de intentar instalar este equipo - de otra manera, podrían ocurrir lesiones.
• Los componentes deben ser instalados por un plomero.
Model/Modelo/Modèle
MNOTB518 CP/BNP
MNOTB524 CP/BNP
MNOTP500 CP/BNP
MNORH500 CP/BNP
MNOTR500 CP/BNP
Questions, problems, missing parts?
Before returning to your retailer, please contact Customer
Service at 1-855-480-2915 or www.miseno.com.
Des questions, des problèmes, des pièces manquantes?
Avant de retourner à votre revendeur, se il vous plaît communiquer
avec le Service à la clientèle au 1 855 480-2915 ou www.miseno.com.
¿Preguntas, problemas, piezas faltantes?
Antes de volver a la tienda, por favor póngase en contacto
con Servicio al Cliente al 1-855-480-2915 o www.miseno.com.
BEFORE INSTALLATION:
If you contact Customer Service, you will need the proof of purchase,
model number, serial number, and date of purchase. Please locate the
Product ID tag and serial number tag.
Please record the serial number and date of purchase here BEFORE YOU INSTALL:
__________________ ______________
Serial Number Date of Purchase
Please attach your receipt for proof of purchase.
AVANT L’INSTALLATION:
Si vous contactez le service clientèle, vous aurez besoin de la preuve d'achat,
du numéro de modèle, du numéro de série et de la date d'achat.
Se il vous plaît localiser l’étiquette d’identification du produit et Serial étiquette de numéro.
Se il vous plaît noter le numéro de série et le code de date ici AVANT D’INSTALLER:
__________________ ______________
Numéro de série Date d'achat
Se il vous plaît joignez votre reçu comme preuve d’achat. future reference here.
ANTES DE LA INSTALACIÓN:
Si se comunica con el Servicio al cliente, necesitará el comprobante de compra, el número de modelo,
el número de serie y la fecha de compra.
Por favor, busque la etiqueta de identificación del producto y la etiqueta del número de serie.
Anote el número de serie y el código de fecha aquí ANTES DE INSTALAR
__________________ ______________
Número de serie Fecha de compra
Adjunte su recibo como prueba de compra.
Installation Procedures/Procédures d'installation/Procedimientos de instalación
1. Position the mounting bracket on wall where desired. Mark the
location of mounting screws.
(NOTE : Mounting bracket should be oriented properly)
De fixation sur le mur à l’endroit où il sera installé. Marquer
l’emplacement des vis de fixation.
(REMARQUE : Le support de fixation doit être tourné dans la bonne
direction)
Posicione el soporte de montaje sobre la pared, en el lugar deseado.
Marque el lugar para los tornillos de montaje.
(NOTA : Se debe rotar el soporte de montaje en la forma apropiada)
2. Drill 1/4” holes into the wall at the marked location and push in
plastic anchors flush with the wall.
Percer des trous de 1/4 po (6,3 mm) dans le mur aux endroits
marqués et insérer les vis d’ancrage de façon à ce qu’elles
soient à égalité avec le mur.
Taladre agujeros de 1/4” en la pared en la posición que marcó
e inserte los sujetadores de plástico a nivel de la pared.
3. Attach mounting bracket to wall with mounting screw only.
Make sure flat side of mounting bracket is flush with wall.
Fixer le support de fixation au mur à l’aide de la vis de fixation
uniquement.
S’assurer que le côté plat du support de fixation est à égalité
avec le mur.
Instale el soporte de montaje en la pared con el tornillo de montaje
solamente.
La parte plana del soporte debe quedar a nivel de la pared.
4. Place unit over mounting bracket and tighten set screw with
hex wrench.
Mettre l’accessoire sur la plaque de fixation clé hexagonale de
pression à l’aide de la tournevis.
Una vez colocada la pieza en el lugar de instalacion, ajuste
con la llave hexagonal.
Cleaning Instructions/Directives de nettoyage/Instrucciones para la limpieza
Maintenance Your new product is designed for years of trouble-free performance. Keep it looking new by cleaning it
periodically with a soft cloth. Avoid abrasive cleaners, steel wool, and harsh chemicals as these will dull the finish and void your
warranty.
Etretien Votre nouveau produit est conçu pour fonctionner sans problème, des années durant. Le nettoyer périodiquement
avec un chiffon doux pour qu’il conserve la même apparence qu’à l’état neuf. Éviter les nettoyants abrasifs, la laine d’acier et les
produits chimiques forts puisqu’ils endommageront le fini et rendront votre garantie nulle.
Mantenimiento Su producto nuevo está diseñado para brindar años de servicio sin problemas. Mantenga su apariencia nueva
limpiándolo periódicamente con un paño suave. Evite limpiadores abrasivos, estropajo de acero y químicos cáusticos porque
deslustrarán el acabado y anularán la garantía.

This manual suits for next models

9

Other miseno Bathroom Fixture manuals

miseno MNO15TFCP User manual

miseno

miseno MNO15TFCP User manual

miseno Clapton User manual

miseno

miseno Clapton User manual

miseno JOVIAN DL-52 User manual

miseno

miseno JOVIAN DL-52 User manual

miseno MNO2114ABWH User manual

miseno

miseno MNO2114ABWH User manual

miseno MNOSA225BN User manual

miseno

miseno MNOSA225BN User manual

miseno MNOSA225ORB Assembly instructions

miseno

miseno MNOSA225ORB Assembly instructions

miseno MNOSA216ORB Assembly instructions

miseno

miseno MNOSA216ORB Assembly instructions

miseno MNOSA216CP User manual

miseno

miseno MNOSA216CP User manual

Popular Bathroom Fixture manuals by other brands

Toto MRZ740 installation guide

Toto

Toto MRZ740 installation guide

b-intense Zen Assembly instructions

b-intense

b-intense Zen Assembly instructions

WOLSELEY SARACEN Installation and maintenance guide

WOLSELEY

WOLSELEY SARACEN Installation and maintenance guide

T&S B-0133 Installation and maintenance instructions

T&S

T&S B-0133 Installation and maintenance instructions

burgbad Sana Fitting instructions

burgbad

burgbad Sana Fitting instructions

Macro Design DKFF Series Assembly instructions

Macro Design

Macro Design DKFF Series Assembly instructions

Suntherm DRIER 200 instruction manual

Suntherm

Suntherm DRIER 200 instruction manual

Signature Hardware PINECREST 949738 quick start guide

Signature Hardware

Signature Hardware PINECREST 949738 quick start guide

Aquademy SPA 60 RAIN&MIST PRE-INSTALLATION AND INSTALLATION MANUAL

Aquademy

Aquademy SPA 60 RAIN&MIST PRE-INSTALLATION AND INSTALLATION MANUAL

Salvatori ANIMA TOILET ROLL HOLDER manual

Salvatori

Salvatori ANIMA TOILET ROLL HOLDER manual

Aqualisa Quartz QZ.A1.BR.05 installation guide

Aqualisa

Aqualisa Quartz QZ.A1.BR.05 installation guide

Hewi 802.50.01260 FH Installation and operating instructions

Hewi

Hewi 802.50.01260 FH Installation and operating instructions

Oxygenics PowerMax Easy installation instructions

Oxygenics

Oxygenics PowerMax Easy installation instructions

Roca HOTEL'S A815508 Assembly instructions

Roca

Roca HOTEL'S A815508 Assembly instructions

Allen + Roth ML-20520 Quick reference guide

Allen + Roth

Allen + Roth ML-20520 Quick reference guide

Bradley CBSHWR9000 installation guide

Bradley

Bradley CBSHWR9000 installation guide

Helvex MB-1102-AIB installation guide

Helvex

Helvex MB-1102-AIB installation guide

Kohler K-705800 installation guide

Kohler

Kohler K-705800 installation guide

manuals.online logo
manuals.online logoBrands
  • About & Mission
  • Contact us
  • Privacy Policy
  • Terms and Conditions

Copyright 2025 Manuals.Online. All Rights Reserved.